|
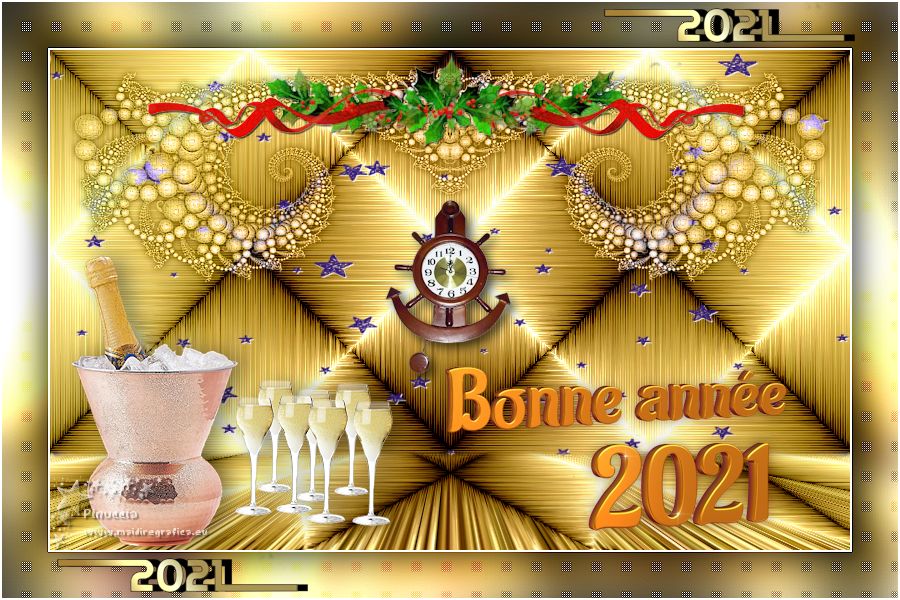
BIENTÔT 2021


Thanks Evalynda for the invitation to translate your tutorials

This tutorial was written with PSPX8 and translated with PSPX7 and PSPX3, but it can also be made using other versions of PSP.
Since version PSP X4, Image>Mirror was replaced with Image>Flip Horizontal,
and Image>Flip with Image>Flip Vertical, there are some variables.
In versions X5 and X6, the functions have been improved by making available the Objects menu.
In the latest version X7 command Image>Mirror and Image>Flip returned, but with new differences.
See my schedule here
 italian translation here italian translation here
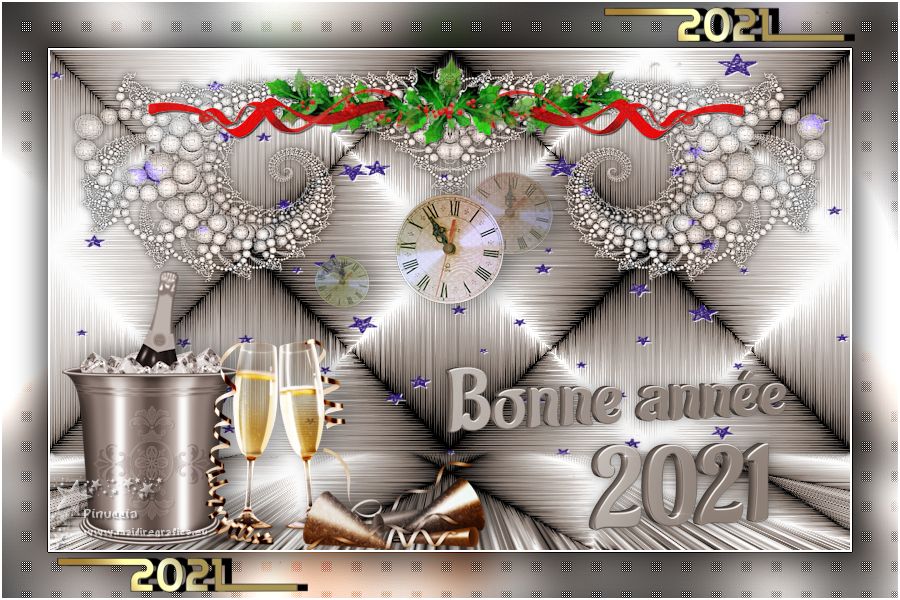
 Your versions Your versions
For this tutorial, you will need:
Material here
Thanks for the tubes and the masks Colybrix, ValyScrapPassion and Nikita.
(The links of the tubemakers here).
Plugins:
consult, if necessary, my filter section here
Filters Unlimited 2.0 here
Graphics Plus - Cross Shadow here
Mehdi - Sorting Tile here
Mura's Meister - Perspective Tiling here
Carolaine and Sensibility - CS-LDots here
Filters Graphics Plus can be used alone or imported into Filters Unlimited.
(How do, you see here)
If a plugin supplied appears with this icon  it must necessarily be imported into Unlimited it must necessarily be imported into Unlimited

You can change Blend Modes according to your colors.
(Don't forget to erase the watermarks)
Open the masks and the texture in PSP and minimize them with the rest of the material.
1. Open a new transparent image 800 x 500 pixels.
Set your foreground color to Pattern and select the texture Texture or2, with these settings.
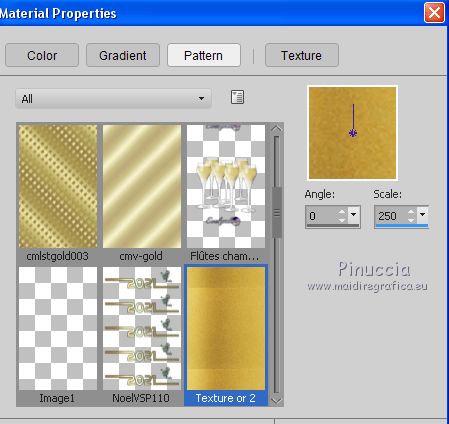
Flood Fill  the transparent image with your golden pattern. the transparent image with your golden pattern.
Effects>Edge Effects>Enhance More.
2. Effects>Plugins>Mehdi - Sorting Tiles
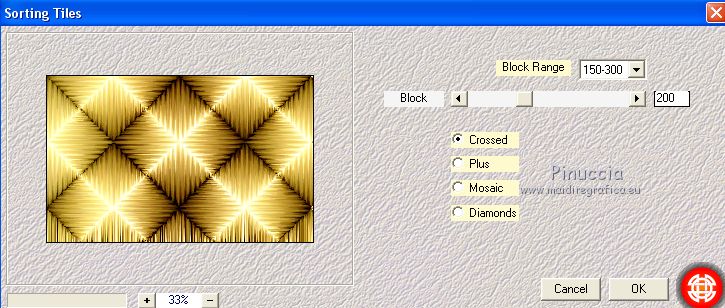
3. Layers>Duplicate.
Effects>Plugins>Mura's Meister - Perspective Tiling.
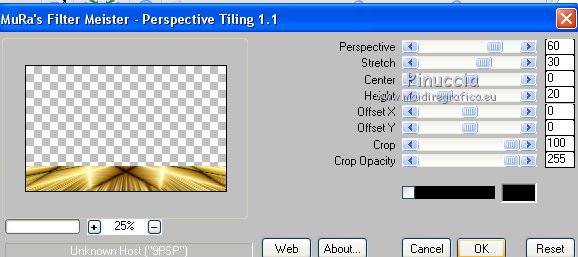
4. Activate your Magic Wand Tool  with these settings: with these settings:

Click on the transparent part at the top to select it.
Press 5 times CANC on the keyboard 
Selections>Select None.
5. Set your foreground color with color white.
Layers>New Raster Layer.
Flood Fill  the layer with color white. the layer with color white.
Layers>New Mask layer>From image
Open the menu under the source window and you'll see all the files open.
Select the mask 1250181245_nikita_masques
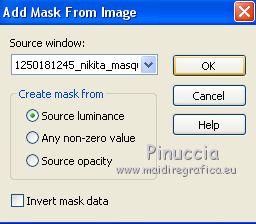
Layers>Merge>Merge Group.
6. Effects>Edge Effects>Enhance More, 2 times.
Image>Resize, to 50%, resize all layers not checked.
Objects>Align>Bottom.
Objects>Align>Right.
or activate your Pick Tool  (K key on the keyboard) (K key on the keyboard)
and set Position X: 400,00 and Position Y: 250,00

7. Layers>Duplicate.
Layers>Merge>Merge Down.
Layers>Duplicate.
Image>Mirror.
Layers>Merge>Merge Down.
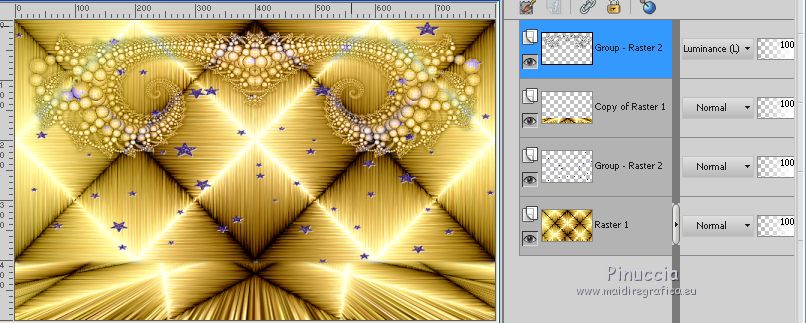
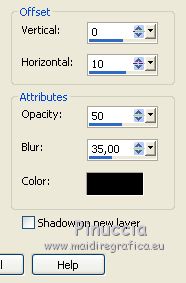
Effects>3D Effects>Drop Shadow, color black.
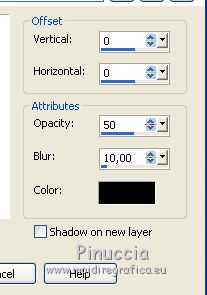
Layers>Duplicate.
Layers>Merge>Merge Down.
Image>Flip.
Change the Blend Mode of this layer to Luminance (héritée)
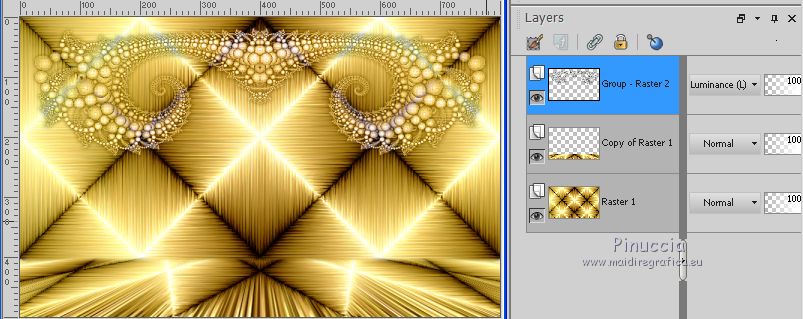
8. Activate your bottom layer.
Layers>New Raster Layer.
Set your foreground color to blue color #2c1376.
Flood Fill  the layer with your foreground color. the layer with your foreground color.
Layers>New Mask layer>From image
Open the menu under the source window and you'll see all the files open.
Select the mask VSP024.
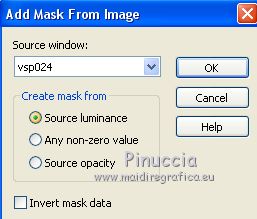
Layers>Merge>Merge Group.
Layers>Duplicate.
Layers>Merge>Merge Down.
9. Layers>Duplicate.
Image>Resize, to 75%, resize all layers not checked.
Image>Flip.
Layers>Merge>Merge Down.
Effects>3D Effects>Drop Shadow, color white.

10. Activate your top layer.
Open the tube Champagne and go to Edit>Copy.
Go back to your work and go to Edit>Paste as new layer.
Image>Resize, al 70%, resize all layers not checked.
Regola>Messa a fuoco>Metti a fuoco.
Pick Tool 
and set Position X: 20,00 and Position Y: 205,00

Effects>3D Effects>Drop Shadow, color black.
11. Open the tube Flutes champagne, and go to Edit>Copy.
Go back to your work and go to Edit>Paste as new layer.
Adjust>Sharpness>Sharpen.
Pick Tool 
and set Position X: 185,00 and Position Y: 330,00

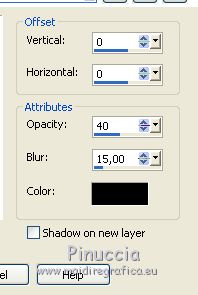
Effects>3D Effects>Drop Shadow, same settings.

12. Open the tube bonneannee2-coly and go to Edit>Copy.
Go back to your work and go to Edit>Paste as new layer.
Image>Resize, to 45%, resize all layers not checked.
Pick Tool 
and set Position X: 385,00 and Position Y: 275,00

Effects>3D Effects>Drop Shadow, color black.
13. Open the tube 2021-6-coly and go to Edit>Copy.
Go back to your work and go to Edit>Paste as new layer.
Image>Resize, to 30%, resize all layers not checked.
Pick Tool 
and set Position X: 520,00 and Position Y: 370,00

Effects>3D Effects>Drop Shadow, same settings.

14. Open the tube "houx" and go to Edit>Copy.
Go back to your work and go to Edit>Paste as new layer.
Image>Resize, to 80%, resize all layers not checked.
Objects>Align>Top
or, with your Pick Tool 
set Position X: 92,00 and Position Y: 0,00

Effects>3D Effects>Drop Shadow, color black.
15. Open the tube Horloge minuit and go to Edit>Copy.
Go back to your work and go to Edit>Paste as new layer.
Image>Resize, to 60%, resize all layers not checked.
Effects>3D Effects>Drop Shadow, color black.
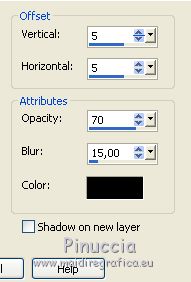
Move  the tube a little higher. the tube a little higher.
Effects>3D Effects>Drop Shadow, color black.

16. Image>Add borders, 2 pixels, symmetric, color white.
Edit>Copy.
Selections>Select All.
Image>Add borders, 46 pixels, symmetric, color white.
Selections>Invert.
Edit>Paste into Selection.
Adjust>Blur>Gaussian Blur - radius 20.

17. Effects>Plugins>Graphics Plus - Cross Shadow, default settings.
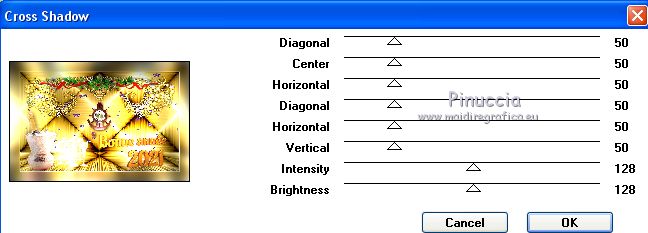
Effects>Plugins>Carolaine and Sensibility - CS-LDots

Effects>Edge Effects>Enhance.
18. Selections>Invert.
Effects>3D Effects>Drop Shadow, color black.
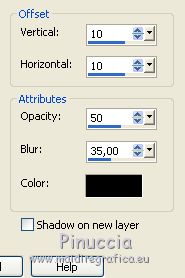
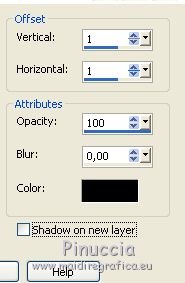
Repeat Drop Shadow, vertical and horizontal -10.
Selections>Select None.
19. Open the tube NoelVSP110 and go to Edit>Copy.
Go back to your work and go to Edit>Paste as new layer.
Image>Resize, to 30%, resize all layers not checked.
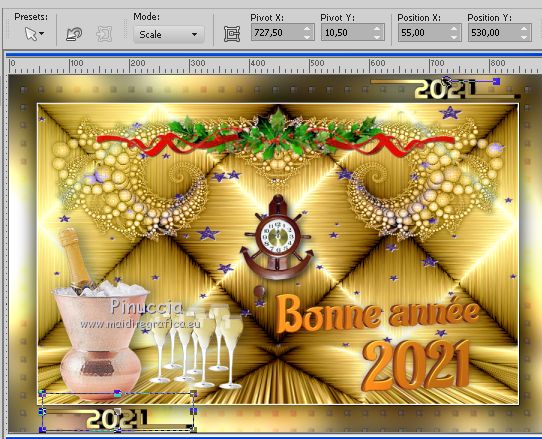
Move  the tube on the border at the upper right. the tube on the border at the upper right.

Effects>3D Effects>Drop Shadow, color black.
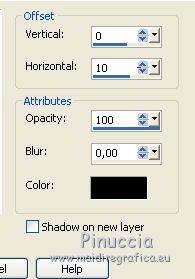
20. Layers>Duplicate.
Move  this text on the border at the bottom left. this text on the border at the bottom left.
21. Sign your work on a new layer.
Image>Add borders, 2 pixels, symmetric, color white.
Save as jpg.
 Your versionsThanks Your versionsThanks

If you have problems or doubts, or you find a not worked link,
or only for tell me that you enjoyed this tutorial, write to me.
15 December 2020
|

