|
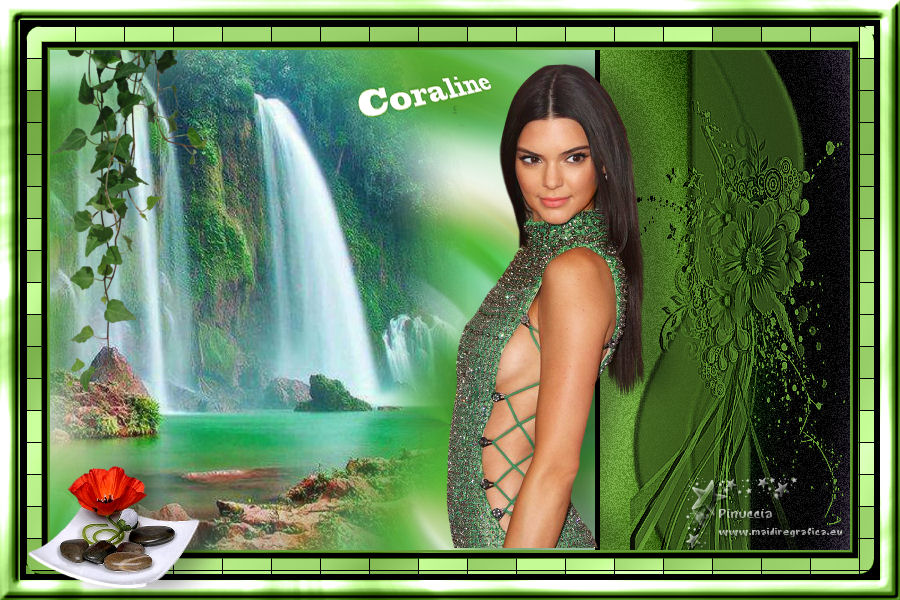
CORALINE


Thanks Evalynda for the invitation to translate your tutorials

This tutorial was written with PSPX8 and translated with PSPX7 and PSPX3, but it can also be made using other versions of PSP.
Since version PSP X4, Image>Mirror was replaced with Image>Flip Horizontal,
and Image>Flip with Image>Flip Vertical, there are some variables.
In versions X5 and X6, the functions have been improved by making available the Objects menu.
In the latest version X7 command Image>Mirror and Image>Flip returned, but with new differences.
See my schedule here
 italian translation here italian translation here
For this tutorial, you will need:
Material here
Thanks for the tubes Colybrix and ValyScrapPassion.
(The links of the tubemakers here).
Plugins:
consult, if necessary, my filter section here
Mehdi - Wavy Lab 1.1 here

You can change Blend Modes according to your colors.
Open the mask in PSP and minimize it with the rest of the material
(don't forget to erase the watermarks )
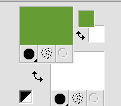
Set your foreground color to #669c35,
and your background color to #ffffff.
1. Open a new transparent image 800 x 500 pixels.
Flood Fill  the transparent image with color white. the transparent image with color white.
Layers>New Raster Layer.
Selections>Select All.
Open the tube of the landscape and go to Edit>Copy.
Go back to your work and go to Edit>Paste into Selection.
Selections>Select None.
2. Effects>Image Effects>Seamless Tiling, default settings

Effects>Distorsion Effects>Polar Coordinates.
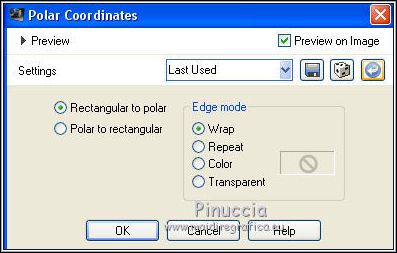
Effects>Image Effects>Seamless Tiling, same settings.
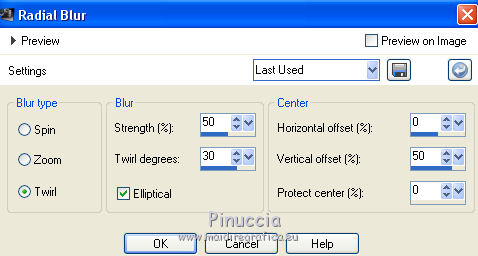
3. Adjust>Blur>Radial Blur.
Layers>Merge>Merge Down.
4. Layers>New Raster Layer.
Flood Fill  with your foreground color. with your foreground color.
Layers>Arrange>Send to Bottom.
Activate the top layer.
Change the Blend Mode of this layer to Hard Light.
Layers>Merge>Merge Down.
5. Layers>New Raster Layer.
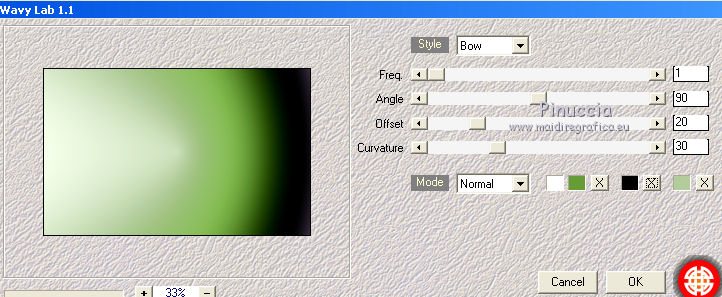
Effects>Plugins>Mehdi - Wavy Lab 1.1.
This filters creates gradients with the colors of your Materials palette.
The first is your background color, the second is your foreground color.
Of the last two colors created by the filtre, change the third color with #000000.
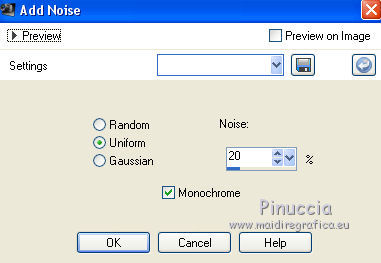
Adjust>Add/Remove Noise>Add Noise
6. Selection Tool 
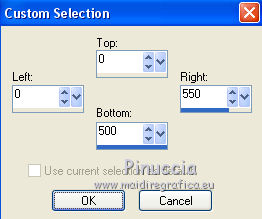
(no matter the type of selection, because with the custom selection your always get a rectangle)
clic on the Custom Selection 
and set the following settings.
Press CANC on the keyboard 
Selections>Select None.
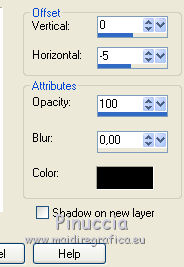
Effects>3D Effects>Drop Shadow, color black.
Layers>New Raster Layer.
Flood Fill  the layer with your foreground color. the layer with your foreground color.
Layers>New Mask layer>From image
Open the menu under the source window and you'll see all the files open.
Select the mask vsp052

Adjust>Sharpness>Sharpen More.
Layers>Merge>Merge Group.
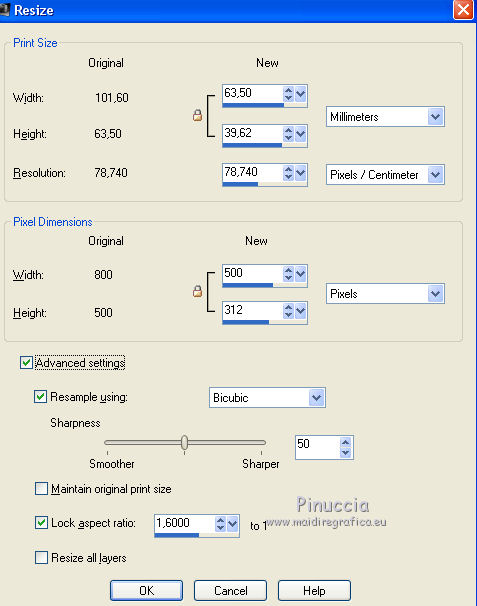
7. Image>Resize, 500 pixels width, resize all layers not checked.
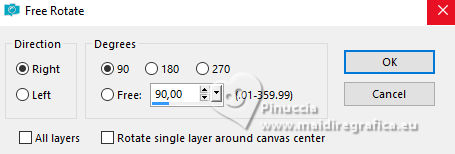
Image>Free Rotate - 90 degrees to right
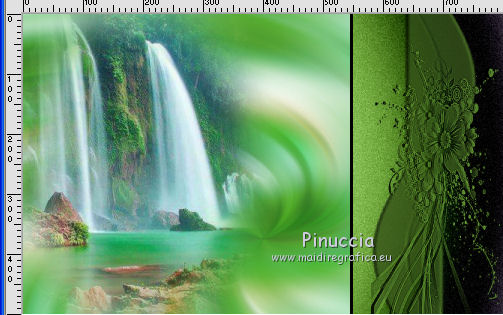
Objects>Align>Top
Objects>Align>Right
If you are working with a previous version that doesn't make the Object menu available,
with your Move Tool  move the tube at the upper right, move the tube at the upper right,
or, with your Pick Tool 
set Position X: 585,00 and Position : 0,00

Effects>3D Effects>Drop Shadow, same settings.

Layers>Duplicate.
Layers>Merge>Merge Down.
8. Edit>Paste as new layer (your landscape is still in memory)
Image>Mirror.
Image>Resize, to 80%, resize all layers not checked.
(adapt to your landscap so that we can see the background a little)
Move  the tube to the left side. the tube to the left side.
Optional: Layers>Duplicate.
Layers>Merge>Merge Down.
9. Open the ivy tube - feuillage1VSP - and go to Edit>Copy.
Go back to your work and go to Edit>Paste as new layer.
Objects>Align>Top
Objects>Align>Left
or, with your Pick Tool 
set Position X and Position Y to 0,00

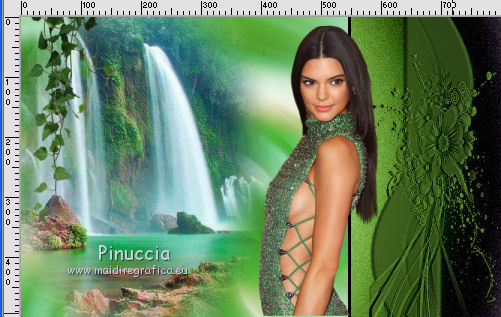
10. Open the woman tube and go to Edit>Copy.
Go back to your work and go to Edit>Paste as new layer.
Image>Resize, to 60%, resize all layers not checked.
Image>Mirror.
Move  / / the tube to the right side. the tube to the right side.
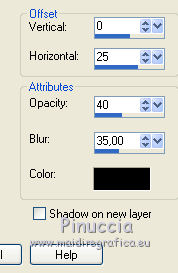
Effects>3D Effects>Drop Shadow, color black.
11. Open the tube titre and go to Edit>Copy.
Go back to your work and go to Edit>Paste as new layer.
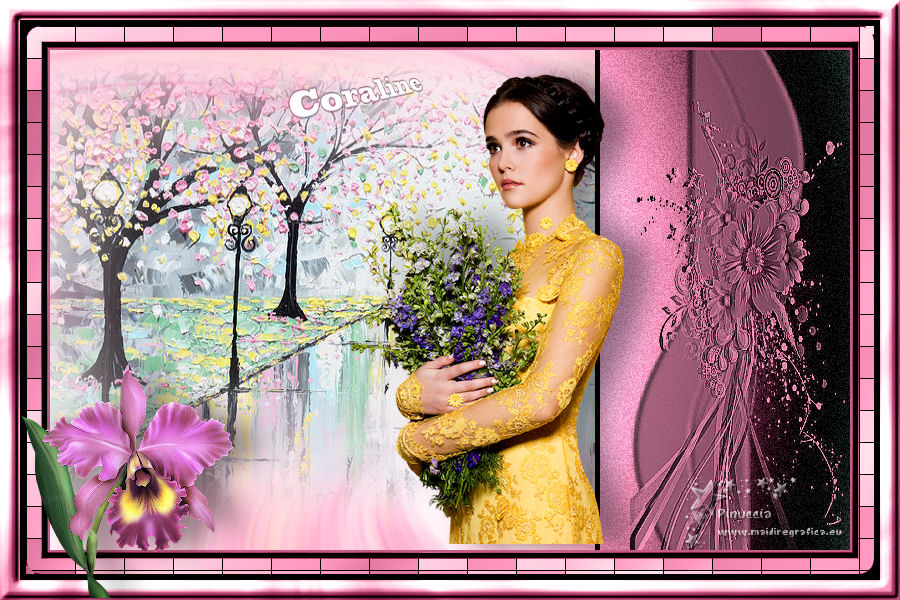
Place  the tube as you want, or see my example. the tube as you want, or see my example.
Layers>Merge>Merge All.
Edit>Copy.
12. Open the tube "cadre" (colorize if necessary).
Layers>New Raster Layer.
Flood Fill  with your foreground color. with your foreground color.
Layers>Arrange>Send to Bottom.
Selections>Modify>Contract - 50 pixels.
Press CANC on the keyboard.
Activate the top layer.
Change the Blend Mode of this layer to Luminance (legacy).
13. Edit>Paste as new layer (your work in memory).
14. Open the tube deco by Colybrix, and go to Edit>Copy.
Go back to your work and go to Edit>Paste as new layer.
Image>Resize, to 50%, resize all layers not checked.
Move  the tube at the bottom left. the tube at the bottom left.
Effects>3D Effects>Drop Shadow, same settings.

Layers>Merge>Merge All.
Sign your work and save as jpg.
Version with tubes by Cal

If you have problems or doubts, or you find a not worked link, or only for tell me that you enjoyed this tutorial, write to me.
13 March 2020
|

