|
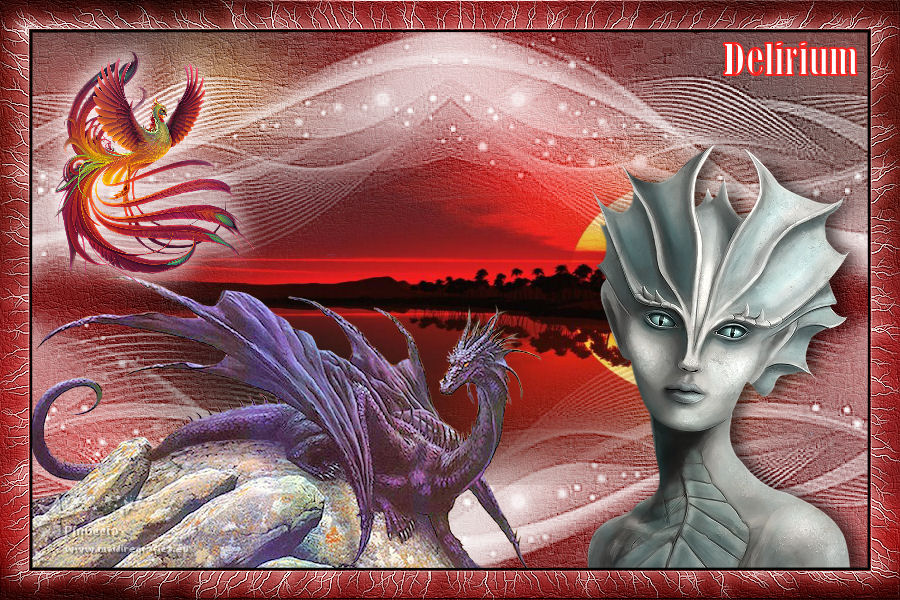
DELIRIUM


Thanks Evalynda for the invitation to translate your tutorials

This tutorial was written with PSPX8 and translated with PSPX7 and PSPX3, but it can also be made using other versions of PSP.
Since version PSP X4, Image>Mirror was replaced with Image>Flip Horizontal,
and Image>Flip with Image>Flip Vertical, there are some variables.
In versions X5 and X6, the functions have been improved by making available the Objects menu.
In the latest version X7 command Image>Mirror and Image>Flip returned, but with new differences.
See my schedule here
 italian translation here italian translation here
 Your versions Your versions
For this tutorial, you will need:
Material here
Thanks for the tubes and the mask Colybrix and ValyScrapPassion.
(The links of the tubemakers here).
Plugins:
consult, if necessary, my filter section here
Alien Skin Xenofex 2 - Electrify here

You can change Blend Modes according to your colors.
Open the mask in PSP and minimize it with the rest of the material
(don't forget to erase the watermarks )
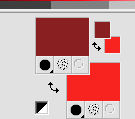
Set your foreground color to #891f21,
and your background color to #f7231f.
1. Open a new transparent image 900 x 600 pixels.
Flood Fill  with your foreground color #89af21. with your foreground color #89af21.
Selections>Select All.
Open the tube of the landscape mistedPaysageVSP35, and go to Edit>Copy.
Go back to your work and go to Edit>Paste into Selection.
Selections>Select None.
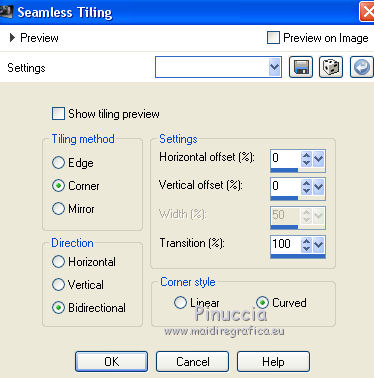
2. Effects>Image Effects>Seamless Tiling.
Adjust>Blur>Gaussian Blur - radius 30.

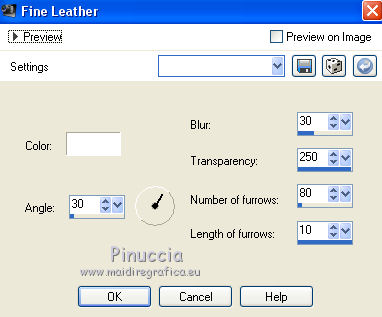
Effects>Texture Effects>Fine Leather.
3. Selections>Select All.
Selections>Modify>Contract - 30 pixels.
Selections>Promote Selection to layer.
Keep selected.
4. Set your foreground color to white.
Layers>New Raster Layer.
Flood Fill  the layer with color white. the layer with color white.
Layers>New Mask layer>From image
Open the menu under the source window and you'll see all the files open.
Select the mask Vsp048.
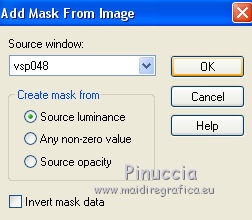
Effects>Edge Effects>Enhance More.
Layers>Merge>Merge Group.
Selections>Select None.
Layers>Duplicate - 2 times.
Layers>Merge>Merge Down - 2 times.
5. Close the bottom layer, Raster 1 and stay on the mask's layer.
Selection Tool 
(no matter the type of selection, because with the custom selection your always get a rectangle)
clic on the Custom Selection 
and set the following settings.
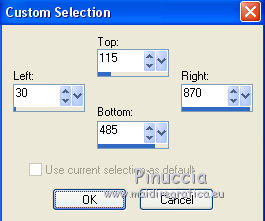
Layers>New Raster Layer.
Edit>Paste into Selection (the landscape is still in memory).
Selections>Select None.
6. Open the dragon tube rocher-du-dragon and go to Edit>Copy.
Go back to your work and go to Edit>Paste as new layer.
Image>Resize, to 70%, resize all layers not checked.
K key on the keyboard to activate your Pick Tool 
and set Position X: 30,00 and Position Y: 254,00

Adjust>One Step Photo Fix
(or, if you prefer, Adjust>Brightness and Contrast>Brightness/Contrast,
and add a bit of brightness).
7. Open the bird tube phoenix-Coly, and go to Edit>Copy.
Go back to your work and go to Edit>Paste as new layer.
Image>Resize, to 30%, resize all layers not checked.
Adjust>Sharpness>Sharpen More.
Effects>3D Effects>Drop Shadow, color white (or at your choice).
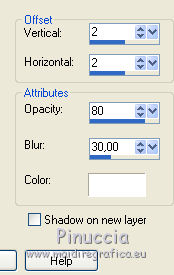
Repeat Drop Shadow, vertical and horizontal -2.
Pick Tool 
and set Position X: 30,00 and Position Y: 30,00

8. Open the person tube EtrangeVSP-1 and go to Edit>Copy.
Go back to your work and go to Edit>Paste as new layer.
Image>Resize, to 50%, resize all layers not checked.
Image>Mirror.
Pick Tool 
and set Position X: 585,00 and Position Y: 143,00

Effects>3D Effects>Drop Shadow, color black.
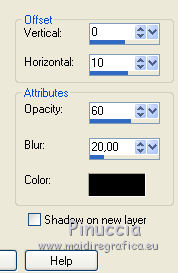
Adjust>Sharpness>Sharpen.
9. This step is optional.
It depends on the tubes and their position.
In this case, it is necessary to erase the shadow of the tube.
Activate the second layers from the bottom (promoted selection)
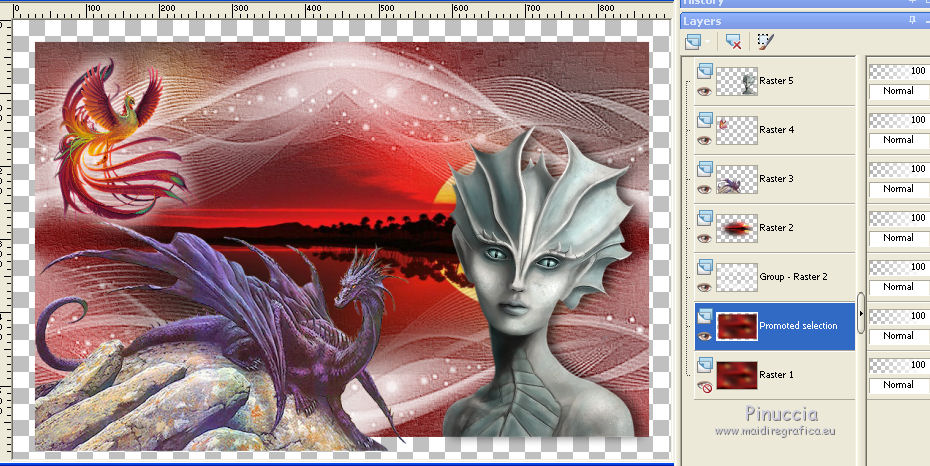
Selections>Select All.
Selections>Float.
Selections>Defloat.
Selections>Invert.
Activate the layer of the dragon
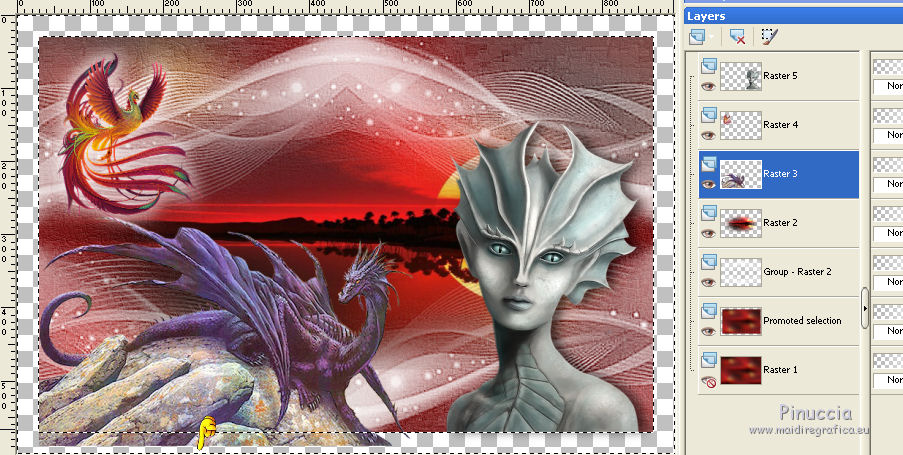
Press CANC on the keyboard  , ,
to erase the surplus part of the tube.
Activate the top layer of the figure
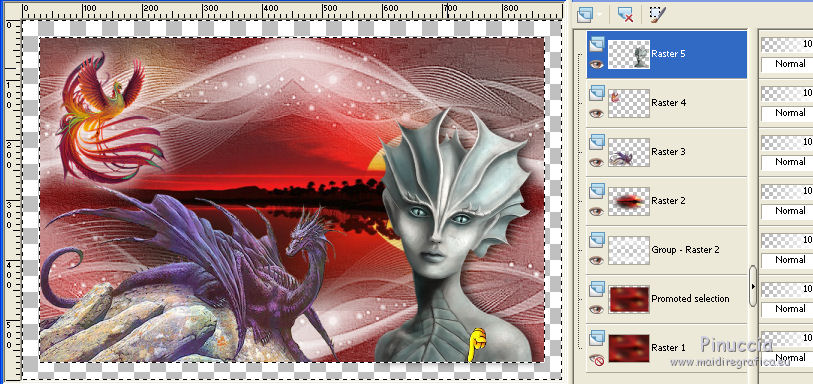
Press CANC on the keyboard to erase the surplus shadow.
Selections>Select None.
10. Layers>Merge>Merge visible.
Activate your Selection Tool 
and click on Layer Opaque
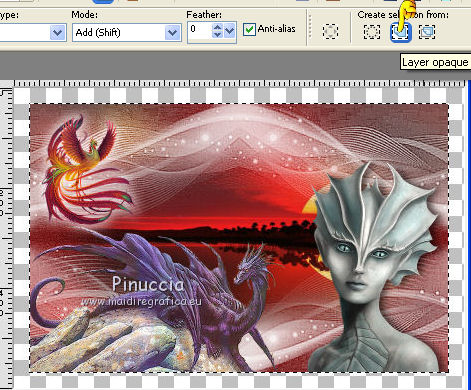
Selections>Modify>Select Selection Borders.
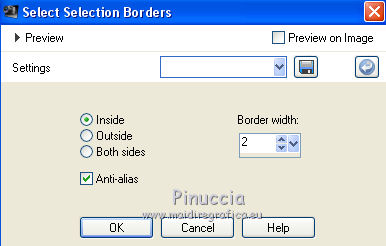
Set your foreground color to black.
Flood Fill  the selection with color black. the selection with color black.
11. Open the bottom layer and stay on the top layer.
Activate again your Selection Tool 
and click on Layer opaque
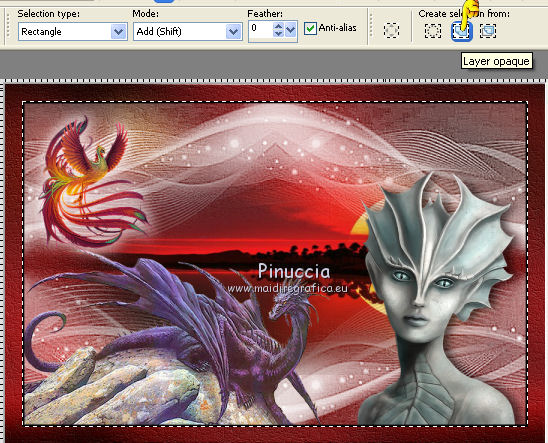
Effscts>Plugins>Alien Skin Xenofex 2 - Electrify
Inner color: white
outer color: click on the palette of background color, to have your background color #f7231f

Click on Random Seed, if you want to change lightly the result.
Selections>Invert.
Effects>Edge Effects>Enhance.
Selections>Select None.
12. Open the tube titre and go to Edit>Copy.
Go back to your work and go to Edit>Paste as new layer.
Move  the text at the upper right. the text at the upper right.
Sign your work on a new layer.
Layers>Merge>Merge All and save as jpg.
Version with tubes by Krys
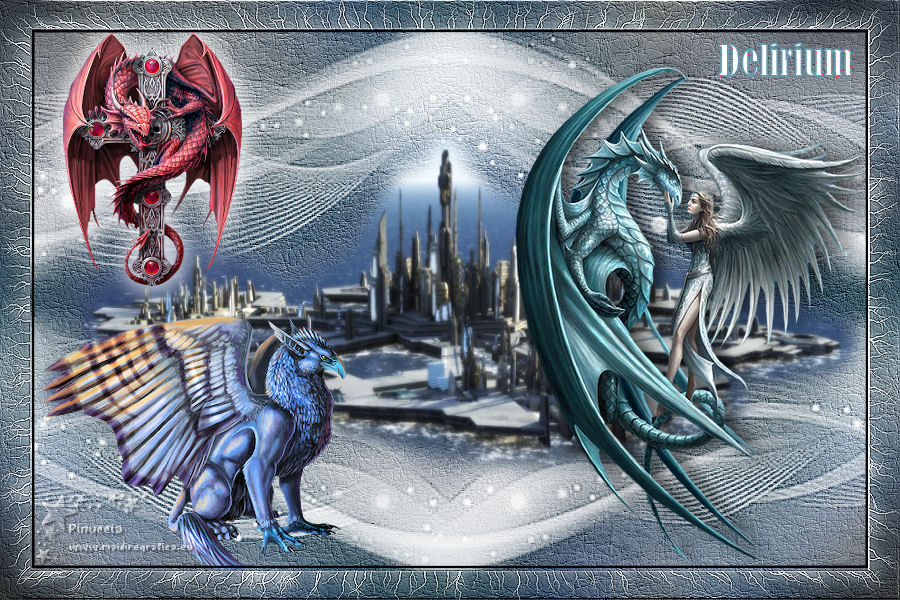
 Your versionsThanks Your versionsThanks

If you have problems or doubts, or you find a not worked link, or only for tell me that you enjoyed this tutorial, write to me.
9 April 2020
|

