|
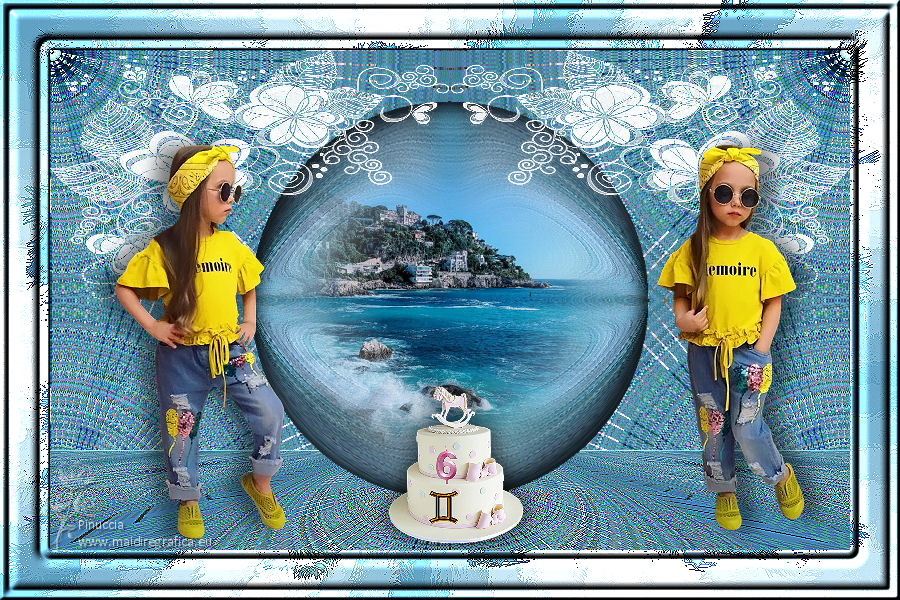
JUMELLES-GÉMEAUX
 GEMINI GEMINI

Thanks Evalynda for the invitation to translate your tutorials

This tutorial was written with PSPX8 and translated with PSPX7 and PSPX3, but it can also be made using other versions of PSP.
Since version PSP X4, Image>Mirror was replaced with Image>Flip Horizontal,
and Image>Flip with Image>Flip Vertical, there are some variables.
In versions X5 and X6, the functions have been improved by making available the Objects menu.
In the latest version X7 command Image>Mirror and Image>Flip returned, but with new differences.
See my schedule here
 italian translation here italian translation here
For this tutorial, you will need:
Material here
Thanks for the tubes and the mask Colybrix and Valy.
(The links of material creators here).
Plugins:
consult, if necessary, my filter section here
Filters Unlimited 2.0 here
&<Bkg Kaleidoscope> - Kaleidoscope Butterfly (to import in Unlimited) here
&<Bkg Designer sf10II> - Chaos Mirror (to import in Unlimited) here
Flaming Pear - Flexify 2 here
[AFS IMPORT] - MIRROFF here
Mura's Meister - Perspective Tiling hereFilters AFS IMPORT can be used alone or imported into Filters Unlimited.
(How do, you see here)
If a plugin supplied appears with this icon  it must necessarily be imported into Unlimited it must necessarily be imported into Unlimited

You can change Blend Modes according to your colors.
In the newest versions of PSP, you don't find the foreground/background gradient (Corel_06_029).
You can use the gradients of the older versions.
The Gradient of CorelX here
(Don't forget to erase the watermarks of the tubes and don't save the modifications when you'll close them)
Open the mask in PSP and minimize it with the rest of the material.
1. Open a new transparent image 800 x 500 pixels.
Selections>Select All.
Open the misted of the landscape and go to Edit>Copy.
Go back to your work and go to Edit>Paste into Selection.
Selections>Select None.
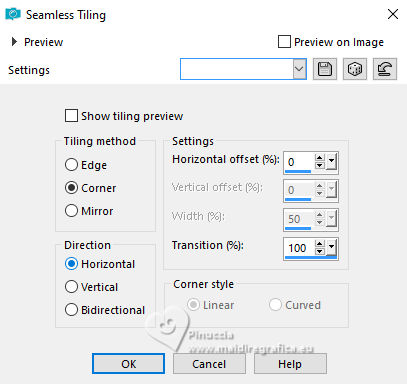
2. Effects>Image Effects>Seamless Tiling, default settings.

Effects>Image Effects>Seamless Tiling.
Layers>Merge>Merge All.
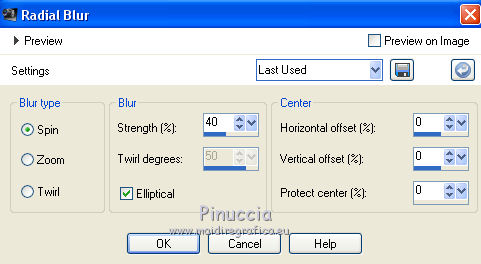
3. Adjust>Blur>Radial Blur.
Effects>Edge Effects>Enhance More.
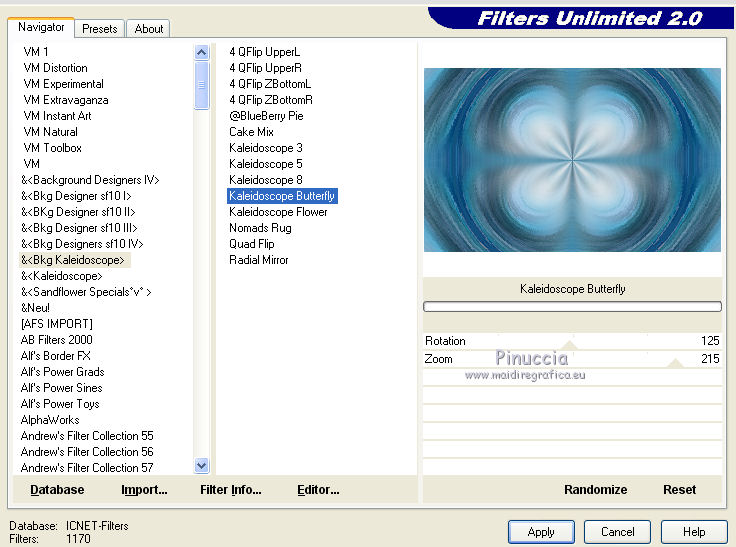
4. Effects>Plugins>Filters Unlimited 2.0 - &<Bkg Kaleidoscope> - Kaleidoscope Butterfly.
5. Effects>Plugins>Flaming Pear - Flexify 2.

Effects>Edge Effects>Enhance More.
6. Layers>Promote Background Layer.
Layers>Duplicate.
Effects>Geometric Effects>Circle.

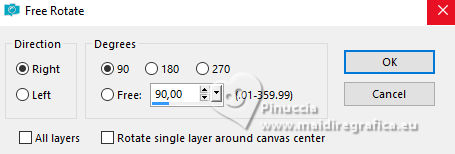
Image>Free Rotate - 90 degrees to right.
7. Activate your Magic Wand Tool  , tolerance and feather 0, , tolerance and feather 0,
and click in the transparent part to select it.
Selections>Invert.
Edit>Paste into Selection (the misted of the landscape is still in memory).
Layers>New Raster Layer.
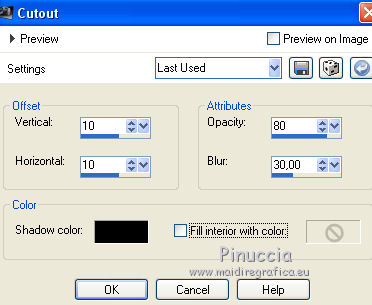
Effects>3D Effects>Cutout.
Layers>New Raster Layer.
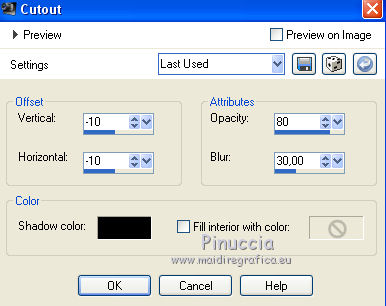
Repeat Effects>3D Effects>Cutout, vertical and horizontal - 10.
Selections>Select None.
8. Layers>Merge>Merge Down - 2 times.
Image>Resize, to 80%, resize all layers not checked.
9. Activate the bottom layer, Raster 1.
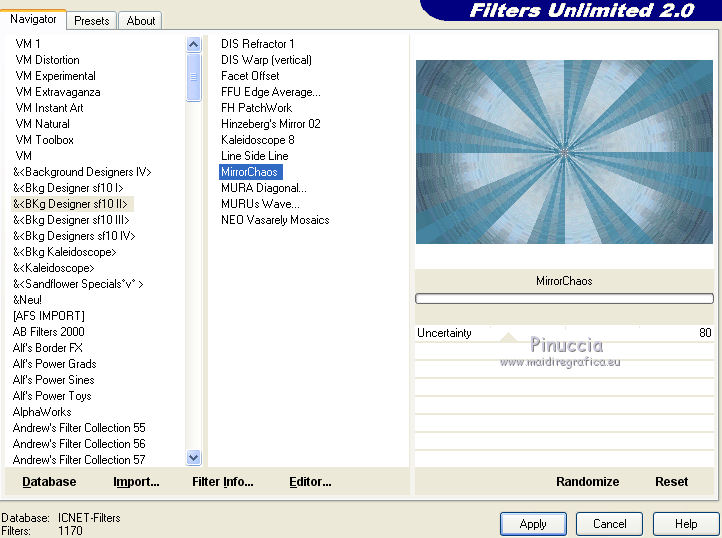
Effects>Plugins>Filters Unlimited 2.0 - &<Bkg Designer sf10II> - Mirror Chaos.
Effects>Edge Effects>Enhance.
Effects>Plugins>Filters Unlimited 2.0 - &<Bkg Designer sf10II> - Mirror Chaos, default settings.
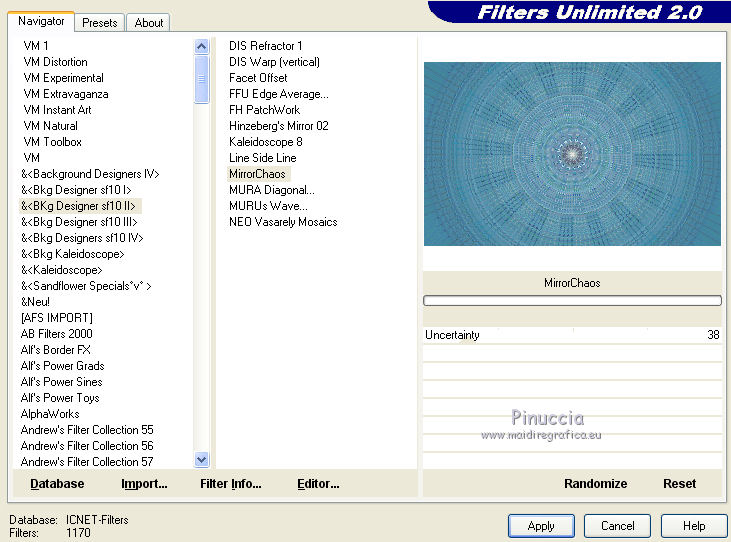
Layers>Duplicate.
10. Effects>Plugins>Filters Unlimited 2.0 - [AFS IMPORT] - MIRROFF, default settings.
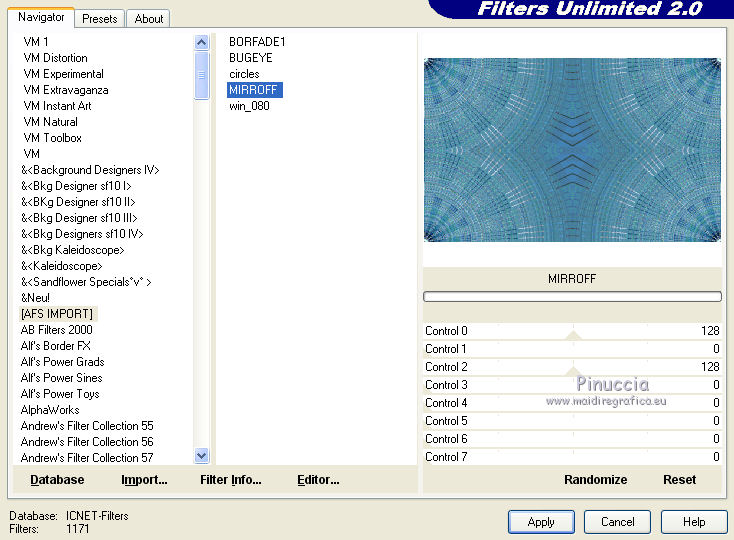
11. Activate again the layer Raster 1.
Effects>Plugins>Mura's Meister - Perspective Tiling.
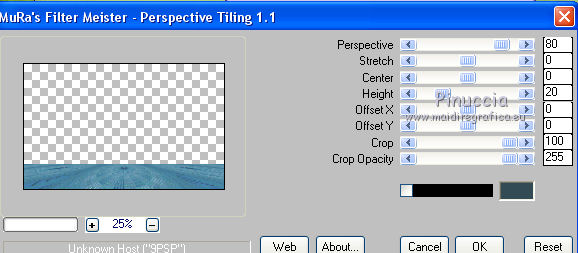
Layers>Arrange>Move Up.
Effects>Edge Effects>Enhance.
12. Activate your top layer.
Set your foreground color to white.
Layers>New Raster Layer.
Flood Fill  the layer with the color white. the layer with the color white.
Layers>New Mask layer>From image
Open the menu under the source window and you'll see all the files open.
Select the mask VSP 244
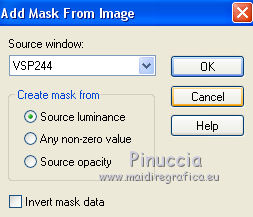
Effects>Edge Effects>Enhance More.
Layers>Merge>Merge Group.
Image>Resize, to 50%, resize all layers not checked.
13. Layers>Duplicate.
Layers>Merge>Merge Down.
Objets>Align>Left
Objects>Align>Top
or activate your Pick Tool  (tasto K sulla tastiera) (tasto K sulla tastiera)
e imposta Posizione X e Posizione Y a 00,00.

14. Layers>Duplicate.
Image>Mirror.
15. Open the first girl's tube and go to Edit>Copy.
Go back to your work and go to Edit>Paste as new layer.
Image>Resize, to 50%, resize all layers not checked.
Adjust>Sharpness>Sharpen.
Move  the tube to the left side. the tube to the left side.
Effects>3D Effects>Drop Shadow, color black.
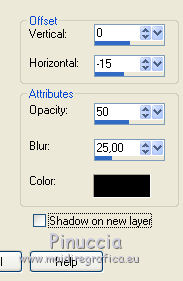
16. Open the second girl's tube and go to Edit>Copy.
Go back to your work and go to Edit>Paste as new layer.
Image>Resize, to 50%, resize all layers not checked.
Adjust>Sharpness>Sharpen.
Move  the tube to the right side. the tube to the right side.
Effects>3D Effects>Drop Shadow, color black.
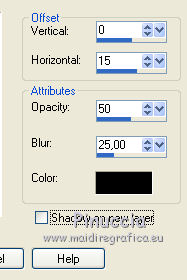
17. Copy/Paste as new layer the tube of the cake.
Add the candle and the Gemini sign, if you like.
Resize when needed.
Add a light Drop Shadow on the candle.
Merge the three layers into one level.
Image>Resize, to 40%, resize all layers not checked.
Adjust>Sharpness>Sharpen.
Place  the tube down in the center, see my example. the tube down in the center, see my example.
Effects>3D Effects>Drop Shadow, color black.
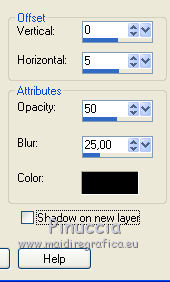
Repeat Drop Shadow, horizontal -5.
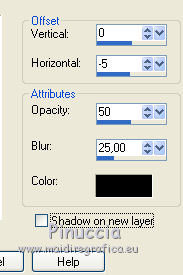
18. Set your foreground color with a dark color of your work, for me #4a83a0
and your background color to white.
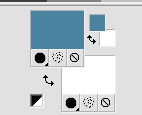
Set your foreground color to a Foreground/Background Gradient, style Radial.

19. Selections>Select All.
Image>Add borders, 50 pixels, symmetric, color white.
Selections>Invert.
Flood Fill  the selection with your gradient. the selection with your gradient.
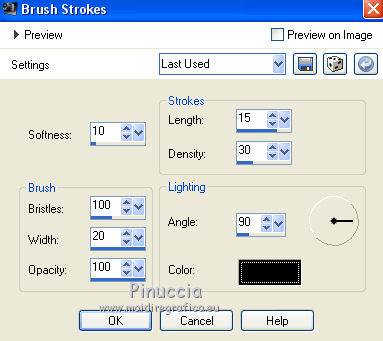
20. Effects>Art Media Effects>Brush Strokes.
Effects>Edge Effects>Enhance.
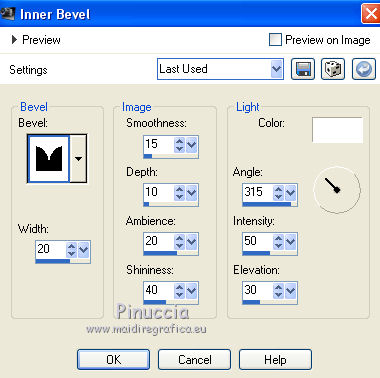
21. Effects>3D Effects>Inner Bevel.
Selections>Select None.
Sign your work on a new layer.
Layers>Merge>Merge All and save as jpg.
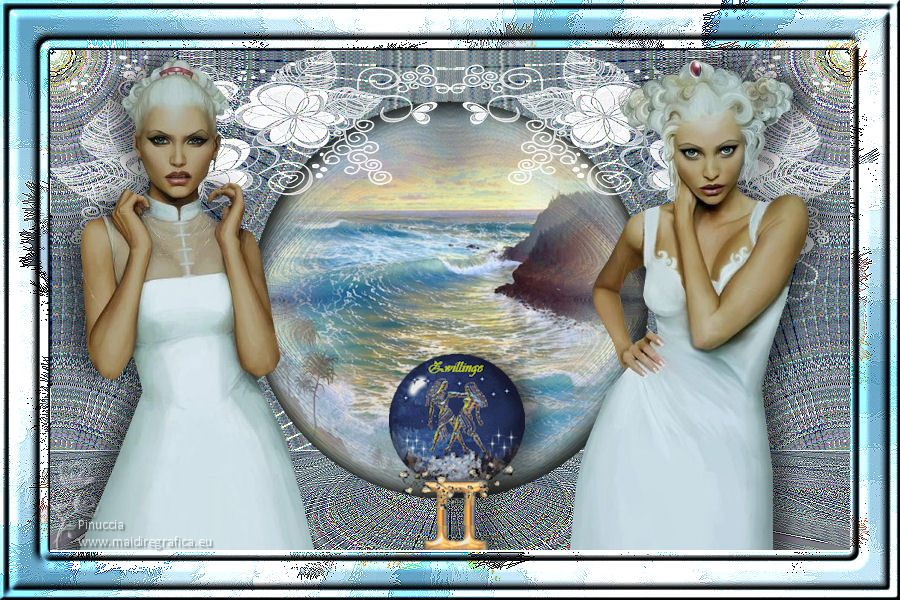
Version with tube de GinaTubes; the landscape is mine.

If you have problems or doubts, or you find a not worked link,
or only for tell me that you enjoyed this tutorial, write to me.
12 June 2021
|
 GEMINI

 GEMINI