|
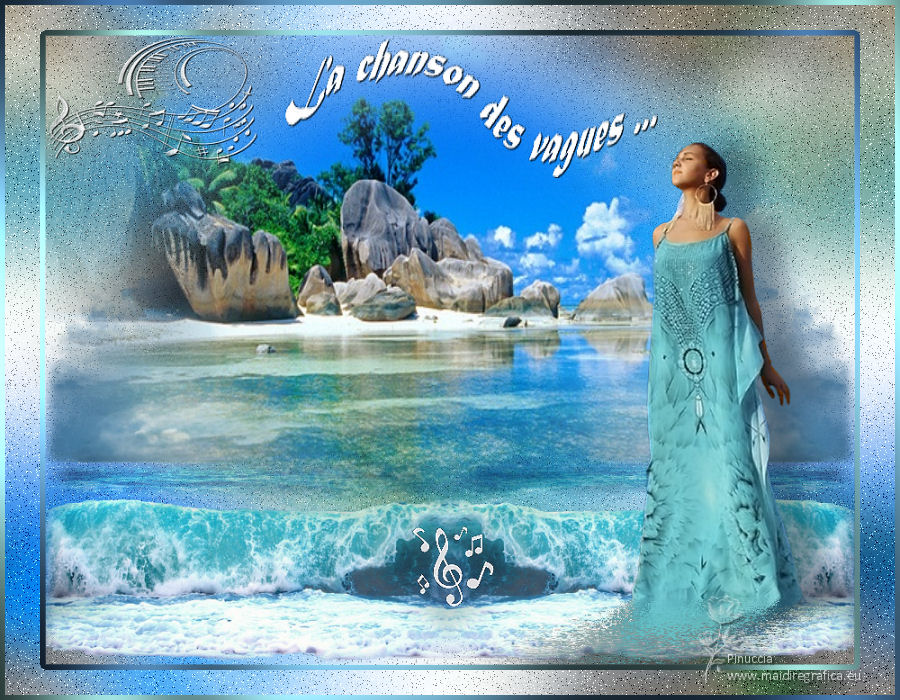
LA CHANSON DES VAGUES
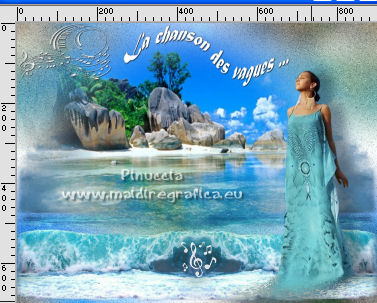
 THE SONG OF THE WAVES THE SONG OF THE WAVES

Thanks Evalynda for the invitation to translate your tutorials

This tutorial was translated with PSPX and PSPX3, but it can also be made using other versions of PSP.
Since version PSP X4, Image>Mirror was replaced with Image>Flip Horizontal,
and Image>Flip with Image>Flip Vertical, there are some variables.
In versions X5 and X6, the functions have been improved by making available the Objects menu.
In the latest version X7 command Image>Mirror and Image>Flip returned, but with new differences.
See my schedule here
 italian translation here italian translation here
 your versions here your versions here
For this tutorial, you will need:
Material here
Thanks for the tubes and the mask Colybrix, Nikita and ValyScrapPassion .
The rest of the material is by Evalynda
(The links of material creators here).
Plugins
consult, if necessary, my filter section here
Filters Unlimited 2.0 here
Flaming Pear - Flood here
Graphics Plus - Cross Shadow here
Filters Graphics Plus can be used alone or imported into Filters Unlimited.
(How do, you see here)
If a plugin supplied appears with this icon  it must necessarily be imported into Unlimited it must necessarily be imported into Unlimited

You can change Blend Modes according to your colors.
In the newest versions of PSP, you don't find the foreground/background gradient (Corel_06_029).
You can use the gradients of the older versions.
The Gradient of CorelX here

(Don't forget to erase the watermarks of the tubes and don't save the modifications when you'll close them)
Open the mask in PSP and minimize it with the rest of the material
1. Open a new transparent image 900 x 700 pixels.
Selections>Select All.
Open the landscape misted and go to Edit>Copy.
Go back to your work and go to Edit>Paste into Selection.
Selections>Select None.
Layers>Duplicate.
Close this layer and activate the layer below, Raster 1.
2. Set your foreground color to white.
Layers>New Raster Layer.
Flood Fill  the layer with color white. the layer with color white.
Layers>Arrange>Move Down.
3. Activate the layer Raster 1.
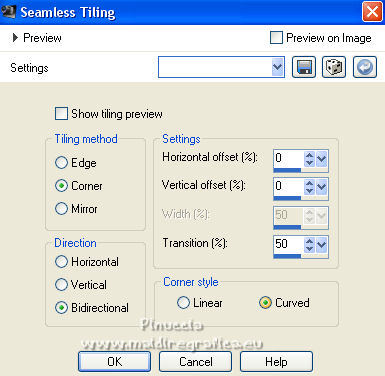
Effects>Image Effects>Seamless Tiling.
4. Layers>Merge>Merge Down.
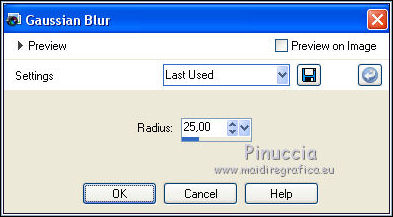
Adjust>Blur>Gaussian Blur, radius 25.
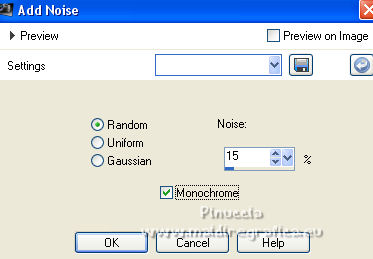
Adjust>Add/Remove Noise>Add Noise.
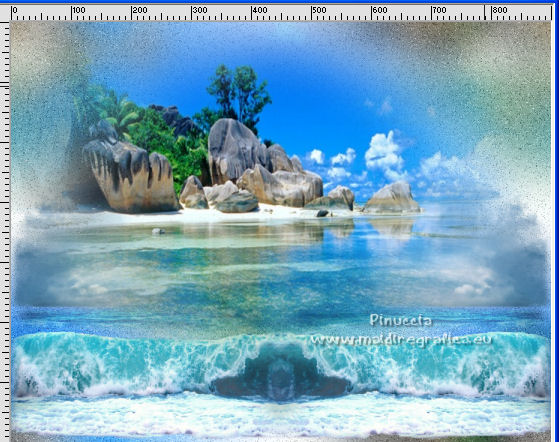
5. Open the wave tube and go to Edit>Copy.
Go back to your work and go to Edit>Paste as new layer.
Image>Resize, to 60%, resize all layers not checked.
K key to activate your Pick Tool 
and set Position X: -25,00 and Position Y: 210,00

6. Layers>Duplicate.
Image>Mirror.
Layers>Merge>Merge Down.
7. Open and activate the layer of the landscape.
Move  the tube a little higher, the tube a little higher,
so that you can see the wave clearly.
8. Open the woman tube and go to Edit>Copy.
Go back to your work and go to Edit>Paste as new layer.
Image>Resize, if necessary.
For the tube supplied: Image>Resize, to 70%, resize all layers not checked.
Adjust>Sharpness>Sharpen.
Image>Mirror.
Move  the tube to the right side. the tube to the right side.
Or, with your Pick Tool 
set Position X: 645,00 and Position Y: 118,00

9. Effects>3D Effects>Drop Shadow, color black (or settings at your choice).

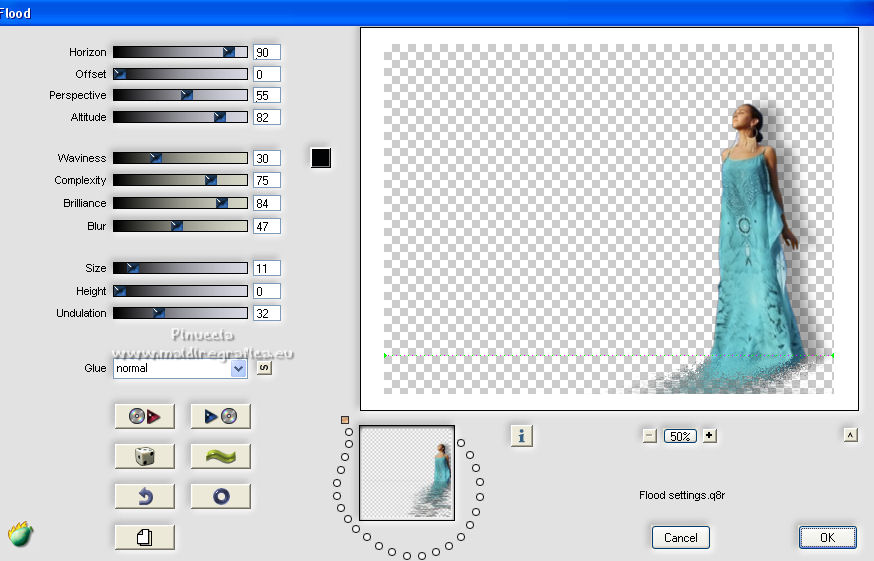
10. Effects>Plugins>Flaming Pear - Flood.
Adapt the "Horizon" setting according to your tube.
11. Layers>New Raster Layer.
Flood Fill  the layer with color white. the layer with color white.
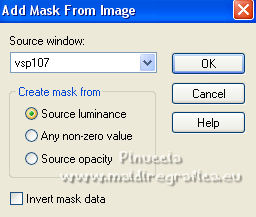
Layers>New Mask layer>From image
Open the menu under the source window and you'll see all the files open.
Select the mask vsp107
Layers>Merge>Merge Groupe.
12. Image>Resize, to 30%, resize all layers not checked.
Adjust>Sharpness>Sharpen.
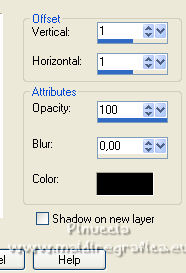
Effects>3D Effects>Drop Shadow, color black.
Objects>Align>Top
Objects>Align>Left
or, with your Pick Tool 
set Position X and Y to 0,00.

13. Open the tube of the title and go to Edit>Copy.
Go back to your work and go to Edit>Paste as new layer.
Move  the text at the top, or where you prefer. the text at the top, or where you prefer.
14. Optional: Open the music notes tube and go to Edit>Copy.
Go back to your work and go to Edit>Paste as new layer.
Image>Resize, to your liking, resize all layers not checked.
Effects>Edge Effects>Enhance.
Move  the tube to the crest of the wave. the tube to the crest of the wave.
15. Activate the bottom layer.
Layers>Duplicate.
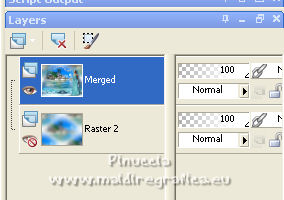
Close the bottom layer, Raster 2, and stay on the layer of the copy.
Layers>Merge>Merge visible.
16. Now we have two layers
and the Merged layer is active.
Adjust>Sharpness>Sharpen.
Image>Resize, to 90%, resize all layers not checked.
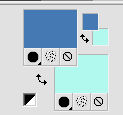
17. Set your foreground color to #4579b3,
and your background color to #b1f9ee.
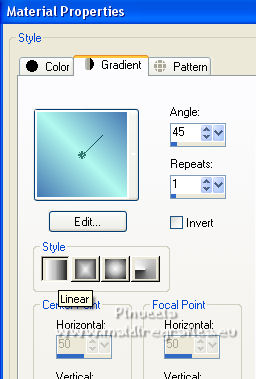
Set your foreground color to a Foreground/Background Gradient, style Linear.
Activate your Magic Wand Tool 

and click in the transparent part of the layer to select it.
Selections>Invert.
Selezione>Modifiy>Select Selection Borders.
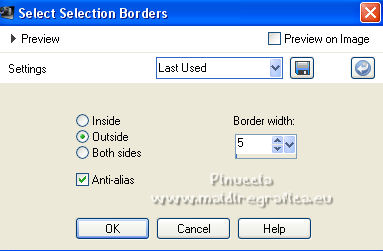
Flood Fill  the selection with your Gradient. the selection with your Gradient.
Effects>Plugins>Graphics Plus - Cross Shadow, default settings.
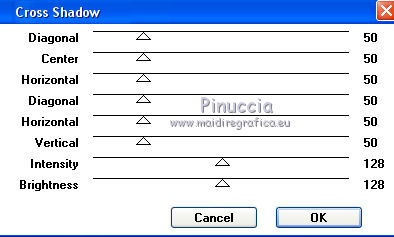
Selections>Select None.
18. Change the settings of the gradient, and select Invert.
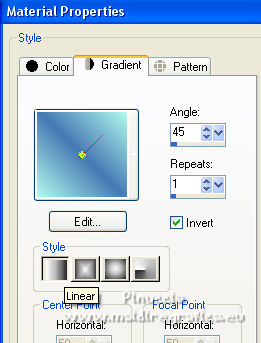
Open and activate the bottom layer.
Selections>Select All.
Selections>Modify>Contract - 5 pixels.
Selections>Invert.
Flood Fill  the selection with your Gradient. the selection with your Gradient.
Effects>Plugins>Graphics Plus - Cross Shadow, same settings.
Selections>Select None.
19. Sign your work on a new layer.
Translator watermark is not required,
but it's appreciated if you add the author's watermark.
Layers>Merge>Merge All and save as jpg.
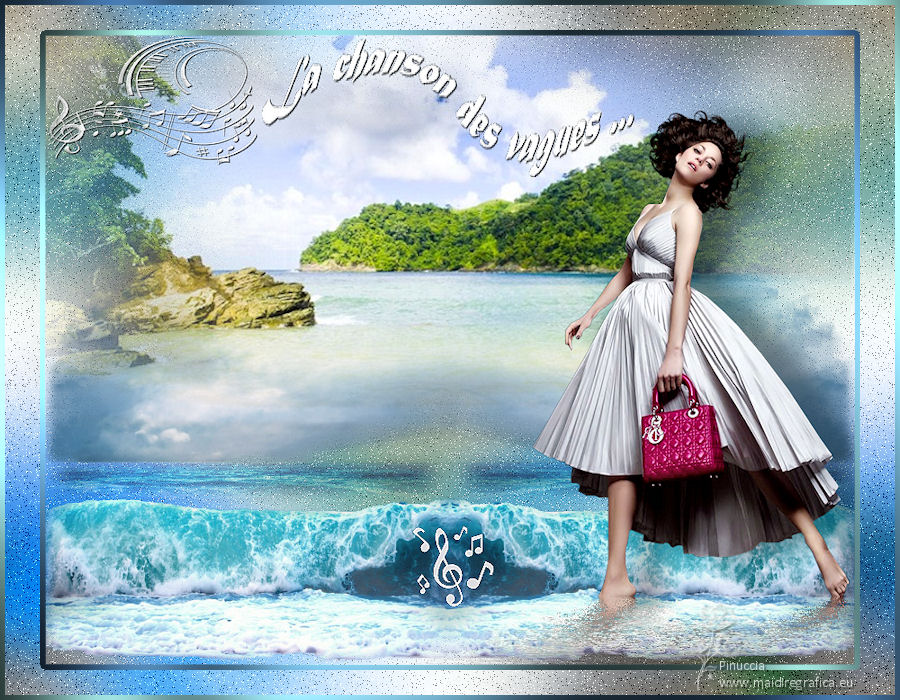
For the tube of this version thanks Gabry; the landscape is mine

If you have problems or doubts, or you find a not worked link,
or only for tell me that you enjoyed this tutorial, write to me.
6 August 2022

|
 THE SONG OF THE WAVES

 THE SONG OF THE WAVES