|
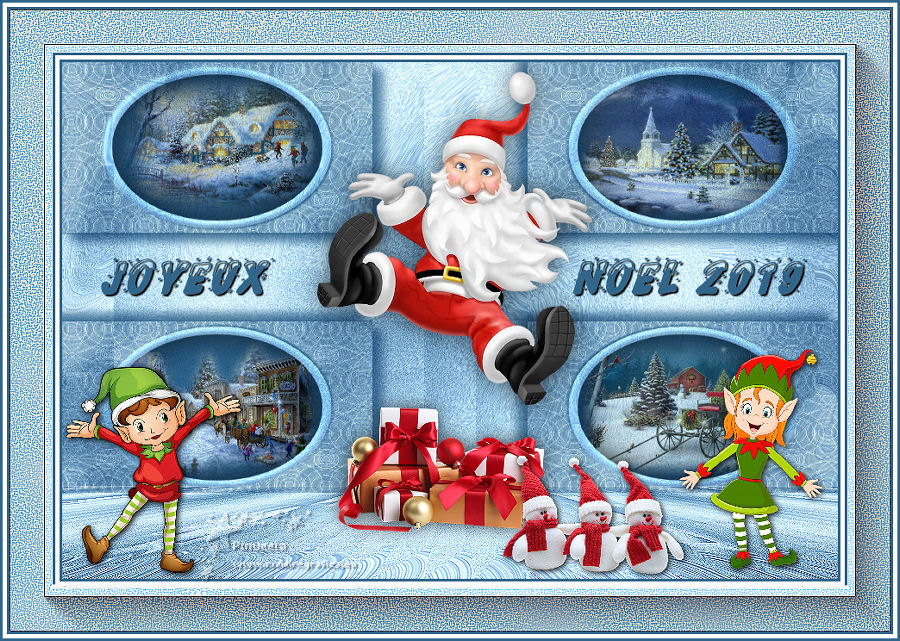
JOYEUX NOËL 2019


Thanks Evalynda for the invitation to translate your tutorials

This tutorial was written with PSPX8 and translated with PSPX7 and PSPX3, but it can also be made using other versions of PSP.
Since version PSP X4, Image>Mirror was replaced with Image>Flip Horizontal,
and Image>Flip with Image>Flip Vertical, there are some variables.
In versions X5 and X6, the functions have been improved by making available the Objects menu.
In the latest version X7 command Image>Mirror and Image>Flip returned, but with new differences.
See my schedule here
italian translation here
your versions here
For this tutorial, you will need:
Misted at your choice.
The rest of the material here
Thanks for the tubes Colybrix and ValyScrapPassion.
My landscapes are by Cal, Farouche, Suzan and Kathy.
(The links of the tubemakers here).
Plugins:
consult, if necessary, my filter section here
Mura's Meister - Perspective Tiling here
DSB Flux - Bright Noise, Radical Warp, Mosaic Ripple here
Alien Skin Eye Candy 5 Nature - Snow Drift here
AAA Frames - Foto Frame here

You can change Blend Modes according to your colors.
In the newest versions of PSP, you don't find the foreground/background gradient (Corel_06_029).
You can use the gradients of the older versions.
The Gradient of CorelX here
Open the mask in PSP and minimize it with the rest of the material
(don't forget to erase the watermarks)
Set your foreground color to light color #bbe0ff,
and your background color to dark color #32658a.

Set your foreground color to a Foreground/Background Gradient, style Sunburst.
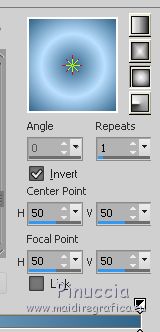
1. Open Calque Alpha_Joyeux Noë 2019.
Windows>Duplicate, or on your keyboard shift+D, to make a copy.
Close the original.
The copy, that will be the basis of your work, is not empty,
but contains the selections saved on the alpha channel.
Flood Fill  the transparent image with your gradient. the transparent image with your gradient.
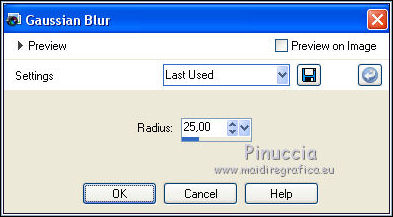
Adjust>Blur>Gaussian Blur - radius 25.
2. Effects>Plugins>DSB Flux - Bright Noise.

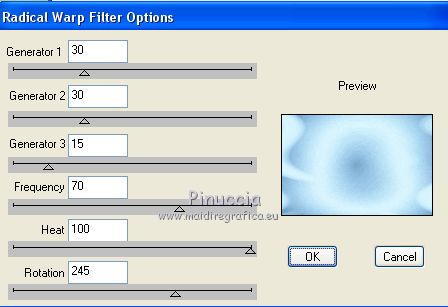
Effects>Plugins>DSB Flux - Radical Warp
Adjust>Sharpness>Sharpen More.
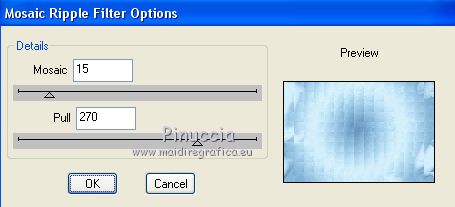
3. Effects>Plugins>DSB Flux - Mosaic Ripple.
4. Layers>New Raster Layer.
Flood Fill  the layer with your dark background color. the layer with your dark background color.
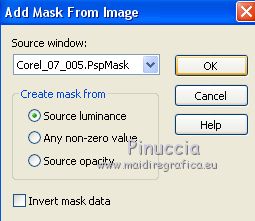
Layers>New Mask layer>From image
Open the menu under the source window and you'll see all the files open.
Select the mask Corel_07_005.
Effects>Edge Effects>Enhance More.
Layers>Merge>Merge Group.
Change the Blend Mode of this layer to Multiply.
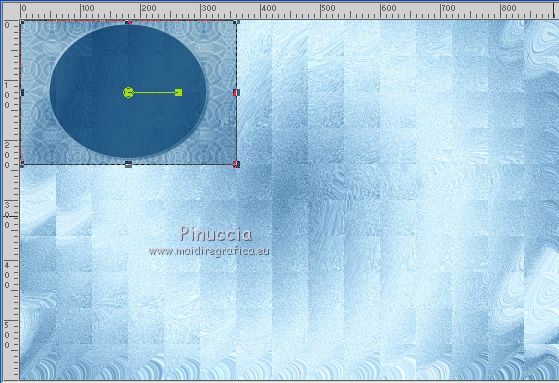
5. Image>Resize, al 40%, resize all layers not checked.
Objects>Align>Top
Objects>Align>Left.
Or move  the image to the upper left corner the image to the upper left corner
(with your Pick Tool  Position X and Y: 0,00) Position X and Y: 0,00)

Layers>Duplicate.
Image>Mirror.
Layers>Merge>Merge Down.
Layers>Duplicate.
Image>Flip.
Layers>Merge>Merge Down.
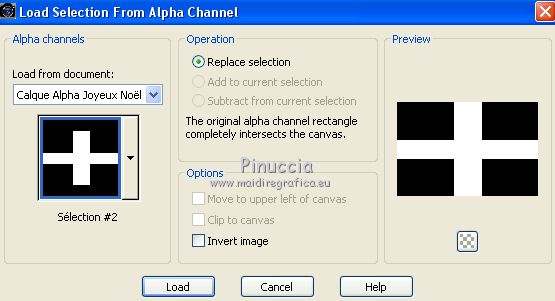
6. Selections>Load/Save Selection>Load Selection from Alpha Channel.
Open the selections menu and load the selection #2.
Selections>Invert.
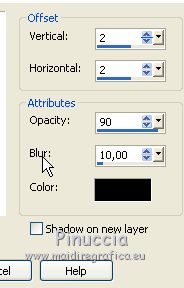
Effects>3D Effects>Drop Shadow, dark color.
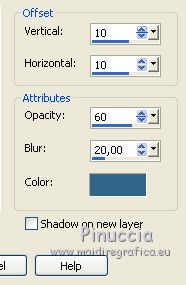
Repeat Drop Shadow, vertical and horizontal -10.
Selections>Select None.
7. Selections>Load/Save Selection>Load Selection from Alpha Channel.
The selection #1 is immediately available.
You just have to click Load.
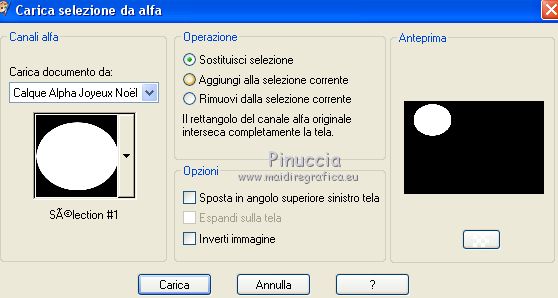
Selections>Promote Selection to layers.
Effects>3D Effects>Cutout.
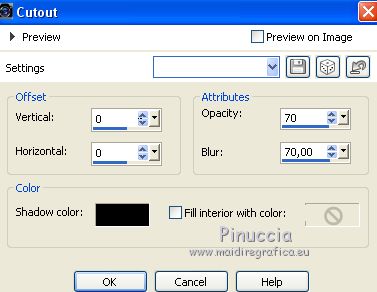
Keep selected.
Layers>Duplicate.
Layers>New Raster Layer.
Open the landscape misted and go to Edit>Copy.
Go back to your work and go to Edit>Paste into Selection.
Selections>Select None.
Layers>Arrange>Move Down.
Activate the top layer.
Layers>Merge>Merge Down.
8. Activate the layer Promoted Selection.
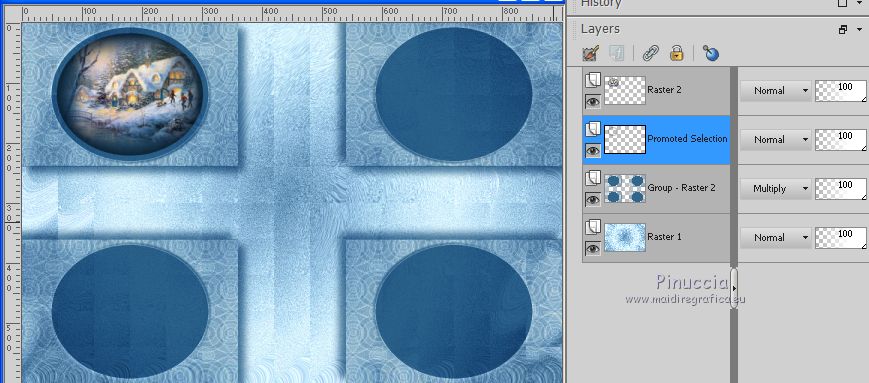
Layers>Duplicate.
Layers>Arrange>Bring to Top.
Image>Mirror.
Activate your Magic Wand Tool  , tolerance 20/30 , tolerance 20/30

Click 2-3 times on the oval to select it.
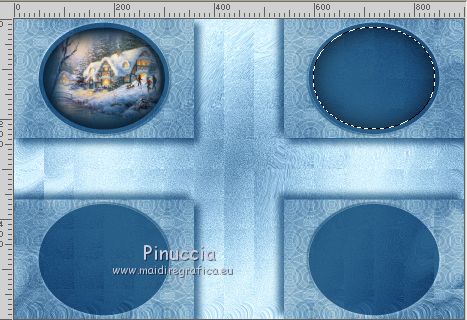
Layers>New Raster Layer.
Open another landscape misted and go to Edit>Copy.
Go back to your work and go to Edit>Paste into Selection.
Selections>Select None.
Layers>Arrange>Move Down.
Activate the top layer.
Layers>Merge>Merge Down.
9. Activate again the layer Promoted Selection.
Layers>Duplicate.
Layers>Arrange>Bring to Top.
Image>Flip.
Activate your Magic Wand Tool  , same settings, , same settings,
and click on the oval to select it.
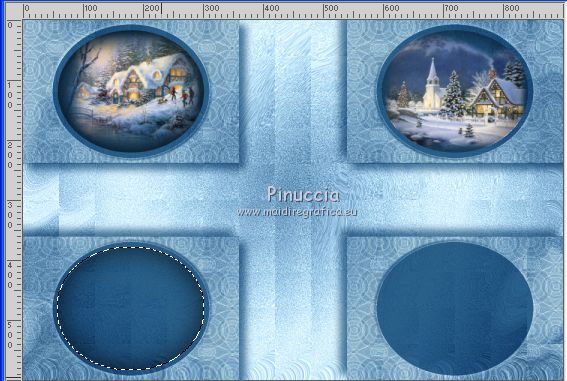
Layers>New Raster Layer.
Open another landscape misted and go to Edit>Copy.
Go back to your work and go to Edit>Paste into Selection.
Selections>Select None.
Layers>Arrange>Move Down.
Activate the top layer.
Layers>Merge>Merge Down.
10. Activate again the layer Promoted Selection.
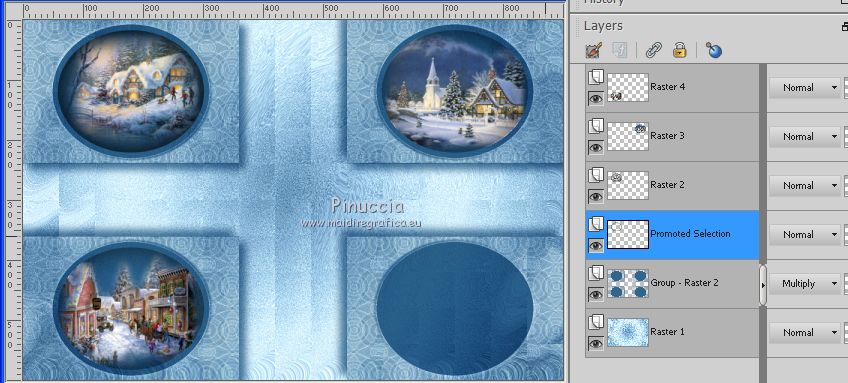
Layers>Arrange>Bring to Top.
Image>Mirror.
Image>Flip.
Select the oval with your Magic Wand Tool 
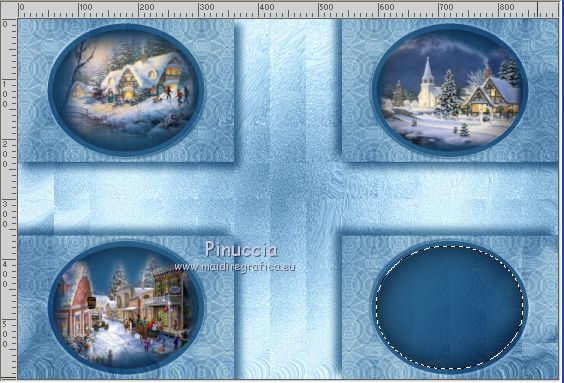
Layers>New Raster Layer.
Open another landscape misted and go to Edit>Copy.
Go back to your work and go to Edit>Paste into Selection.
Selections>Select None.
Layers>Arrange>Move Down.
Activate the top layer.
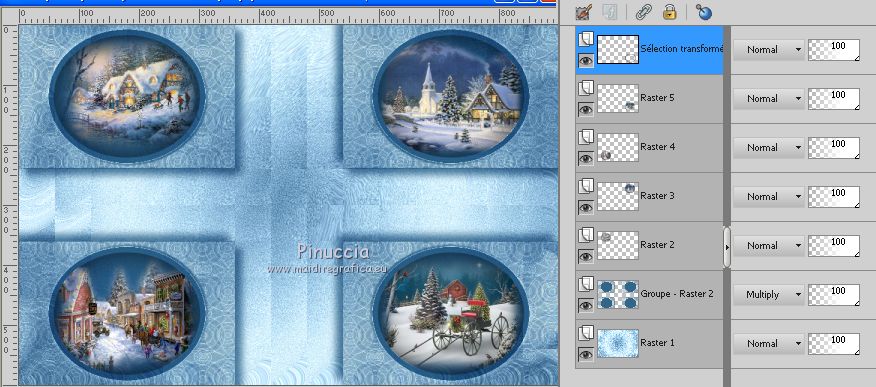
11. Layers>Merge>Merge Down - 4 times.
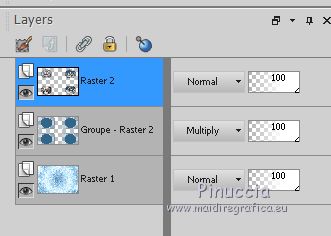
Activate your Magic Wand Tool  , tolerance 0, , tolerance 0,

and click on the central transparent image to select it.
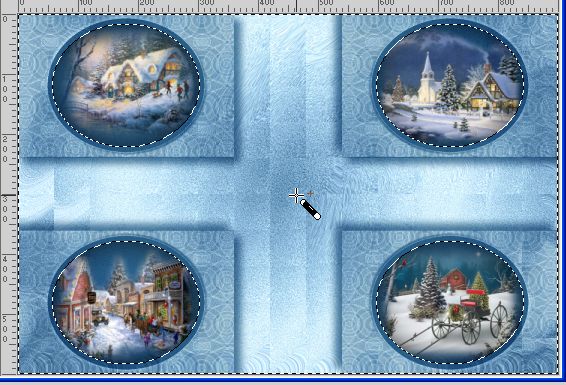
Selections>Invert and the ovals will be selected
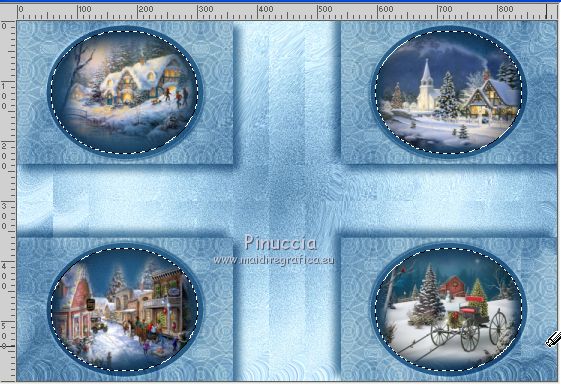
Selections>Modify>Select Selection Borders.
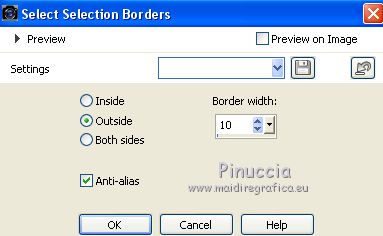
Set your foreground color to Color.
Flood Fill  the selection with your light foreground color. the selection with your light foreground color.
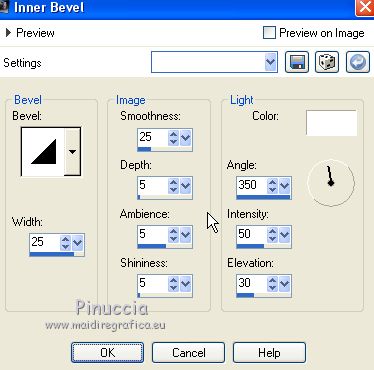
Effects>3D Effects>Inner Bevel.
Selections>Select None.
Layers>Merge>Merge Down.
Change the Blend Mod of this layer to Normal or Luminance legacy
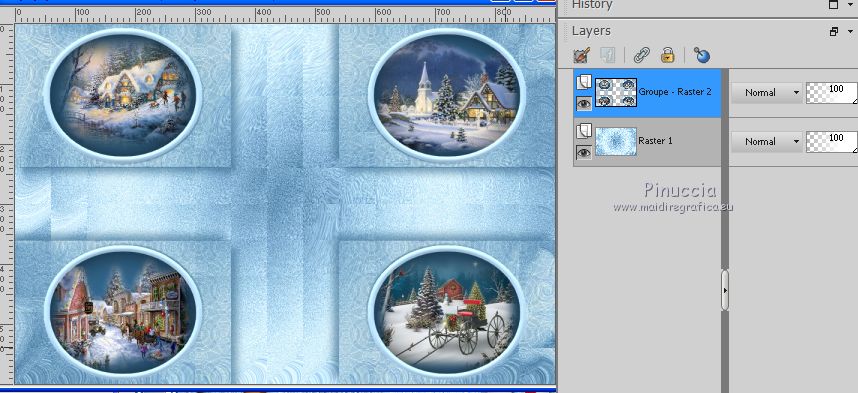
For me I kept Multiply.
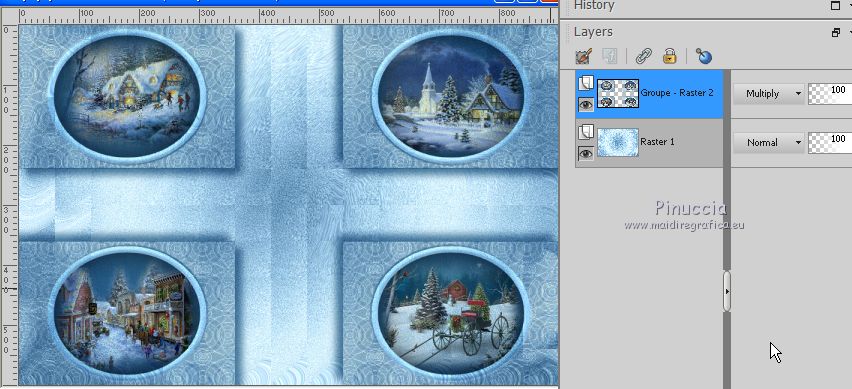
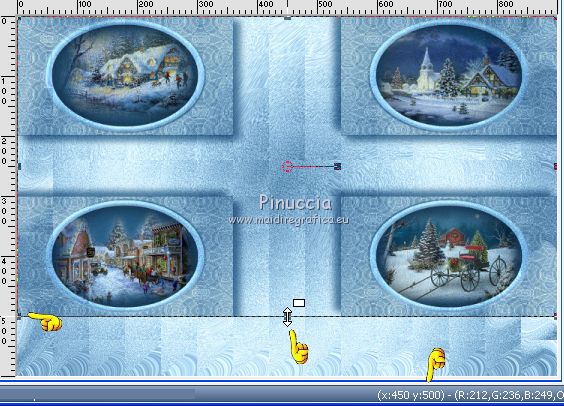
12. K key to activate your Pick Tool 
Mode Scale 
push the lower central node upwards up to 500 pixels.
13. Activate the bottom layer, Raster 1.
Layers>Duplicate.
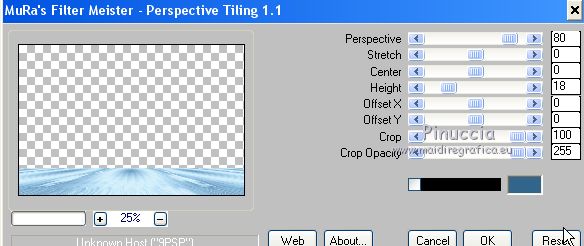
Effects>Plugins>Mura's Meister - Perspective Tiling.
Effects>Edge Effect>Enhance.
14. Activate the top layer.
Open the tube of Santa Claus and go to Edit>Copy.
Go back to your work and go to Edit>Paste as new layer.
Image>Resize, to 50%, resize all layers not checked.
Pick Tool 
and set Position X: 295,00 and Position Y: 10,00.

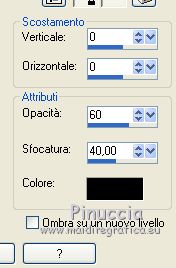
Effects>3D Effects>Drop Shadow, color black.
15. Open the tube of gift packages and go to Edit>Copy.
Go back to your work and go to Edit>Paste as new layer.
Image>Resize, to 40%, resize all layers not checked.
Set Position X: 320,00 and Position Y: 400,00.

Adjust>Sharpness>Sharpen.
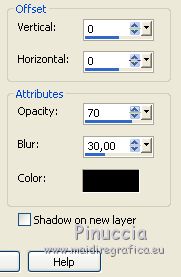
Effects>3D Effects>Drop Shadow, color black.
16. Copy and paste as new layers the gnomes tubes.
On each of these tubes:
Image>Resize, to 30%, resize all layers not checked.
Adjust>Sharpness>Sharpen.
Effects>3D Effects>Drop Shadow, color black.
Move  the two tubes to the lower left and lower right. the two tubes to the lower left and lower right.
17. Open the tube of snowmen and go to Edit>Copy.
Go back to your work and go to Edit>Paste as new layer.
Image>Resize, to 30%, resize all layers not checked.
Adjust>Sharpness>Sharpen.
Effects>3D Effects>Drop Shadow, same settings.
Move  the tube down, see my example. the tube down, see my example.
18. Open the tube of the text and go to Edit>Copy.
Go back to your work and go to Edit>Paste as new layer.
Pick Tool 
and set Position X: 45,00 and Position Y: 225,00.

If it is necessary, pull the title layer to the right and to the left,
based on your Santa's position.
Or write your text with the supplied font.
19. Image>Add borders, 3 pixels, symmetric, dark color.
Image>Add borders, 5 pixels, symmetric, color white.
Image>Add borders, 3 pixels, symmetric, dark color.
Selections>Select All.
Image>Add borders, 50 pixels, symmetric, light color.
Selections>Invert.
Effects>Plugins>Alien Skin Eye Candy 5 Nature - Snow Drift.
Select the preset Larger,First Flakes and ok.

Effects>Edge Effects>Enhance More.
20. Effects>Plugins>AAA Frames - Foto Frame.
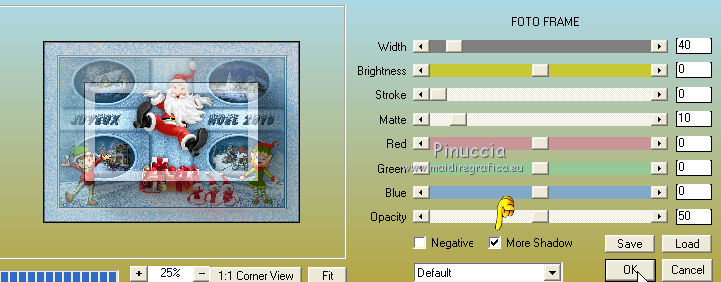
Effects>Edge Effects>Enhance.
Selections>Select None.
Image>Add borders, 3 pixels, symmetric, dark color.
Image>Add borders, 5 pixels, symmetric, color white.
Image>Add borders, 3 pixels, symmetric, dark color.
22. Image>Resize, 900 pixels width, resize all layers checked.
Sign your work and save as jpg.
Version with tubes by Montana Kate, Gini, Lize, Krys


If you have problems or doubts, or you find a not worked link, or only for tell me that you enjoyed this tutorial, write to me.
25 November 2019
|

