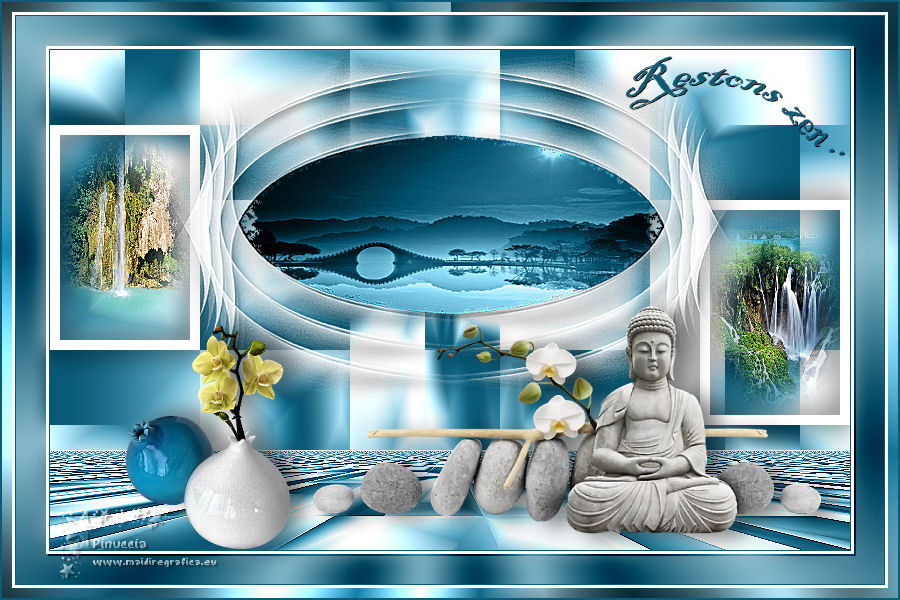
|
RESTONS ZEN


Thanks Evalynda for the invitation to translate your tutorials

This tutorial was written with PSPX8 and translated with PSPX7 and PSPX3, but it can also be made using other versions of PSP.
Since version PSP X4, Image>Mirror was replaced with Image>Flip Horizontal,
and Image>Flip with Image>Flip Vertical, there are some variables.
In versions X5 and X6, the functions have been improved by making available the Objects menu.
In the latest version X7 command Image>Mirror and Image>Flip returned, but with new differences.
See my schedule here
 italian translation here italian translation here
 Your versions Your versions
For this tutorial, you will need:
Material here
Thanks for the tubes and the mask Colybrix and ValyScrapPassion
(The links of the tubemakers here).
Plugins:
consult, if necessary, my filter section here
Filters Unlimited 2.0 here
Mehdi - Wavy Lab 1.1 here
Mehdi - Sorting Tiles here
Graphics Plus - Graphics Plus, Emboss here
Mura's Meister - Perspective Tiling here
Filters Graphics Plus can be used alone or imported into Filters Unlimited.
(How do, you see here)
If a plugin supplied appears with this icon  it must necessarily be imported into Unlimited it must necessarily be imported into Unlimited

You can change Blend Modes according to your colors.
In the newest versions of PSP, you don't find the foreground/background gradient (Corel_06_029).
You can use the gradients of the older versions.
The Gradient of CorelX here
(Don't forget to erase the watermarks)
Open the mask in PSP and minimize it with the rest of the material.
1. Set your foreground color to #b9edff,
and your background color to #64b2ce.
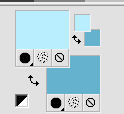
Open a new transparent image 800 x 500 pixels.
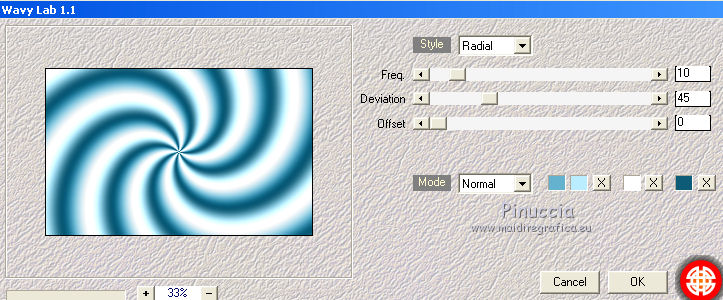
Effetti>Plugins>Mehdi - Wavy Lab 1.1.
Effects>Plugins>Mehdi - Wavy Lab 1.1
This filter creates gradients with the colors of your Materials palette:
the first is your background color, the second is your foreground color.
Change the last two colors created by the filter:
the third with color white #ffffff and the fourth with #0d5b77.
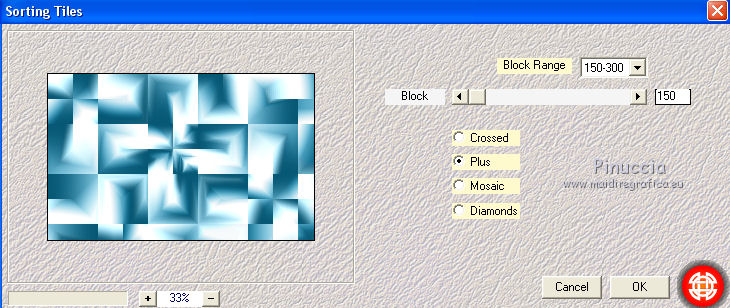
Effects>Plugins>Mehdi - Sorting Tiles.
2. Selection Tool 
(no matter the type of selection, because with the custom selection your always get a rectangle)
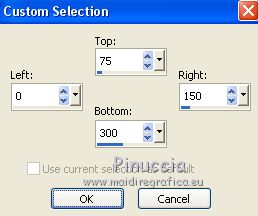
clic on the Custom Selection 
and set the following settings.
Selections>Promote Selection to layer.
Open the landscape misted PaysageVSP62, and go to Edit>Copy.
Go back to your work and go to Edit>Paste into Selection.
Adjust>Sharpness>Sharpen More.
Keep selected.
3. Layers>New Raster Layer.
Set your foreground color to white #ffffff.
Flood Fill  the selection with color white. the selection with color white.
Selections>Modify>Contract - 10 pixels.
Press CANC on the keyboard 
Selections>Select None.
4. Layers>Duplicate.
K key on the keyboard to activate your Pick Tool 
and set Position X: 650,00 and Position: 150,00

Activate your Magic Wand Tool  , tolerance and feather 0, , tolerance and feather 0,

and click on the frame to select it.
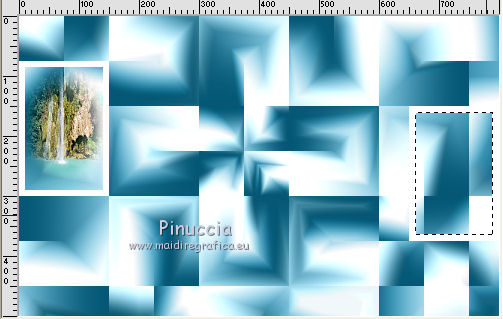
Selections>Modify>Expand - 10 pixels.
5. Calques>Nouveau calque raster.
Open the misted PaysageVSP32 and go to Edit>Copy.
Go back to your work and go to Edit>Paste into Selection.
Adjust>Sharpness>Sharpen More.
Selections>Select None.
Layers>Arrange>Move Down - 2 times.
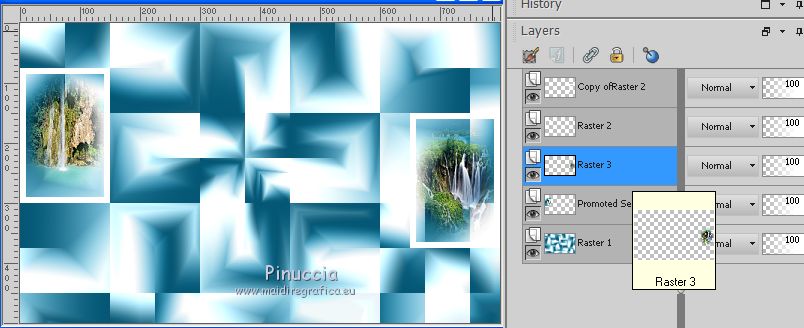
6. Activate the top layer.
Layers>Merge>Merge Down.
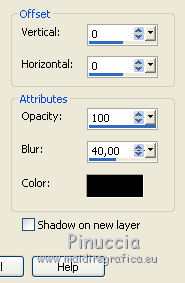
Effects>3D Effects>Drop Shadow, color black.
7. Layers>New Raster Layer.
Flood Fill  the layer with color white. the layer with color white.
Layers>New Mask layer>From image
Open the menu under the source window and you'll see all the files open.
Select the mask Coly-mask27.
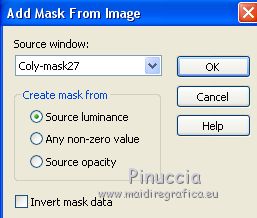
Effects>Edge Effects>Enhance More.
Layers>Merge>Merge Group.
Activate again your Magic Wand Tool 
and click in the center of the mask to select it.
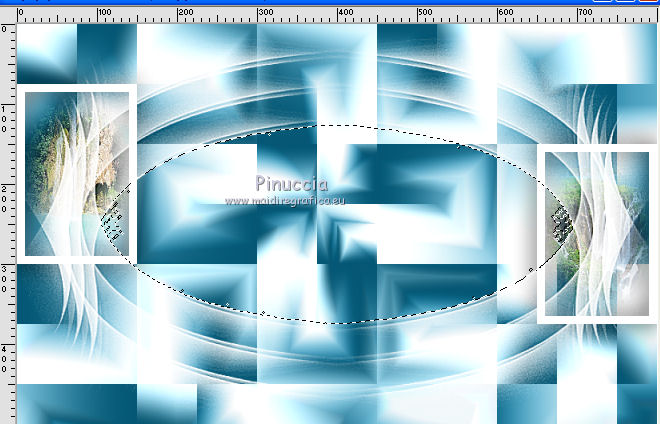
Open the background image Paysage Zen 3 and go to Edit>Copy.
Go back to your work and go to Edit>Paste into Selection.
Adjust>Sharpness>Sharpen More.
Selections>Select None.
8. Image>Resize, 2 times to 85%, resize all layers not checked.
Pick Tool 
and set Position X: 112,00 and Position Y: 0,00
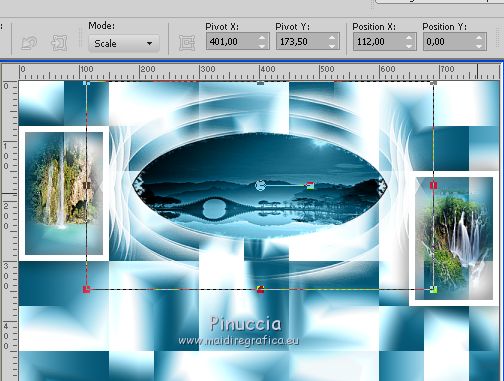
Effects>3D Effects>Drop Shadow, color black.
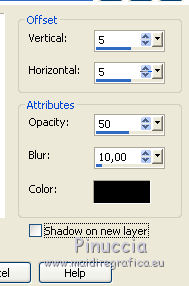
9. Activate your bottom layer, Raster 1.
Layers>Duplicate.
Effects>Plugins>Mura's Meister - Perspective Tiling.
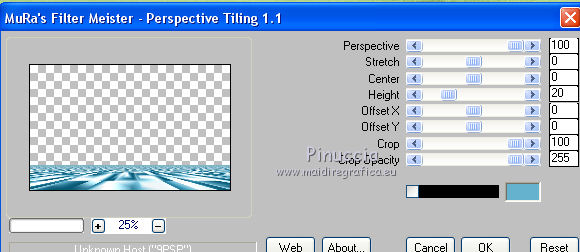
Effects>Edge Effects>Enhance.
10. Activate the top layer.
Open the tube of bouddha and go to Edit>Copy.
Go back to your work and go to Edit>Paste as new layer.
Image>Resize, 1 time to 50% and 1 time to 75%, resize all layers not checked.
Pick Tool 
and set Position X: 245,00 and Position Y: 255,00

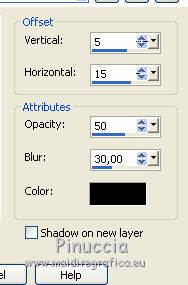
Effects>3D Effects>Drop Shadow, color black.
11. Open the vases and go to Edit>Copy.
Go back to your work and go to Edit>Paste as new layer.
Image>Resize, 1 time to 50% and 1 time to 75%, resize all layers not checked.
Image>Mirror.
Pick Tool 
and set Position X: 65,00 and Position Y: 275,00

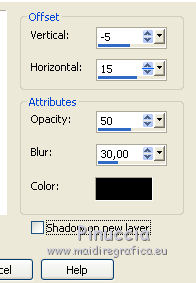
Effects>3D Effects>Drop Shadow, color black.
12. Open the tube titre and go to Edit>Copy.
Go back to your work and go to Edit>Paste as new layer.
Pick Tool 
and set Position X: 575,00 and Position Y: 5,00
(or place at your choice)

13. Set your foreground color to #b9edff,
and your background color to #0d5b77.
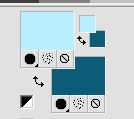
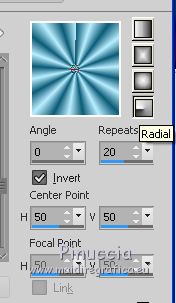
Set your foreground color to a Foreground/Background Gradient, style Radial.
14. Image>Add borders, 1 pixel, symmetric, background color #0d5b77.
Image>Add borders, 3 pixels, symmetric, color white.
Selections>Select All.
Image>Add borders, 30 pixels, symmetric, color white.
Selections>Invert.
Flood Fill  the selection with your Gradient. the selection with your Gradient.
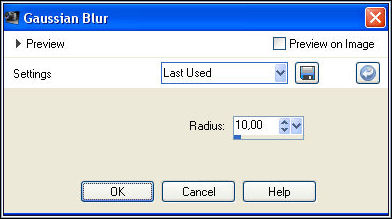
Adjust>Blur>Gaussian Blur, radius 10.
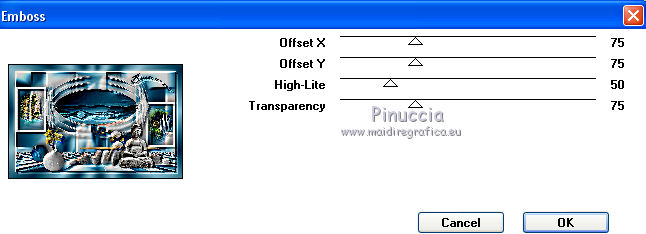
Effects>Plugins>Graphics Plus - Emboss.
Selections>Select None.
15. Image>Add borders, 1 pixel, symmetric, background color #0d5b77.
Image>Add borders, 3 pixels, symmetric, color white.
Selections>Select All.
Image>Add borders, 10 pixels, symmetric, color white.
Selections>Invert.
Flood Fill  the selection with your Gradient. the selection with your Gradient.
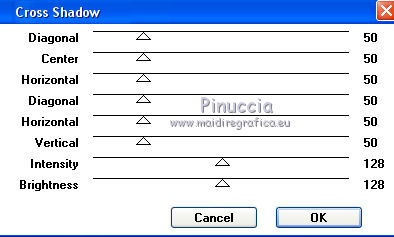
Effects>Plugins>Graphics Plus - Cross Shadow, default settings.
Selections>Select None.
Image>Add borders, 2 pixels, symmetric, background color #0d5b77.
16. Sign your work on a new layer.
Layers>Merge>Merge All and save as jpg.
The landscape are mine; the other tubes are by Guismo
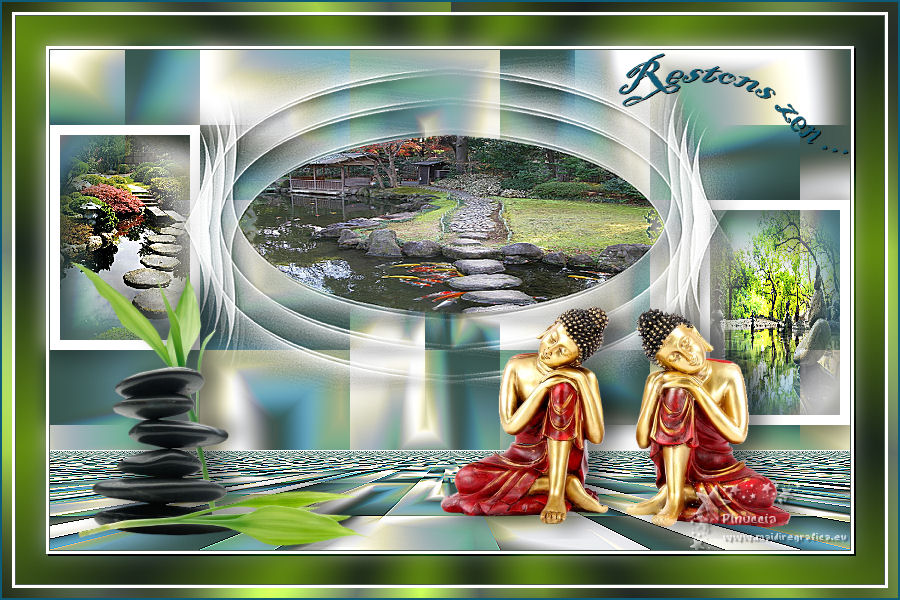
 Your versionsThanks Your versionsThanks
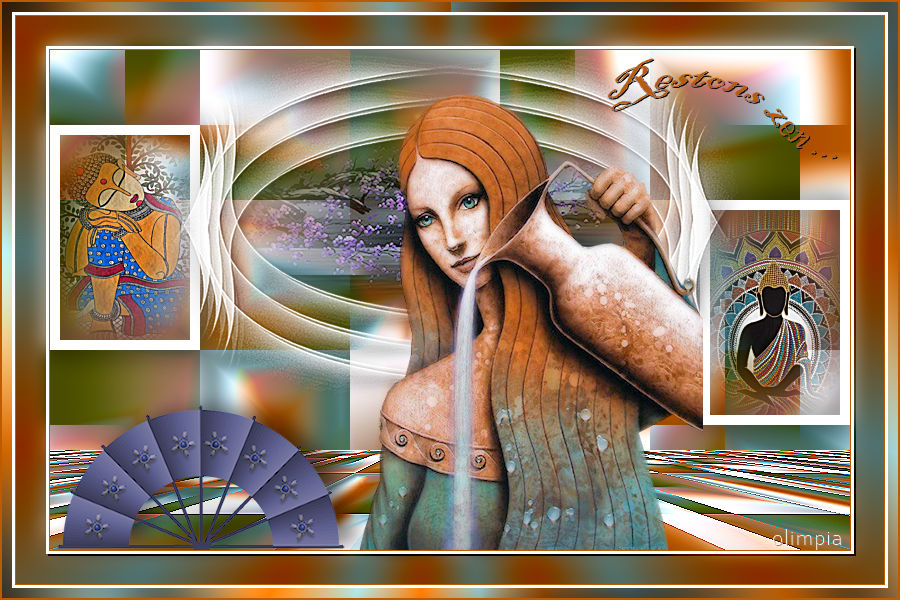
Olimpia
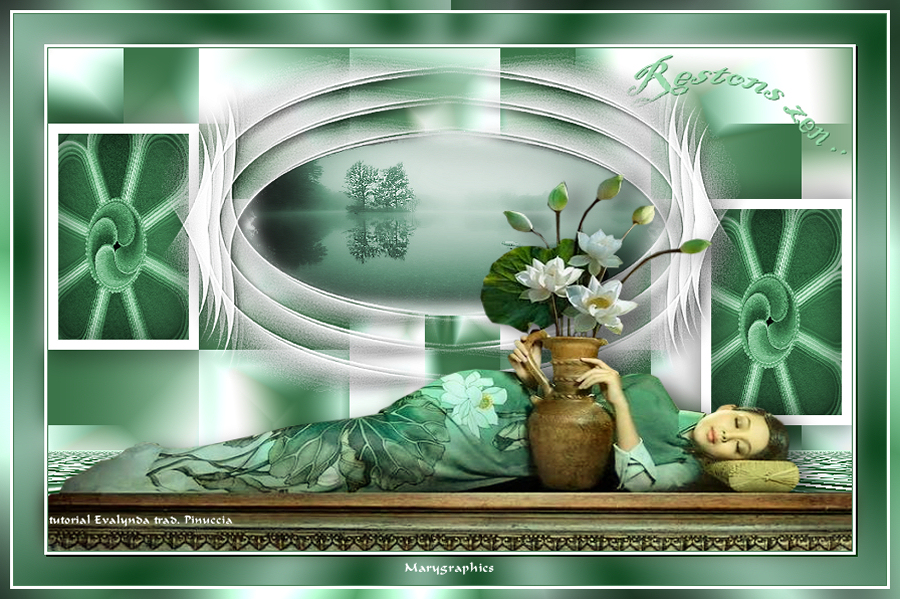
Marygraphics

If you have problems or doubts, or you find a not worked link, or only for tell me that you enjoyed this tutorial, write to me.
23 August 2020
|

