|
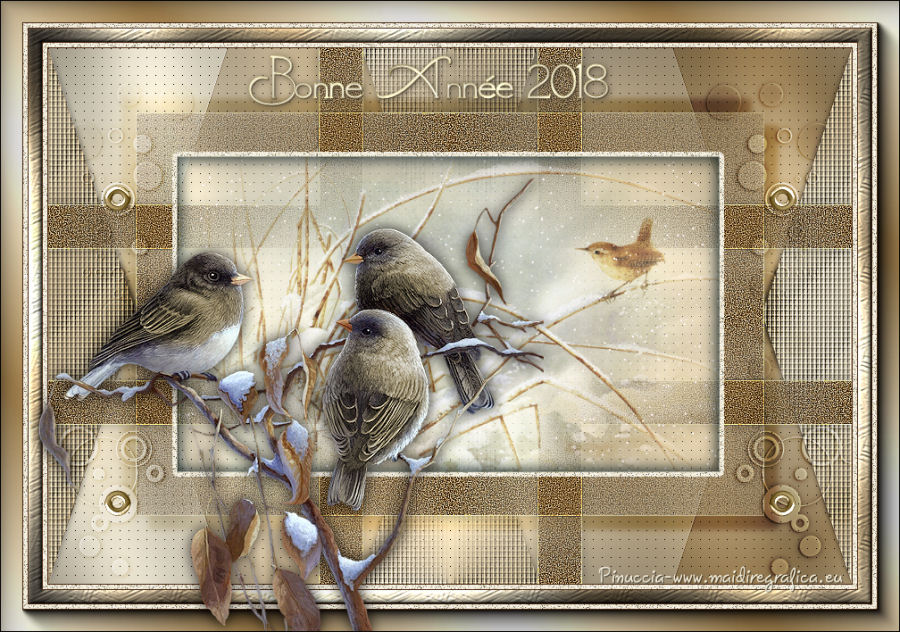
BONNE ANNÉE 2018

Thanks Carine for your invitation to translate

This tutorial was written with CorelX17 and translated with CorelX17, but it can also be made using other versions of PSP.
Since version PSP X4, Image>Mirror was replaced with Image>Flip Horizontal,
and Image>Flip with Image>Flip Vertical, there are some variables.
In versions X5 and X6, the functions have been improved by making available the Objects menu.
In the latest version X7 command Image>Mirror and Image>Flip returned, but with new differences.
See my schedule here
traduzione in italiano/italian translation here
Occorrente:
Materiale qui
Grazie: per i tubes Cal and Tinnad.
(in questa pagina trovi i links ai siti degli autori).
Filtri
in caso di dubbi, ricorda di consultare la mia sezione filtri qui
Filters Unlimited 2.0 here
Toadies - Band suppressing noise here
VDL Adrenaline - Snowflakes here
AP 01 [Innovations] - Lines SilverLining here
Graphics Plus - Cross Shadow here
AAA Frames - Foto Frame here
Filters Toadies and Graphics Plus can be used alone or imported into Filters Unlimited.
(How do, you see here)
If a plugin supplied appears with this icon  it must necessarily be imported into Unlimited it must necessarily be imported into Unlimited

If you use other colors, don't hesitate to change Blend Mode and opacity according to your colors
In the newest versions of PSP, you don't find the foreground/background gradient (Corel_06_029).
You can use the gradients of the older versions.
The Gradient of CorelX here

Copy the textures in the Textures Folder.
Colors
1. Set your foreground color to color 1 
and your background color to color 2 
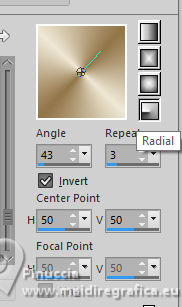
Set your foreground color to a Foreground/Background Gradient, style Radial.
2. Open Alpha Bonne Année 2018.
Window>Duplicate or, on the keyboard, shift+D to make a copy.

Close the original.
The copy, that will be the basis of your work, is not empty,
but contains the selections saved to alpha channel.
3. Flood Fill  the transparent image with your gradient. the transparent image with your gradient.
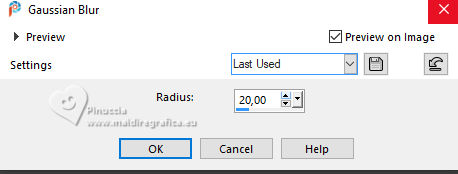
4. Adjust>Blur>Gaussian Blur - radius 20.
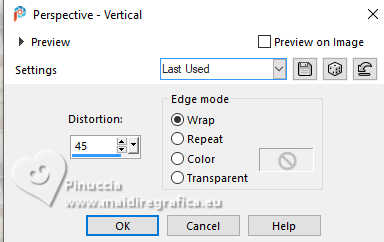
5. Effects>Geometric Effects>Perspective Vertical.
6. Effects>Edge Effects>Enhance.
7. Layers>Duplicate.
Image>Miroir>Miroir Vertical (Image>Flip).
Reduce the opacity of this layer to 50%.
8. Layers>Merge>Merge Down.
9. Layers>New Raster Layer - Raster 2.
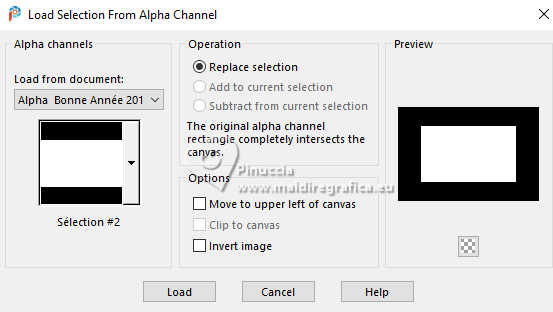
10. Selections>Load/Save Selection>Load Selection from Alpha Channel.
The selection sélection#1 is immediately available. You just have to click Load.

11. Flood Fill the selection with your background color
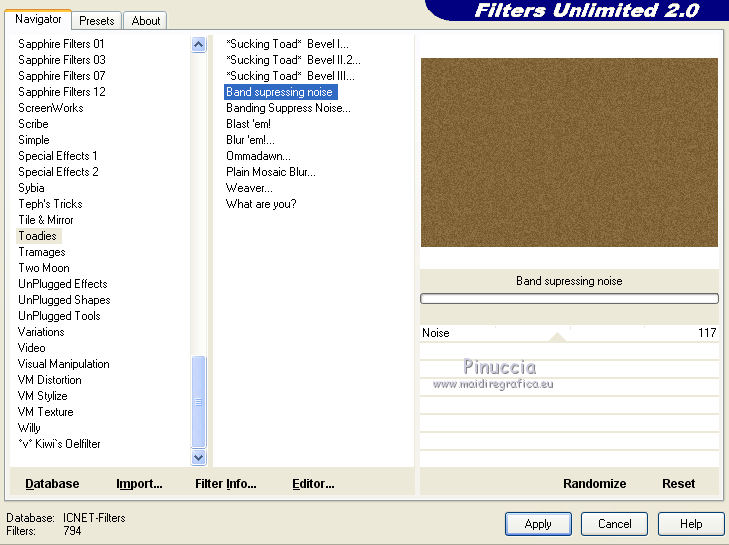
12. Effects>Plugins>Filters Unlimited 2.0 - Toadies - Band suppressing noise.
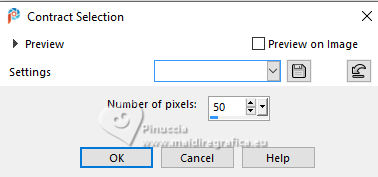
13. Selections>Modify>Contract - 50 pixels.
Press CANC on the keyboard 
Selections>Select None.
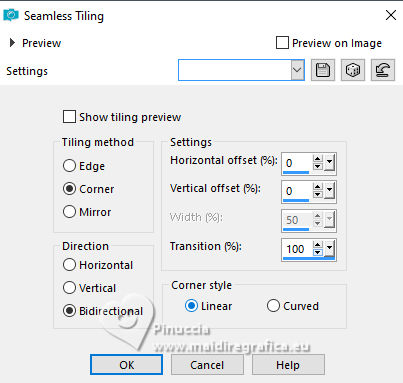
14. Effects>Image Effects>Seamless Tiling.
15. Effects>Edge Effects>Enhance More.
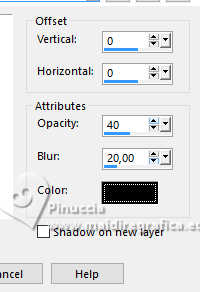
16. Effects>3D Effects>Drop Shadow, color black.
17. Selections>Load/Save Selection>Load Selection from Alpha Channel.
Open the selections menu and load the selection Sélection #2.
18. Open the landscape tube by Tinnad and go to Edit>Copy.
Go back to your work and go to Edit>Paste as new layer, raster 3.
Image>Resize, to 75%, resize all layers not checked.
Selections>Invert.
Press CANC on the keyboard.
19. Again Selections>Invert.
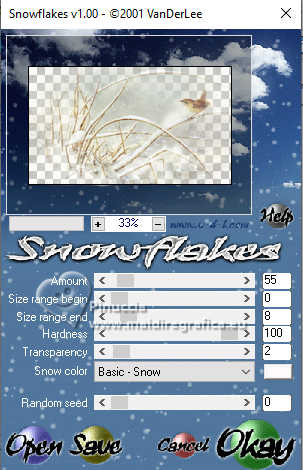
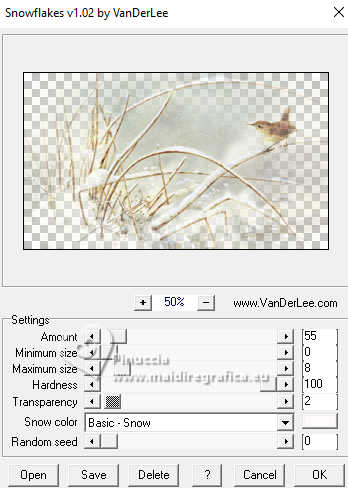
Effects>Plugins>VDL Adrenaline - Snowflakes
if you use the previous version of this filter (the result doesn't change)
Effects>Plugins>VanDerLee - Snowflakes
20. Layers>New Raster Layer.
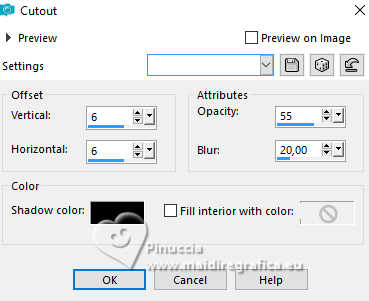
Effects>3D Effects>Cutout.
21. Layers>New Raster Layer.
Repeat Cutout, vertical and horizontal -6.
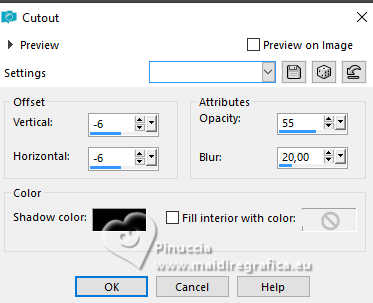
Layers>Merge>Merge Down.
Keep selected.
22. Layers>New Raster Layer - Raster 5.
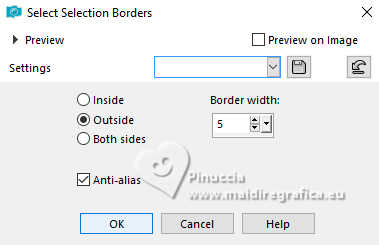
Selections>Modify>Select Selection Borders.
23. Set your foreground color to Color,
Flood Fill the selection with your foreground color
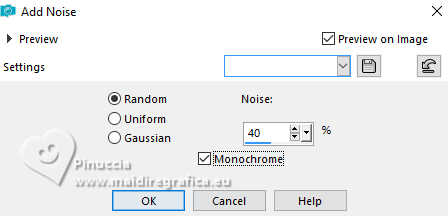
24. Adjust>Add/Remove Noise>Add Noise.
Selections>Select None.
25. Close your background layer Raster 1.
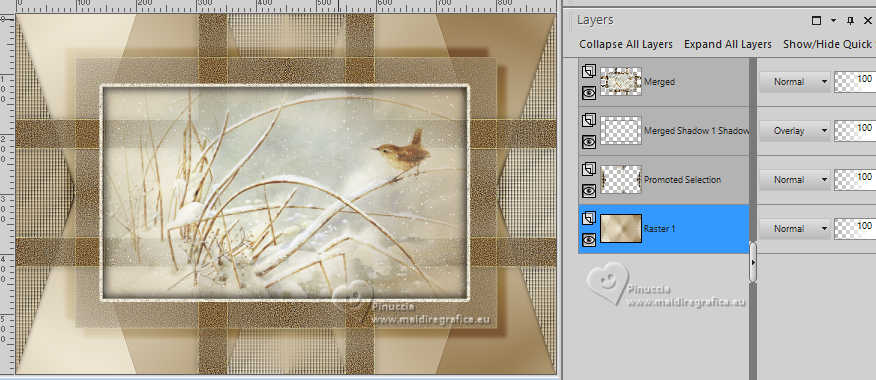
26. Layers>Merge>Merge visible.
27. Open the background layer and say on the top layer.
28. Selections>Load/Save Selection>Load Selection from Alpha Channel.
Load again the selection Sélection #1.
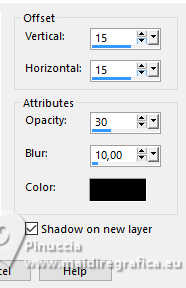
29. Effects>3D Effects>Drop Shadow, color black, shadow on a new layer checked.
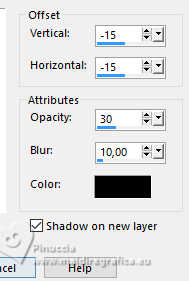
Repeat Drop Shadow, vertical and horizontal -15.
30. Activate the layer above
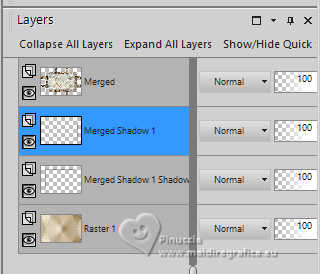
Layers>Merge>Merge Down.
31. Change the Blend Mode of this layer to Overlay.
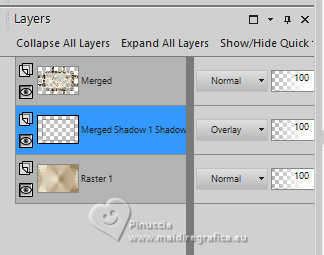
Selections>Select None.
32. Activate the layer Raster 1.
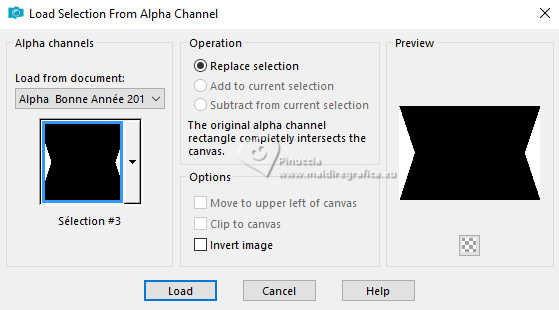
Selections>Load/Save Selection>Load Selection from Alpha Channel.
Open the selections menu and load the selection Sélection #3.
Selections>Promote Selection to Layer.
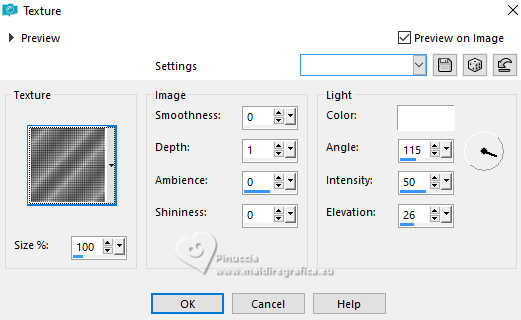
33. Effects>Texture Effects>Texture - select the texture DI zilver 5.
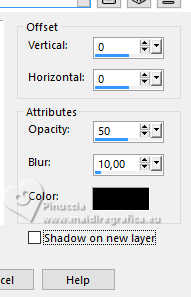
34. Effects>3D Effects>Drop Shadow, color black,
shadow on a new layer not checked.
Selections>Select None.
35. Layers>Duplicate.
Effects>Image Effects>Seamless Tiling, same settings.

36. Adjust>Sharpness>Sharpen.
37. Layers>Merge>Merge Down (Promoted Selection)
38. Activate the layer Raster 1.
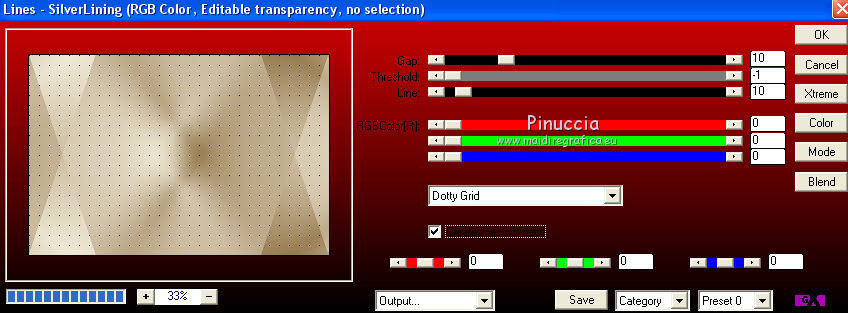
39. Effects>Plugins>AP 01 [Innovations] - Lines SilverLining.
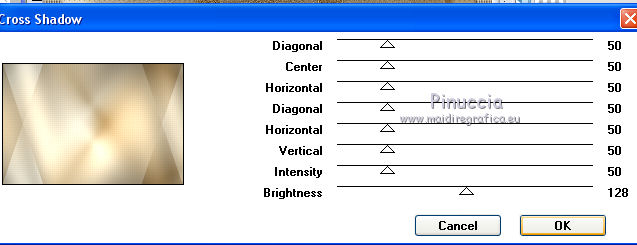
40. Effects>Plugins>Graphics Plus - Cross Shadow.
41. Layers>Merge>Merge visible.
42. Open the tube déco 1, and go to Edit>Copy.
Go back to your work and go to Edit>Paste as new layer, Raster 1.
43. K key to activate your Pick Tool 
Position X: -13,00 - Position Y: 38,00.
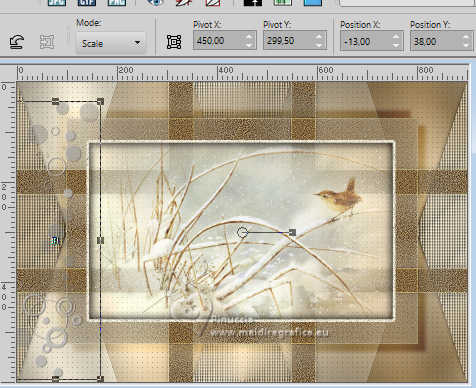
44. Change the Blend Mode of this layer to Overlay.
45. Effects>3D Effects>Drop Shadow, same settings.
46. Layers>Duplicate.
Image>Mirror>Mirror horizontal (Image>Mirror).
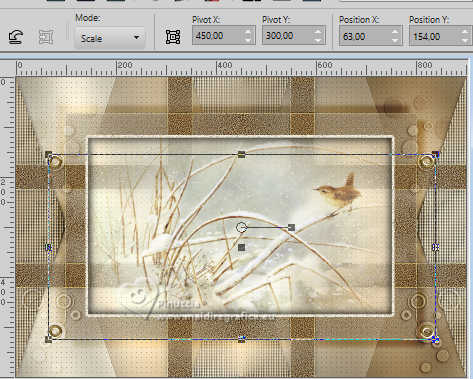
47. Open the tube déco 2 and go to Edit>Copy.
Go back to your work and go to Edit>Paste as new layer, raster 3.
48. Pick Tool
Position X: 63,00 - Position Y: 154,00.
49. Image>Add borders, 1 pixel, symmetric, color 3 
50. Selections>Select All.
Image>Add borders, 5 pixels, symmetric, color 1
51. Selecitons>Invert.
Adjust>Add/Remove Noise>Add Noise.
Selections>Select None.
52. Image>Add borders, 1 pixel, symmetric, color 3
53. Selections>Select All.
Image>Add borders, 15 pixels, symmetric, color 1
54. Selections>Invert.
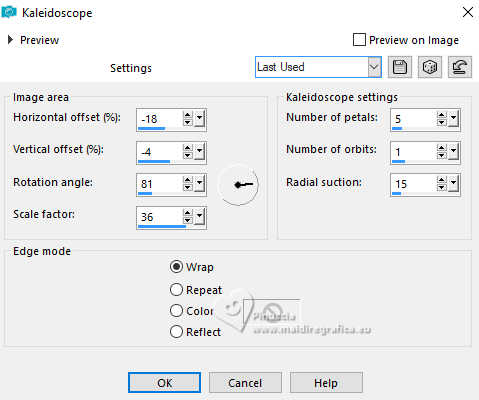
55. Effects>Reflection Effects>Kaleidoscope.
56. Adjust>Blur>Gaussian Blur - radius 20.
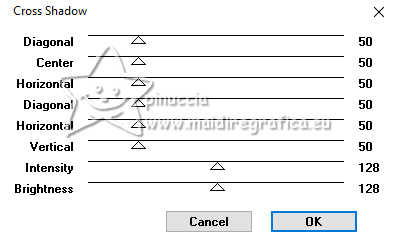
57. Effects>Plugins>Graphics Plus - Cross shadow, default settings.
58. Effects>Texture Effects>Texture - select the texture JC_050

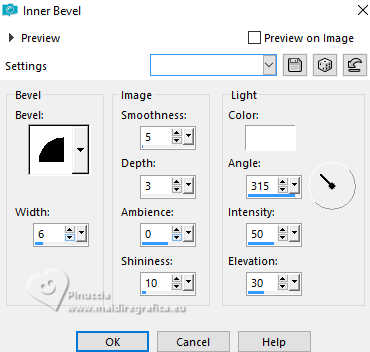
59. Effects>3D Effects>Inner Bevel.
Selections>Select None.
60. Image>Add borders, 1 pixel, symmetric, color 3
61. Selections>Select All.
Image>Add borders, 5 pixels, symmetric, color 1 .
62. Selections>Invert.
Adjust>Add/Remove Noise>Add Noise.
Selections>Select None.
63. Image>Add borders, 1 pixel, symmetric, color 3
64. Set your foreground color to a Foreground/Background Gradient, style Linear.
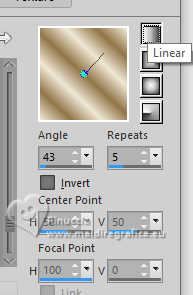
65. Selections>Select All.
Image>Add borders, 25 pixels, symmetric, color 1
66. Selections>Invert.
Flood Fill the selection with your Gradient.
67. Effects>Plugins>AAA Frames - Foto Frame.
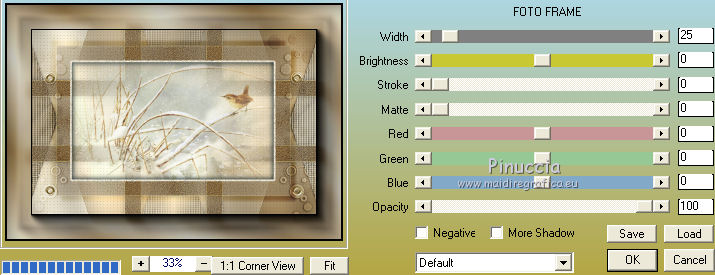
68. Selections>Select None.
69. Open the tube by Cal, erase the watermark and go to Edit>Copy.
Go back to your work and go to Edit>Paste as new layer.
Image>Resize, to 75%, resize all layers not checked.
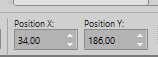
70. Pick Tool
Position X: 34,00 - Position Y: 186,00.
71. Effects>3D Effects>Drop Shadow, color black.
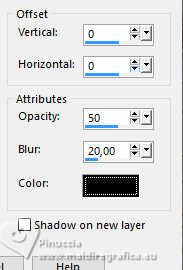
note, the author has colorized the birds with the Change to Target Tool 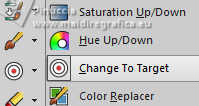
Posizione X: 44,00 - Posizione Y: 200,00
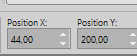
(the colorized tube is in the material with the right size)
72. Adjust>Sharpness>Sharpen.
73. Open the file with the text (or write your text), and go to Edit>Copy.
Go back to your work and go to Edit>Paste as new layer.
Move  the text up in the center. the text up in the center.
75. Sign your work.
Layers>Merge>Merge All.
76. Image>Resize, 900 pixels width, resize all layers checked.
Save as jpg.
For the tubes of this version thank Luz Cristina and Cal


Your versions. Thanks
Rom

Puoi scrivermi se hai problemi o dubbi, o trovi un link che non funziona, o soltanto per un saluto.
9 Dicembre 2024
|