|
CAPTURE THE MOMENT

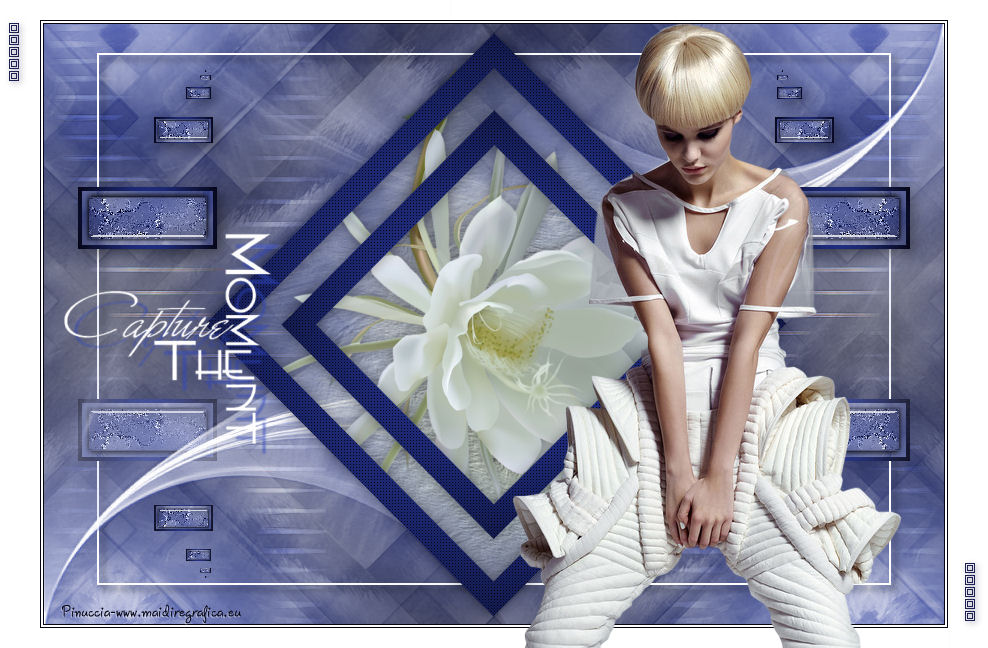
Thanks Carine for your invitation to translate

This tutorial was written with CorelX17 and translated with CorelX17, but it can also be made using other versions of PSP.
Since version PSP X4, Image>Mirror was replaced with Image>Flip Horizontal,
and Image>Flip with Image>Flip Vertical, there are some variables.
In versions X5 and X6, the functions have been improved by making available the Objects menu.
In the latest version X7 command Image>Mirror and Image>Flip returned, but with new differences.
See my schedule here
italian translation here
Material: qui
For the tubes thanks Verlaine and Beatriz.
Plugins
consult, if necessary, my filter section here
Alien Skin Eye Candy 5 Impact - Glass here
Toadies - Ommadawn, What are you here
Filters unlimited 2.0 here
Filter Factory Gallery H - Reverb here
Cybia - Screenworks here
Filters Factory Gallery, Toadies and Screenworks can be used alone or imported into Filters Unlimited.
(How do, you see here)
If a plugin supplied appears with this icon  it must necessarily be imported into Unlimited it must necessarily be imported into Unlimited

You can change Blend Modes according to your colors.
In the newest versions of PSP, you don't find the foreground/background gradient (Corel_06_029).
You can use the gradients of the older versions.
The Gradient of CorelX here
Copy the preset  in the folder of the plugin Alien Skin Eye Candy 5 Impact>Settings>Shadow. in the folder of the plugin Alien Skin Eye Candy 5 Impact>Settings>Shadow.
One or two clic on the file (it depends by your settings), automatically the preset will be copied in the right folder.
why one or two clic see here

The texture Corel_15_039 is standard in PSP.
If you dont find it in your PSP, copy the supplied one in the Textures Folder.
Copy the Selections in the Selections Folder.
Open the masks in PSP and minimize them with the rest of the material.
Colors

1. Set your foreground color with the color 1 #2f45bd,
and your background color with the color 2 #050515.
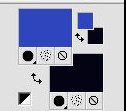
Set your foreground color to a Foreground/Background Gradient, style Sunburst.
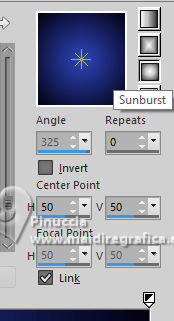
2. Open a new transparent image 900 x 600 pixels,
Flood Fill  the transparent image with your Gradient. the transparent image with your Gradient.
3. Layers>New Raster Layer - Raster 2.
Set your foreground color to white,
Flood Fill  the layer with the color white. the layer with the color white.
4. Layers>New Mask layer>From image
Open the menu under the source window and you'll see all the files open.
Select the mask 0_82b70_...
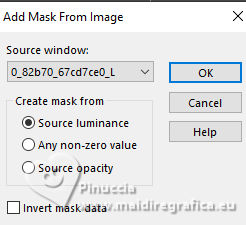
Layers>Merge>Merge Group.
5. Layers>Merge>Merge Down - Raster 1.
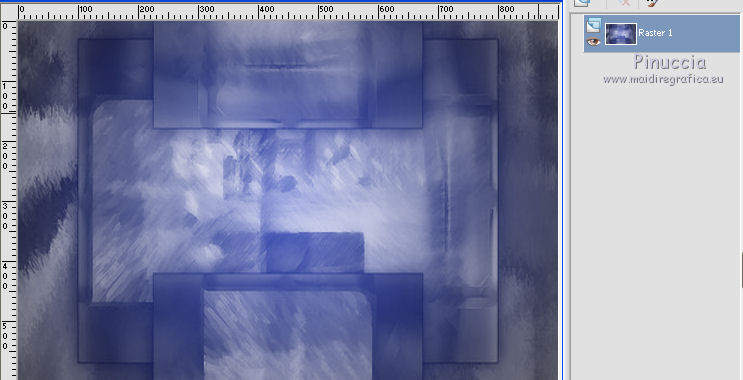
6. Selection Tool 
(no matter the type of selection, because with the custom selection your always get a rectangle)
clic on the Custom Selection 
and set the following settings.
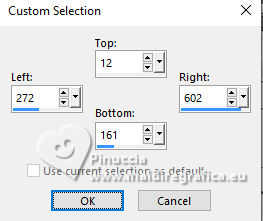
Selections>Promote Selection to Layer.
7. Layers>New Raster Layer - Raster 2.
Set again your foreground color to the Color (#2f45bd) and Sunburst Gradient.
 
Flood Fill  the layer with your Gradient. the layer with your Gradient.
8. Selections>Modify>Contract - 10 pixels.
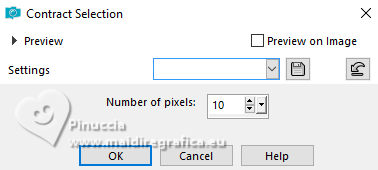
9. Press CANC on the keyboard 
Layers>Merge>Merge Down (Promoted Selection)
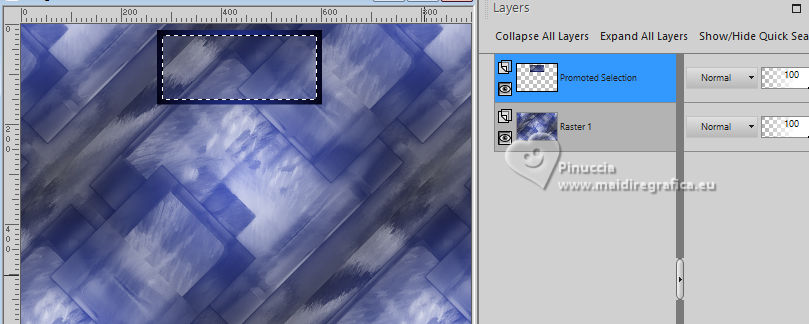
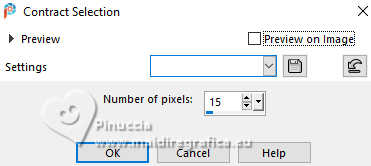
10. Selections>Modify>Contract - 15 pixels.
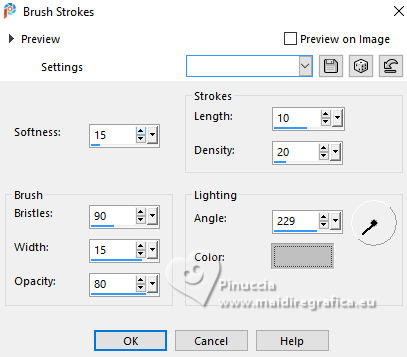
11. Effects>Art Media Effects>Brush Strokes, color #c0c0c0.
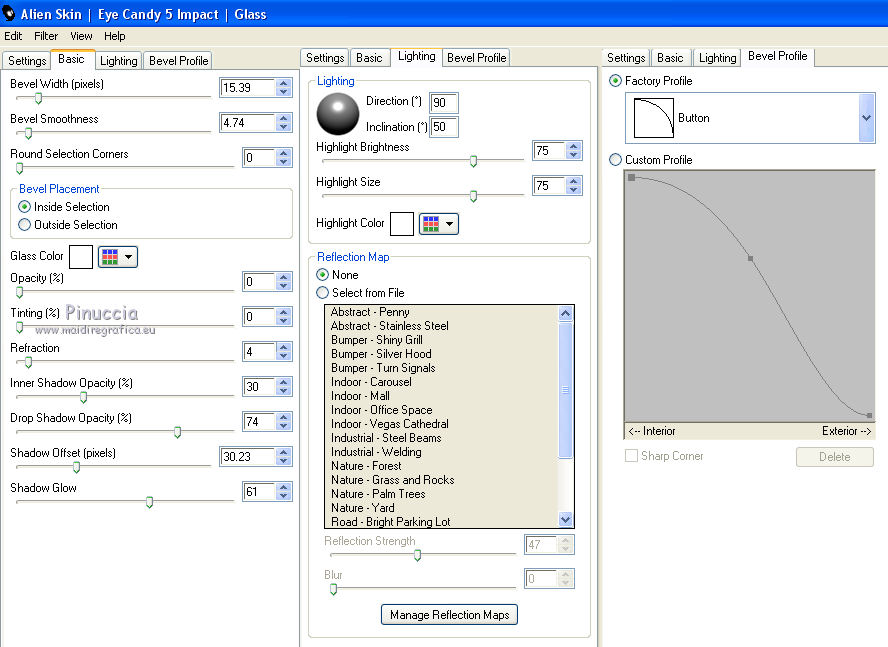
12. Effects>Plugins>Alien Skin Eye Candy 5 Impact - Glass.
Select the preset Glass Capture the moment and ok.
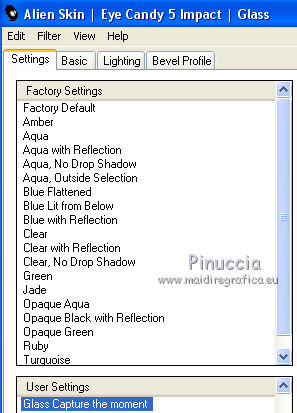
Here are the settings in case of problems with the preset.
13. Effects>3D Effects>Drop Shadow, color black.
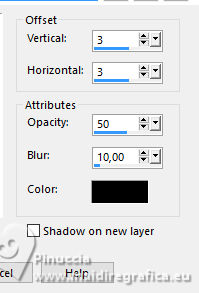
Repeat Drop Shadow, vertical and horizontal -3.
Selections>Select None.
14. Effects>Reflection Effects>Feedback.
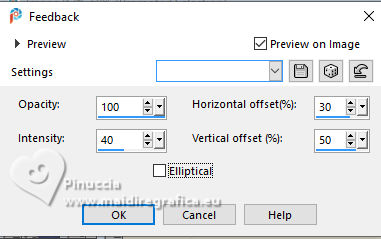
15. Custom Selection 
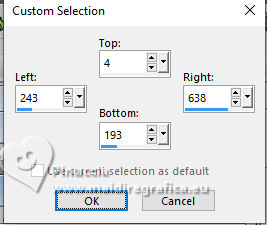
Press CANC on the keyboard.
Selections>Select None.
16. K key to activate your Pick Tool 
Position X: 34,00 - Position Y: 375,00.

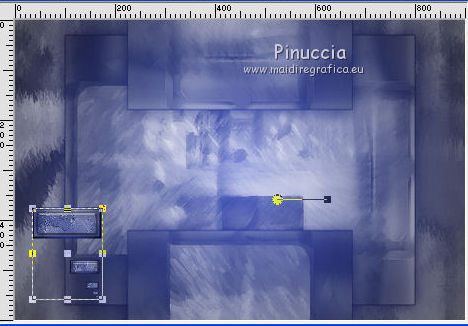
M key to deselect the Tool.
17. Layers>Duplicate.
Image>Mirror>Mirror horizontal.
Layers>Merge>Merge Down.
18. Layers>Duplicate.
Image>Mirror>Mirror Vertical (Image>Flip).
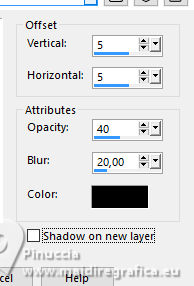
19. Effects>3D Effects>Drop Shadow, color black.
20. Activate your background layer.
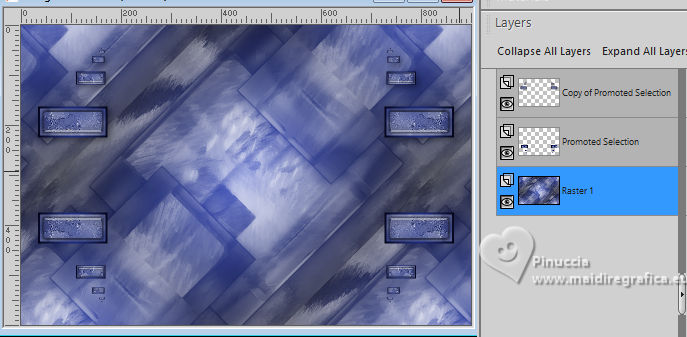
Effects>Plugins>Simple - Diamonds.
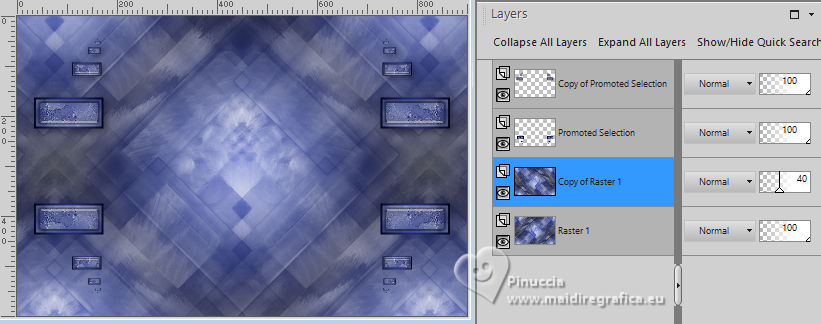
21. Layers>Duplicate (copy of raster 1).
Image>Mirror>Mirror horizontal.
Reduce the opacity of this layer to 40%.
22. Activate your top layer.
Layers>New Raster Layer - Raster 2.
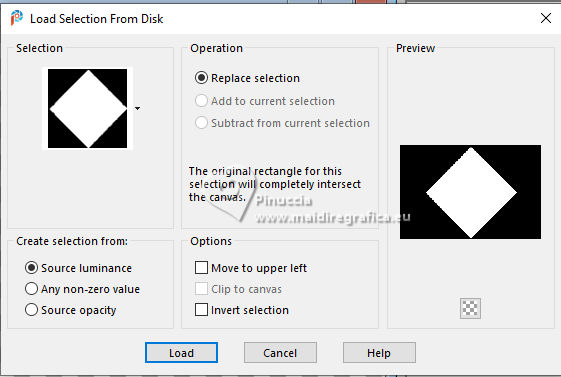
23. Selections>Load/Save Selection>Load Selection from Disk.
Look for and load the selection Selection Capture the moment.
24. Open the tube fleur101-flower-LB and go to Edit>Copy.
Minimize it.
Go back to your work and go to Edit>Paste into Selection.
25. Adjust>Blur>Gaussian Blur - radius 40.

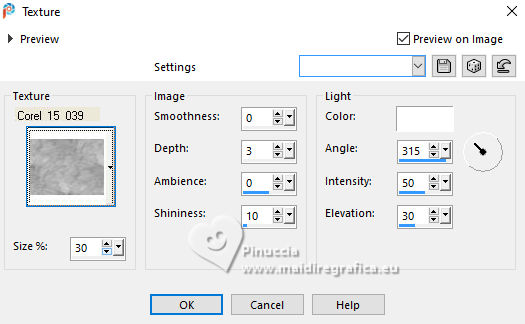
26.Effects>Texture Effects>Texture - select the texture Corel_15_039.
 .jpg"> .jpg">
27. Layers>New Raster Layer - Raster 3.
Flood Fill  with your Gradient. with your Gradient.
28. Selections>Modify>Contract - 25 pixels.
Press CANC on the keyboard.
29. Selections>Modify>Contract - 30 pixels.
Flood Fill  with your Gradient. with your Gradient.
30. Selections>Modify>Contract - 25 pixels.
Press CANC on the keyboard.
Selections>Select None.
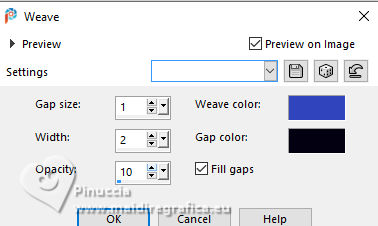
31. Effects>Texture Effects>Weave
weave color: foreground color - gap color: background color.
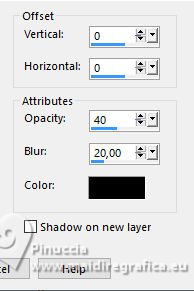
32. Effects>3D Effects>Drop Shadow, color black.
33. Edit>Paste as new layer (the tube by Beatriz is still in memory) - Raster 4.
Image>Resize, to 60%, resize all layers not checked.
34. K key to activate your Pick Tool 
Position X: 223,00 - Position Y: 27,00.

M key to deselect the Tool.
Tasto M per deselezionare lo strumento.
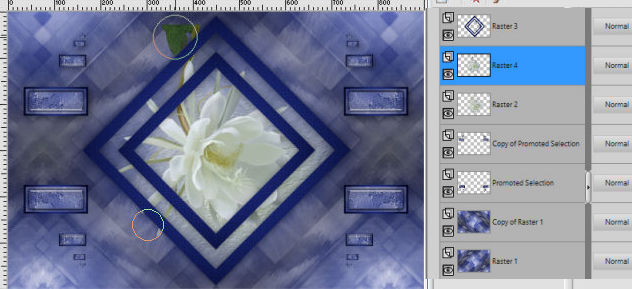
35. Layers>Arrange>Move Down (under the layer Raster 3).
Activate your Eraser Tool 
and erase the part of the tube out the figure.
36. Effects>3D Effects>Drop Shadow, color black, same settings.

37. Activate the layer Copy of Raster 1.
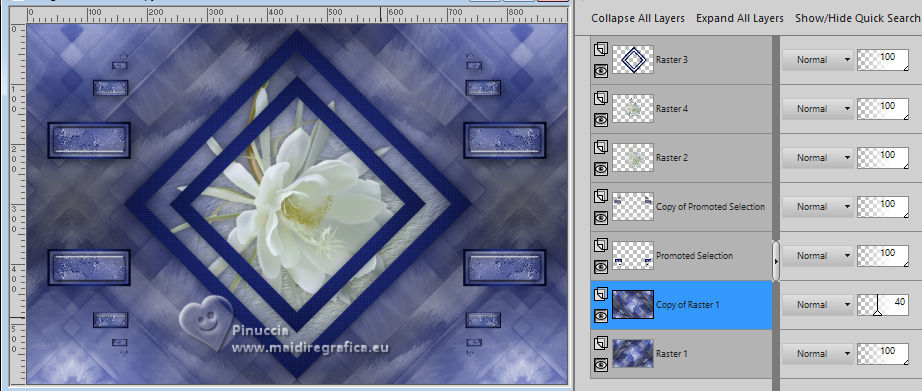
38. Open the tube deco1 and go to Edit>Copy.
Go back to your work and go to Edit>Paste as new layer (Raster 5).
39. K key to activate your Pick Tool 
Position X: -10,00 - Position Y: -1,00.

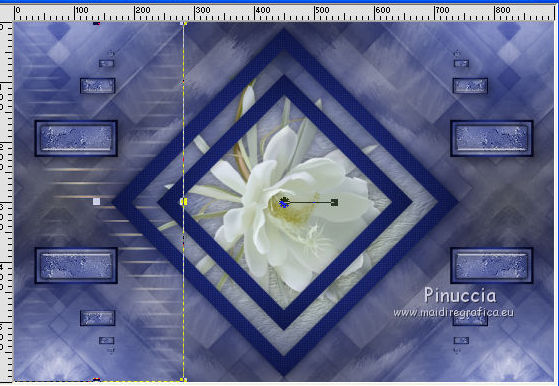
40. Layers>Duplicate.
Image>Mirror>Mirror Horizontal.
Layers>Merge>Merge Down.
41. Change the Blend Mode of this layer to Overlay.
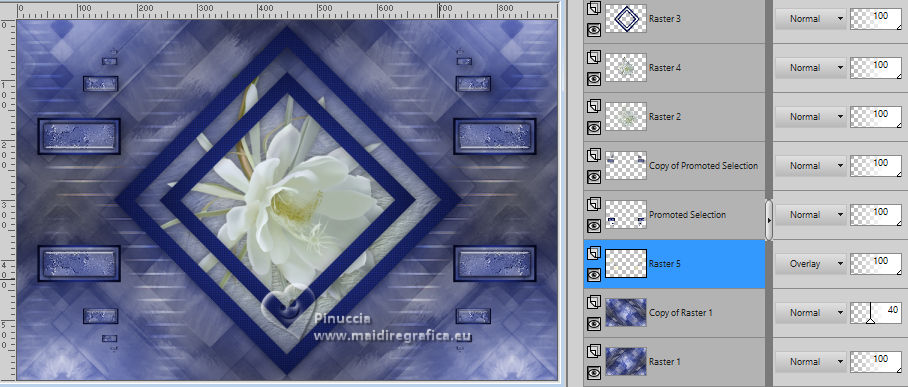
42. Layers>New Raster Layer - Raster 6.
Custom Selection 
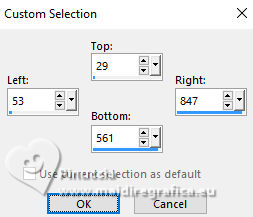
Set your foreground color to white
Flood Fill  the selection with the color white. the selection with the color white.
43. Selections>Modify>Contract - 2 pixels.
Press CANC on the keyboard.
Selections>Select None.
44. Effects>3D Effects>Drop Shadow, color black.
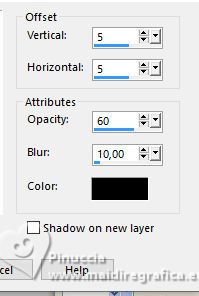
45. Activate the layer Promoted Selection.
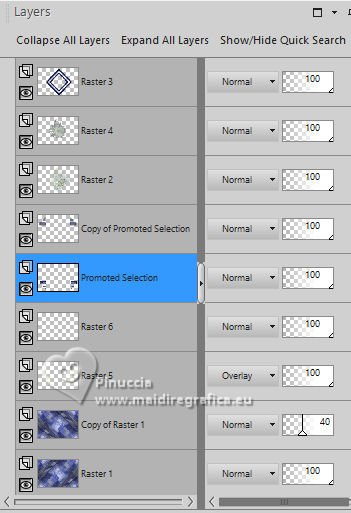
Layers>New Raster Layer - Raster 7.
Flood Fill  the layer with the color white. the layer with the color white.
46. Layers>New Mask layer>From image
Open the menu under the source window
and select the mask Narah_mask_0471.
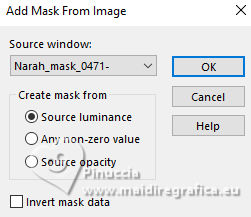
Layers>Merge>Merge Group.
47. Effects>3D Effects>Drop Shadow, color 1 #2f45bd.
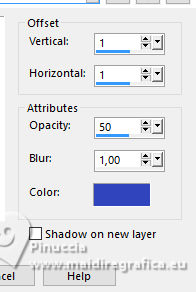
48. Layers>Duplicate.
Image>Mirror>Mirror Horizontal (Image>Mirror).
Image>Mirror>Mirror Vertical (Image>Flip).
49. Image>Add borders, 1 pixel, symmetric, color 2 #050515.
Image>Add borders, 2 pixels, symmetric, color white.
Image>Add borders, 1 pixel, symmetric, color 2 #050515.
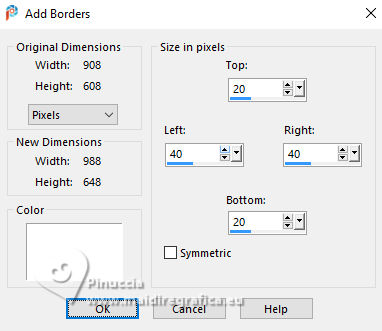
50. Image>Add borders, symmetric not checked, color white.
51. Open the woman's tube by Verlaine and go to Edit>Copy.
Go back to your work and go to Edit>Paste as new layer.
52. K key to activate your Pick Tool 
Position X: 450,00 - Position Y: -17,00.

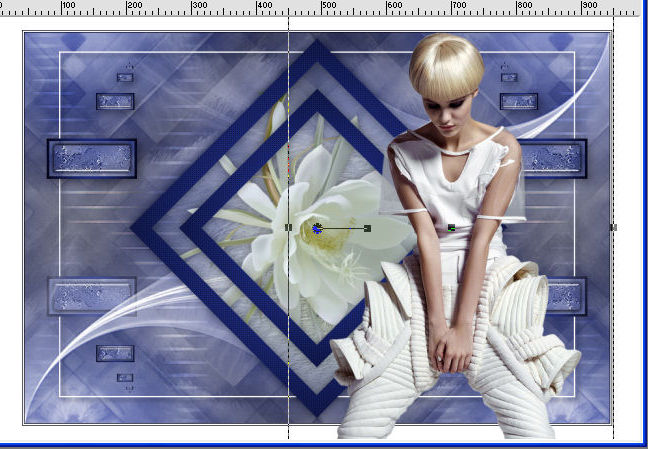
No Drop Shadow for this tube; it you are using another tube, to your to decide.
53. Open the texte Capture Moment and go to Edit>Copy.
Go back to your work and go to Edit>Paste as new layer.
54. K key to activate your Pick Tool 
Position X: 63,00 - Position Y: 233,00.

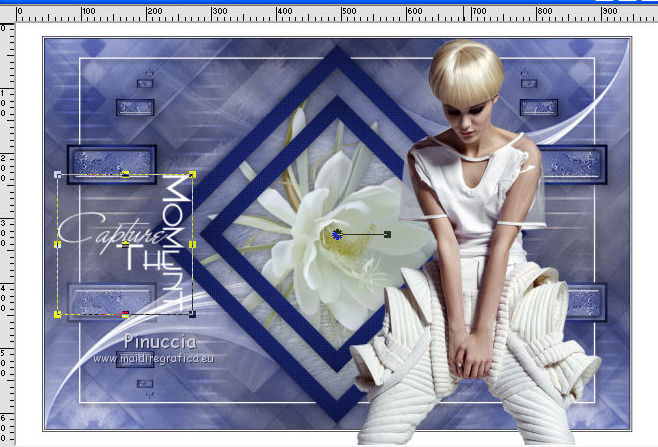
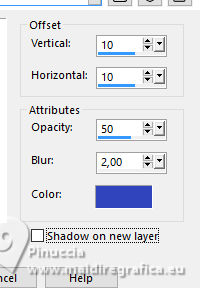
55. Effects>3D Effects>Drop Shadow, color 1 #2f45bd.
56. Open the tube deco 2 and go to Edit>Copy.
Go back to your work and go to Edit>Paste as new layer.
don't move it.
57. Sign your work.
58. Image>Add borders, 1 pixel, symmetric, color 2 #050515.
59. Image>Resize, 900 pixels width, resize all layers checked.
Save as jpg.
For the tubes ot this version thanks Maryse and Beatriz
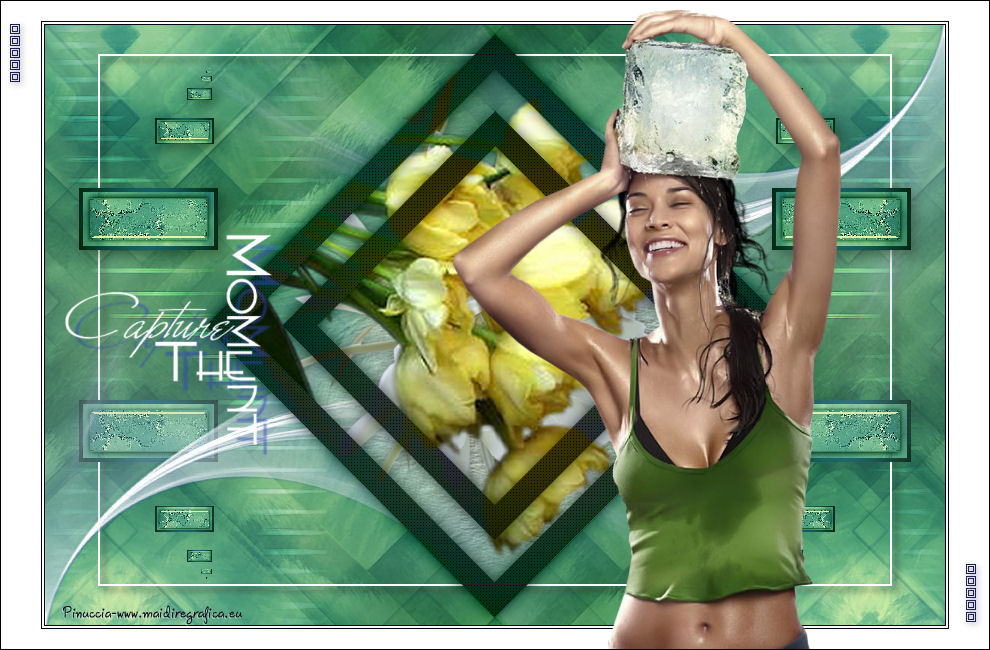

Your versions. Thanks
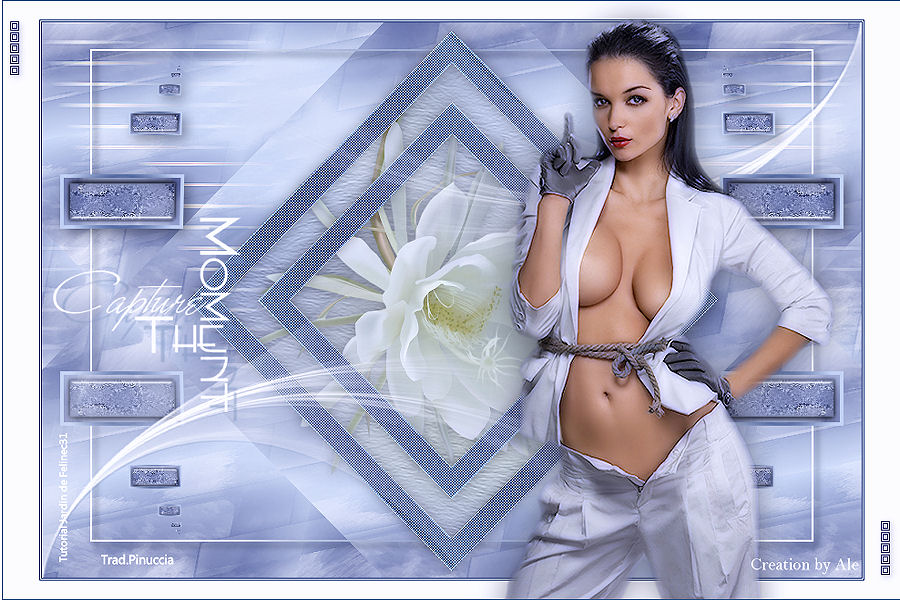
Alessandra

If you have problems or doubts, or you find a not worked link,
or only for tell me that you enjoyed this tutorial, write to me.
30 Dicembre 2024
|

