|
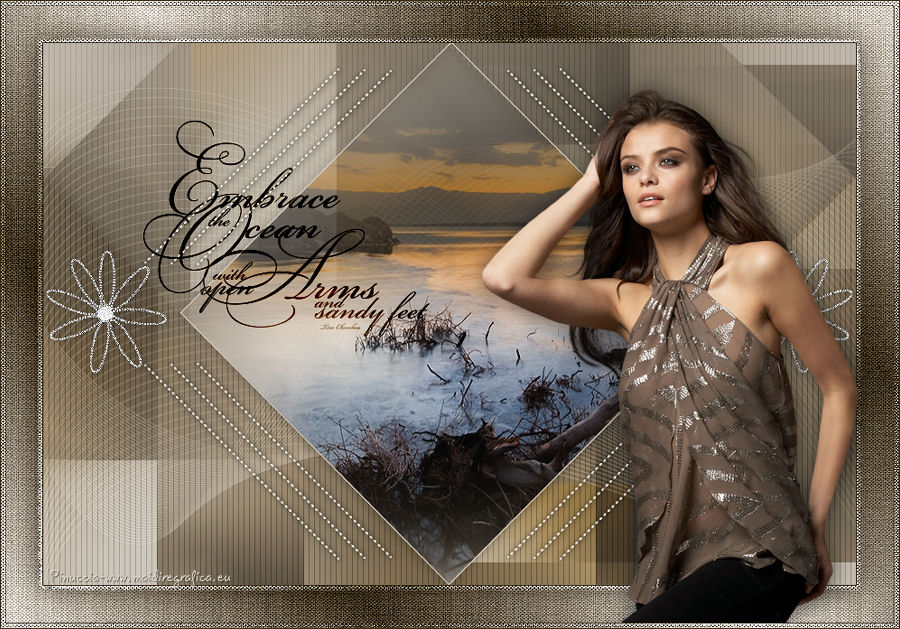
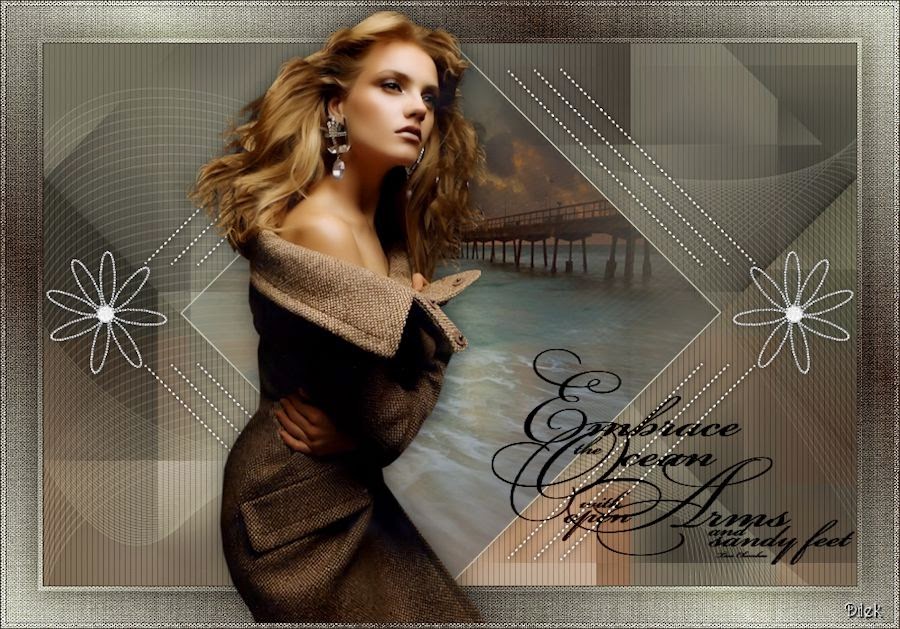
EMBRACE OCEAN
 english version

Thanks Carine for your invitation to translate

This tutorial was written with CorelX17 and translated with CorelX17, but it can also be made using other versions of PSP.
Since version PSP X4, Image>Mirror was replaced with Image>Flip Horizontal,
and Image>Flip with Image>Flip Vertical, there are some variables.
In versions X5 and X6, the functions have been improved by making available the Objects menu.
In the latest version X7 command Image>Mirror and Image>Flip returned, but with new differences.
See my schedule here
italian translation here
Material here
Thanks for the tubes Betje and Guismo.
(The links of the tubemakers here).
Plugins
consult, if necessary, my filter section here
Filters Unlimited 2.0 here
Mehdi - Sorting Tiles here
AP 01 [Innovations] - Lines SilverLining here
Simple - Blintz here
Filters Simple can be used alone or imported into Filters Unlimited.
(How do, you see here)
If a plugin supplied appears with this icon  it must necessarily be imported into Unlimited it must necessarily be imported into Unlimited

You can change Blend Modes according to your colors.
In the newest versions of PSP, you don't find the foreground/background gradient (Corel_06_029).
You can use the gradients of the older versions.
The Gradient of CorelX here

Copy the selections in the Selections Folder.
Open the mask in PSP and minimize it with the rest of the material.
1. Set your foreground color to #e0d8ce,
and your background color to #382a12.

Set your foreground color to a Foreground/Background Gradient, style Radial.
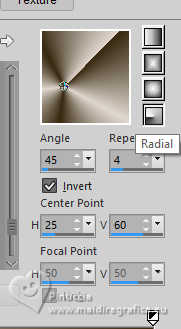
2.Open a new transparent image 900 x 600 pixels,
Flood Fill  the transparent image with your Gradient. the transparent image with your Gradient.
3. Layers>Duplicate.
Image>Mirror>Mirror Horizontal (Image Mirror).
Image>Mirror>Mirror Vertical (Image>Flip).
Reduce the opacity of this layer to 50%.
Layers>Merge>Merge Down.
4. Adjust>Blur>Gaussian Blur - radius 30.

5. Effects>Plugins>Mehdi - Sorting Tiles.
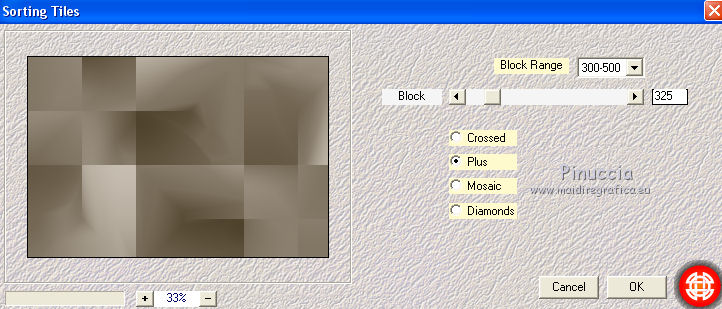
6. Layers>Duplicate.
Effects>Plugins>Simple - Blintz.
7. Layers>Duplicate.
Image>Mirror>Mirror Vertical (Image>Flip).
Layers>Merge>Merge Down.
Change the blend Mode of this layer to Luminance.

8. Layers>Merge>Merge Down.
9. Selections>Load/Save Selection>Load Selection from Disk.
Look for and load the selection ocean1.
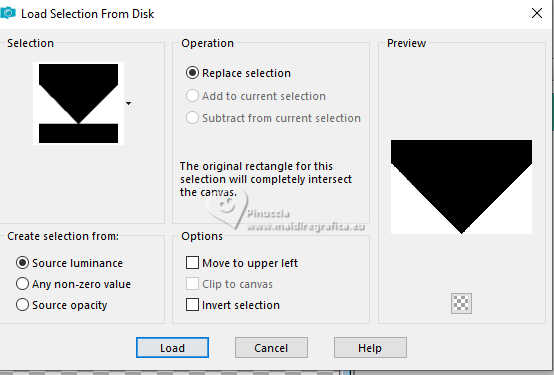
Selections>Promote Selection to Layer.
10. Effects>Plugins>AP 01 [Innovations] - Lines SilverLining.
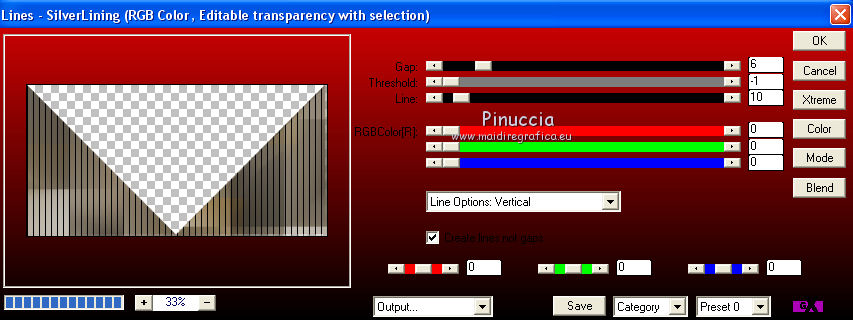
11. Change the blend Mode of this layer to Soft Light,
and reduce the opacity to 80%.
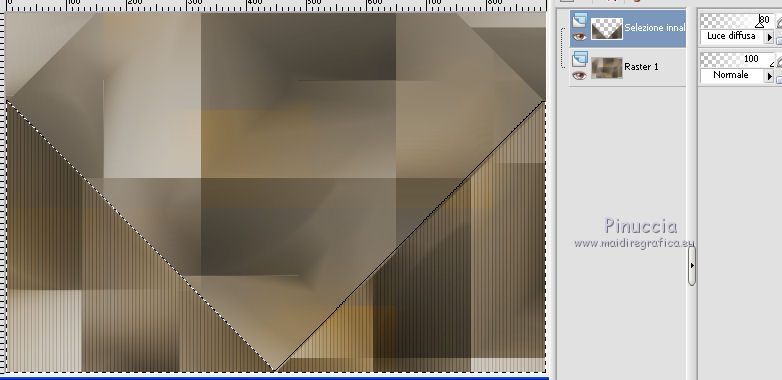
12. Effects>3D Effects>Drop shadow, color black.

Selections>Select None.
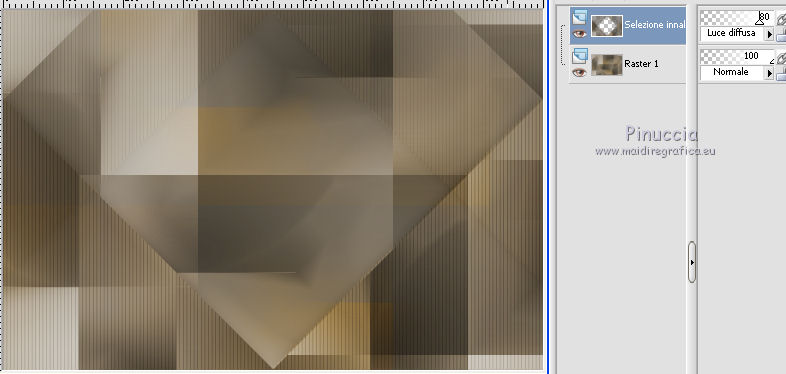
13. Layers>Duplicate.
Image>Mirror>Mirror Vertical (Image>Flip).
Layers>Merge>Merge Down.
Change the Blend Mode of this layer to Soft Light
and reduce the opacity to 80%.
14. Selections>Load/Save Selection>Load Selection from Disk.
Look for and load the selection ocean2.

15. Open the landscape tube calguismistscenery2469.
Erase the watermark and go to Edit>Copy.
Go back to your work and go to Edit>Paste as new layer.
Image>Resize, if necessary; for me 90%, resize all layers not checked.
16. Selections>Invert.
Press CANC on the keyboard 
Selections>Invert.
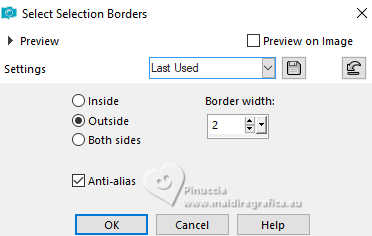
17. Selections>Modify>Select Selection Borders.
18. Set your foreground color to Color.
Layers>New Raster Layer.
Flood Fill  the selection with your foreground color. the selection with your foreground color.
Selections>Select None.
19. Layers>Merge>Merge Down.
20. Effects>3D Effects>Drop shadow, color black.

21. Activate your bottom layer (Merged).
Layers>New Raster Layer.
Flood Fill  with your foreground color. with your foreground color.
22. Layers>New Mask layer>From image
Open the menu under the source window and you'll see all the files open.
Select the mask MASK-MD-025.
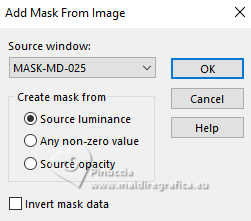
Layers>Merge>Merge Group.
Reduce the opacity of this layer to 50%.
Adjust>Sharpness>Sharpen.
23. Activate your top layer.
Open the tube déco 1 barre, and go to Edit>Copy.
Go back to your work and go to Edit>Paste as new layer.
24. Activate your Pick Tool 
Position X: 511,00 - Position Y: 25,00.

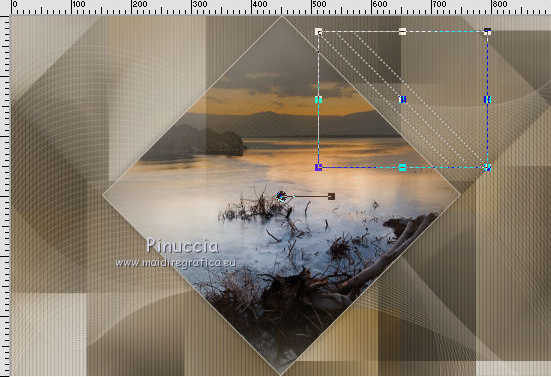
25. Layers>Duplicate.
Image>Mirror>Mirror Horizontal (Image Mirror).
Layers>Merge>Merge Down.
26. Layers>Duplicate.
Image>Mirror>Mirror Vertical (Image>Flip).
Layers>Merge>Merge Down.
27. Effects>3D Effects>Drop shadow, color black.
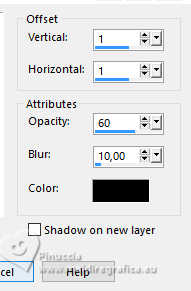
Adjust>Sharpness>Sharpen.
28. Open the tube déco 2 Fleur étoile, and go to Edit>Copy.
Go back to your work and go to Edit>Paste as new layer.
Image>Resize, to 45%, resize all layers not checked.
Activate your Pick Tool 
Position X: 3,00 - Position Y: 229,00.

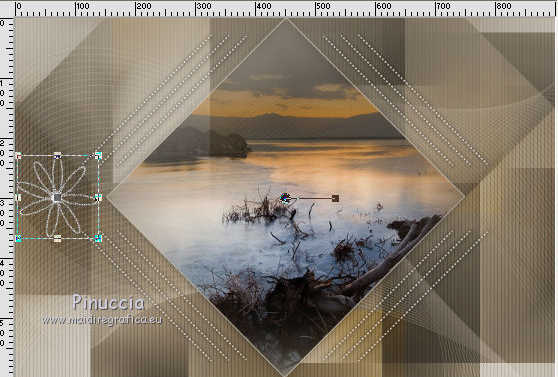
29. Effects>3D Effects>Drop shadow, color black.
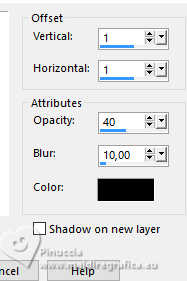
30. Layers>Duplicate.
Image>Mirror>Mirror Horizontal (Image Mirror).
Layer>Merge>Merge All.
31. Image>Add borders, 1 pixel, symmetric, background color.
Image>Add borders, 5 pixels, symmetric, color white.
32. Activate your Magic Wand Tool 
and click in the border of 5 pixels to select it.
33. Set your foreground color to a Foreground/Background Gradient, style Linear.
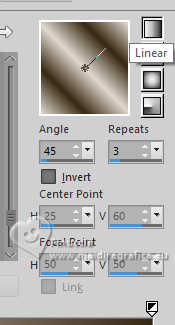
Flood Fill  the selection with your Gradient. the selection with your Gradient.
34. Effects>Plugins>Filters Unlimited 2.0 - Paper Textures - Canvas, Fine, default settings.
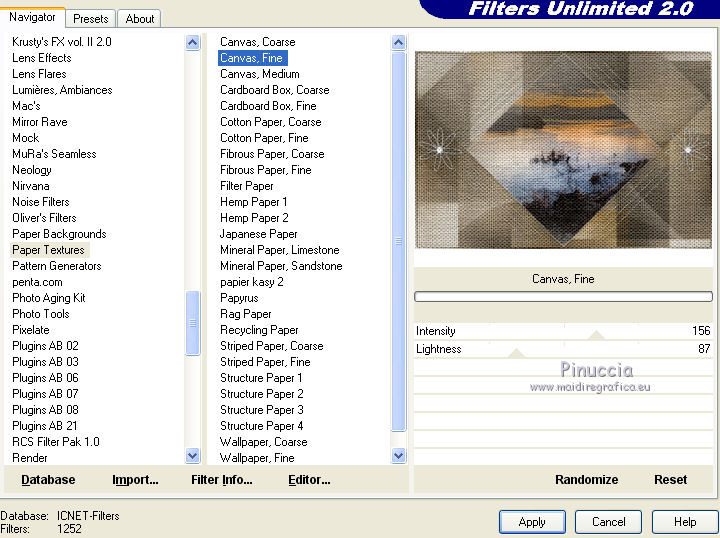
Effects>Edge Effects>Enhance.
Selections>Select None.
35. Image>Add borders, 35 pixels, symmetric, color white.
Select this border with your Magic Wand Tool 
Flood Fill  with your Linear Gradient. with your Linear Gradient.
36. Effects>Plugins>Filters Unlimited 2.0 - Paper Textures, Canvas,fine, same settings.
37. Selections>Promote Selection to Layer.
38. Effects>Plugins>Filters Unlimited 2.0 - Special Effect 1 - Aged Film, default settings.
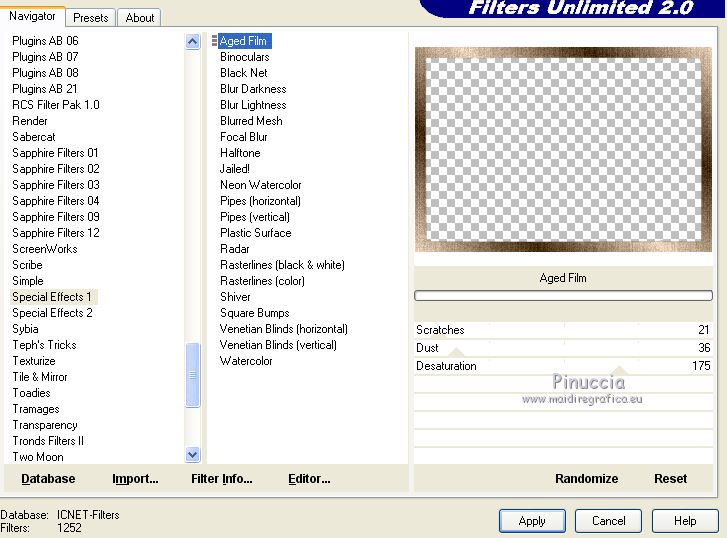
39. Change the blend Mode of this layer to luminance (legacy).
Adjust>Sharpness>Sharpen.
40. Selections>Invert.
Effects>3D Effects>Drop shadow, color black.
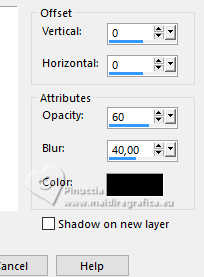
Layers>Merge>Merge Down.
Selections>Select None.
41. Open the woman tube by Betje.
Erase the watermark and go to Edit>Copy.
Go back to your work and go to Edit>Paste as new layer.
Move  the tube to the right (see my example). the tube to the right (see my example).
42. Effects>3D Effects>Drop shadow, color black.

43. Open the wordart Ocean, and go to Edit>Copy.
Go back to your work and go to Edit>Paste as new layer.
Activate your Pick Tool 
Position X: 152,00 - Position Y: 127,00.

Change the blend Mode of this layer to Overlay.
Layers>Duplicate.
44. Image>Add borders, 1 pixel, symmetric, background color.
Image>Add borders, 5 pixels, symmetric, color white.
Select this border with your Magic Wand Tool 
Flood Fill  with your Linear Gradient. with your Linear Gradient.
45. Effects>Plugins>Filters Unlimited 2.0 - Paper Textures - Canvas Fine, same settings.
Effects>Edge Effects>Enhance.
Selections>Select None.
46. Image>Add borders, 1 pixel, symmetric, background color.
Image>Resize, 900 pixels width, resize all layers checked.
Sign your work and save as jpg.

Your versions. Thanks
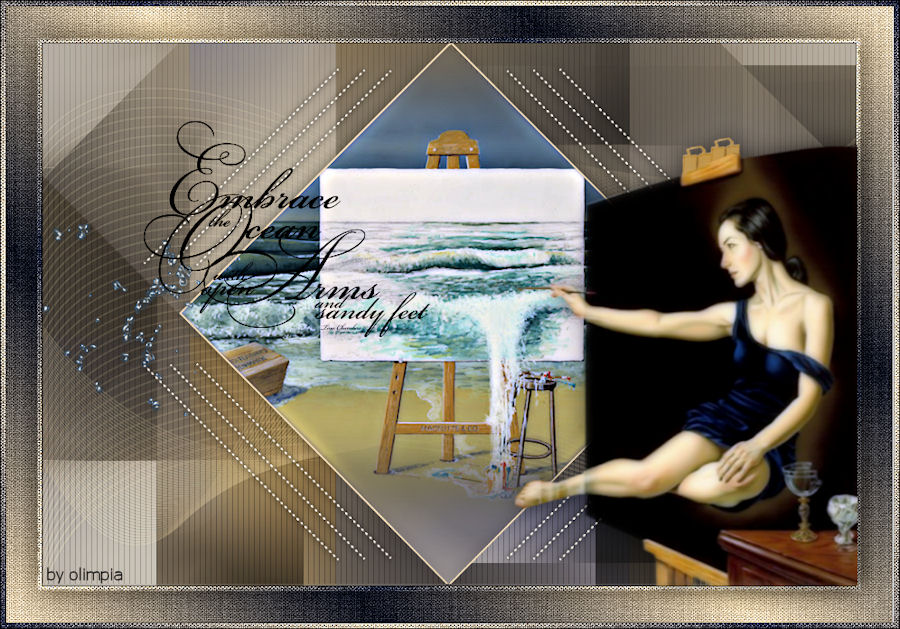
Olimpia

Lucie

Seval
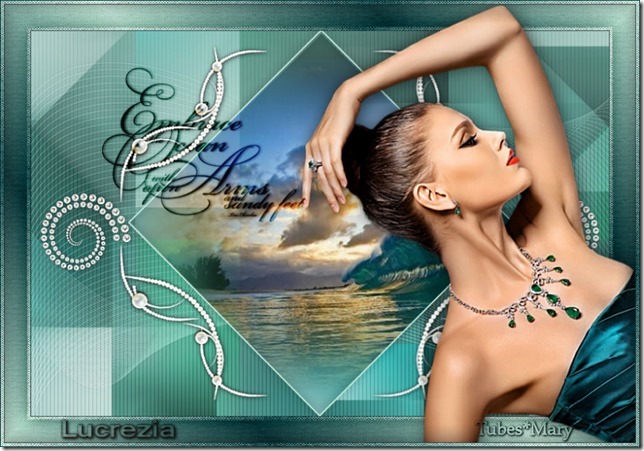
Lucrezia
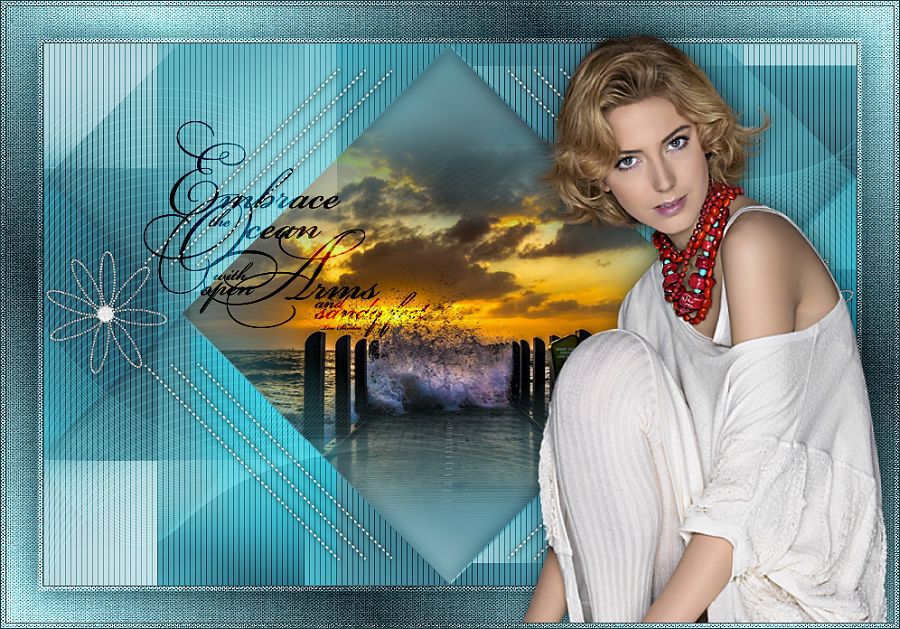
Rossella
Dilek

If you have problems or doubts, or you find a not worked link, or only for tell me that you enjoyed this tutorial, write to me.
20 November 2024
|
 english version

 english version