AMBRE

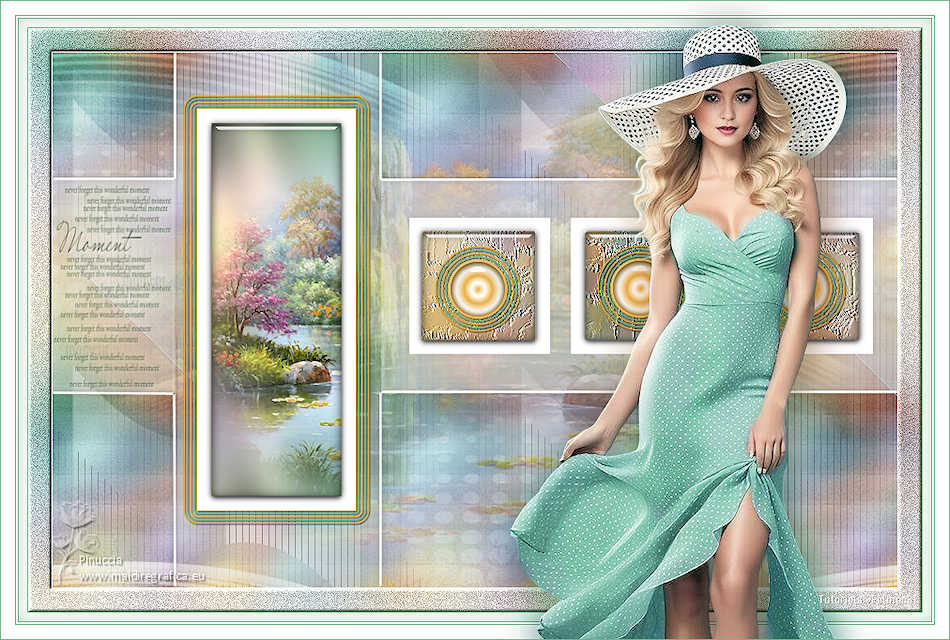
Thanks Carine for your invitation to translate

Clic and move the brush to follow the tutorial.

To print


|
This tutorial was translated with PSPX7 and PSPX2, but it can also be made using other versions of PSP.
Since version PSP X4, Image>Mirror was replaced with Image>Flip Horizontal,
and Image>Flip with Image>Flip Vertical, there are some variables.
In versions X5 and X6, the functions have been improved by making available the Objects menu.
In the latest version X7 command Image>Mirror and Image>Flip returned, but with new differences.
See my schedule here
 italian translation here italian translation here
 your versions here your versions here
Necessary

Thanks for one tube Cupcake and for the masks Tine et Narah.
The rest of the material is by Felinec31.
(The links of the tubemakers here).

consult, if necessary, my filter section here
Filters Unlimited 2.0 here
&<Background Designer IV> - sf10Slice N Dice (da importare in Unlimited) here
Graphics Plus - Cross shadow here
Alien Skin Eye Candy 5 Impact - Glass, Gradient Glow here
Filters Graphics Plus can be used alone or imported into Filters Unlimited.
(How do, you see here)
If a plugin supplied appears with this icon  it must necessarily be imported into Unlimited it must necessarily be imported into Unlimited

You can change Blend Modes according to your colors.
Copy the preset  in the folder of the plugin Alien Skin Eye Candy 5 Impact>Settings>Gradient Glow. in the folder of the plugin Alien Skin Eye Candy 5 Impact>Settings>Gradient Glow.
One or two clic on the file (it depends by your settings), automatically the preset will be copied in the right folder.
why one or two clic see here

Copy the selections in the Selections Folder.
Copy the Preset Emboss 3 in the Presets Folder.
Open the masks in PSP and minimize them with the rest of the material.
Set your foreground color to #6eb684,
and your background color to #ffffff.
1. Open a new transparent image 900 x 570 pixels.
Flood Fill  the transparent image with your foreground color. the transparent image with your foreground color.
2. Selections>Select All.
Open the tube by Cupcake Pâques 11 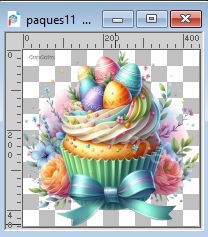
Erase the watermark and go to Edit>Copy.
Go back to your work and go to Edit>Paste into selection.
Selections>Select None.
3. Effects>Image Effects>Seamless Tiling, default settings.

4. Adjust>Blur>Gaussian Blur - radius 25.

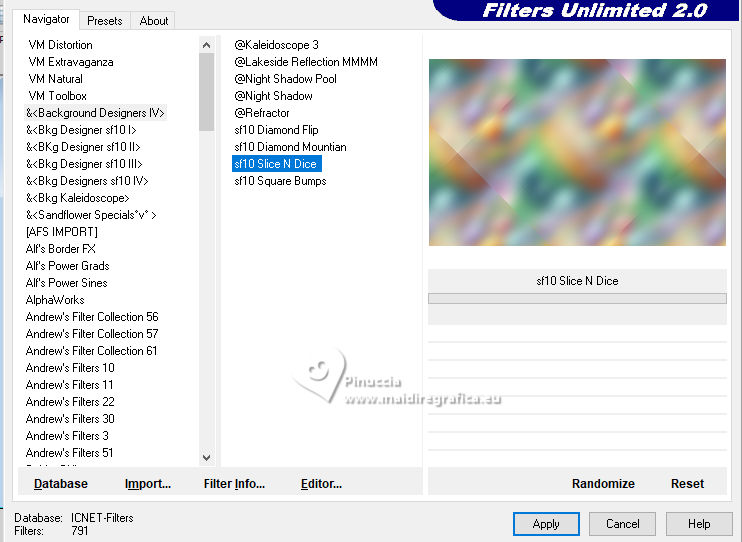
5. Effects>Plugins>Filters Unlimited 2.0 - &<Background Designers IV> - sf10 Slice N Dice.
Effects>Edge Effects>Enhance.
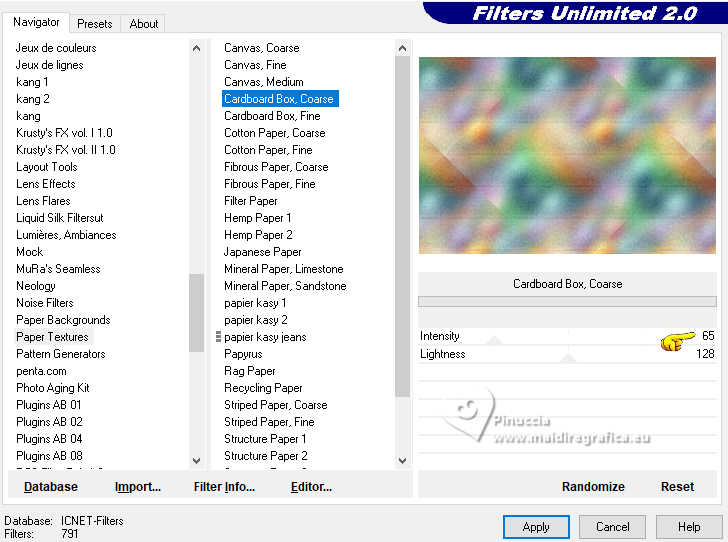
6. Effects>Plugins>Filters Unlimited 2.0 - Paper Textures - CardBoard Box, Coarse.
7. Layers>New Raster Layer.
Flood Fill  the layer with your white background color. the layer with your white background color.
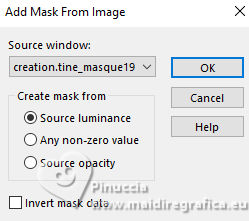
8. Layers>New Mask layer>From image
Open the menu under the source window and you'll see all the files open.
Select the mask creation.tine_masque191
Layers>Merge>Merge Group.
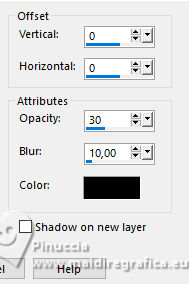
9. Effects>3D Effects>Drop Shadow, color black.
10. Open Deco 1 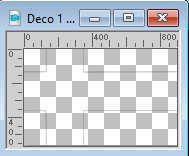
Edit>Copy.
Go back to your work and go toEdit>Paste as new layer, Raster 2.
11. Effects>3D Effects>Drop Shadow, same settings.

12. Layers>Merge>Merge Down.
13. Activate the layer Raster 1.
Selections>Load/Save Selection>Load Selection from Disk.
Look for and load the selection Sélection_Ambre
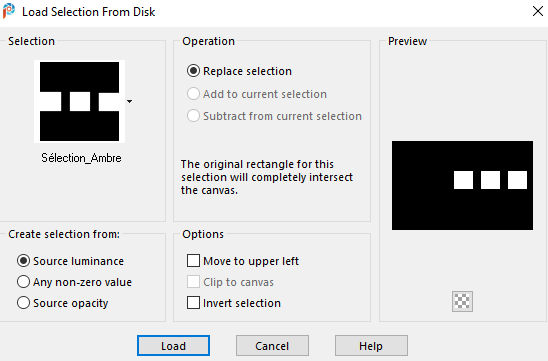
Selections>Promote Selection to Layer.
Layers>Arrange>Move up.
14. Effects>Art Media Effects>Brush Strokes - color white.
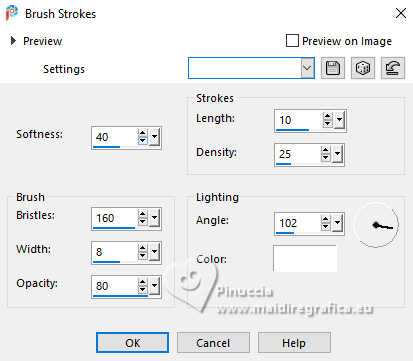
15. Effects>User Defined Filter - select the preset Emboss 3 and ok.

16. Effects>Plugins>Alien Skin Eye Candy 5 Impact - Glass
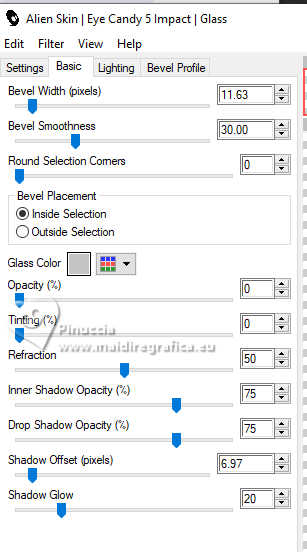
17. Effects>3D Effects>Drop Shadow, color black.
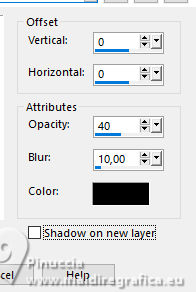
Selections>Select None.
18. Activate again the layer Raster 1.
Open the tube Paysage 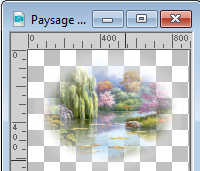
Edit>Copy.
Go back to your work and go toEdit>Paste as new layer.
Reduce the opacity of this layer to 50%.
19. Again activate the layer Raster 1.
Open the tube Deco 2 
Edit>Copy.
Go back to your work and go toEdit>Paste as new layer, Raster 3
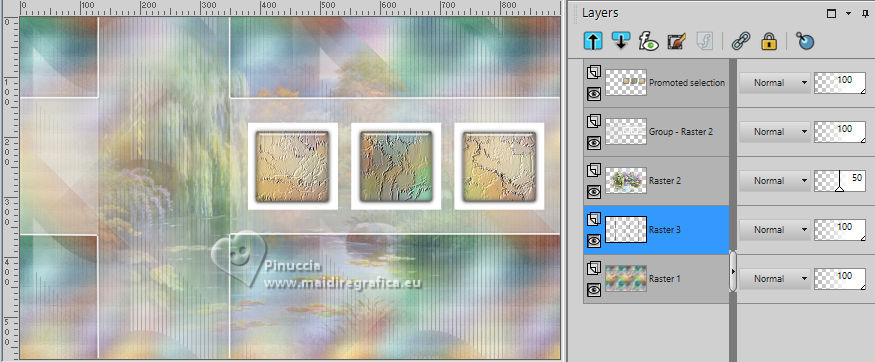
20. Activate your top layer.
Open the tube Deco 3 
Edit>Copy.
Go back to your work and go toEdit>Paste as new layer.
21. K key to activate your Pick Tool 
and set Position X: 422,00 and Position Y: 220,00.

22. Effects>Plugins>Alien Skin Eye Candy 5 Impact - Gradient Glow.
Select the preset GradientGlow_Ambre
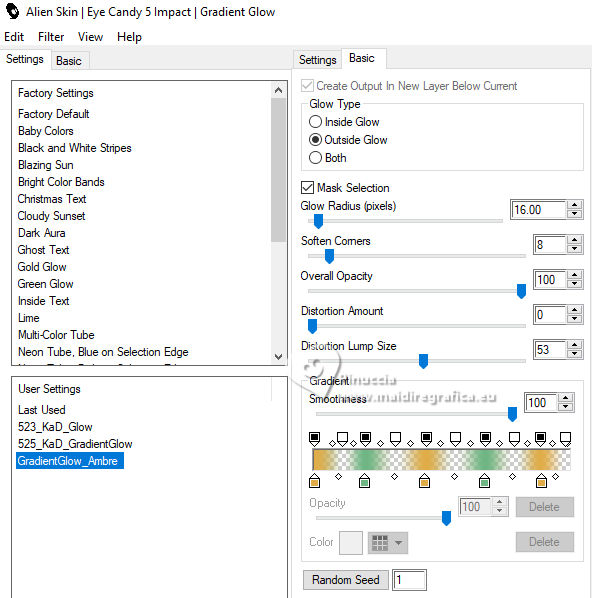
if you are using other colors,
click on the "inkwell" to activate the color palette and set your foreground color
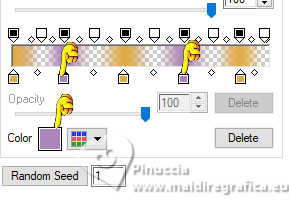
23. Effects>3D Effects>Drop Shadow, color black.
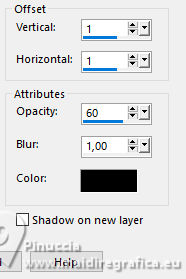
24. Layers>New Raster Layer.
Selections>Load/Save Selection>Load Selection from Disk.
Look for and load the selection Sélection_Ambre1
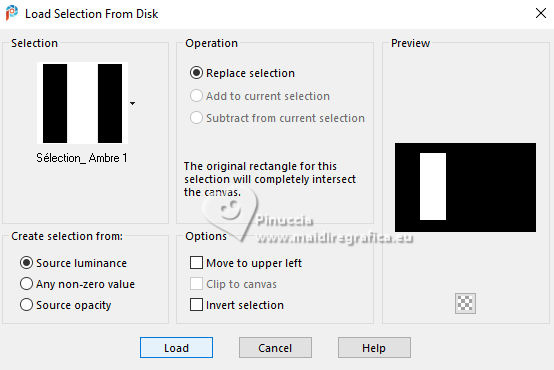
Flood Fill  the selection with your white background color. the selection with your white background color.
Selections>Modify>Contract - 15 pixels.
Press CANC on the keyboard 
25. Activate the layer Raster 1.
Selections>Promote Selection to layer.
Layers>Arrange>Bring to Top.
26. Adjust>Blur>Gaussian blur, same settings.

27. Effects>Plugins>Graphics Plus - Cross Shadow.
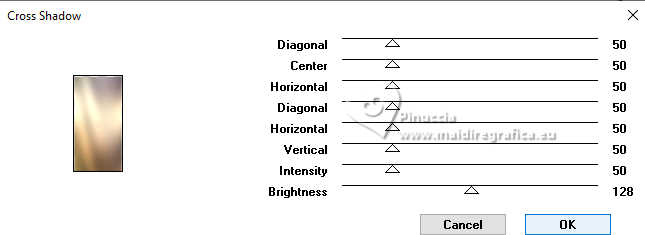
28. Open the tube paysage 2 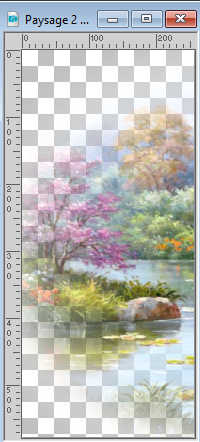
Edit>Copy.
Go back to your work and go to Edit>Paste into selection.
29. Adjust>Brightness and Contrast (optional, according to your tube).
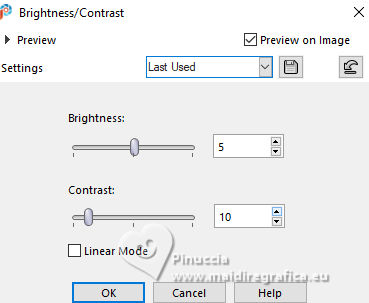
Adjust>Sharpness>Sharpen.
30. Layers>Merge>Merge Down.
Note: in the PSP versions X9 and 2020 you cannot use this command.
Don't worry, just continue and merge the layer down after deselecting in step 32.
31. Effects>Plugins>Alien Skin Eye Candy 5 Impact - Glass, same settings.

32. Effects>3D Effects>Drop Shadow, color black.

Selections>Select None.
as explained in point 30, is you are using the version X9 or 2020:
Layers>Merge>Merge Down.
Effects>Plugins>Alien Skin Eye Candy 5 Impact - Gradient Glow, same settings.

33. Effects>3D Effects>Drop Shadow, color black.

34. Activate the layer Raster 1.
Layers>New Raster Layer.
Flood Fill  the selection with your white background color. the selection with your white background color.
35. Layers>New Mask layer>From image
Open the menu under the source window
and select the mask Narah_mask_0582

Layers>Merge>Merge Group.
Change the Blend Mode of this layer to Overlay and reduce the opacity to 60%.
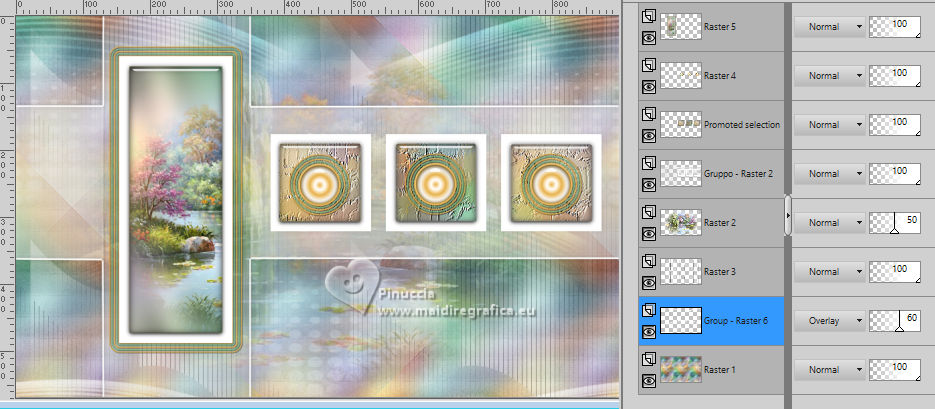
37. Effects>Image Effects>Seamless Tiling, default settings.

38. Layers>Merge>Merge visible.
39. Image>Add Borders, 1 pixel, symmetric, color white.
Edit>Copy
40. Selections>Select All.
Image>Add borders, 25 pixels, symmetric, neutral color.
Selections>Invert.
Edit>Paste into selection
41. Adjust>Blur>Gaussian Blur - radius 20.

42. Adjust>Add/Remove Noise>Add Noise.

Adjust>Sharpness>Sharpen.
43. Effects>3D Effects>Inner Bevel.

Selections>Select None.
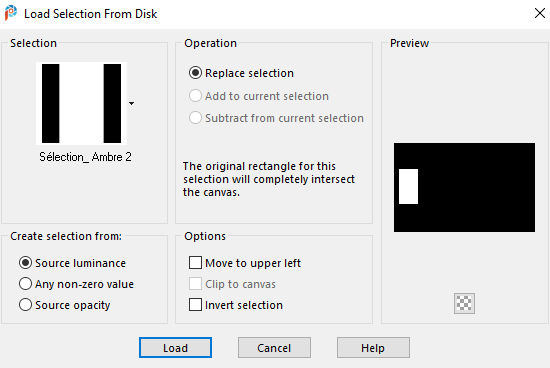
44. Selections>Load/Save Selection>Load Selection from Disk.
Look for and load the selection Sélection_Ambre2
45. Layers>New Raster Layer, Raster 1.
Open the text texte 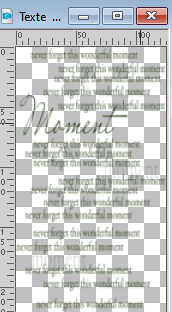
Edit>Copy.
Go back to your work and go to Edit>Paste into selection.
Selections>Select None.
46. Effects>3D Effects>Drop Shadow, color white.

47. Image>Add borders, 1 pixel, symmetric, foreground color.
Edit>Copy
48. Open the frame cadre 
Edit>Paste as new layer.
49. Open the tube tube felinec31 fevr2024(2) 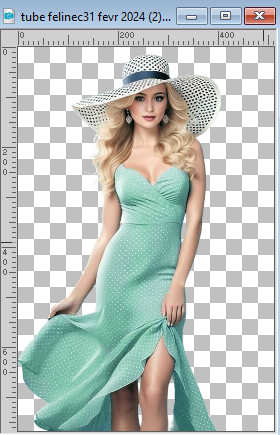
Edit>Copy.
Go back to your work and go to Edit>Paste as new layer.
Image>Resize, to 88%, resize all layers not checked.
Move  il tube to the right side. il tube to the right side.

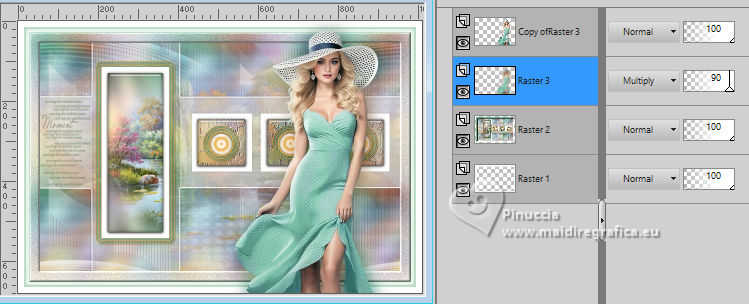
50. Layers>Duplicate, and activate the layer below of the original.
Adjust>Blur>Gaussian Blur, same settings.

51. Change the Blend Mode of this layer to Multiply and reduce the opacity to 90%.
52. Image>Add borders, 1 pixel, symmetric, foreground color.
Adjust>Sharpness>Sharpen.
53. Sign your work.
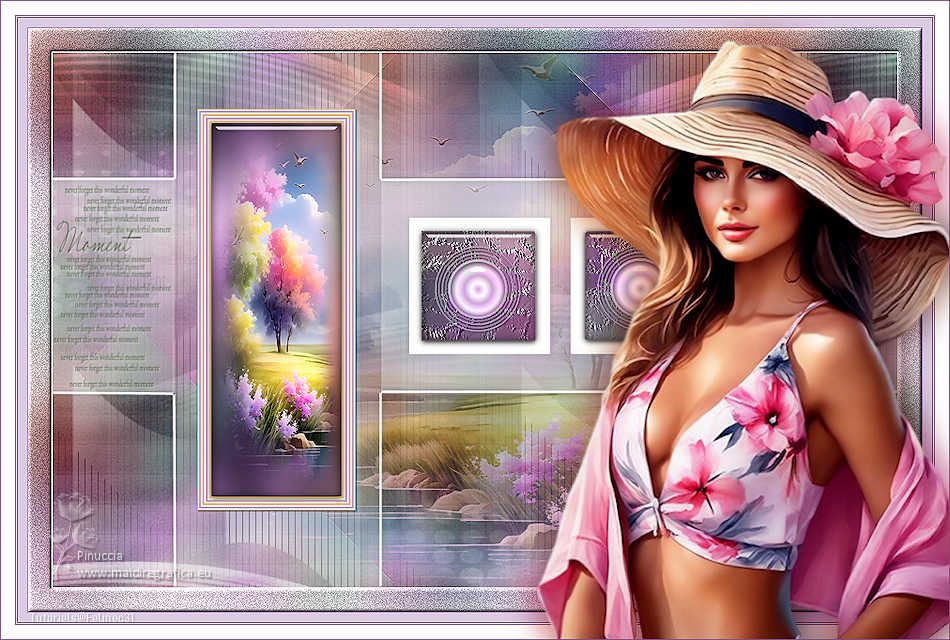
Image>Resize, 950 pixels width, resize all layers checked.
Save as jpg.
For the tubes of this version thanks Luz Cristina and Mentali.

If you have problems or doubts, or you find a not worked link, or only for tell me that you enjoyed this tutorial, write to me.
28 March 2024

|

