AUTOMNE FESTIVAL DE COULEURS
 english version
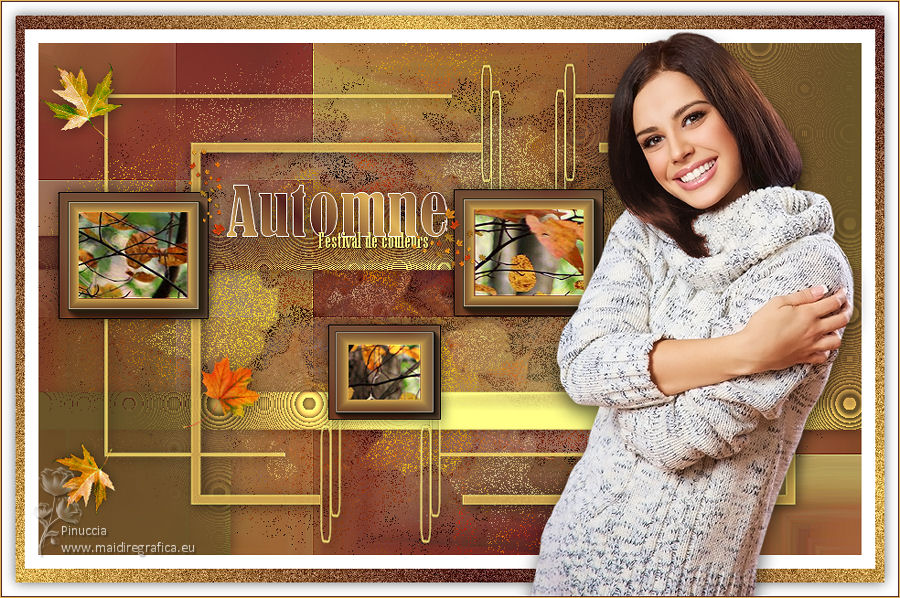
Thanks Carine for your invitation to translate

Clic and move the brush to follow the tutorial.

To print


|
This tutorial was translated with PSPX and PSPX3, but it can also be made using other versions of PSP.
Since version PSP X4, Image>Mirror was replaced with Image>Flip Horizontal,
and Image>Flip with Image>Flip Vertical, there are some variables.
In versions X5 and X6, the functions have been improved by making available the Objects menu.
In the latest version X7 command Image>Mirror and Image>Flip returned, but with new differences.
See my schedule here
 italian translation here italian translation here
Material here
Thanks: for the tubes Nadège and for the masks Valy and Narah.
(The links of the tubemakers here).
Plugins
consult, if necessary, my filter section here
Mehdi - Sorting Tiles here
Carolaine and Sensibility - CS-Reflexion here
Funhouse - Cirquelate here
AAA Frames - Foto Frame here
Filters Unlimited 2.0 here
Filters Funhouse can be used alone or imported into Filters Unlimited.
(How do, you see here)
If a plugin supplied appears with this icon  it must necessarily be imported into Unlimited it must necessarily be imported into Unlimited

You can change Blend Modes according to your colors.
In the newest versions of PSP, you don't find the foreground/background gradient (Corel_06_029).
You can use the gradients of the older versions.
The Gradient of CorelX here

Copy the Selections in the Selections Folder.
Open the masks in PSP and minimize them with the rest of the material.
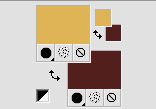
Set your foreground color to #dfb456,
and your backgorund color to #53201d.
1. Open a new transparent image 900 x 560 pixels.
2. Selections>Select All.
Open the background image "fond" and go to Edit>Copy.
Go back to your work and go to Edit>Paste into Selection.
Adjust>Sharpness>Sharpen.
3. Effects>Image Effects>Seamless Tiling, default settings.

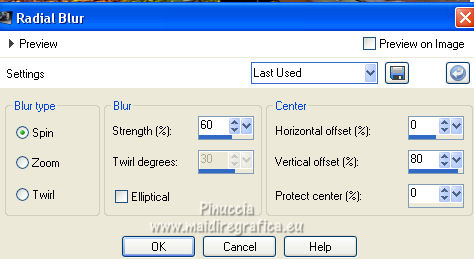
4. Adjust>Blur>Radial Blur.
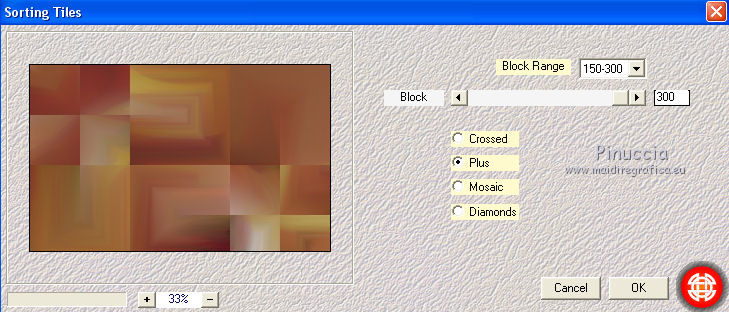
5. Effects>Plugins>Mehdi - Sorting Tiles.
Effects>Edge Effects>Enhance.
6. Layers>New Raster Layer, Raster 2.
Flood Fill  the layer with your foreground color. the layer with your foreground color.
7. Layers>New Mask layer>From image
Open the menu under the source window and you'll see all the files open.
Select the mask VSP262.
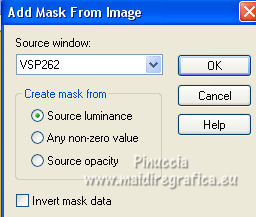
Layers>Merge>Merge Group.
8. Effects>Plugins>Carolaine and Sensibility - CS-Reflexion.

9. Effects>Plugins>Funhouse - Cirquelate.
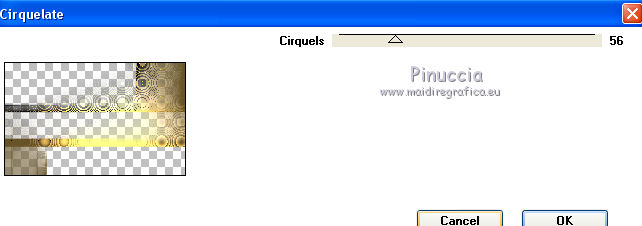
10. Effects>3D Effects>Drop Shadow, color black.
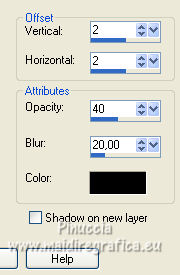
11. Layers>New Raster Layer, Raster 2.
Flood Fill  with your foreground color. with your foreground color.
12. Layers>New Mask layer>From image
Open the menu under the source window
and select the mask NarahsMasks_1621.
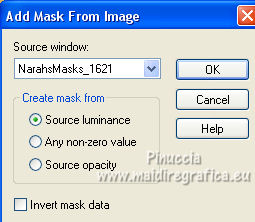
Layers>Merge>Merge Group.
Effects>Edge Effects>Enhance.
13. Effects>3D Effects>Drop Shadow, color black.
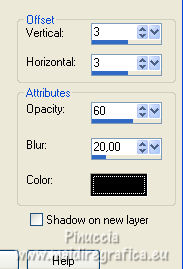
14. Activate the layer Raster 1.
Selections>Load/Save Selection>Load Selection from Disk.
Look for and load the selection #Automne1.
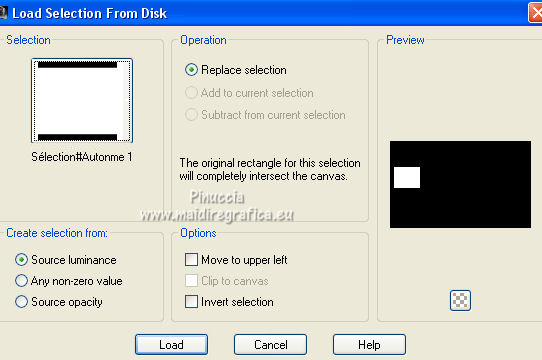
Selections>Promote Selection to Layer.
Layers>Arrange>Bring to Top.
15. Adjust>Blur>Gaussian Blur - radius 15.

16. Effects>Plugins>AAA Frames - Foto Frame.
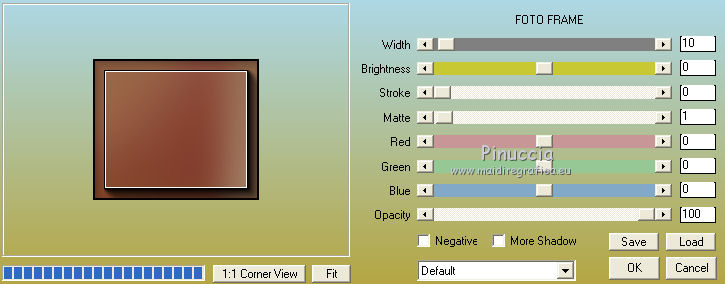
Selections>Select None.
17. Layers>Duplicate.
Activate your Pick Tool 
and set Position X: 454,00 and Position Y: 160,00.

18. Layers>Duplicate.
Image>Resize, to 75%, resize all layers not checked.
Set Position X: 317,00 and Position Y: 308,00.

19. Layers>Merge>Merge Down - 2 times
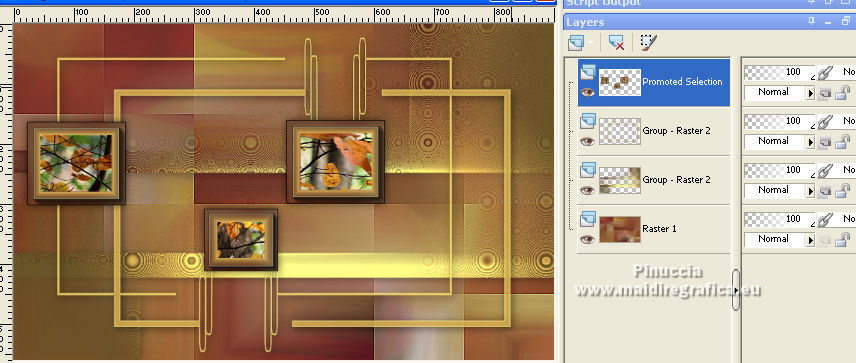
20. Layers>New Raster Layer, Raster 2.
Selections>Load/Save Selection>Load Selection from Disk.
Look for and load the selection #Automne2.
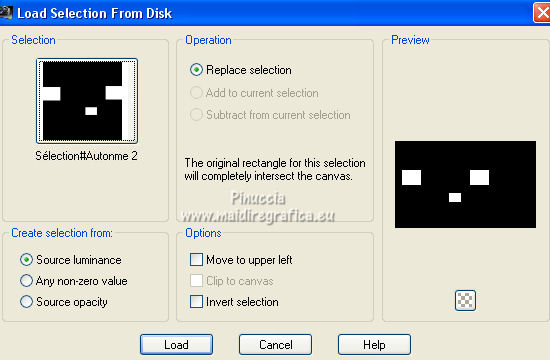
21. Open the tube déco cadres and go to Edit>Copy.
Go back to your work and go to Edit>Paste into Selection.
Adjust>Sharpness>Sharpen.
22. Effects>3D Effects>Chisel.
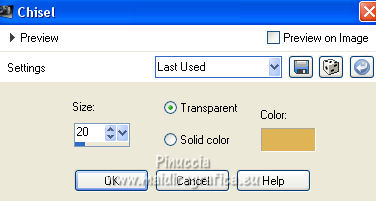
Selections>Select None.
Layers>Merge>Merge Down.
23. Effects>3D Effects>Drop Shadow, color black.
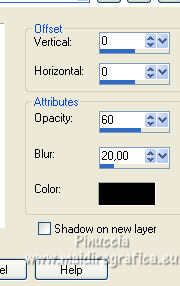
24. Activate the layer Raster 1.
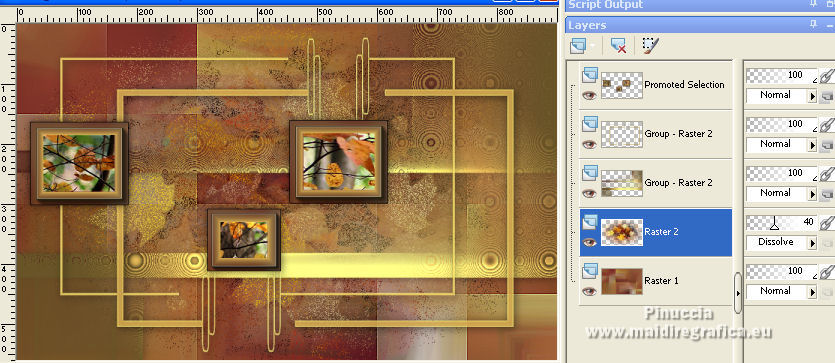
Layers>New Raster Layer, Raster 2.
Selections>Select All.
25. Open the tube feuilles mortes and go to Edit>Copy.
Go back to your work and go to Edit>Paste into Selection.
Change the Blend Mode of this layer to Dissolve et reduce the opacity to 40%.
Selections>Select None.
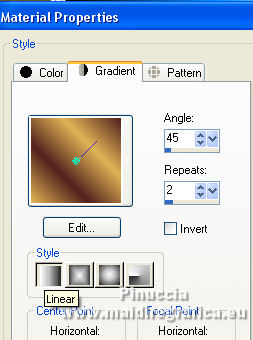
26. Set your foreground color to a Foreground/Background Gradient, style Linear.
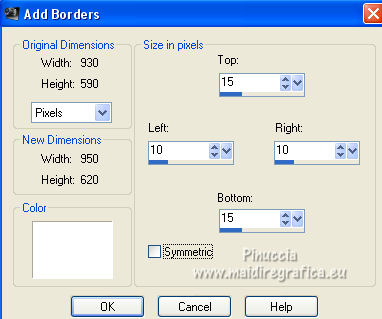
Image>Add borders, 15 pixels, symmetric, color white.
Selections>Select All.
Image>Add borders, symmetric not checked, color white.
27. Selections>Invert.
Flood Fill  the selection with your Gradient. the selection with your Gradient.
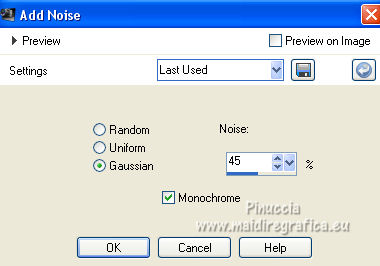
28. Adjust>Add/Remove Noise>Add Noise.
29. Selections>Select All.
Image>Add borders, 15 pixels, symmetric, color white.
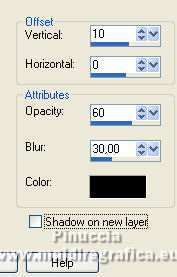
30. Effects>3D Effects>Drop Shadow, color black.

Selections>Select None.
31. Open the tube Deco 1 and go to Edit>Copy.
Go back to your work and go to Edit>Paste as new layer.
32. Activate your Pick Tool 
and set Position X: 37,00 and Position Y: 63,00.

33. Open the woman tube by Nadège, erase the watermark and go to Edit>Copy.
Go back to your work and go to Edit>Paste as new layer.
Image>Mirror.
Image>Resize, to 82%, resize all layers not checked.
Move  the tube to the right side. the tube to the right side.
34. Effects>3D Effects>Drop Shadow, color black.
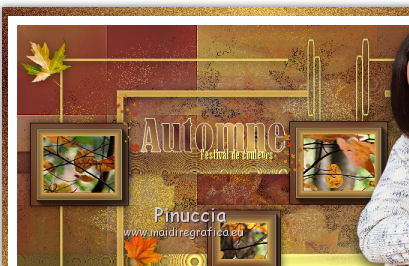
35. Open the wordart Fc31 automne and go to Edit>Copy.
Go back to your work and go to Edit>Paste as new layer.
Move  the tube between the frames. the tube between the frames.
37. Effects>3D Effects>Drop Shadow, color black.

38. Image>Add borders, 1 pixel, symmetric, background color.
Image>Add borders, 1 pixel, symmetric, foreground color.
39. Image>Resize, 900 pixels width, resize all layers checked.
40. Sign your work and save as jpg.
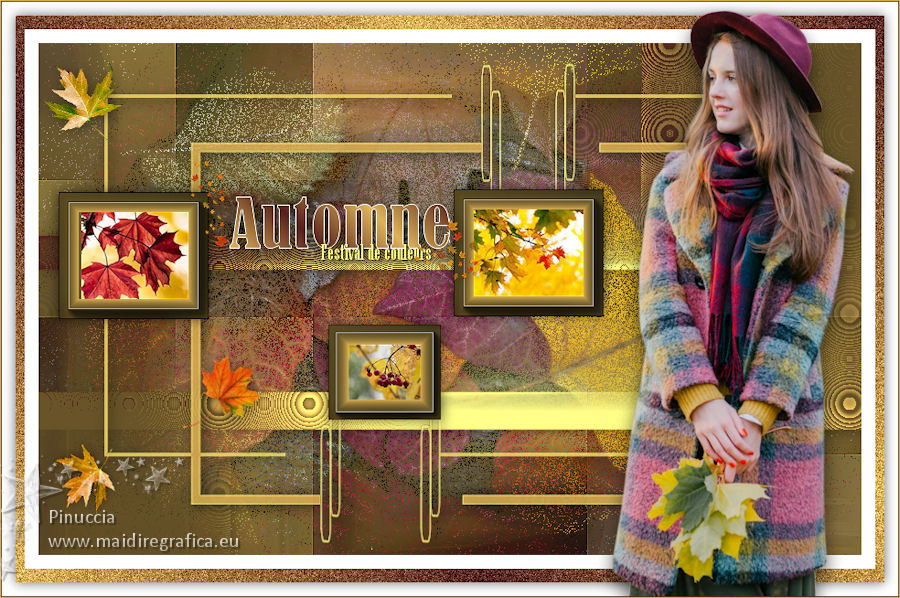
Version with tube by Lana; the autumnal tubes and images are mine.

If you have problems or doubts, or you find a not worked link, or only for tell me that you enjoyed this tutorial, write to me.
20 September 2021

|

