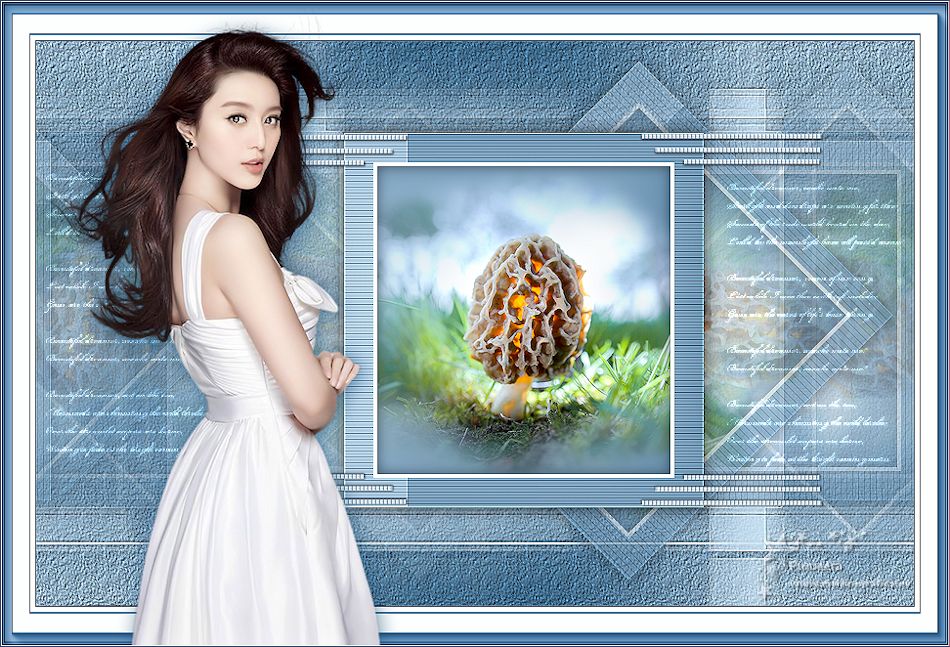
CALISTA
 English version English version

Thanks Carine for your invitation to translate your tutorials

This tutorial was translated with PSPX and PSPX3, but it can also be made using other versions of PSP.
Since version PSP X4, Image>Mirror was replaced with Image>Flip Horizontal,
and Image>Flip with Image>Flip Vertical, there are some variables.
In versions X5 and X6, the functions have been improved by making available the Objects menu.
In the latest version X7 command Image>Mirror and Image>Flip returned, but with new differences.
See my schedule here
 italian translation here italian translation here
 your versions here your versions here
Material here
Thanks for the tubes Beatriz and Libellule.
(The links of the tubemakers here).
Plugins
consult, if necessary, my filter section here
Mura's Meister - Copies here
Carolaine and Sensibility - CS-Halloween2 here

You can change Blend Modes according to your colors.
In the newest versions of PSP, you don't find the foreground/background gradient (Corel_06_029).
You can use the gradients of the older versions.
The Gradient of CorelX here
Copy the preset  in the folder of the plugin Alien Skin Eye Candy 5 Impact>Settings>Glass. in the folder of the plugin Alien Skin Eye Candy 5 Impact>Settings>Glass.
One or two clic on the file (it depends by your settings), automatically the preset will be copied in the right folder.
why one or two clic see here
Copy the texture lace in the Textures Folder.
Open the mask in PSP and minimize it with the rest of the material.
1. Set your foreground color to color #134a73,
and your background color to #cfe6f8.

Set your foreground color to a Foreground/Background Gradient, style Linear.
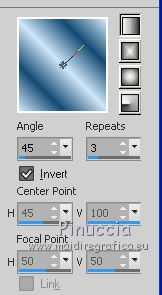
2. Open a new transparent image 900 x 580 pixels.
Flood Fill  the transparent image with your Gradient. the transparent image with your Gradient.
3. Adjust>Blur>Gaussian Blur - radius 30.

4. Layers>Duplicate.
Image>Mirror.
Reduce the opacity of this layer to 50%.
Layers>Merge>Merge Down.
5. Layers>Duplicate.
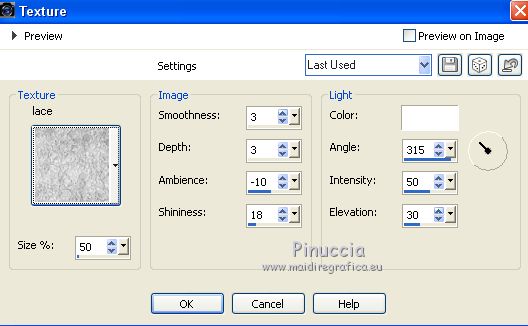
Effects>Texture Effects>Texture - select the texture Lace with these settings.
Adjust>Sharpness>Sharpen.
6. Layers>New Raster Layer, Raster 2.
Flood Fill  the layer with your background color. the layer with your background color.
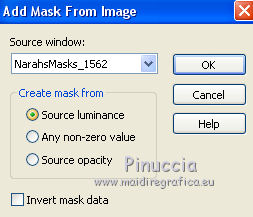
7. Layers>New Mask layer>From image
Open the menu under the source window and you'll see all the files open.
Select the mask NarahsMask1592.
Layers>Merge>Merge Group.
Effects>Edge Effects>Enhance.
8. Effects>Image Effects>Seamless Tiling.

9. Activate the layer Raster 1.
Selection Tool 
(no matter the type of selection, because with the custom selection your always get a rectangle)
clic on the Custom Selection 
and set the following settings.
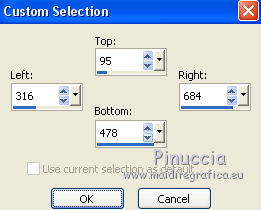
Selections>Promote Selection to Layer.
Layers>Arrange>Bring to Top.
10. Selections>Modify>Contract - 30 pixels.
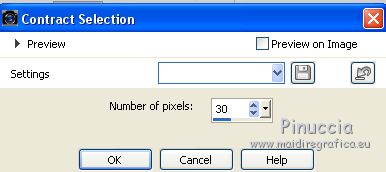
11. Selections>Invert.
Effects>Plugins>Carolaine and Sensibility - CS_Halloween 2, default settings.
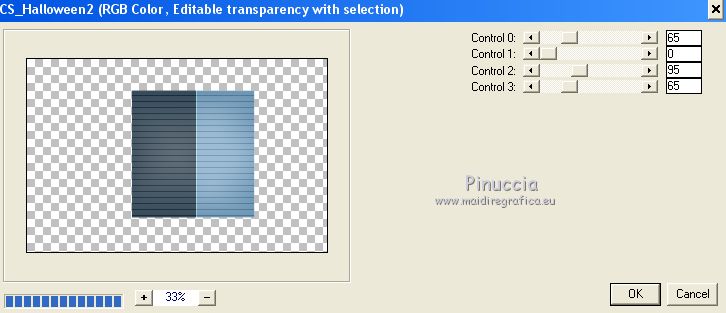
Adjust>Sharpness>Sharpen More.
13. Selections>Invert.
Layers>New Raster Layer.
Set your background color to white.

Flood Fill  the selection with color white. the selection with color white.
14. Selections>Modify>Contract - 4 pixels.
Press CANC on the kayboard 
Keep selected.
15. Layers>Merge>Merge Down.
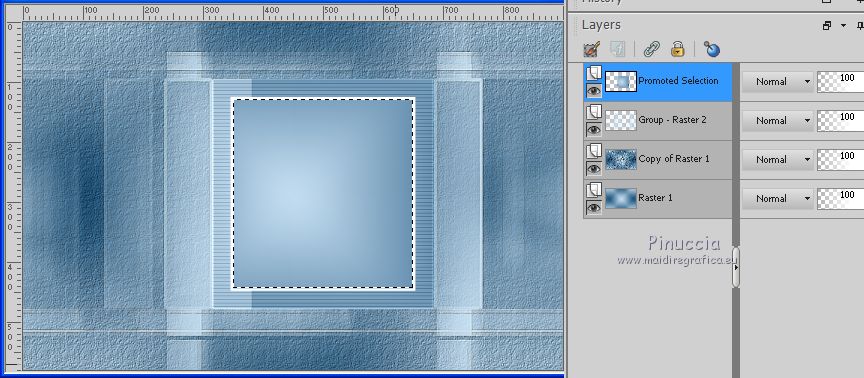
16. Open the tube by Libellule and go to Edit>Copy.
Go back to your work and go to Edit>Paste as new layer.
Image>Resize, to 60%, resize all layers not checked.
Place  rightly the tube on the selection. rightly the tube on the selection.
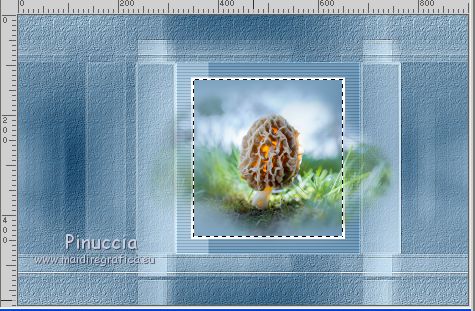
17. Selections>Invert.
Press CANC on the keyboard.
18. Again Selections>Invert.
Adjust>Brightness and Contrast>Brightness/Contrast (according to your tube).
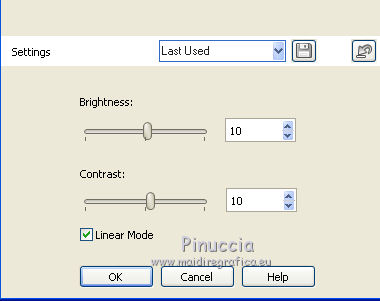
19. Layers>New Raster Layer.
Effects>3D Effects>Cutout.
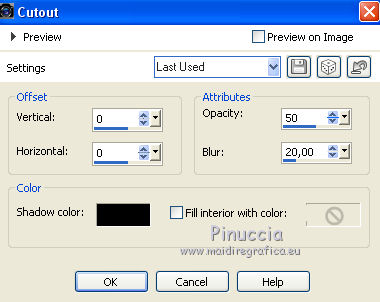
Selections>Select None.
20. Layers>Merge>Merge Down - 2 times.
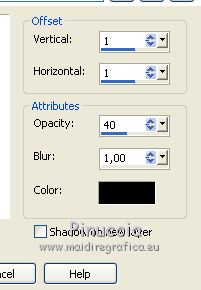
21. Effects>3D Effects>Drop Shadow, color black.
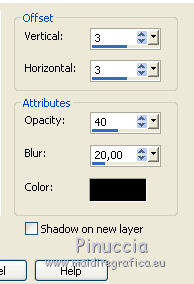
Repeat Drop Shadow, vertical and horizontal -3.
22. Effects>Plugins>Mura's Meister - Copies.
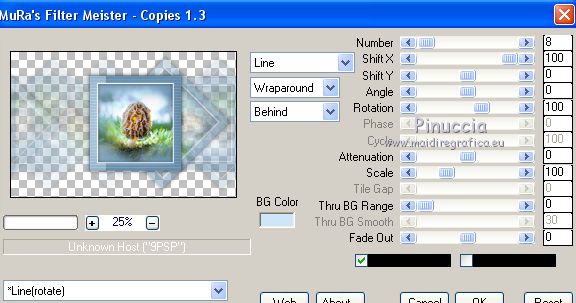
Adjust>Sharpness>Sharpen.
23. Open déco 1 and go to Edit>Copy.
Go back to your work and go to Edit>Paste as new layer.
24. Activate your Pick Tool 
and set Position X: 193,00 and Position Y: 96,00.

25. Effects>3D Effects>Drop Shadow, color black.
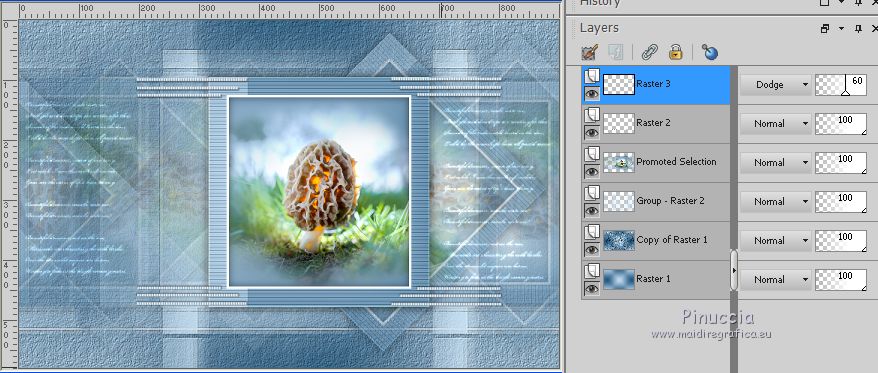
26. Open déco texte and go to Edit>Copy.
Go back to your work and go to Edit>Paste as new layer.
Pick Tool 
keep Position X to 7,00 and set Position Y: 128,00.

27. Change the Blend Mode of this layer to Dodge
and reduce the opacity to 60%.
28. Edit>Copy Special>Copy Merged.
29. Open cadre and go to Edit>Paste as new layer.
Layers>Arrange>Move Down.
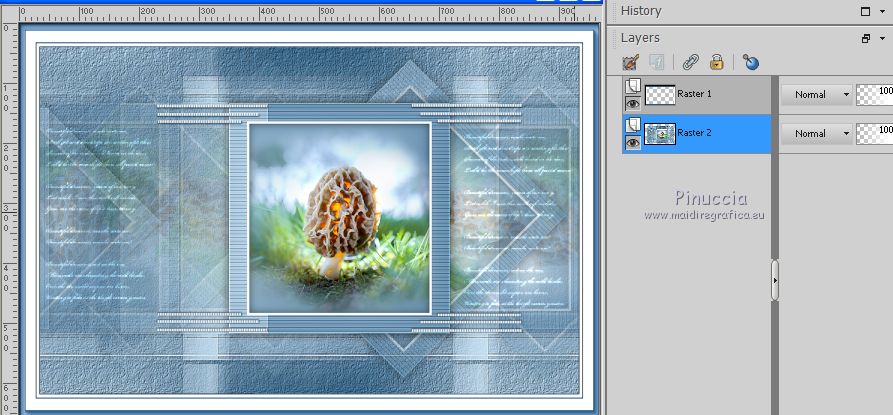
30. Calques>Fusionner>Tous.
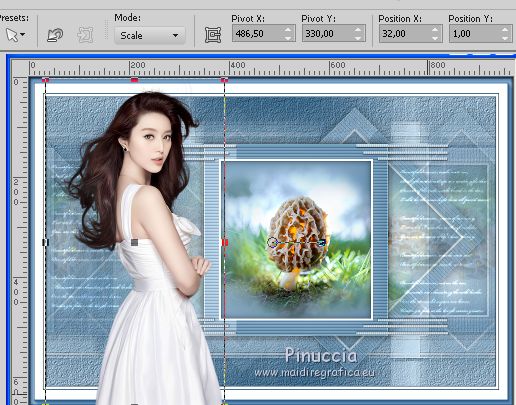
31. Open the woman tube and go to Edit>Copy.
Go back to your work and go to Edit>Paste as new layer.
Image>Resize, to 94%, resize all layers not checked.
32. Pick Tool 
and set Position X: 32,00 and keep Position Y: 1,00.
33. Effects>3D Effects>Drop Shadow, foreground color #134a73.

34. Image>Add borders, 1 pixel, symmetric, color white.
Image>Add borders, 1 pixel, symmetric, foreground color #134a73.
35. Adjust>Sharpness>Sharpen.
36. Add, if you want, the author and the translator watermarks.
Sign your work on a new layer.
Layers>Merge>Merge All and save as jpg.
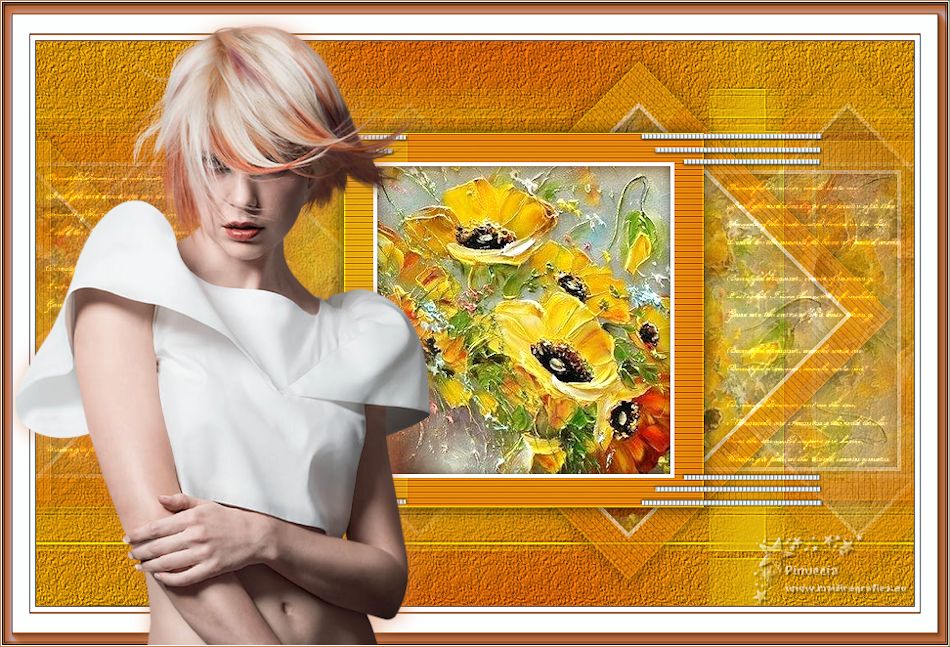
Version with tubes by Alies and Lizztish

If you have problems or doubts, or you find a not worked link, or only for tell me that you enjoyed this tutorial, write to me.
9 September 2020
|
 English version

 English version