DAVINIA
 english version
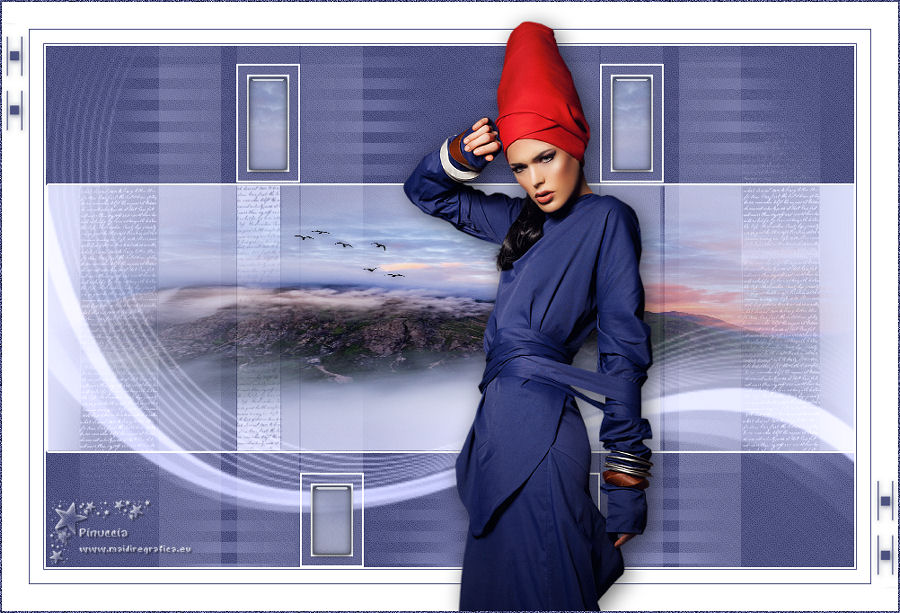
Thanks Carine for your invitation to translate

This tutorial was translated with PSPX and PSPX3, but it can also be made using other versions of PSP.
Since version PSP X4, Image>Mirror was replaced with Image>Flip Horizontal,
and Image>Flip with Image>Flip Vertical, there are some variables.
In versions X5 and X6, the functions have been improved by making available the Objects menu.
In the latest version X7 command Image>Mirror and Image>Flip returned, but with new differences.
See my schedule here
italian translation here
your versions here
Material here
Thanks: for the tubes Mary and Nena Silva.br
(The links of the tubemakers here).
Plugins
consult, if necessary, my filter section here
Filters Unlimited 2.0 here
DSB Flux - Linear Transmission here
Alien Skin Eye Candy 5 Impact - Glass here
Simple - Diamonds here
Filters Simple can be used alone or imported into Filters Unlimited.
(How do, you see here)
If a plugin supplied appears with this icon  it must necessarily be imported into Unlimited it must necessarily be imported into Unlimited

You can change Blend Modes according to your colors.
Open the masks in PSP and minimize them with the rest of the material.
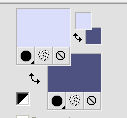
1. Set your foreground color to #dbdef9,
and your background color with #4e5281.
2. Open Calque Alpha_Davinia.
Window>Duplicate or, on the keyboard, shift+D to make a copy.

Close the original.
The copy, that will be the basis of your work, is not empty,
but contains the selections saved on the alpha channel.
Flood Fill  the transparent image with your background color. the transparent image with your background color.
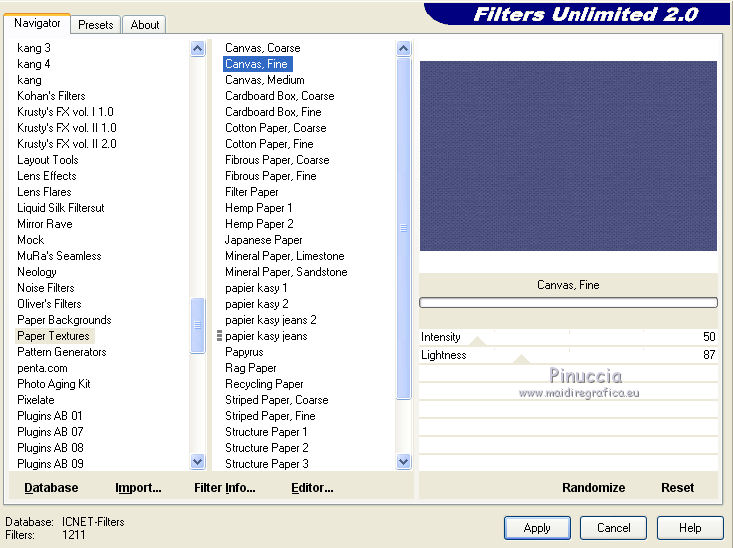
3. Effects>Plugins>Filters Unlimited 2.0 - Paper Texture - Canvas Fine.
4. Effects>Plugins>Simple - Diamonds.
Adjust>Sharpness>Sharpen.
5. Layers>New Raster Layer, Raster 2.
Flood Fill  with your foreground color with your foreground color
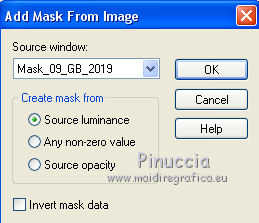
6. Layers>New Mask layer>From image
Open the menu under the source window and you'll see all the files open.
Select the mask Mask_09_GB_2019.
Layers>Merge>Merge Group.
7. Layers>New Raster Layer, Raster 2.
Selections>Load/Save Selection>Load Selection from Alpha Channel.
The selection #1 is immediately available. You just have to click Load.
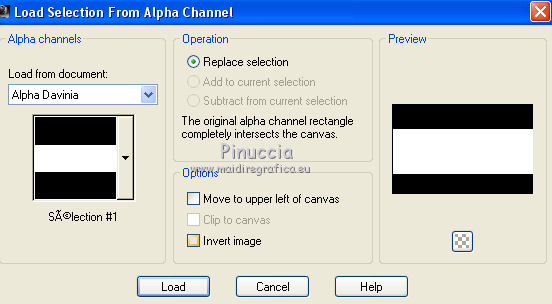
8. Open the landscape tube and go to Edit>Copy.
Go back to your work and go to Edit>Paste into Selection.
9. Selections>Modify>Select Selection Borders.
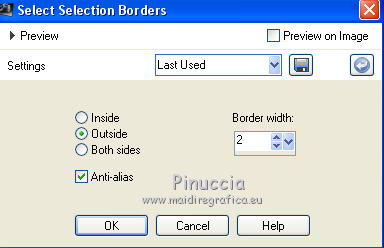
10. Set your foreground color to white #ffffff.
Flood Fill  the selection with color white. the selection with color white.
Selections>Select None.
11. Layers>New Raster Layer, Raster 3.
Selections>Load/Save Save Selection>Load Selection from Alpha Channel.
Open the Selections menu and load sélection#2.
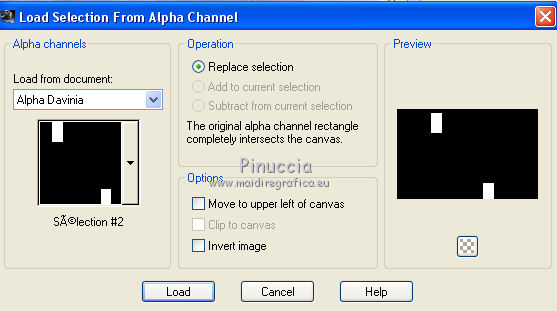
Flood Fill  the selection with color white. the selection with color white.
12. Selections>Modify>Contract - 2 pixels.
Press CANC on the keyboard 
13. Selections>Modify>Contract - 10 pixels.
Flood Fill  the selection with color white. the selection with color white.
14. Selections>Modify>Contract - 2 pixels.
Press CANC on the keyboard.
Keep selected.
15. Edit>Paste as new layer (the landscape is still in memory).
Image>Resize, to 120%, resize all layers not checked.
16. Selections>Invert.
Press CANC on the keyboard.
Again Selections>Invert.
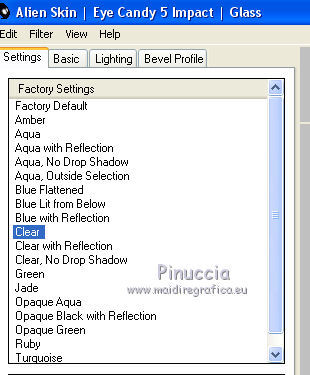
17. Effects>Plugins>Alien Skin Eye Candy 5 Impact - Glass.
Select the preset Clear and ok.
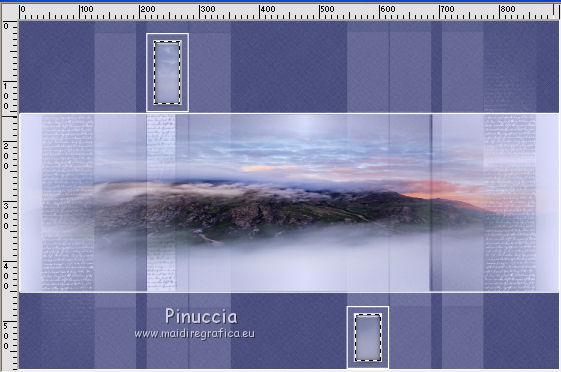
Selections>Select None.
18. Layers>Merge>Merge Down.
19. Layers>Duplicate.
Image>Mirror.
Layers>Merge>Merge Down.
20. Layers>Duplicate.
Adjust>Blur>Gaussian Blur - radius 20.

21. Effects>Plugins>DSB Flux - Linear Transmission.
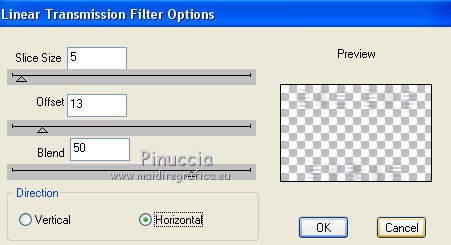
Layers>Arrange>Move Down.
Change the Blend Mode of this layer to Luminance (legacy)
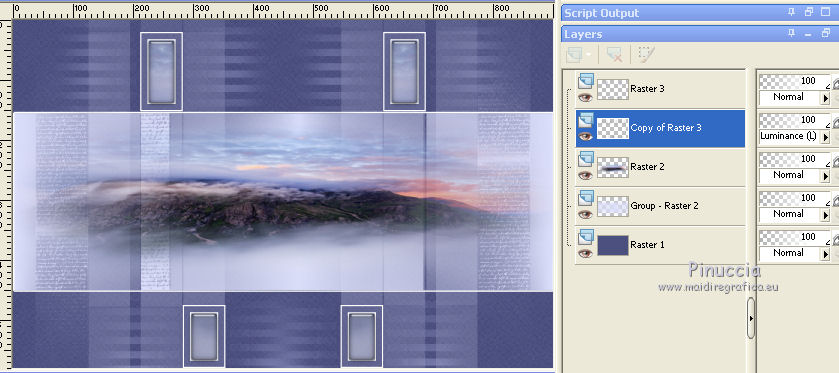
22. Layers>New Raster Layer.
Flood Fill  the layer with color white. the layer with color white.
23. Layers>New Mask layer>From image
Open the menu under the source window
and select the mask Astrid masker 83a
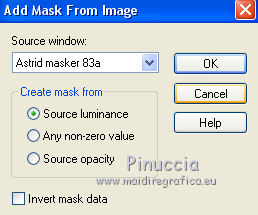
Layers>Merge>Merge Group.
Change the Blend Mode of this layer to Luminance (legacy)
and reduce the opacity to 80%.
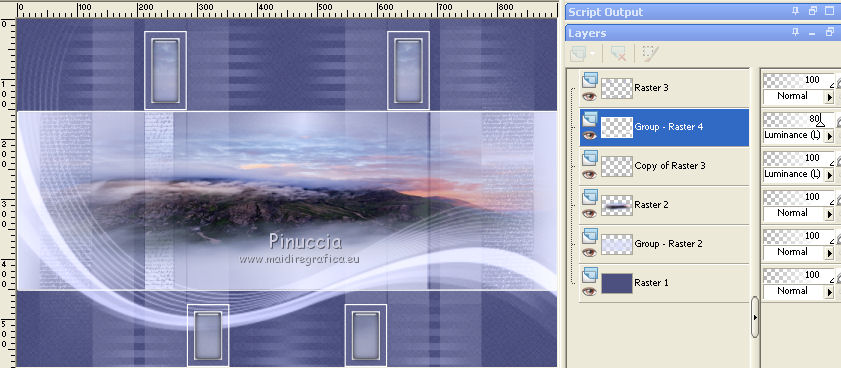
24. Layers>Merge>Merge All.
25. Image>Add borders, 2 pixels, symmetric, color white.
Image>Add borders, 1 pixel, symmetric, background color.
Image>Add borders, 15 pixels, symmetric, color white.
Image>Add borders, 1 pixel, symmetric, background color.
Image>Add borders, 30 pixels, symmetric, color white.
26. Open the tube bird_brushes_by_lpdragonfly_3 and go to Edit>Copy.
Go back to your work and go to Edit>Paste as new layer.
Image>Reisze, to 15%, resize all layers not checked.
27. K key to activate your Pick Tool 
and set Position X: 312,00 and Position Y: 233,00.

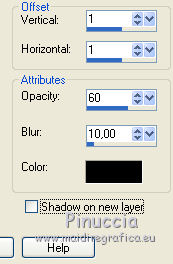
28. Effects>3D Effects>Drop Shadow, color black.
29. Open the woman tube Mary 0812-99 and go to Edit>Copy.
Go back to your work and go to Edit>Paste as new layer.
Image>Reisze, to 74%, resize all layers not checked.
30. Pick Tool 
and set Position X: 445,00 and Position Y: 20,00.

31. Effects>3D Effects>Drop Shadow, color black.

32. Open the tube deco and go to Edit>Copy.
Go back to your work and go to Edit>Paste as new layer.
Don't move it.
33. Image>Add borders, 2 pixels, symmetric, background color.
Select this border with your Magic Wand Tool 
34. Adjust>Add/Remove Noise>Add Noise.
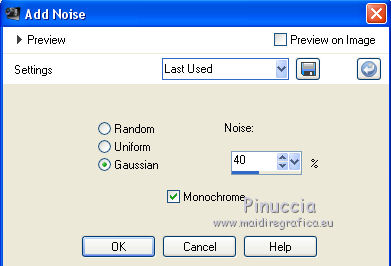
Adjust>Sharpness>Sharpen.
35. Sign your work on a new layer.
Image>Resize, 900 pixels width, resize all layers checked.
Save as jpg.
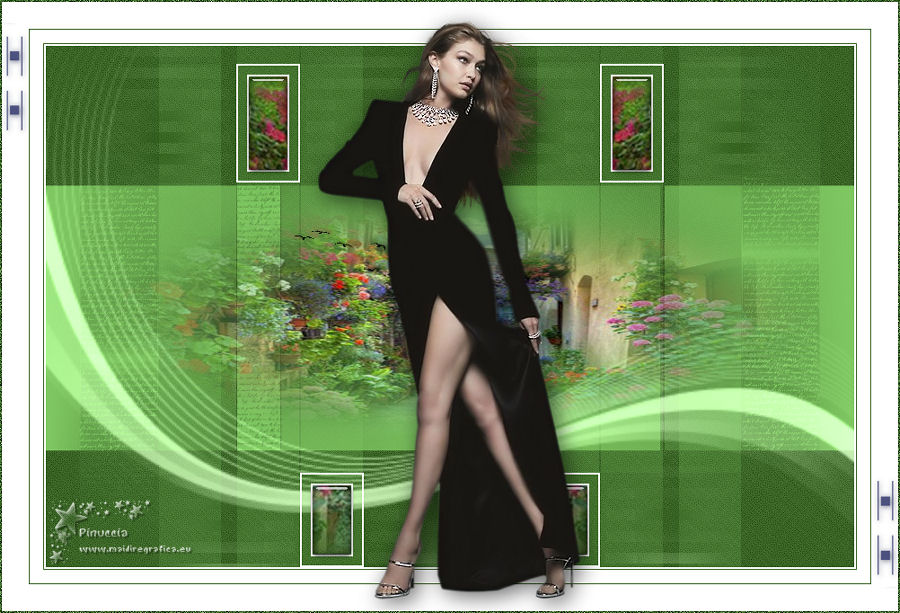
Version with tubes by Beatriz and Syl

If you have problems or doubts, or you find a not worked link, or only for tell me that you enjoyed this tutorial, write to me.
16 October 2019
|

