DOUX HIVER

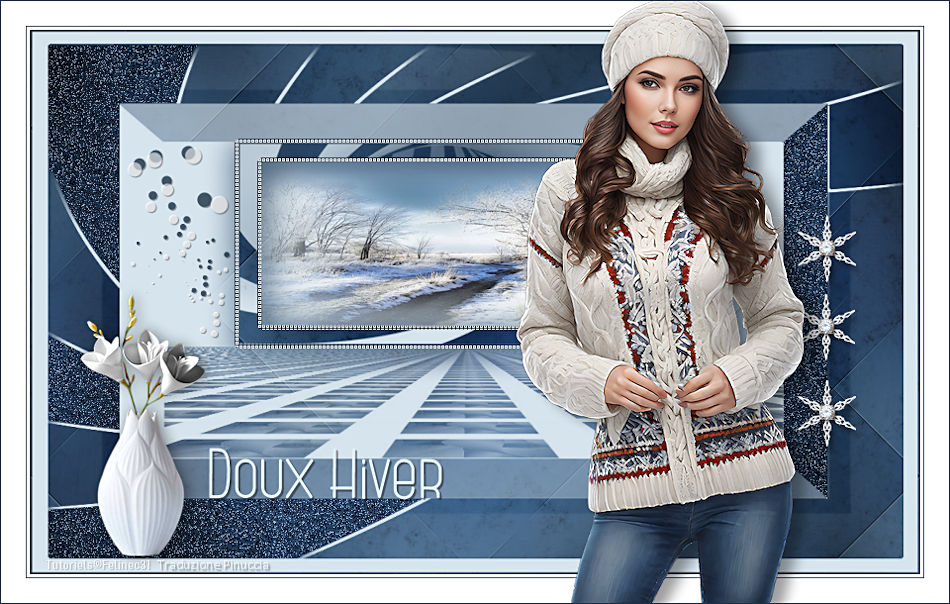
Thanks Carine for your invitation to translate

Clic and move the brush to follow the tutorial.

To print


|
This tutorial was translated with PSPX7 and PSPX2, but it can also be made using other versions of PSP.
Since version PSP X4, Image>Mirror was replaced with Image>Flip Horizontal,
and Image>Flip with Image>Flip Vertical, there are some variables.
In versions X5 and X6, the functions have been improved by making available the Objects menu.
In the latest version X7 command Image>Mirror and Image>Flip returned, but with new differences.
See my schedule here
 italian translation here italian translation here
 your versions here your versions here
Necessary

Thanks for the tubes Tati, Corinne Vicaire and Kamil.
(The links of the tubemakers here).

consult, if necessary, my filter section here
Filters Unlimited 2.0 here
Photo Aging Kit - Dirt & Dust (to import in Unlimited) here
Graphics Plus - Cross Shadow here
Simple - Blintz here
Cybia Screenworks - Boxed Dot here
Filters Graphics Plus, Simple and Cybia can be used alone or imported into Filters Unlimited.
(How do, you see here)
If a plugin supplied appears with this icon  it must necessarily be imported into Unlimited it must necessarily be imported into Unlimited

You can change Blend Modes according to your colors.
In the newest versions of PSP, you don't find the foreground/background gradient (Corel_06_029).
You can use the gradients of the older versions.
The Gradient of CorelX here

Copy the Selections in the Selections Folder.
Open the mask in PSP and minimize it with the rest of the material.
1. Set your foreground color to #d6e4ed
and your background color to #1b2f47.
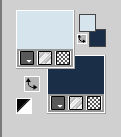
Set your foreground color to a Foreground/Background Color, style Sunburst.

2. Open a new transparent image 900 x 550 pixels.
Flood Fill  the transparent image with your background color. the transparent image with your background color.
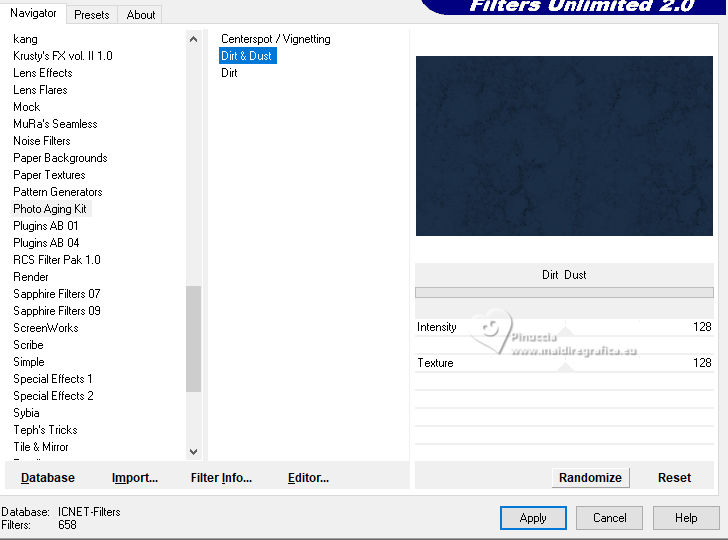
3. Effects>Plugins>Filters Unlimited 2.0 - Photo Aging Kit - Dirt & Dust, default settings
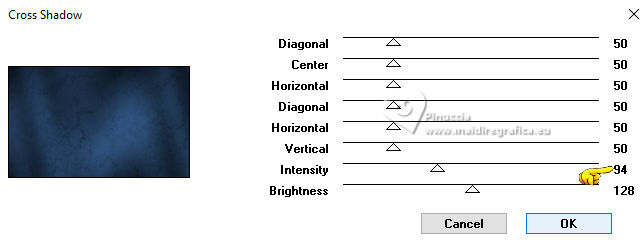
4. Effects>Plugins>Graphics Plus - Cross Shadow.
5. Layers>New Raster Layer, Raster 2.
Flood Fill  the layer with your Gradient. the layer with your Gradient.
6. Effects>Plugins>Simple - Blintz.
Edit>Repeat Blintz.
This effect works without window; result
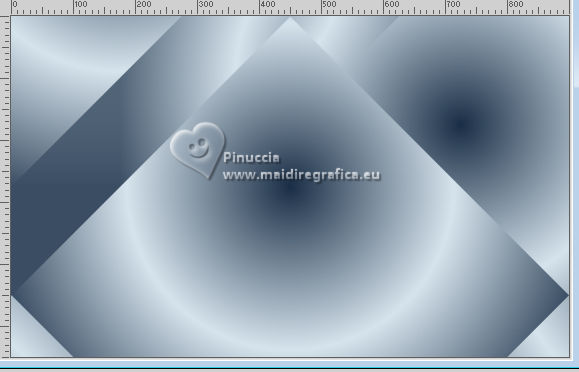
7. Layers>Duplicate.
Image>Mirror.
Image>Flip.
8. Reduce the opacity of this layer to 50%.
Layers>Merge>Merge Down.
Effects>Edge Effects>Enhance More.
9. Change the Blend Mode of this layer to Soft Light and reduce the opacity to 80%.
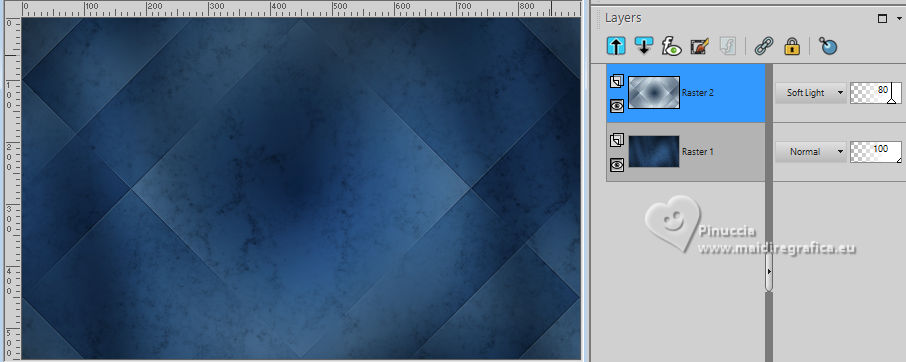
10. Layers>New Raster Layer, Raster 3.
Set your foreground color to Color.
Flood Fill  the layer with your foreground color. the layer with your foreground color.
11. Layers>New Mask layer>From image
Open the menu under the source window and you'll see all the files open.
Select the mask QMM30back
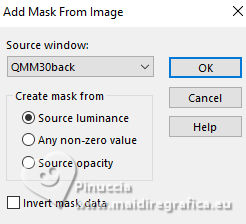
Layers>Merge>Merge Group.
11. Activate your bottom layer, Raster 1.
Selections>Load/Save Selection>Load Selection from Disk.
Look for and load the selection Sélection_F3Hvi
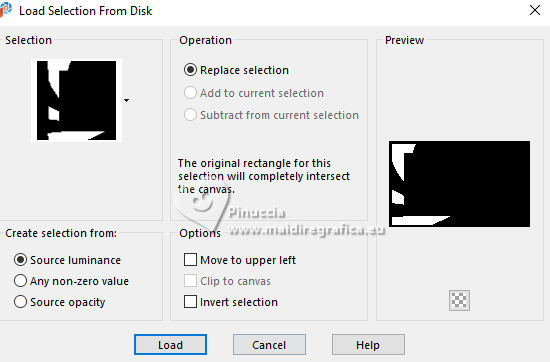
Selections>Promote Selection to Layer.
Layers>Arrange>Move up.
12. Adjust>Add/Remove Noise>Add Noise.
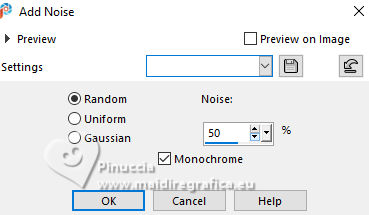
Selections>Select None.
13. Your layers
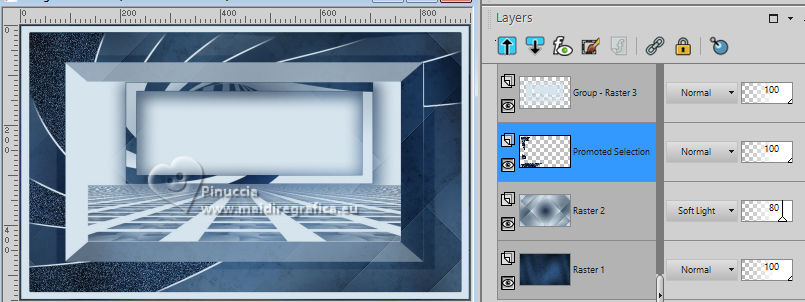
14. Activate again your background layer, Raster 1.
Selections>Load/Save Selection>Load Selection from Disk.
Look for and load the selection Sélection_F3Hvi 1
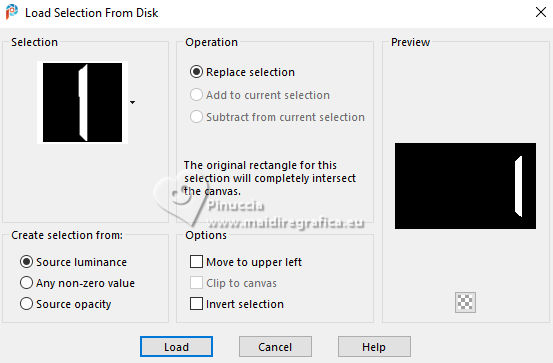
Selections>Promote Selection to Layer.
Layers>Arrange>Move up (over the layer Raster 2).
15. Adjust>Add/Remove Noise>Add Noise, same settings.

Selections>Select None.
16. Activate your top layer.
Selection Tool 
(no matter the type of selection, because with the custom selection your always get a rectangle)
clic on the Custom Selection 
and set the following settings.
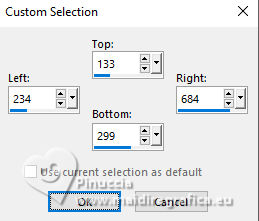
17. Layers>New Raster Layer, Raster 3.
Open the landscape tube Mist corinne-vicaire-paysage04.12.10.07 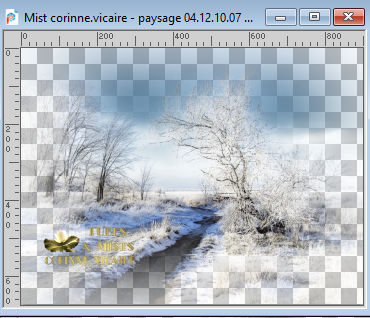
Edit>Copy.
Go back to your work and go to Edit>Paste into Selection.
Adjust>Sharpness>Sharpen.
18. Layers>New Raster Layer.
Selections>Modify>Select Selection Borders.
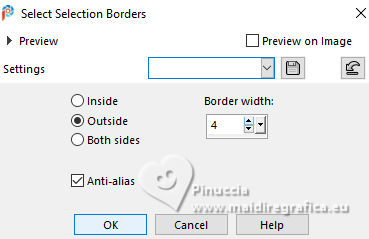
Flood Fill  the selection with your foreground color. the selection with your foreground color.
19. Effects>Plugins>Screenworks - Boxed Dot.
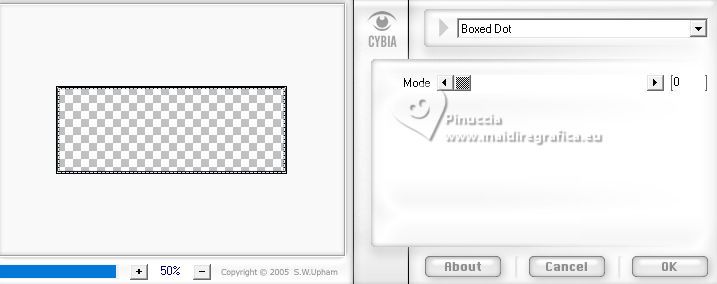
Selections>Select None.
20. Custom Selection 
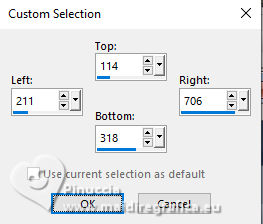
21. Selections>Modify>Select Selection Borders, same settings.

Flood Fill  the selection with your foreground color. the selection with your foreground color.
22. Effects>Plugins>Screenworks - Boxed Dot
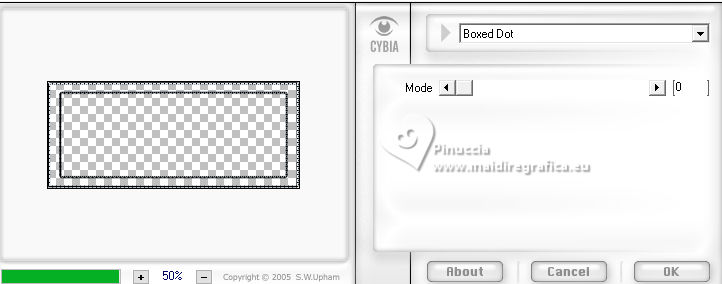
Selections>Select None.
Layers>Merge>Merge Down.
23. Open deco 1 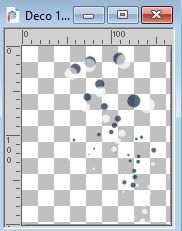
Edit>Copy.
Go back to your work and go to Edit>Paste as new layer.
24. Activate your Pick Tool 
and set Position X: 51,00 and Position Y: 110,00.

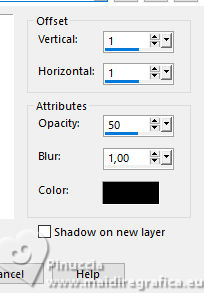
25. Effects>3D Effects>Drop Shadow, color black.
26. Open deco 2 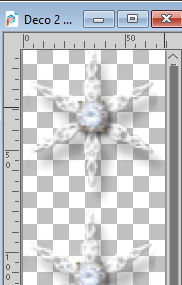
Edit>Copy.
Go back to your work and go to Edit>Paste as new layer.
Set Position X: 772,00 and Position Y: 187,00.

Adjust>Sharpness>Sharpen.
27. Layers>Merge>Merge All.
28. Image>Add borders, 3 pixels, symmetric, color white.
Image>Add borders, 1 pixel, symmetric, background color.
Image>Add borders, 25 pixels, symmetric, color white.
29. Open your woman's tube TD_TubesAI_Woman011 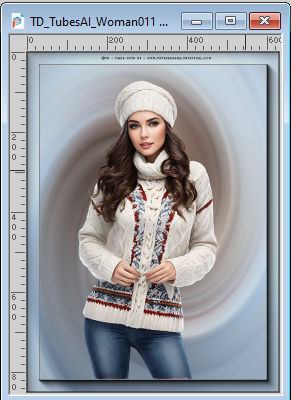
Edit>Copy.
Go back to your work and go to Edit>Paste as new layer.
Image>Resize, to 83%, resize all layers not checked.
Move  the tube to the right side. the tube to the right side.
Adjust>Sharpness>Sharpen.
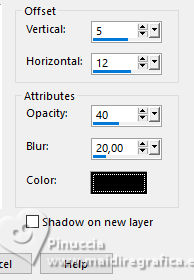
30. Effects>3D Effects>Drop Shadow, color black.
31. Open the tube KamilTube-810 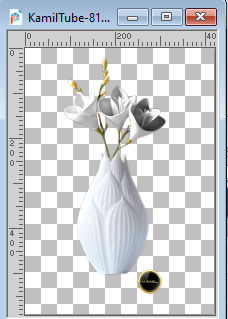
Edit>Copy.
Go back to your work and go to Edit>Paste as new layer.
Image>Resize, to 55%, resize all layers not checked.
Move  the tube at the bottom left. the tube at the bottom left.
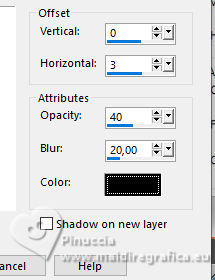
32. Effects>3D Effects>Drop Shadow, color black.
33. Open the tube Texte doux hiver 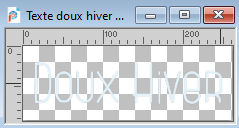
Edit>Copy.
Go back to your work and go to Edit>Paste as new layer.
34. Pick Tool 
and set Position X: 210,00 and Position Y: 451,00.

35. Effects>3D Effects>Drop Shadow, color black.
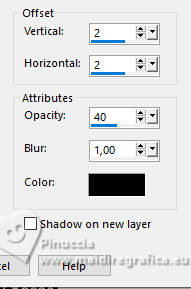
36. Image>Add borders, 1 pixel, symmetric, background color.
Image>Resize, 950 pixels width, resize all layers checked.
37. Adjust>Sharpness>Unsharp Mask.
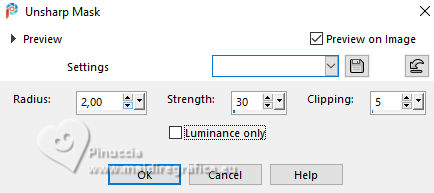
38. Sign your work and save as jpg.
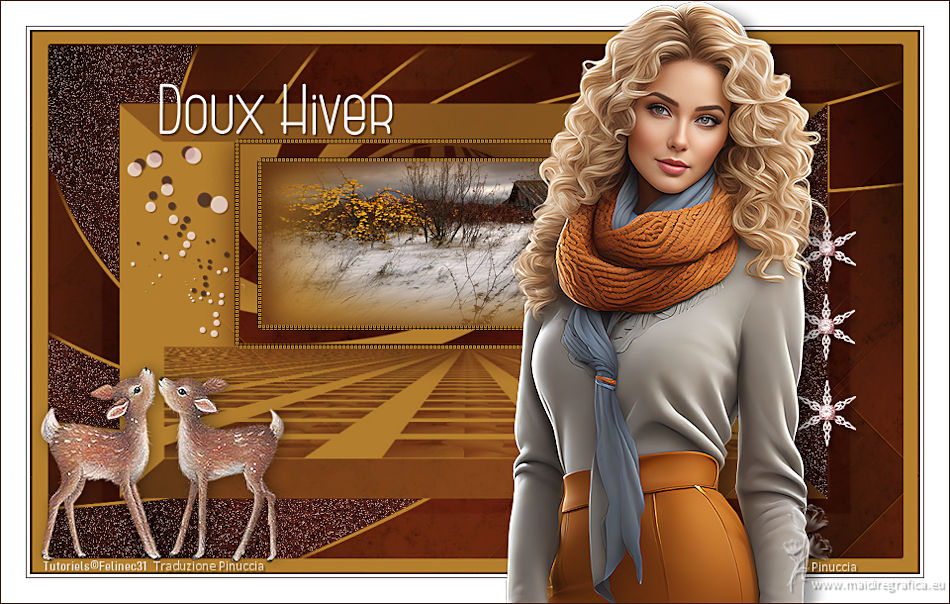
For the tubes of this version thanks Tati, Mentali and Riet

If you have problems or doubts, or you find a not worked link, or only for tell me that you enjoyed this tutorial, write to me.
25 November 2023

|

