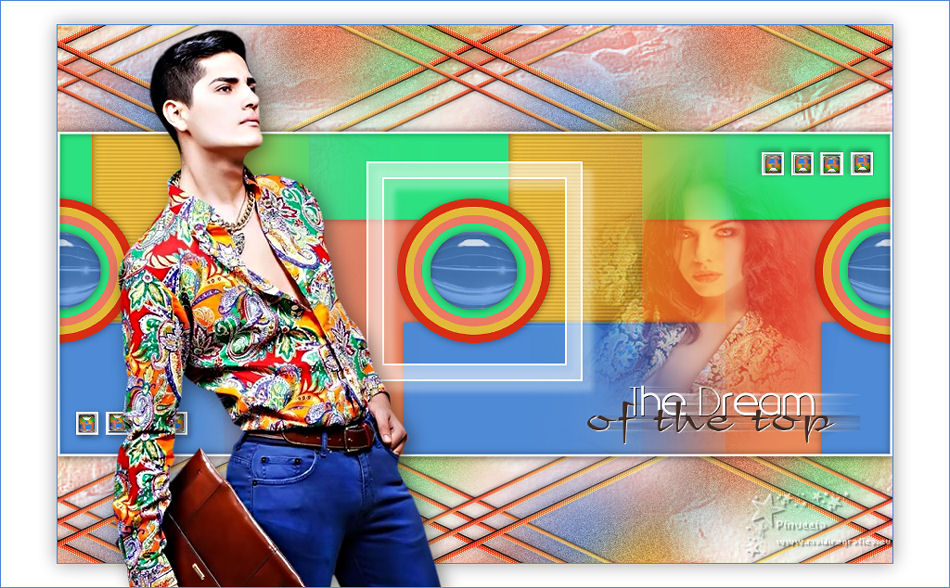
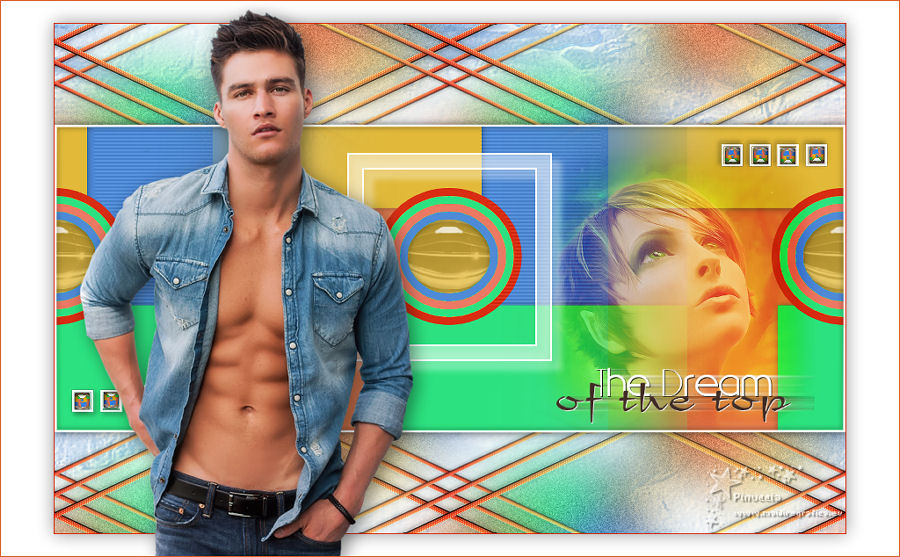
THE DREAM OF THE TOP
 English version English version

Thanks Carine for your invitation to translate your tutorials

This tutorial was translated with PSPX and PSPX3, but it can also be made using other versions of PSP.
Since version PSP X4, Image>Mirror was replaced with Image>Flip Horizontal,
and Image>Flip with Image>Flip Vertical, there are some variables.
In versions X5 and X6, the functions have been improved by making available the Objects menu.
In the latest version X7 command Image>Mirror and Image>Flip returned, but with new differences.
See my schedule here
 italian translation here italian translation here
 your versions here your versions here
Material here
Thanks for the tubes Thafs and Azalée.
(The links of the tubemakers here).
Plugins
consult, if necessary, my filter section here
Filters Unlimited 2.0 here
Simple - Diamonds here
Carolaine and Sensibility - CS-HLines here
Alien Skin Eye Candy 5 Impact - Glass here
Filters Simple can be used alone or imported into Filters Unlimited.
(How do, you see here)
If a plugin supplied appears with this icon  it must necessarily be imported into Unlimited it must necessarily be imported into Unlimited

You can change Blend Modes according to your colors.
In the newest versions of PSP, you don't find the foreground/background gradient (Corel_06_029).
You can use the gradients of the older versions.
The Gradient of CorelX here
Copy the preset  in the folder of the plugin Alien Skin Eye Candy 5 Impact>Settings>Glass. in the folder of the plugin Alien Skin Eye Candy 5 Impact>Settings>Glass.
One or two clic on the file (it depends by your settings), automatically the preset will be copied in the right folder.
why one or two clic see here
Copy the Preset Emboss in the Presets Folder.
Open the mask in PSP and minimize it with the rest of the material.
1. Set your foreground color to color 1 #ffffff.
2. Open Alpha_Rêve en couleur.
Window>Duplicate, or on the keyboard shift+D, to make a copy.

Close the original.
The copy, that will be the basis of your work, is not empty,
but contains the selections saved on the alpha channel.
Flood Fill  the transparent image with your foreground color #ffffff. the transparent image with your foreground color #ffffff.
3. Set your foreground color to color 2 #eb7964,
and your background color to color 3 #e2b938
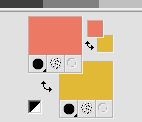
Set your foreground color to a Foreground/Background Gradient, style Radial.
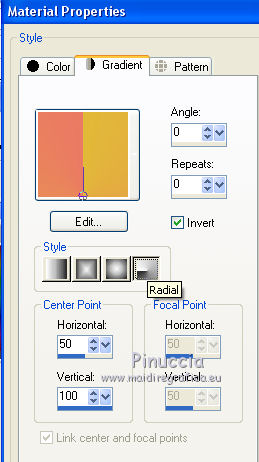
Flood Fill  the layer with your Gradient. the layer with your Gradient.
4. Layers>New Raster Layer, Raster 3.
Set your foreground color to color4 #4e8ad6.
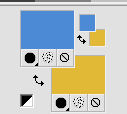
Flood Fill  the layer with your foreground color #4e8ad6. the layer with your foreground color #4e8ad6.
5. Activate your Pick Tool 
and set PositionX: 322,00 and Position Y: 341,00.
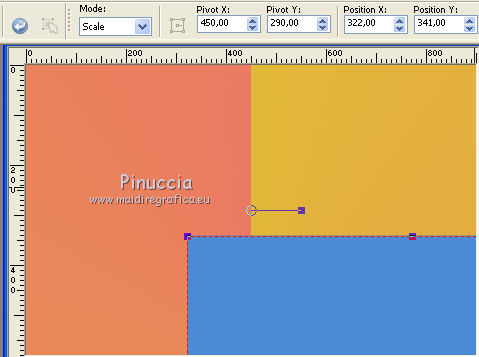
6. Effects>3D Effects>Drop Shadow, color black.
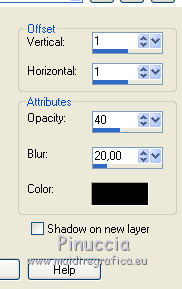
7. Layers>New Raster Layer, Raster 4.
Set your foreground color to color5 #2ce280.
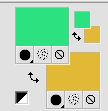
Flood Fill  the layer with your foreground color #2ce280. the layer with your foreground color #2ce280.
8. Pick Tool 
and set PositionX: -390,00 and Position Y: -424,00.
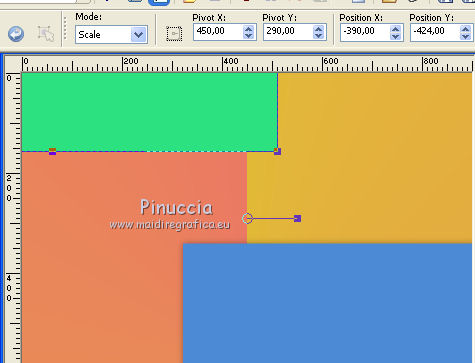
9. Effects>3D Effects>Drop Shadow, same settings.

10. Layers>New Raster Layer - Raster 5.
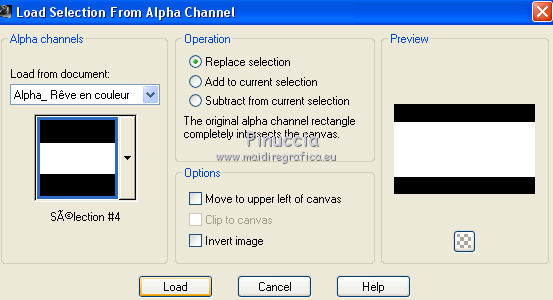
Selections>Load/Save Selection>Load Selection from Alpha Channel.
The selection is immediately available. You just have to click Load.
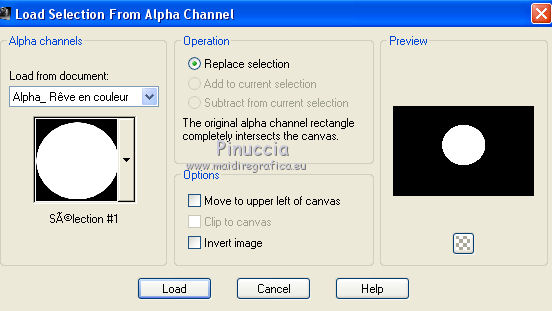
11. Set your foreground color to color 6 #d82d12.
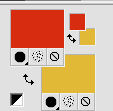
Flood fill  the layer with your foreground color #d82d12. the layer with your foreground color #d82d12.
12. Selections>Modify>Contract - 15 pixels.
Flood Fill  the layer with your background color (color 3) #e2b938. the layer with your background color (color 3) #e2b938.
13. Selections>Modify>Contract - 15 pixels.
Set your foreground color to color 2 #eb7963

Flood Fill  the layer with your foreground color #eb7963. the layer with your foreground color #eb7963.
14. Selections>Modify>Contract - 15 pixels.
Set your foreground color to color 5 #2ce280.

Flood Fill  the layer with your foreground color #2ce280. the layer with your foreground color #2ce280.
15. Selections>Modify>Contract - 15 pixels.
Set your foreground color to 4 #4e8ad6.

Flood Fill  the layer with your foreground color #4e8ad6. the layer with your foreground color #4e8ad6.
16. Effetti>Plugins>Alien Skin Eye Candy 5 Impact - Glass.
Seleziona il preset Glass_the Dream et ok.
Glass Color #d4c3f7.
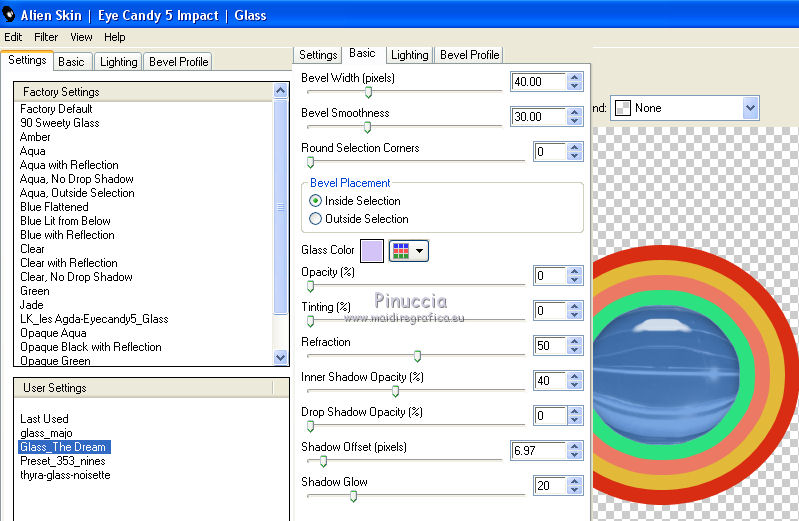
17. Effects>3D Effects>Drop Shadow, same settings.

Selections>Select None.
18. Ripeti Effects>3D Effects>Drop Shadow, same settings.

19. Close the layer Raster 1.
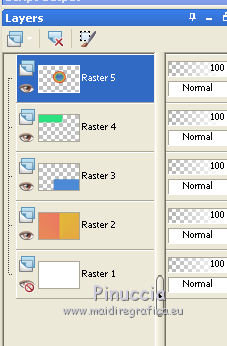
20. Layers>Merge>Merge visible.
Open again the layer 1, and stay on the layer Merged.
21. Image>Resize, to 60%, resize all layers not checked.
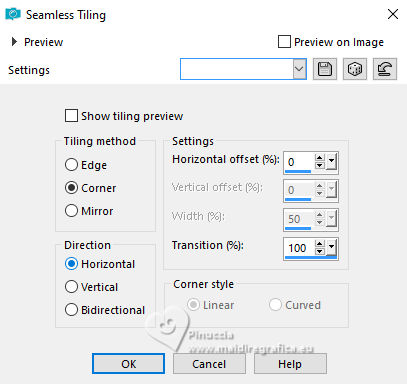
22. Effects>Image Effects>Seamless Tiling.

23. Effects>3D Effects>Drop Shadow, same settings.
24. Layers>Duplicate.
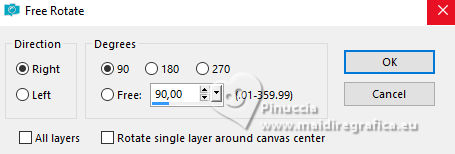
Image>Free Rotate - 90 degrees to right.
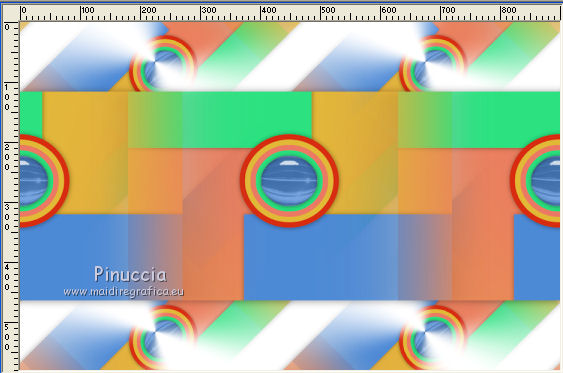
Layers>Arrange>Move Down.
25. Effects>Image Effects>Seamless Tiling, default settings.

26. Effects>Plugins>Simple - Diamonds.
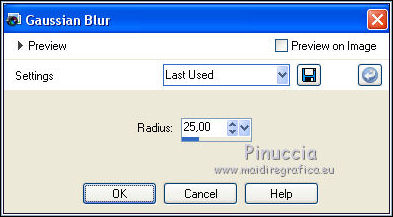
27. Adjust>Blur>Gaussian Blur, radius 25
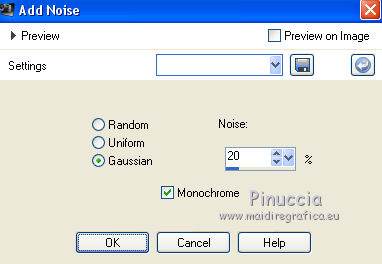
28. Adjust>Add/Remove Noise>Add Noise.
29. Activate the layer Raster 1.
Layers>New Raster Layer.
Set your foreground color to color6 #d82d12.

Flood Fill  the layer with your foreground color #d82d12. the layer with your foreground color #d82d12.
30. Layers>New Mask layer>From image
Open the menu under the source window and you'll see all the files open.
Select the mask Bouillon de vague.
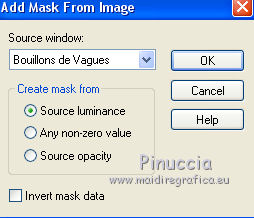
Layers>Merge>Merge Group.
31. Effects>User Defined Effect - select the preset Emboss 3 and ok.

32. Effects>Image Effects>Seamless Tiling, default settings.

Reduce the opacity of this layer to 50%.
33. Activate the layer above (the second from the top)
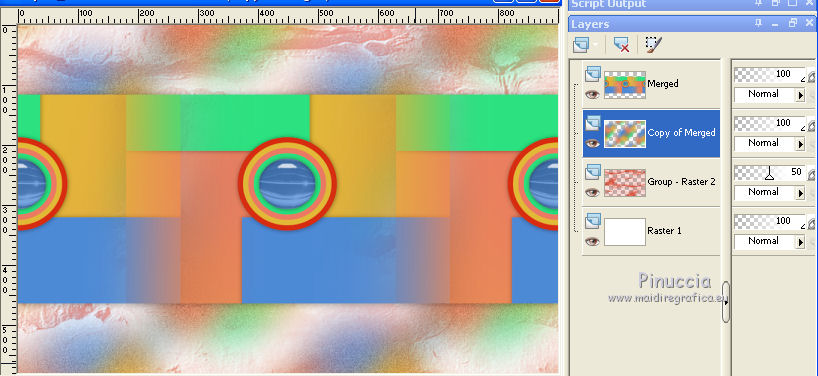
34. Open Déco 1 and go to Edit>Copy.
Go back to your work and go to Edit>Paste as new layer.
35. Pick Tool 
and set Position X: 31,00 and Position Y: 10,00.

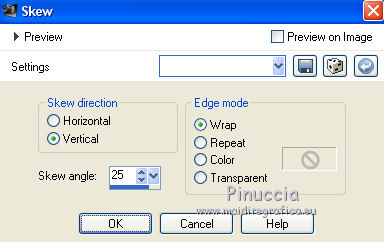
36. Effects>Geometric Effects>Skew.
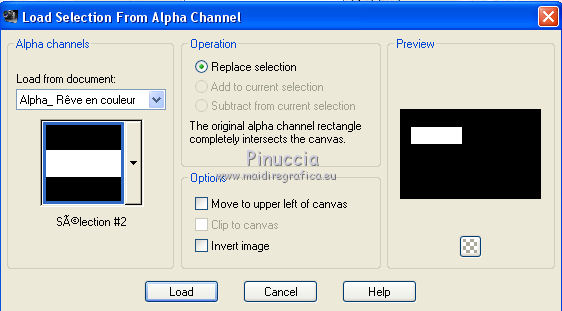
37. Selections>Load/Save Selection>Load Selection from Alpha Channel.
Open the Selections menu and load the selection #2.
Press CANC on the keyboard 
Selections>Select None.
38. Layers>Duplicate.
Image>Miroir.
Layers>Merge Merge Down.
39. Effects>Image Effects>Seamless Tiling.
40. Selections>Load/Save Selection>Load Selection from Alpha Channel.
Open the Selections menu and load the selection #3.
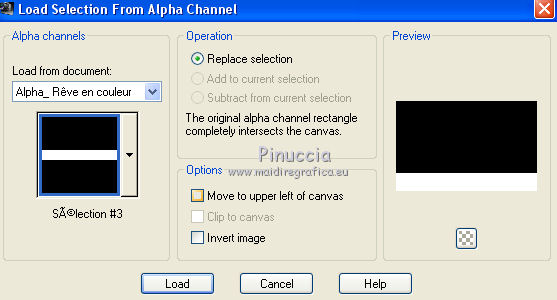
Press CANC on the keyboard.
Selections>Select None.
41. Layers>Duplicate.
Image>Flip.
Layers>Merge>Merge Down.
42. Activate the top layer.
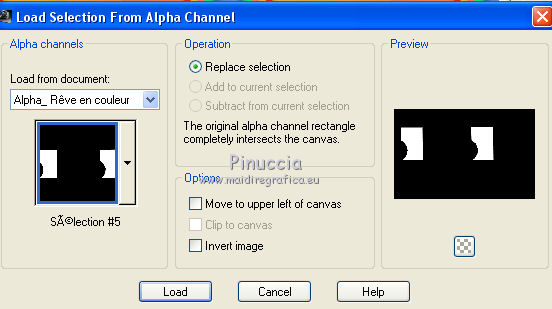
Selections>Load/Save Selection>Load Selection from Alpha Channel.
Open the Selections menu and load the selection #5.
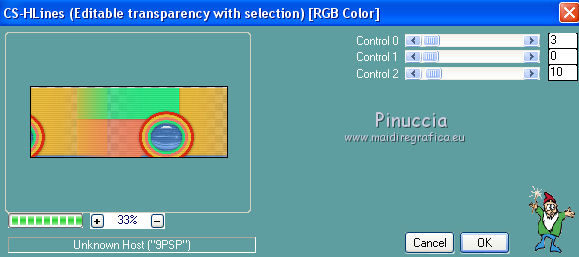
43. Effects>Plugins>Carolaine and Sensibility - CS-HLines
44. Stay on this layer.
Layers>New Raster Layer.
Selections>Load/Save Selection>Load Selection from Alpha Channel.
Open the Selections menu and load the selection #4.
45. Selections>Modify>Select Selection Borders.
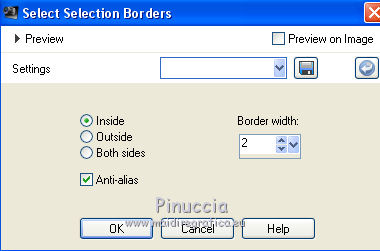
Set your foreground color to color 1 #ffffff.
Flood Fill  the selection with color white. the selection with color white.
46. Effects>3D Effects>Drop Shadow, color black.
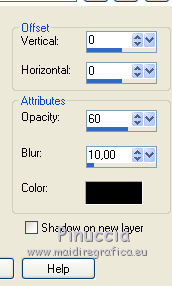
Selections>Select None.
47. Open cadre 1 and go to Edit>Copy.
Go back to your work and go to Edit>Paste as new layer.
48. Pick Tool 
Keep Position X: 333,00 and set Position Y: 147,00

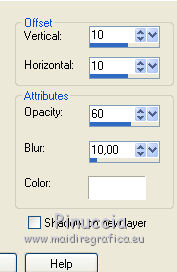
39. Effects>3D Effects>Drop Shadow, color white.
40. Open Déco 2 and go to Edit>Copy.
Go back to your work and go to Edit>Paste as new layer.
Don't move it.
41. Layers>Merge>Merge All.
42. Image>Add borders, 1 pixel, symmetric, color 4 #4e8ad6.
Selections>Select All.
Image>Add borders, symmetric not checked, color white #ffffff.
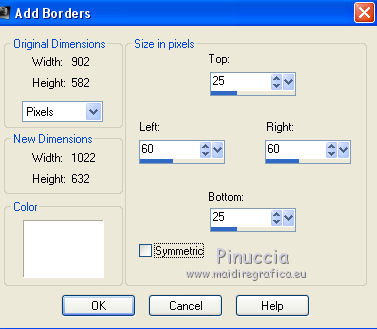
43. Effects>3D Effects>Drop Shadow, color black.
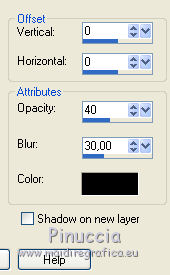
Selections>Select None.
44. Open the woman tube Azalée 1 and go to Edit>Copy.
Go back to your work and go to Edit>Paste as new layer.
if you use another image, it should be 303 pixels width and 341 pixels height.
45. Pick Tool 
and set Position X: 602,00 and Position Y: 153,00.

46. Change the Blend Mode of this layer to Overlay and reduce the opacity to 60%.
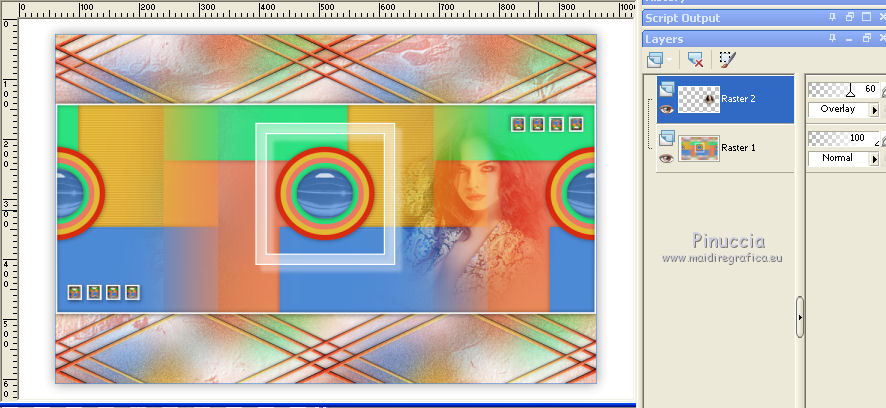
47. Effects>3D Effects>Drop Shadow, color black.
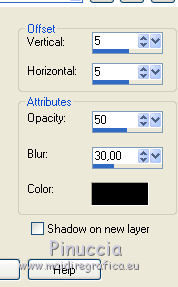
48. Open the man tube Man_1_tubed_by_thafs and go to Edit>Copy.
Go back to your work and go to Edit>Paste as new layer.
Image>Resize, to 95%, resize all layers not checked.
Move  the tube to the left side. the tube to the left side.
49. Effects>3D Effects>Drop Shadow, color black.

50. Open the text and go to Edit>Copy.
Go back to your work and go to Edit>Paste as new layer.
Move  at the bottom right, see my example. at the bottom right, see my example.
51. Image>Add borders, 1 pixel, symmetric, color 4 #4e8ad6.
52. Sign your work.
Image>Resize, 900 pixels width, resize all layers checked.
Version with tubes by Lana and Lizztish.

If you have problems or doubts, or you find a not worked link, or only for tell me that you enjoyed this tutorial, write to me.
25 June 2020
|
 English version

 English version