ELOANE
 english version
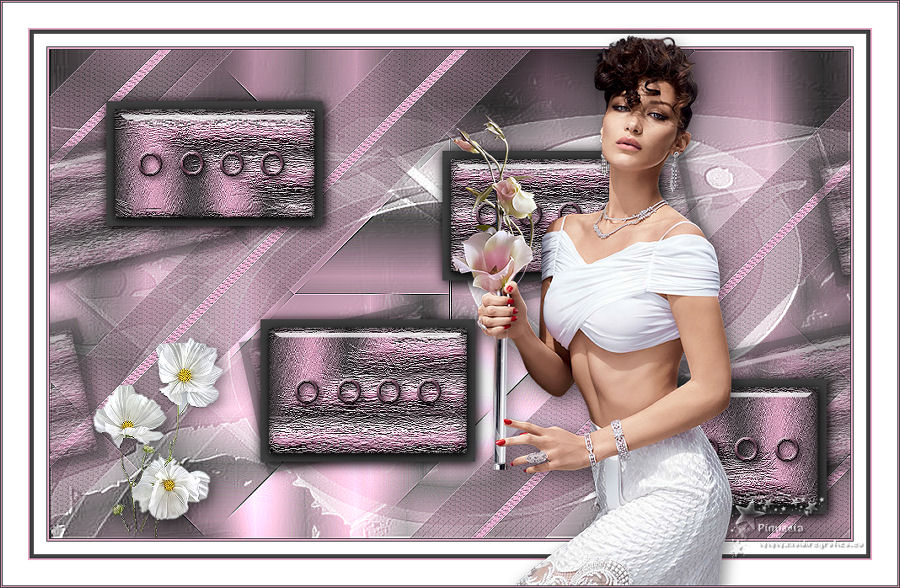
Thanks Carine for your invitation to translate

This tutorial was translated with PSPX and PSPX3, but it can also be made using other versions of PSP.
Since version PSP X4, Image>Mirror was replaced with Image>Flip Horizontal,
and Image>Flip with Image>Flip Vertical, there are some variables.
In versions X5 and X6, the functions have been improved by making available the Objects menu.
In the latest version X7 command Image>Mirror and Image>Flip returned, but with new differences.
See my schedule here
 italian translation here italian translation here
 your versions here your versions here
Material here
For the tubes thanks Angel Star and Fatotubes; for the mask thanks Narah
(The links of the tubemakers here).
Plugins
consult, if necessary, my filter section here
Filters Unlimited 2.0 qui
Toadies - What are you qui
Simple - Pizza Slice Mirror qui
Graphics Plus - Cross Shadow qui
Mura's Meister - Copies qui
Filters Toadies, Graphics Plus and Simple can be used alone or imported into Filters Unlimited.
(How do, you see here)
If a plugin supplied appears with this icon  it must necessarily be imported into Unlimited it must necessarily be imported into Unlimited

You can change Blend Modes according to your colors.
In the newest versions of PSP, you don't find the foreground/background gradient (Corel_06_029).
You can use the gradients of the older versions.
The Gradient of CorelX here
Copy the preset  in the folder of the plugin Alien Skin Eye Candy 5 Impact>Settings>Glass. in the folder of the plugin Alien Skin Eye Candy 5 Impact>Settings>Glass.
One or two clic on the file (it depends by your settings), automatically the preset will be copied in the right folder.
why one or two clic see here
Copy the script in the Scripts Folder.
Copy the preset Emboss 3 in the Presets Folder.
Open the masks in PSP and minimize them with the rest of the material.
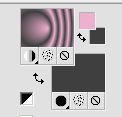
1. Set your foreground color to #edb0cf,
and your background color to #404040.
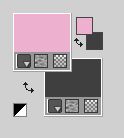
Set your foreground color to a Foreground/Background Gradient, style Sunburst.
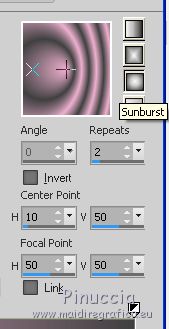
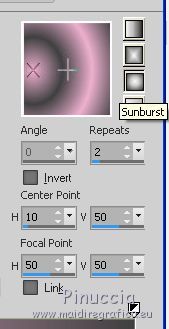
The gradient could appear different, don't worry.
As you can see, the gradient will be correct in the palette of materials
2. Open Calque_Alpha.
Window>Duplicate, or on the keyboard shift+D, to make a copy.

Close the original.
The copy, that will be the basis of your work, is not empty,
but contains the selections saved on the alpha channel.
Flood Fill  the transparent image with your Gradient. the transparent image with your Gradient.
3. Layers>Duplicate.
Image>Mirror.
Reduce the opacity of this layer to 50%.
Layers>Merge>Merge Down.
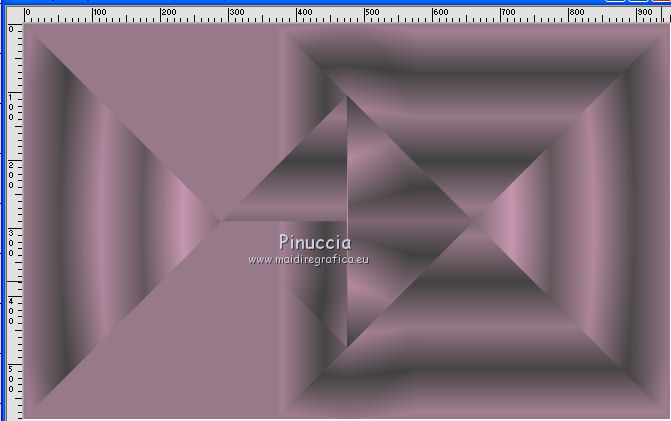
4. Effects>Plugins>Simple - Pizza Slice Mirror.
Edit>Repeat Pizza Slice Mirror
Result
5. Effects>Image Effects>Seamless Tiling, default settings.

Effects>Edge Effects>Enhance More.
6. Change the gradient settings, style Rectangular.
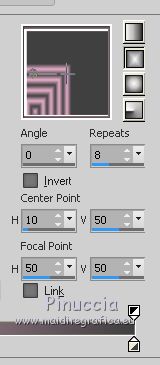
also in this case, the gradient could appear different and - as happened to me with PSPX7 -
it could appear different also on the palette of materials.
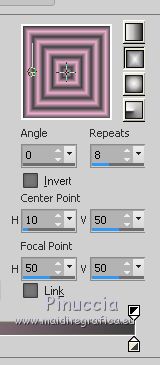 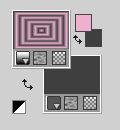
Don't worry and see the step 7
7. Layers>New Raster Layer - Raster 2.
Selections>Load/Save Selection>Load Selection from Alpha Channel.
The selection is immediately available. You just have to click Load.
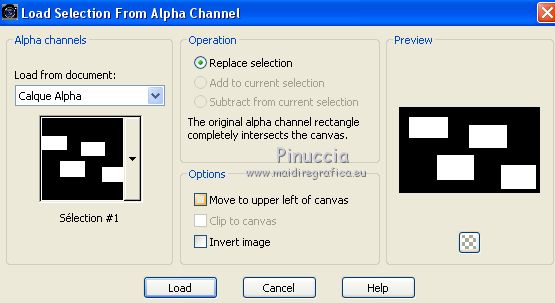
Flood Fill  the selection with your background color. the selection with your background color.
7. Selections>Modify>Contract - 10 pixels.
Flood Fill  the selection with the Rectangular Gradient. the selection with the Rectangular Gradient.
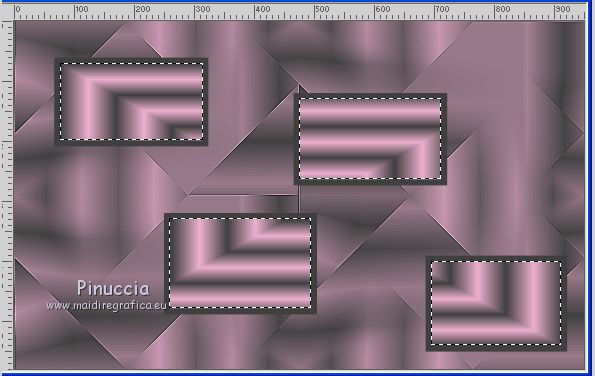
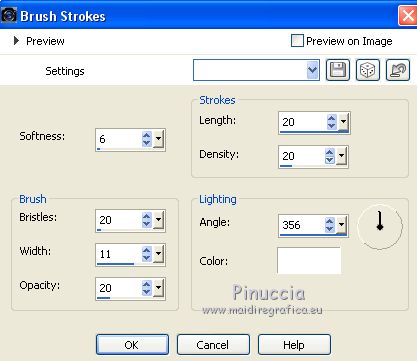
8. Effects>Art Media Effects>Brush Strokes
9. Effects>Plugins>Alien Skin Eye Candy 5 Impact - Glass
select the preset Eloane_Glass and ok.
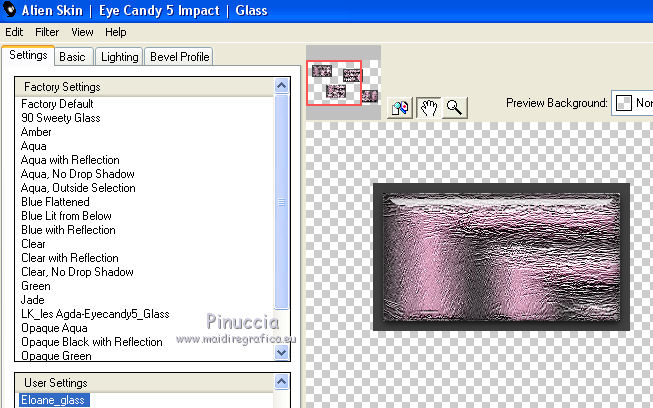
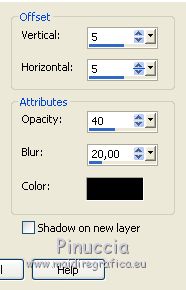
10. Effects>3D Effects>Drop Shadow, color black.
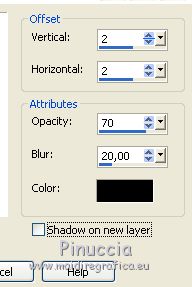
Selections>Select None.
11. Repeat Effects>3D Effects>Drop Shadow, same settings.

12. Layers>Duplicate.
Effects>Plugins>Mura's Meister - Copies.
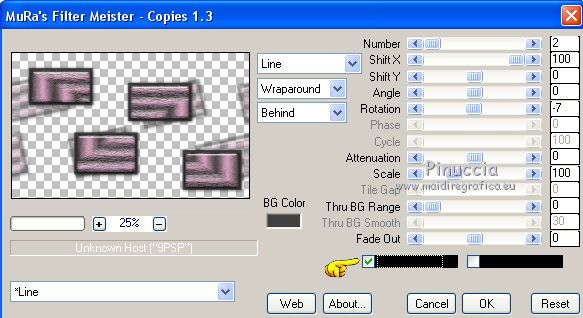
Layers>Arrange>Move Down.
13. Activate the layer Raster 1.
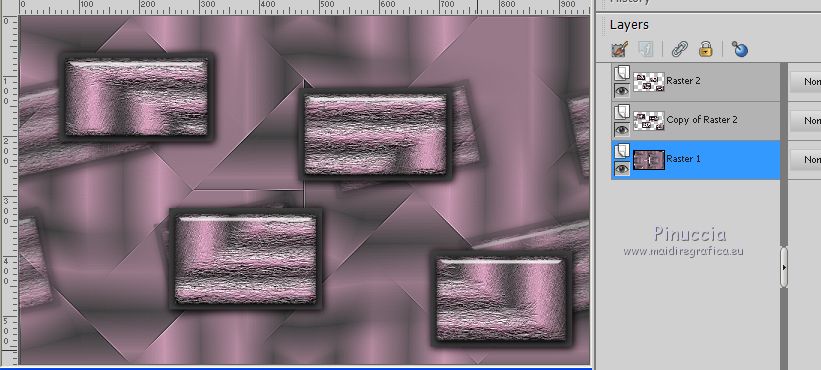
Layers>New raster layer, Raster 3.
14. Selections>Load/Save Selection>Load Selection from Alpha Channel.
Open the Selections menu and load the selection #2.
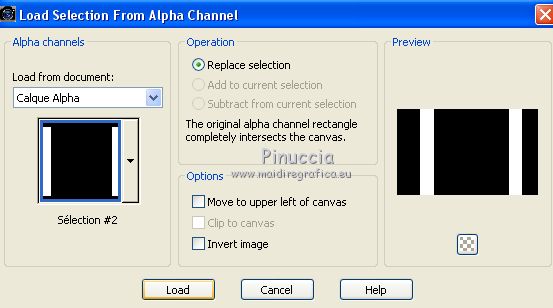
Set your foreground color to Color.
Flood Fill  the selection with your foreground color. the selection with your foreground color.
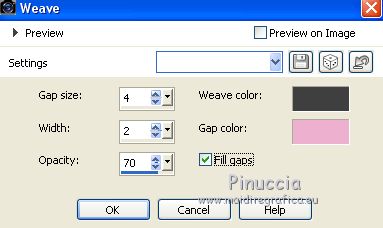
15. Effects>Texture Effects>Weave
Weave color: background color
gap color: foreground color
Selections>Select None.
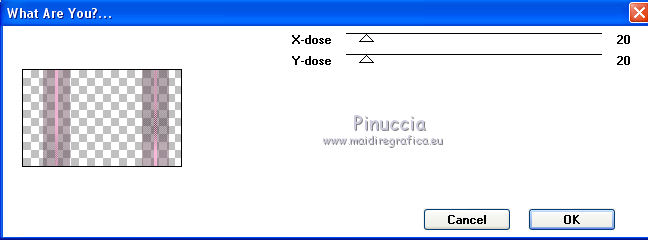
16. Effects>Plugins>Toadies - What are you, default settings.
Effects>Edge Effects>Enhance.
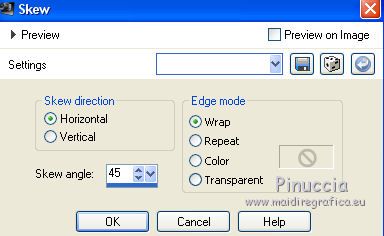
17. Effects>Geometric Effects>Skew.
18. Activate the layer Raster 1.
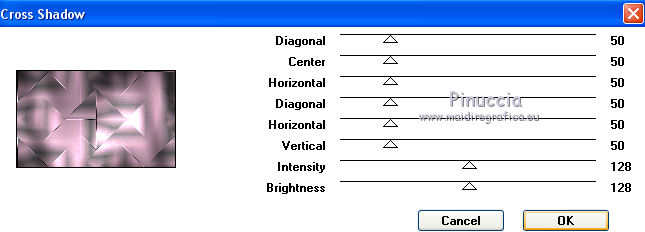
Effects>Plugins>Graphics Plus - Cross Shadow, default settings.
19. Set your foreground color to white #ffffff.
Layers>New Raster Layer - Raster 4.
Flood Fill  the layer with color white. the layer with color white.
20. Layers>New Mask layer>From image
Open the menu under the source window and you'll see all the files open.
Select the mask Narah_Mask_0401.
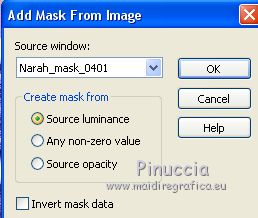
Layers>Merge>Merge Group.
21. Effects>User Defined Filter - select the preset Emboss 3 and ok.

22. Activate the top layer.
Open the tube déco1 and go to Edit>Copy.
Go back to your work and go to Edit>Paste as new layer.
23. K key to activate your Pick Tool 
and set Position X: 104,00 and Position Y: 120,00 .

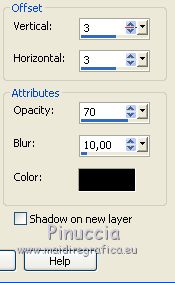
24. Effects>3D Effects>Drop Shadow, color black.
25. Open the tube of the flowers fato-flv-tube and go to Edit>Copy.
Go back to your work and go to Edit>Paste as new layer.
Image>Resize, to 60%, resize all layers not checked.
26. Pick Tool 
and set Position X: 50,00 and Position Y: 331,00 .

27. Adjust>Brightness and Contrast>Brightness/Contrast
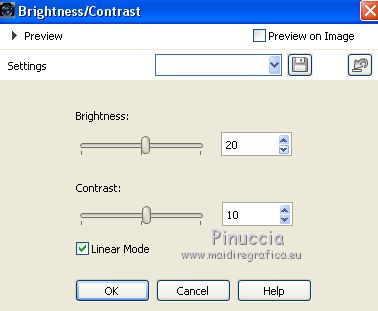
Adjust>Sharpness>Sharpen.
28. Effects>3D Effects>Drop Shadow, color black.
29. Layers>Merge>Merge All
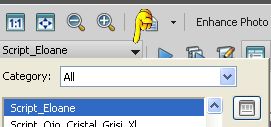
30. If you don't see your script toolbar, go to View>Toolbars>Script.
Open the scripts menu, look for and select the script eloane
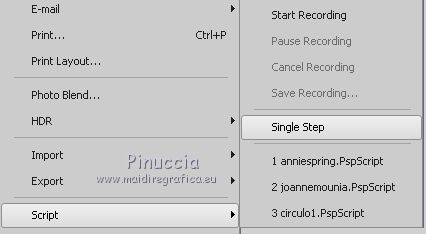
If you want to change the borders color, activate the Toogle Execution Mode

or, you can activate the function Files>Script>Single step
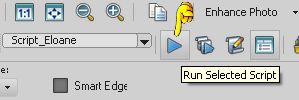
Start the script by clicking on the blue arrow (black in the earlier versions).
If you are using a version earlier than the one the script was created with,
you'll have this message

Being simple borders, you will not have problems; click ok to continue.
*****************
These are the steps of the script.
Image>Add borders, 1 pixel, symmetric, background color.
Image>Add borders, 2 pixels, symmetric, foreground color.
Image>Add borders, 1 pixel, symmetric, background color.
Image>Add borders, 15 pixels, symmetric, color white.
Image>Add borders, 5 pixels, symmetric, background color.
Image>Add borders, 2 pixels, symmetric, foreground color.
Image>Add borders, 30 pixels, symmetric, color white.
After the last border, the script will end with this message.
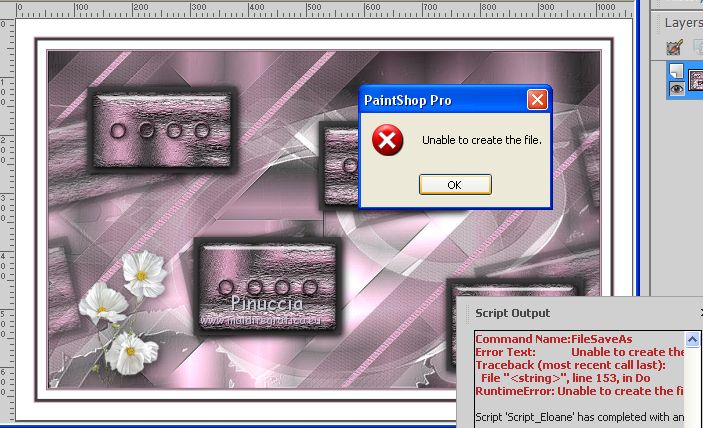
Don't worry (it depends on how the script was created) click ok and you're done.
If instead you have activated Single step function, the message will be this
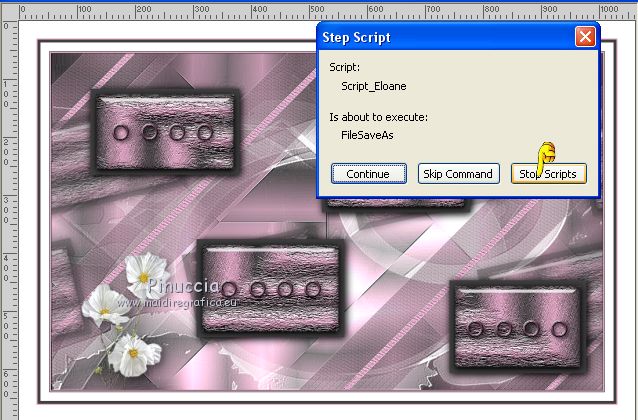
Click on Stop script and ok
*****************
31. Open the tube of the woman by Angel Star and go to Edit>Copy.
Go back to your work and go to Edit>Paste as new layer.
Image>Mirror.
Image>Resize, to 95%, resize all layers not checked.
32. Pick Tool 
and set Position X: 533,00 and Position Y: 38,00.

Adjust>Sharpness>Sharpen.
33. Effects>3D Effects>Drop Shadow, color black.
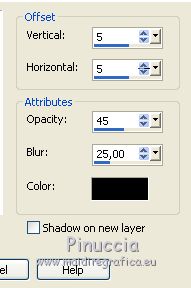
34. Image>Add borders, 1 pixel, symmetric, background color.
Image>Add borders, 1 pixel, symmetric, foreground color.
Image>Add borders, 1 pixel, symmetric, background color.
35. Sign your work on a new layer.
Optional: add the watermark of the author and of the translator.
36. Layers>Merge>Merge All.
Image>Resize, 900 pixels width, resize all layers checked.
Save as jpg.
Version with tubes by Nena Silva and Thafs
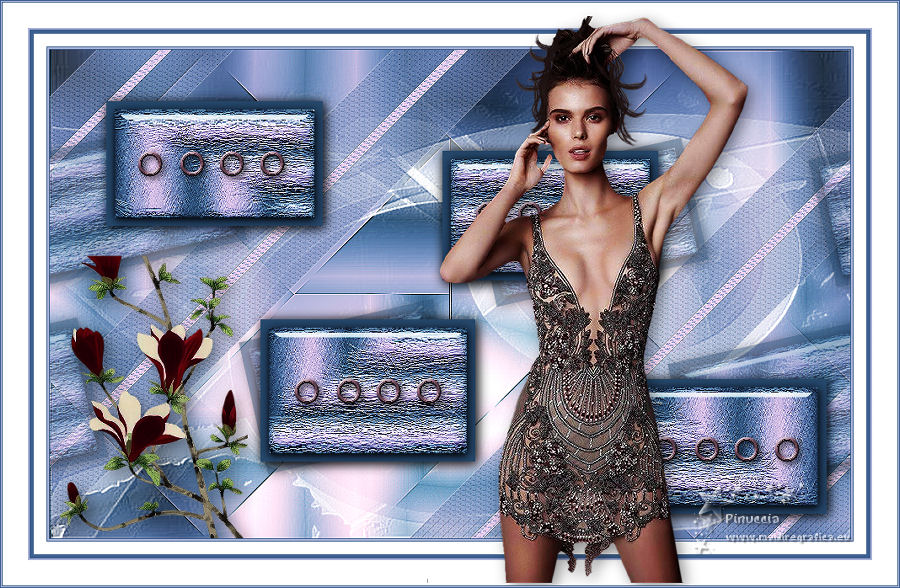

If you have problems or doubts, or you find a not worked link, or only for tell me that you enjoyed this tutorial, write to me.
13 March 2020
|

