GIULIA
 english version
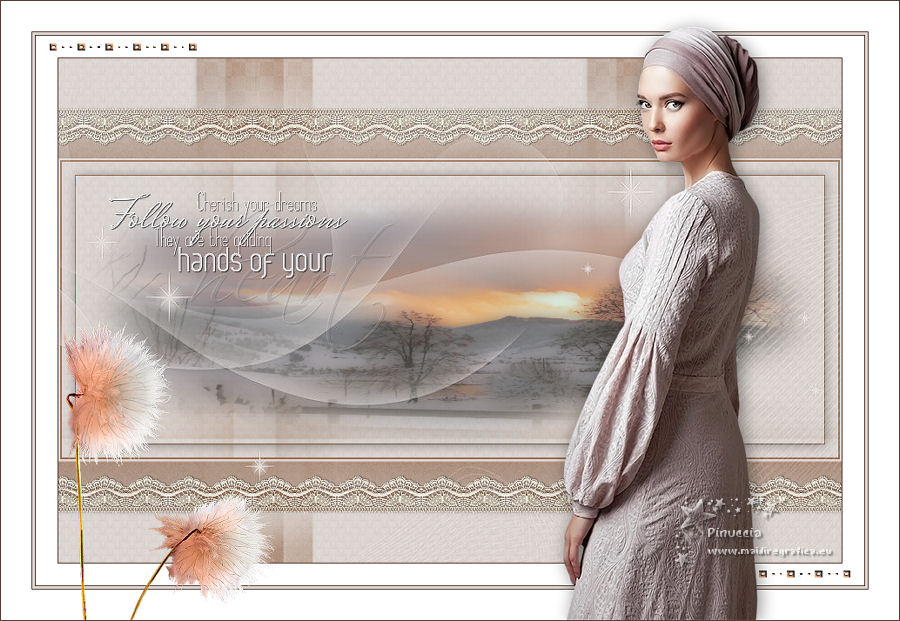
Thanks Carine for your invitation to translate

This tutorial was translated with PSPX and PSPX3, but it can also be made using other versions of PSP.
Since version PSP X4, Image>Mirror was replaced with Image>Flip Horizontal,
and Image>Flip with Image>Flip Vertical, there are some variables.
In versions X5 and X6, the functions have been improved by making available the Objects menu.
In the latest version X7 command Image>Mirror and Image>Flip returned, but with new differences.
See my schedule here
 italian translation here italian translation here
your versions here
Material here
Thanks: for the tubes Lily, MtmBrigitte and Janine.
For the masks thanks Violine and MD.
(The links of the tubemakers here).

You can change Blend Modes according to your colors.
Copy the script in the Scripts Folder.
Open the masks in PSP and minimize them with the rest of the material.
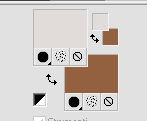
1. Set your foreground color to #e1dcd9,
and your background color to #936140.
2. Open a new transparent image 900 x 580 pixels.
Flood Fill  the transparent image with your foreground color #e1dcd9. the transparent image with your foreground color #e1dcd9.
3. Layers>New Raster Layer, Raster 1.
Flood Fill  the layer with your background color #936140. the layer with your background color #936140.
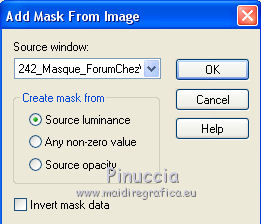
4. Layers>New Mask layer>From image
Open the menu under the source window and you'll see all the files open.
Select the mask 242_Masque_ForumChezVioline.
Layers>Merge>Merge Group.
Adjust>Sharpness>Sharpen.
5. Layers>Duplicate.
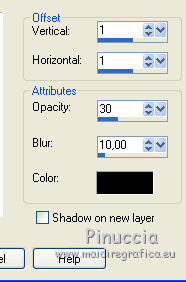
Effects>3D Effects>Drop Shadow, color black.
6. Image>Mirror.
Layers>Merge>Merge Down.
7. Adjust>Add/Remove Noise>Add Noise.
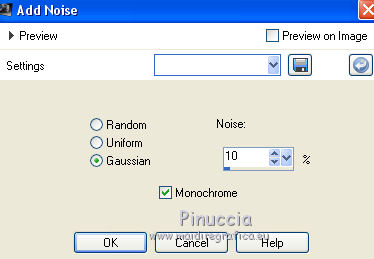
8. Effects>Image Effects>Seamless Tiling.

9. Selection Tool 
(no matter the type of selection, because with the custom selection your always get a rectangle)
clic on the Custom Selection 
and set the following settings.
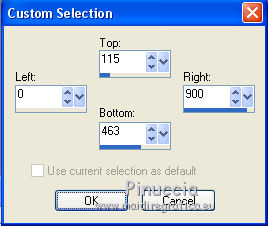
10. Layers>New Raster Layer.
Flood Fill  with your foreground color. with your foreground color.
11. Selections>Modify>Contract - 2 pixels.
Press CANC on the keyboard 
Flood Fill  with your background color. with your background color.
12. Selections>Modify>Contract - 2 pixels.
Press CANC on the keyboard.
13. Selections>Modify>Contract - 15 pixels.
Flood Fill  with your background color. with your background color.
14. Selections>Modify>Contract - 1 pixel.
Press CANC on the keyboard.
15. Effects>3D Effects>Drop Shadow, color black.
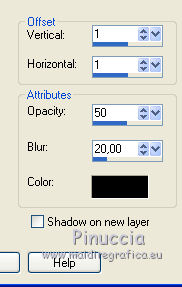
Keep selected.
16. Open the landscape tube and go to Edit>Copy.
Go back to your work and go to Edit>Paste into Selection.
Selections>Select None.
17. Layers>New Raster Layer, Raster 1.
Flood Fill  the layer with your foreground color. the layer with your foreground color.
18. Layers>New Mask layer>From image
Open the menu under the source window
and select the mask maschera MD-041.
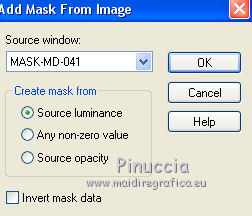
Layers>Merge>Merge Group.
Adjust>Sharpness>Sharpen.
19. Open the tube Déco 1 and go to Edit>Copy.
Go back to your work and go to Edit>Paste as new layer.
20. Activate your Pick Tool 
and set Position X: -68,00 and Position Y: 57,00.

21. Effects>3D Effects>Drop Shadow, color black.
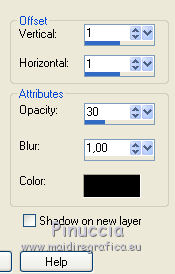
22. Layers>Duplicate.
Image>Flip.
Layers>Merge>Merge Down.
23. Open the text 007 beautifuldrea and go to Edit>Copy.
Go back to your work and go to Edit>Paste as new layer.
Image>Resize, to 60%, resize all layers not checked.
Image>Negative image.
24. Effects>3D Effects>Drop Shadow, color black.
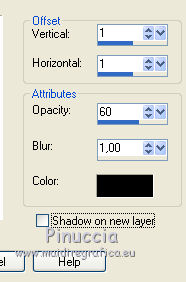
Adjust>Sharpness>Sharpen.
Place  the text as below. the text as below.
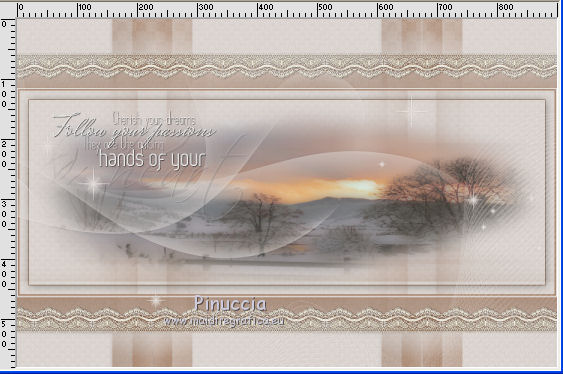
25. Layers>Merge>Merge All.
26. If you don't see your script toolbar, go to View>Toolbars>Script.
Open the scripts menu, look for and select the script Script Gaelle

activate the Toogle Execution Mode to be able to change the borders color, if it is necessary.

Start the script by clicking on the black arrow (blue in the most recent versions).
If you are using a version earlier than the one the script was created with,
you'll have this message

Being simple borders, you will not have problems; click ok to continue.
After the last border, you'll have this step
Click on Stop Script, and the script will stop and you'll have your borders
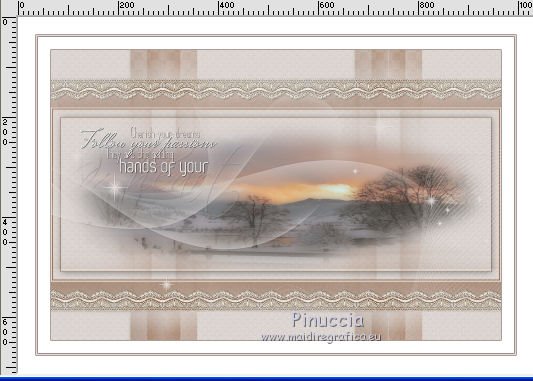
If you want to add borders manually instead of using the script:
Image>Add borders, 1 pixel, symmetric, color #573c31.
Image>Add borders, 25 pixels, symmetric, color white.
Image>Add borders, 1 pixel, symmetric, color #573c31.
Image>Add borders, 3 pixels, symmetric, color #e1dcd9.
Image>Add borders, 1 pixel, symmetric, color #573c31.
Image>Add borders, 35 pixels, symmetric, color white.
27. Open the tube Déco 2 and go to Edit>Copy.
Go back to your work and go to Edit>Paste as new layer.
28. Activate your Pick Tool 
and set Position X: 54,00 and Position Y: 42,00.

29. Layers>Duplicate.
Image>Mirror.
Image>Flip.
30. Open the woman by Lily, erase the watermark and go to Edit>Copy.
Go back to your work and go to Edit>Paste as new layer.
Image>Mirror.
Move  the tube to the right side. the tube to the right side.
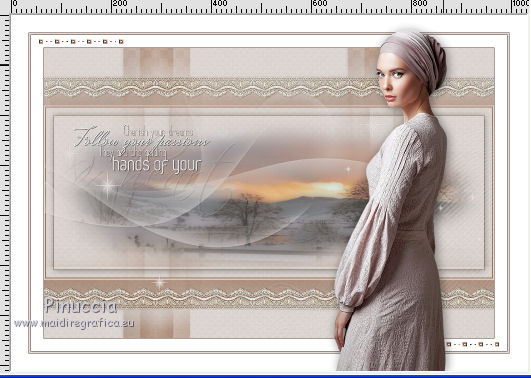
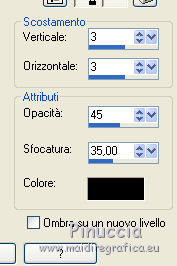
31. Effects>3D Effects>Drop Shadow, color black.
32. Open the tube MTM Brigitte and go to Edit>Copy.
Go back to your work and go to Edit>Paste as new layer.
Image>Resize, to 60%, resize all layers not checked.
33. Activate your Pick Tool 
and set Position X: 70,00 and Position Y: 366,00.

Adjust>Sharpnee>Sharpen.
Note: if you use another tube, you can add a drop shadow;
for my example I didn't it.
34. Image>Add borders, 1 pixels, symmetric, color #573c31.
35. Image>Resize, 900 pixels width, resize all layers checked.
36. Sign your work and save as jpg.
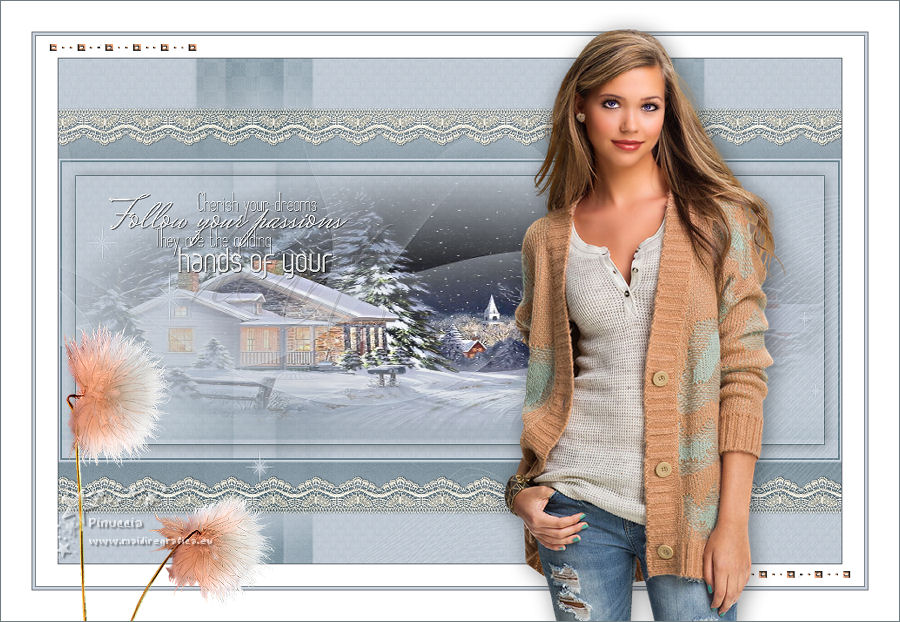
Version with tube by Mina and Thafs.

If you have problems or doubts, or you find a not worked link, or only for tell me that you enjoyed this tutorial, write to me.
6 January 2020
|

