HAPPY HALLOWEEN

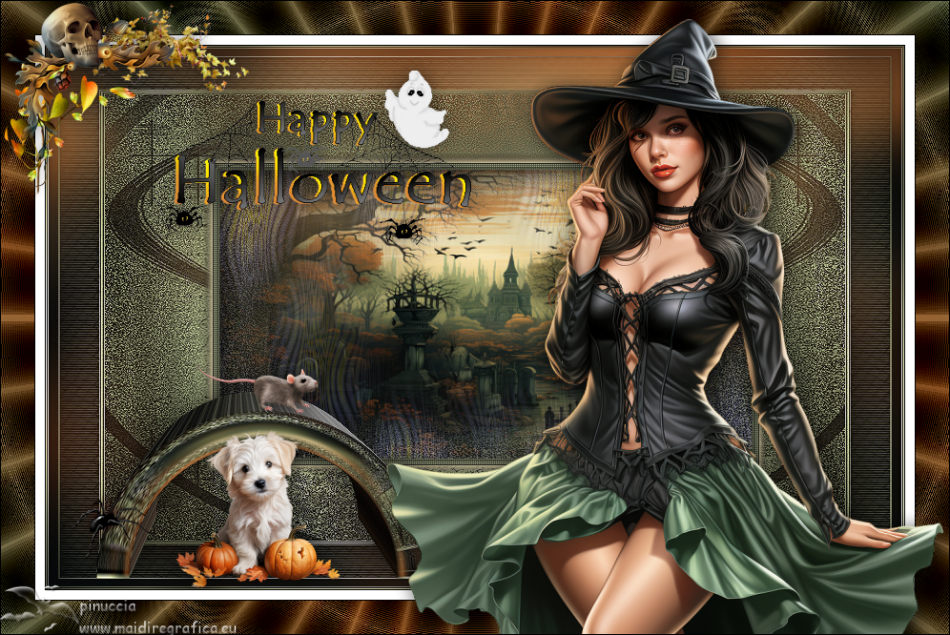
Thanks Carine for your invitation to translate

Clic and move the brush to follow the tutorial.

To print


|
This tutorial was translated with PSPX7 and PSPX2, but it can also be made using other versions of PSP.
Since version PSP X4, Image>Mirror was replaced with Image>Flip Horizontal,
and Image>Flip with Image>Flip Vertical, there are some variables.
In versions X5 and X6, the functions have been improved by making available the Objects menu.
In the latest version X7 command Image>Mirror and Image>Flip returned, but with new differences.
See my schedule here
 italian translation here italian translation here
 your versions here your versions here
Necessary

Thanks for the tubes Adrienne.
(The links of the tubemakers here).

consult, if necessary, my filter section here
Filters Unlimited 2.0 here
Flaming Pear - Flexify 2 here
Graphics Plus - Cross Shadow here
Penta.com - Color Dot here
Alien Skin Eye Candy 5 Impact - Extrude here
Filter Factory Gallery K - Magic 10 here
VM Instant Art - Spider Web here
Filters Graphics Plus, Penta.com, Factory Gallery and VM Instant Art can be used alone or imported into Filters Unlimited.
(How do, you see here)
If a plugin supplied appears with this icon  it must necessarily be imported into Unlimited it must necessarily be imported into Unlimited

You can change Blend Modes according to your colors.
In the newest versions of PSP, you don't find the foreground/background gradient (Corel_06_029).
You can use the gradients of the older versions.
The Gradient of CorelX here

Open the mask in PSP and minimize it with the rest of the material.
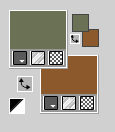
1. Set your foreground color to #6b7155
and your background color to #8c592e.
2. Open a new transparent image 900 x 570 pixels.
3. Selections>Select All.
Open Fond Creepy Halloween 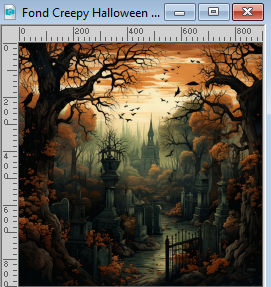
Edit>Copy.
Go back to your work and go to Edit>Paste into Selection.
Selections>Select None.
4. Adjust>Blur>Gaussian Blur - radius 30.

5. Layers>New Raster Layer.
Flood Fill  the layer with your foreground color #6b7155. the layer with your foreground color #6b7155.
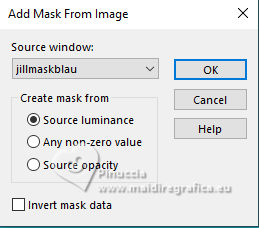
6. Layers>New Mask layer>From image
Open the menu under the source window and you'll see all the files open.
Select the mask Jillmaskblau.
Layers>Merge>Merge Group.
Effects>Edge Effects>Enhance.
7. Effects>Plugins>Graphics Plus - Cross Shadow, default settings.
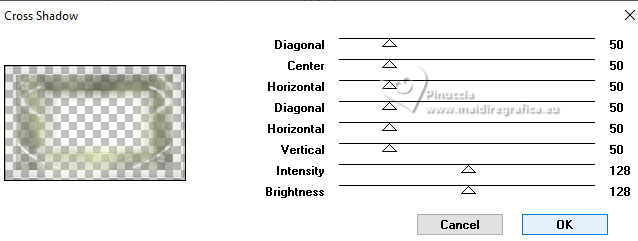
8. Effects>3D Effects>Drop shadow, color black.
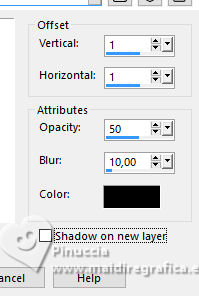
9. Layers>Merge>Merge visible.
10. Layers>Duplicate.
Effects>Geometric Effects>Perspective horizontal.
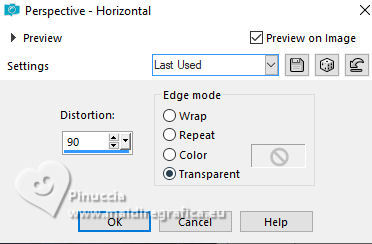
11. Image>Mirror.
Repeat Effects>Geometric Effects>Perspective horizontal.

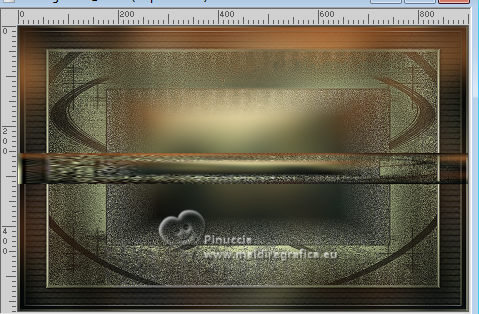
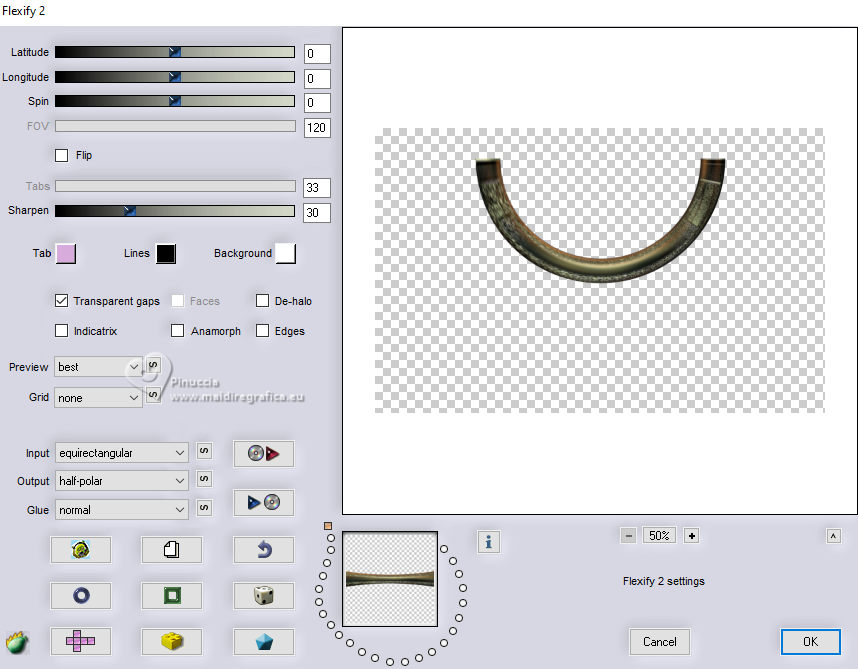
12. Effects>Plugins>Flaming Pear - Flexify 2.
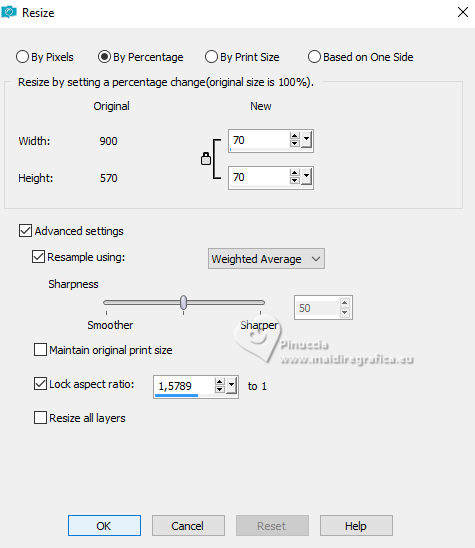
13. Image>Resize, to 70%, resize all layers not checked.
14. Image>Flip.
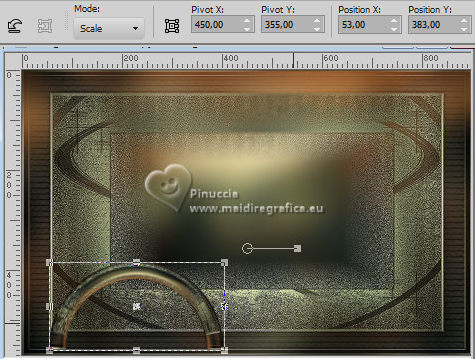
15. Activate your Pick Tool 
and set Position X: 53,00 and Position Y: 383,00.
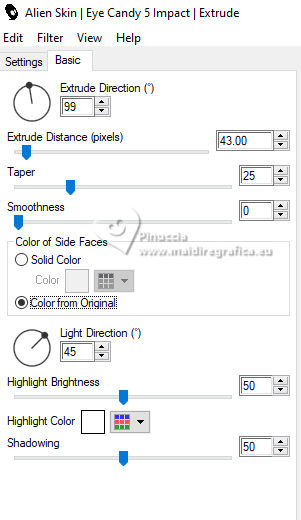
16. Effects>Plugins>Alien Skin Eye Candy 5 Impact - Extrude.
17. Effects>3D Effects>Drop shadow, color black.

Adjust>Sharpness>Sharpen.
18. Activate the layer Merged.
Selection Tool 
(no matter the type of selection, because with the custom selection your always get a rectangle)
clic on the Custom Selection 
and set the following settings.
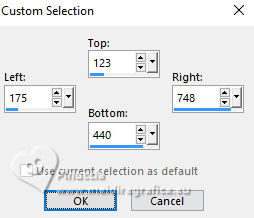
Selections>Promote Selection to Layer.
19. Layers>New Raster Layer.
Open Paysage Creepy Halloween Adrienne 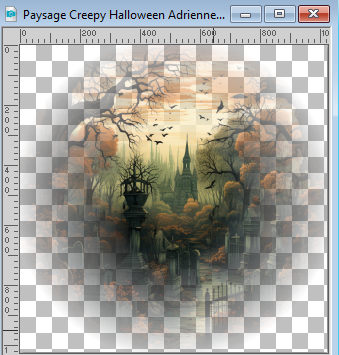
Edit>Copy.
Go back to your work and go to Edit>Paste into Selection.
20. Image>Resize, to 105%, resize all layers not checked.
(optional: according to your landscape)
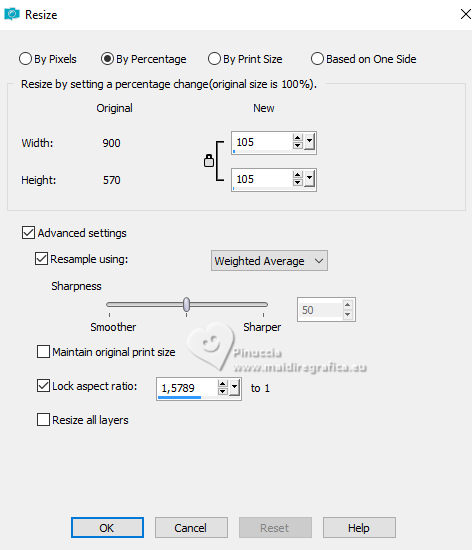
Adjust>Sharpness>Sharpen.
21. Layers>New Raster Layer, Raster 2.
Selections>Modify>Select Selection Borders.
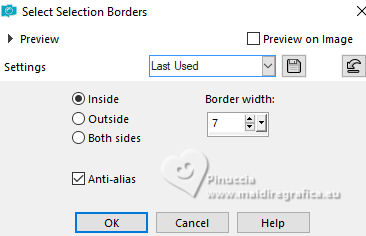
Flood Fill  the selection with your foreground color #6b7155. the selection with your foreground color #6b7155.
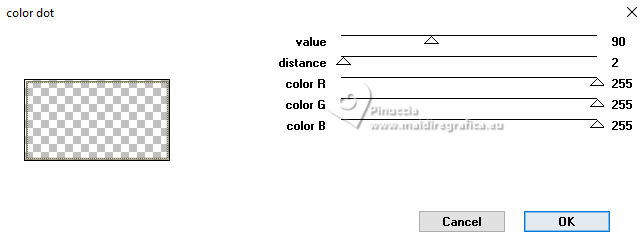
22. Effects>Plugins>Penta.com - Color dot, default settings
23. Effects>3D Effects>Inner Bevel.
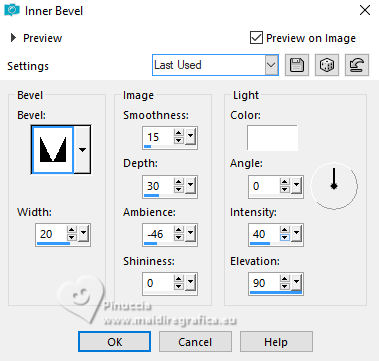
Selections>Select None.
24. Custom Selection  , same settings. , same settings.

25. Effects>3D Effects>Chisel, color #d9cba4.
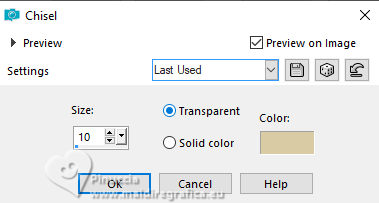
Selections>Select None.
26. Layers>Merge>Merge Down.
27. Activate the layer below, Promoted Selection.
Effects>Plugins>Filters Unlimited 2.0 - Filter Factory Gallery K - Magic 10, default settings.
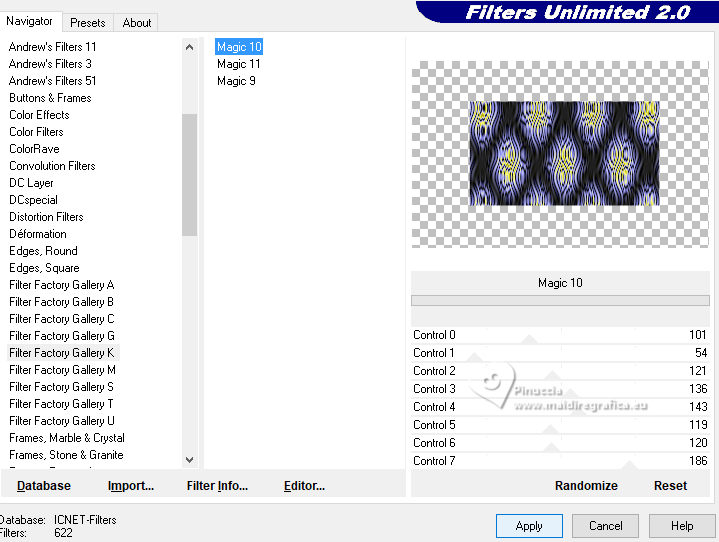
28. Reduce the opacity of this layer to 30%.
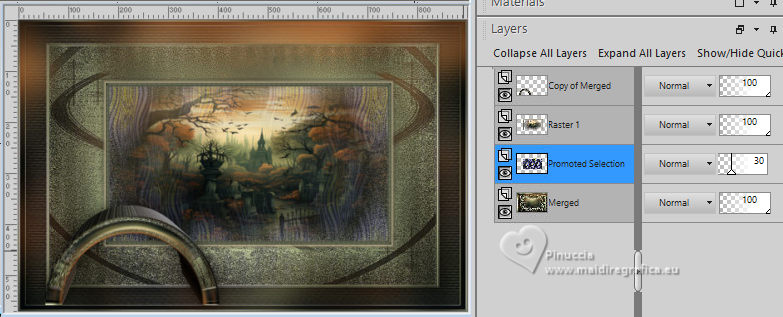
29. Layers>New Raster Layer.
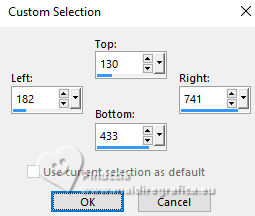
Custom Selection 
30. Effects>3D Effects>Cutout.
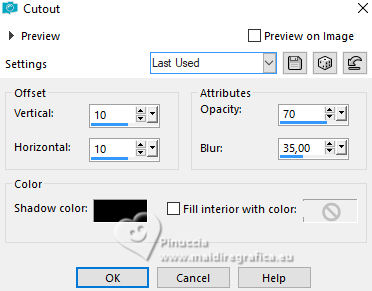
Selections>Select None.
31. Activate your top layer.
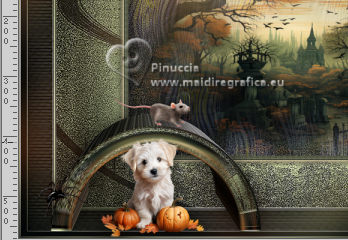
Open the tube Elegant Autumn Element(73)Adriennes D 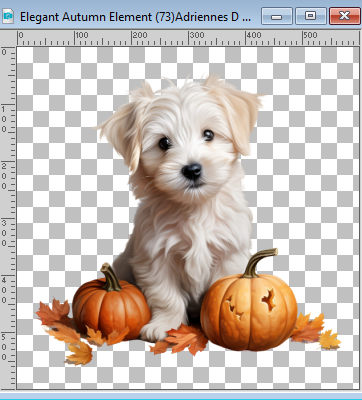
Edit>Copy.
Go back to your work and go to Edit>Paste as new layer.
Image>Resize, to 32%, resize all layers not checked.
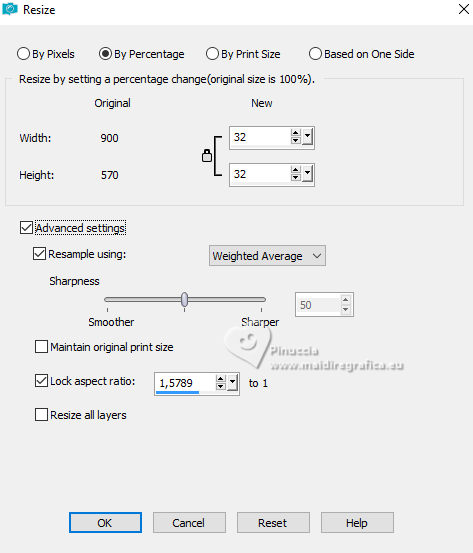
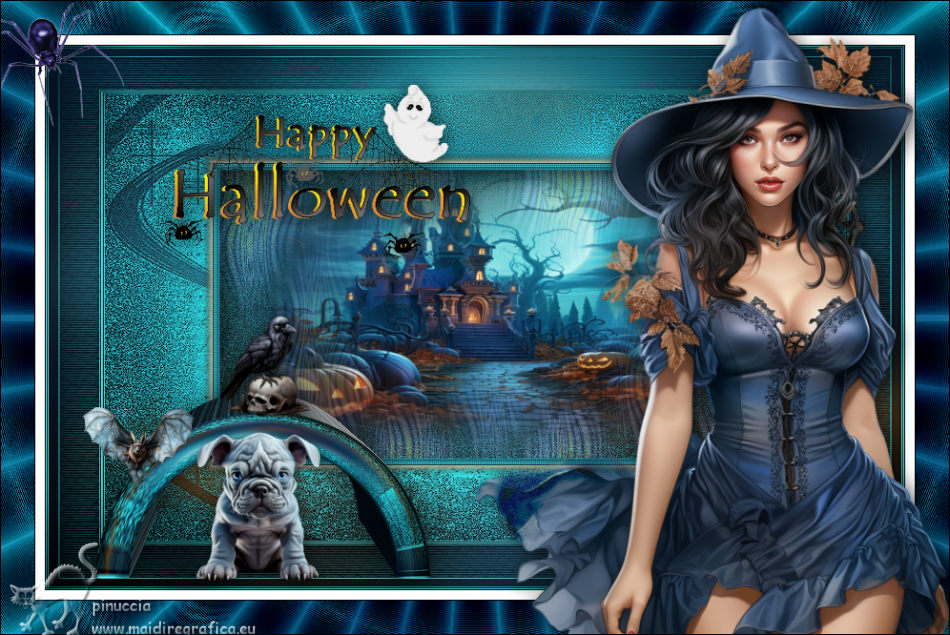
Move  the tube at the bottom left, as in my example. the tube at the bottom left, as in my example.
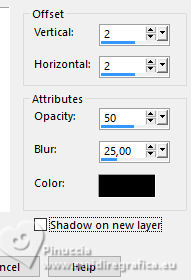
32. Effects>3D Effects>Drop shadow, color black.
33. Open the tube miggs_oct_allhallows (12) 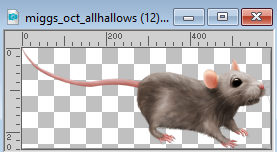
Edit>Copy.
Go back to your work and go to Edit>Paste as new layer.
Image>Resize, to 22%, resize all layers not checked.

Move  the tube at the bottom left, as in my example. the tube at the bottom left, as in my example.
34. Effects>3D Effects>Drop shadow, color black.

35. Open the tube Spider 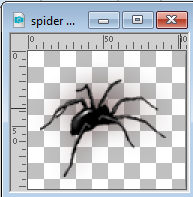
Edit>Copy.
Go back to your work and go to Edit>Paste as new layer.
Move  the tube at the bottom left, as in my example. the tube at the bottom left, as in my example.
36. Layers>Merge>Merge All.
37. Image>Add borders, 1 pixel, symmetric, color black.
Image>Add borders, 10 pixels, symmetric, color white.
Image>Add borders, 1 pixel, symmetric, color black.
39. Selections>Select All.
Image>Add borders, 35 pixels, symmetric, color white.
40. Selections>Invert.
Set your foreground color to a Foreground/Background Gradient, style Linear.
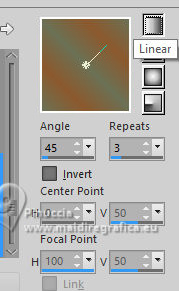
Flood Fill  the selection with your Gradient. the selection with your Gradient.
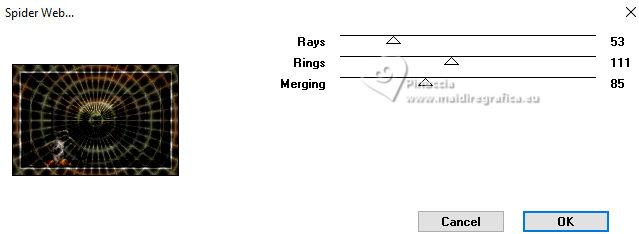
41. Effects>Plugins>VM Instant Art - Spider Web, default settings.
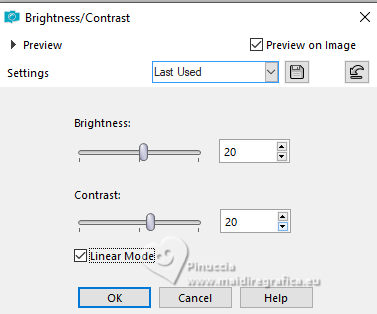
42. Adjust>Brightness and Contrast>Brightness and Contrast (according to your colors).
Selections>Select None.
43. Open the tube Femme Adrienne D Creepy Halloween (6) 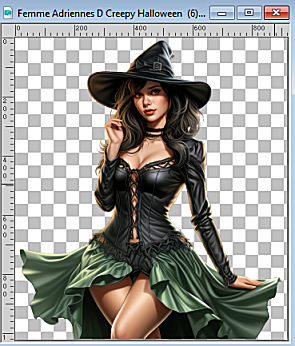
Edit>Copy.
Go back to your work and go to Edit>Paste as new layer.
Image>Resize, to 66%, resize all layers not checked.
Move  the tube to the right side, see my example. the tube to the right side, see my example.
44. Effects>3D Effects>Drop shadow, color black.
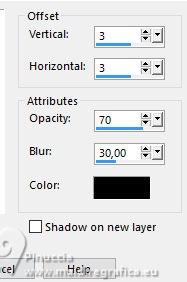
45. Open the text TEXTE halloween 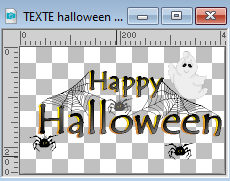
Edit>Copy.
Go back to your work and go to Edit>Paste as new layer.
Image>Resize, to 85%, resize all layers not checked.
Move  the text at the upper left, see my example. the text at the upper left, see my example.
46. Effects>3D Effects>Drop shadow, color black.

47. Open cluster cloclo 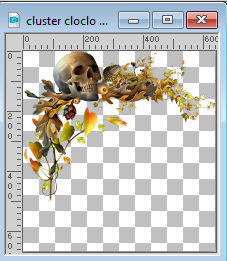
Edit>Copy.
Go back to your work and go to Edit>Paste as new layer.
Image>Resize, to 40%, resize all layers not checked.
Move  the tube at the upper left, see my example. the tube at the upper left, see my example.
48. Effects>3D Effects>Drop shadow, color black.

49. Image>Add borders, 1 pixel, symmetric, color black.
50. sign your work.
Image>Resize, 900 pixels width, resize all layers checked.
Save as jpg.
For the tubes of this version thanks

If you have problems or doubts, or you find a not worked link, or only for tell me that you enjoyed this tutorial, write to me.
27 October 2023

|

