JOURNÉE D'AUTOMNE
 AUTUMN DAY AUTUMN DAY
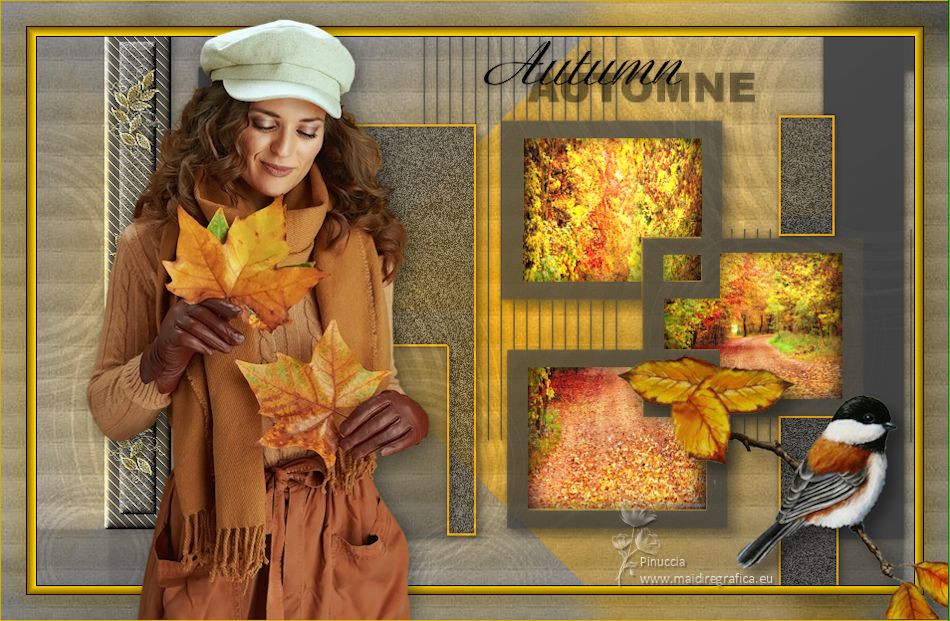
Thanks Carine for your invitation to translate

Clic and move the brush to follow the tutorial.

To print


|
This tutorial was translated with PSPX and PSPX3, but it can also be made using other versions of PSP.
Since version PSP X4, Image>Mirror was replaced with Image>Flip Horizontal,
and Image>Flip with Image>Flip Vertical, there are some variables.
In versions X5 and X6, the functions have been improved by making available the Objects menu.
In the latest version X7 command Image>Mirror and Image>Flip returned, but with new differences.
See my schedule here
 italian translation here italian translation here
 Your versions here Your versions here
Material here
Thanks for the woman Nadège, for the wordart Jewel and for a mask Narah.
(The links of the tubemakers here).
Plugins
consult, if necessary, my filter section here
Filters Unlimited 2.0 here
AAA Filters - AAA Framer here
AAA Frames - Foto Frame here
AP 01 [Innovations] - Lines SilverLining here
Simple - Pizza Slice Mirror here
Filters Simple can be used alone or imported into Filters Unlimited.
(How do, you see here)
If a plugin supplied appears with this icon  it must necessarily be imported into Unlimited it must necessarily be imported into Unlimited

You can change Blend Modes according to your colors.

Open the masks in PSP and minimize them with the rest of the material.
1. Set your foreground color to color 1 #d69813,
and your background color to color 2 #808080.
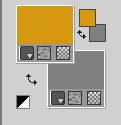
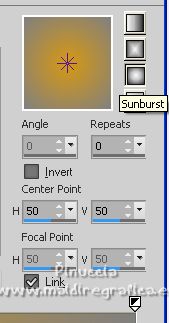
Set your foreground color to a Foreground/Background Gradient, style Sunburst.
2. Open Alpha Journée d’automne.
Window>Duplicate or, on the keyboard, shift+D to make a copy.

Close the original.
The copy, that will be the basis of your work, is not empty,
but contains the selections saved to alpha channel.
(if you are problems with the alpha channel, you can use the selections from disk,
that you find in the material).
Flood Fill  the transparent image with your Gradient. the transparent image with your Gradient.
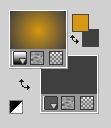
3. Set your background color to color 3 #3f3f3f.
Layers>New Raster layer.
Flood Fill  the layer with your background color 3f3f3f. the layer with your background color 3f3f3f.
4. Layers>New Mask layer>From image
Open the menu under the source window and you'll see all the files open.
Select the mask Symetrie.
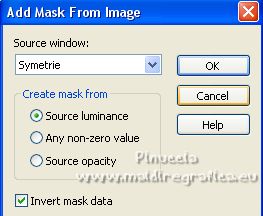
Layers>Merge>Merge Group.
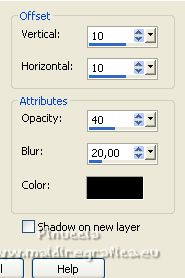
5. Effects>3D Effects>Drop Shadow, color black.
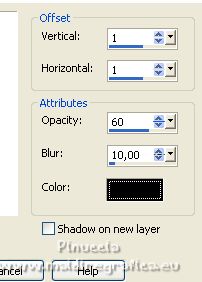
6. Activate your background layer Raster 1.
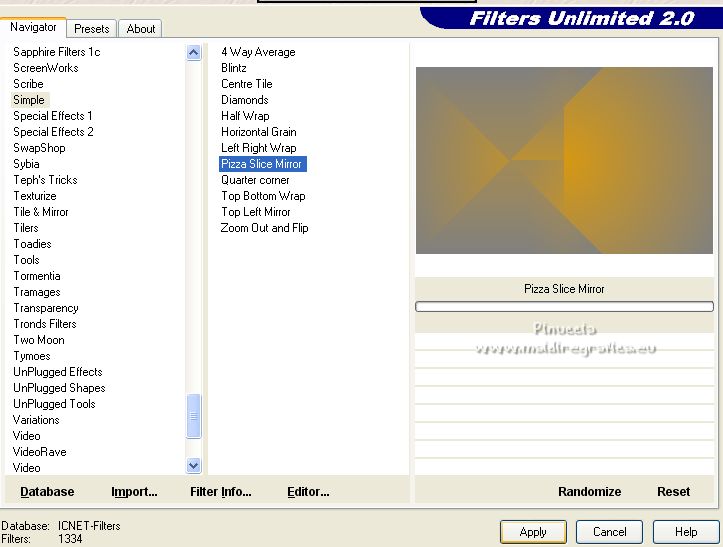
Effects>Plugins>Filters Unlimited 2.0 - Simple - Pizza Slice Mirror.
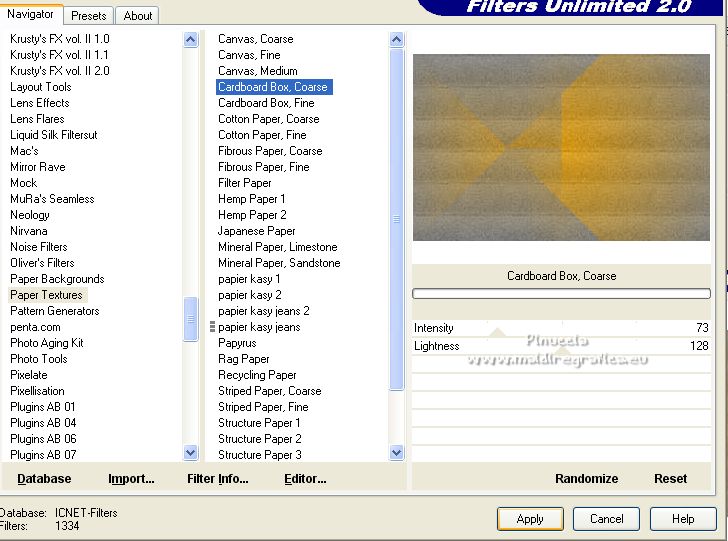
7. Effects>Plugins>Filters Unlimited 2.0 - Paper Textures - CardBoard Box, Coarse.
8. Activate your Top Layer (group Raster 2).
Layers>Merge>Merge Down.
9. Selections>Load/Save Selection>Load Selection from Alpha Channel.
The selection Sélection #Automne2022 is immediately available.
You just have to click Load.
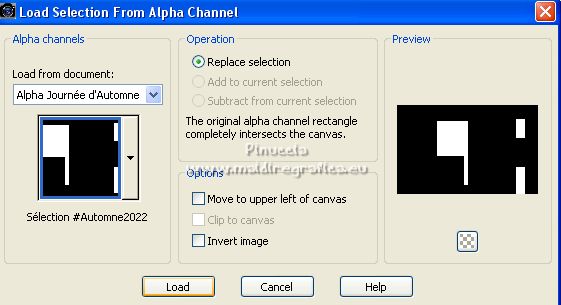
Selections>Promote Selection to Layer.
10. Adjust>Add/Remove Noise>Add Noise.
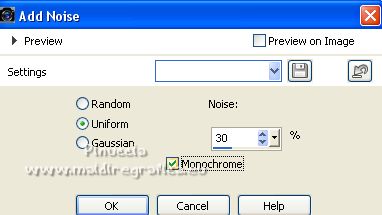
11. Set your foreground color to Color.

Layers>New Raster Layer.
Flood Fill  the layer with your foreground color #d69813. the layer with your foreground color #d69813.
12. Selections>Modify>Contract - 2 pixels.
Press CANC on the keyboard 
Selections>Select None.
13. Effects>3D Effects>Drop Shadow, same settings.

14. Layers>New Raster Layer.
Selections>Load/Save Selection>Load Selection from Alpha Channel.
Open the selections menu and load the selection Sélection #Automne2022_1.
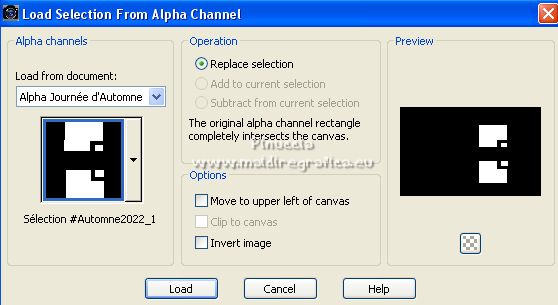
15. Open the background image Automne and go to Edit>Copy.
Go back to your work and go to Edit>Paste into Selection.
Selections>Invert.
16. Effects>3D Effects>Drop Shadow, color black.
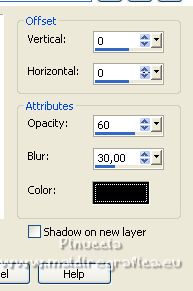
Selections>Select None.
17. Layers>New Raster Layer.
Selections>Load/Save Selection>Load Selection from Alpha Channel.
Open the selections menu and load the selection Sélection #Automne2022_2.
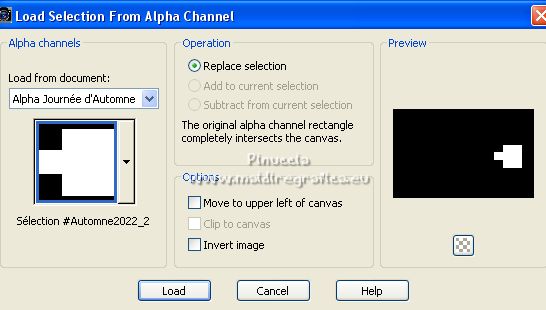
Edit>Paste into Selection (the image Automne is still in memory).
18. Selections>Invert.
Effects>3D Effects>Drop Shadow, same settings.

Selections>Select None.
19. Layers>Merge>Merge visible.
20. Selections>Load/Save Selection>Load Selection from Alpha Channel.
Open the selections menu and load the selection Sélection #Automne2022_3.
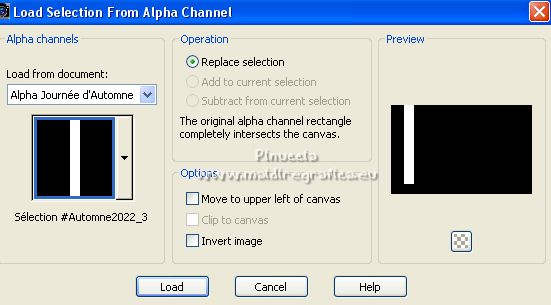
Selections>Promote Selection to Layer.
21. Effects>Plugins>AP 01 Innovation - Lines SilverLining.
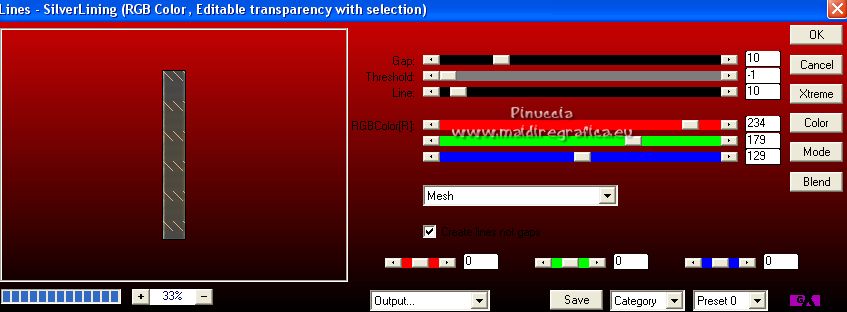
22. Effects>3D Effects>Inner Bevel.
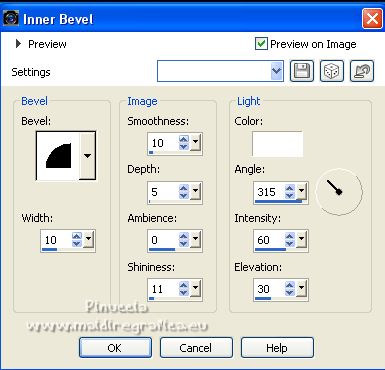
23. Selections>Modify>Contract - 15 pixels.
Effects>3D Effects>Inner Bevel, same settings.
24. Adjust>Add/Remove Noise>Add Noise, same settings.

Selections>Select None.
25. Activate the background layer, Merged.
Set your foreground color to white.
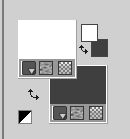
Layers>New Raster Layer.
Flood Fill  the layer with color white. the layer with color white.
26. Layers>New Mask layer>From image
Open the menu under the source window
and select the mask Narah_mask_0543_5.
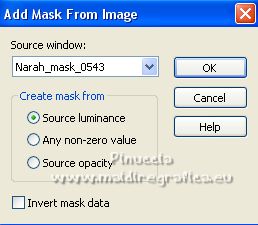
Layers>Merge>Merge Group.
27. Change the Blend Mode of this layer to Dodge and reduce the opacity to 40%.
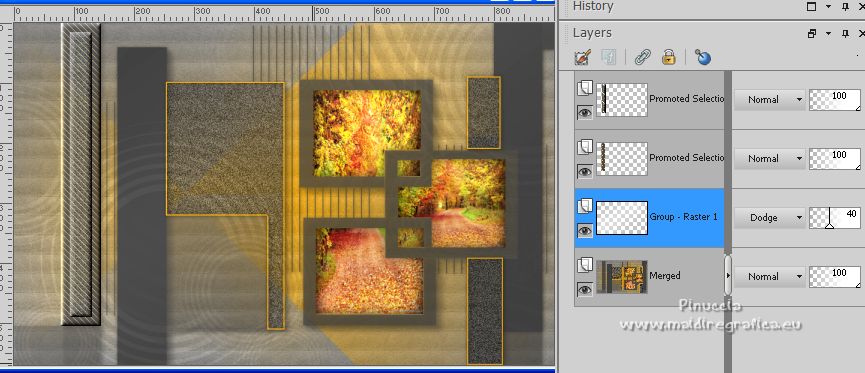
Adjust>Sharpness>Sharpen More.
28. Activate your top layer.
Open the wordart Automne by Jewel and go to Edit>Copy.
Go back to your work and go to Edit>Paste as new layer.
Pick Tool 
and set Position X: 457,00 and Position Y: 9,00.

29. Effects>3D Effects>Drop Shadow, color black.
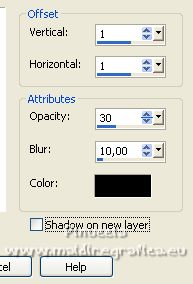
30. Open tube Déco Or and go to Edit>Copy.
Go back to your work and go to Edit>Paste as new layer.
Set Position X: 75,00 and Position Y: 39,00.

31. Effects>3D Effects>Drop Shadow, color black.
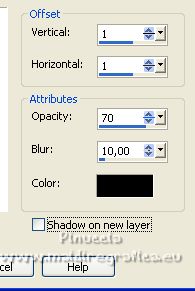
32. Layers>Merge>Merge visible.
33. Edit>Copy
As a precaution Edit>Paste as new image, and minimize.
34. Image>Add borders, 1 pixel, symmetric, color 1 #d69813.
35. Effects>Plugins>AAA Filters - AAA Framer.
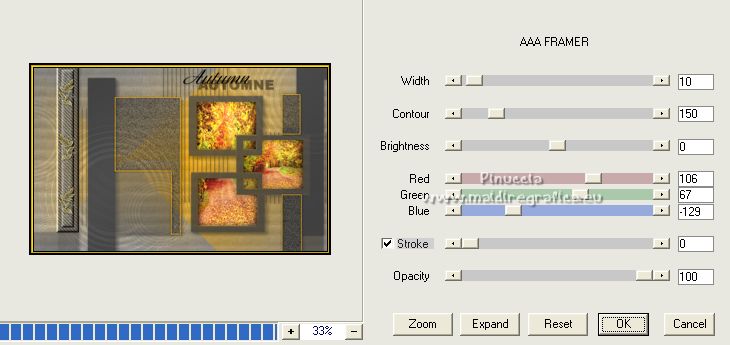
36. Selections>Select All.
Image>Add borders, 25 pixels, symmetric, color white.
Selections>Invert.
37. Edit>Paste into Selection.
38. Adjust>Blur>Gaussian Blur - radius 15.

39. Effects>Plugins>Filters Unlimited 2.0 - Paper Textures - CardBoard Box,Coarse.
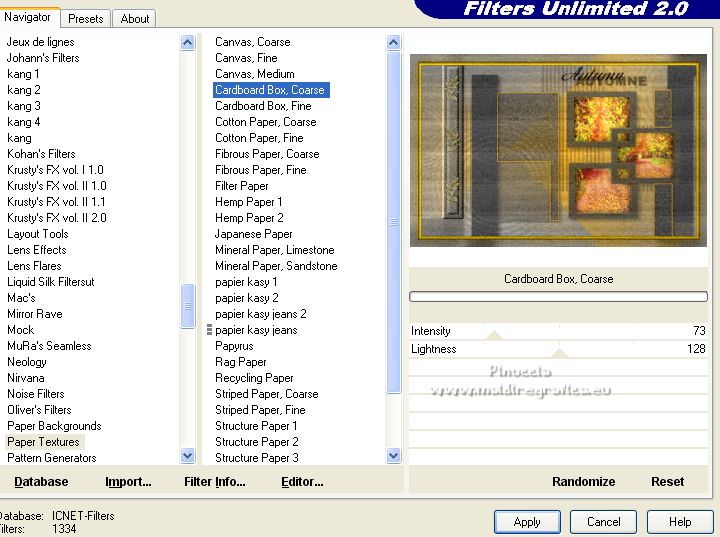
40. Selections>Invert.
Effects>3D Effects>Drop Shadow, color black.
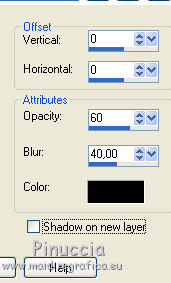
Selections>Select None.
41. Open the woman tube by Nadège, erase the watermark and go to Edit>Copy.
Go back to your work and go to Edit>Paste as new layer.
Image>Resize, to 81%, resize all layers not checked.
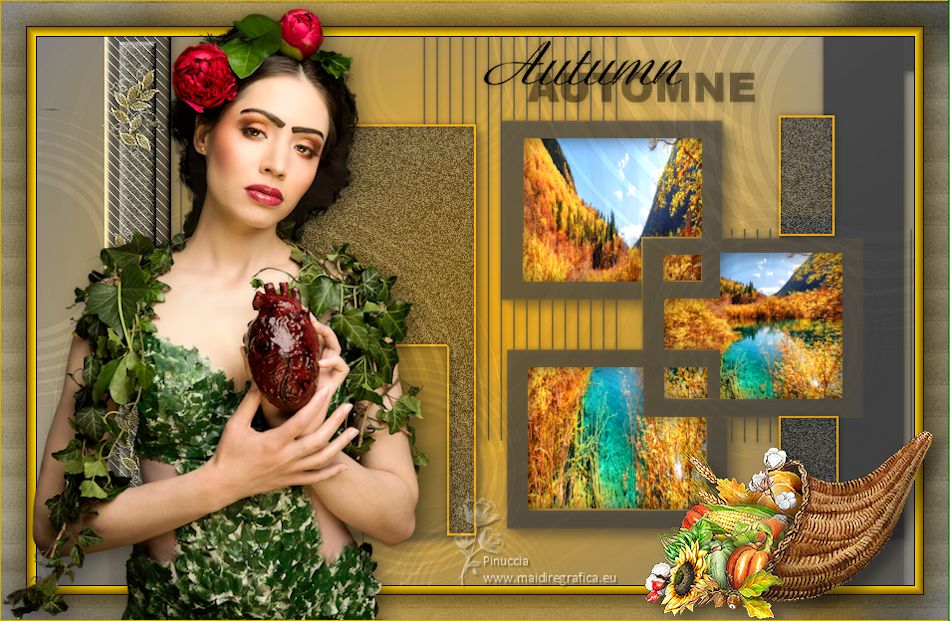
Move  the tube to the left side, see my example. the tube to the left side, see my example.
42. Open the tube Vogel-op-tak and go to Edit>Copy.
Go back to your work and go to Edit>Paste as new layer.
Image>Resize, to 86%, resize all layers not checked.
Pick Tool 
and set Position X: 617,00 and Position Y: 355,00.

43. Effects>3D Effects>Drop Shadow, color black.
44. Image>Add borders, 1 pixel, symmetric, color 4 #d3ac00.
45. Sign your work.
46. Image>Resize, 950 pixels width, resize all layers checked.
Save as jpg.
For the tubes of this version thanks Jen and Lori Rhae

If you have problems or doubts, or you find a not worked link, or only for tell me that you enjoyed this tutorial, write to me.
6 September 2022

|

