LIFE STYLE
 english version
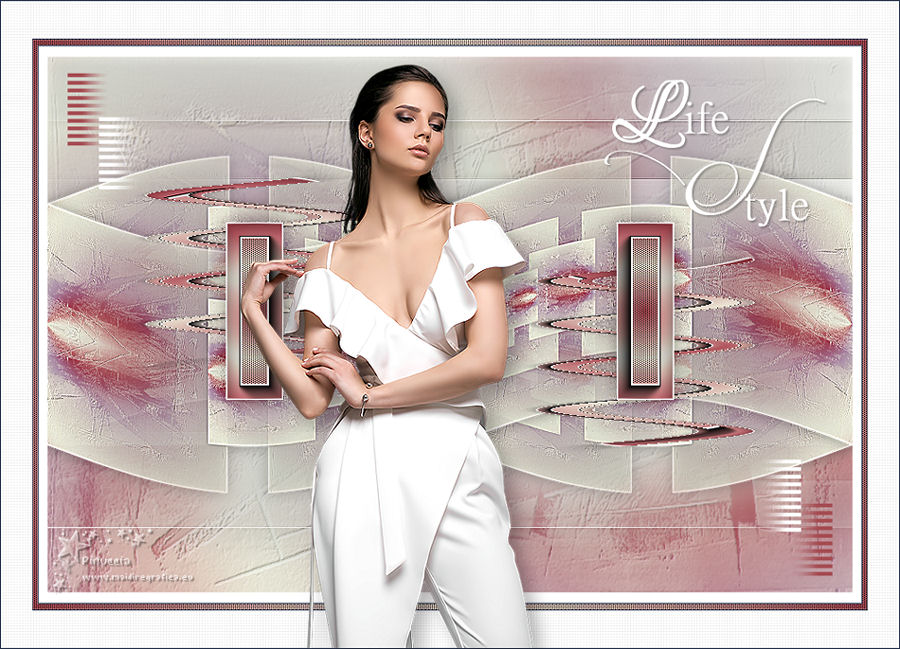
Thanks Carine for your invitation to translate

This tutorial was translated with PSPX and PSPX3, but it can also be made using other versions of PSP.
Since version PSP X4, Image>Mirror was replaced with Image>Flip Horizontal,
and Image>Flip with Image>Flip Vertical, there are some variables.
In versions X5 and X6, the functions have been improved by making available the Objects menu.
In the latest version X7 command Image>Mirror and Image>Flip returned, but with new differences.
See my schedule here
italian translation here
Material here
Thanks: for the tube Lily.br
(The links of the tubemakers here).
Plugins
consult, if necessary, my filter section here
Filters Unlimited 2.0 here
Mehdi - Wavy Lab 1.1 here
AAA Frames - Foto Frame here
Cybia Screenworks here
Simple - Top Left Mirror here
Mura's Seamless - Emboss at Alpha here
Filters Simple, Mura's Seamless and Screenworks can be used alone or imported into Filters Unlimited.
(How do, you see here)
If a plugin supplied appears with this icon  it must necessarily be imported into Unlimited it must necessarily be imported into Unlimited

You can change Blend Modes according to your colors.
In the newest versions of PSP, you don't find the foreground/background gradient (Corel_06_029).
You can use the gradients of the older versions.
The Gradient of CorelX here
Copy the frame by @nn in the Picture-Frame Folder.
Copy the texture in the Textures Folder.
Open the masks in PSP and minimize them with the rest of the material.
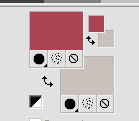
Set your foreground color to #ab4550,
and your background color with #cac0bc.
1. Open a new transparent image 900 x 600 pixels.
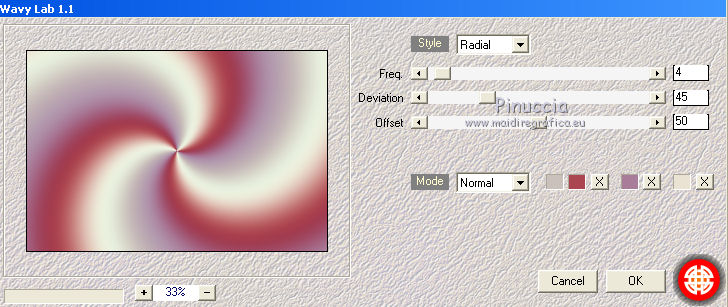
2. Effects>Plugins>Mehdi - Wavy Lab 1.1.
This filter creates gradients with the colors of your Materials palette:
the first is your background color, the second is your foreground color.
Change the last two colors created by the filter:
the third with color #a97c99 and the forth with #eae3d3.
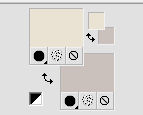
3. Set your foreground color to #eae3d3.
Layers>New Raster Layer, raster 2.
Flood Fill  the layer with foreground color. the layer with foreground color.
4. Layers>New Mask layer>From image
Open the menu under the source window and you'll see all the files open.
Select the mask vsp226.
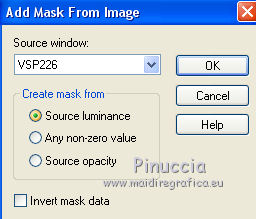
Layers>Merge>Merge Group.
5. Effects>Plugins>Mura's Seamless - Emboss at Alpha, default settings.
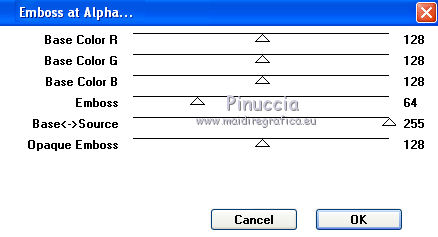
Reduce the opacity of this layer to 70%.
6. Layers>Merge>Merge Down.
7. Layers>Duplicate.
Effects>Plugins>Simple - Top Left Mirror.
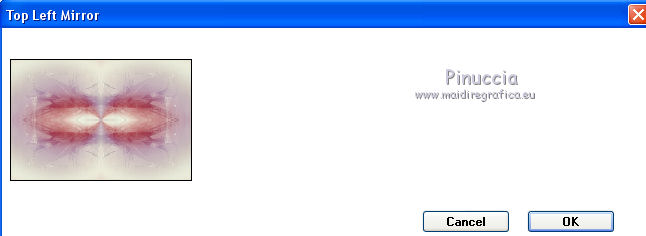
8. Image>Resize, to 45%, resize all layers not checked.
9. Effects>Image Effects>Seamless Tiling.
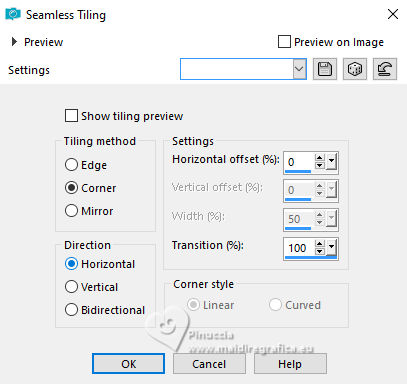
10. Layers>Duplicate.
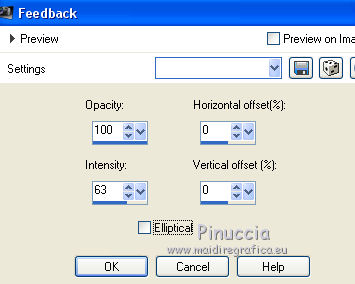
Effects>Reflection Effects>Feedback.
11. Effects>3D Effects>Drop Shadow, color black.
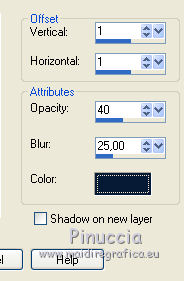
Adjust>Sharpness>Sharpen More.
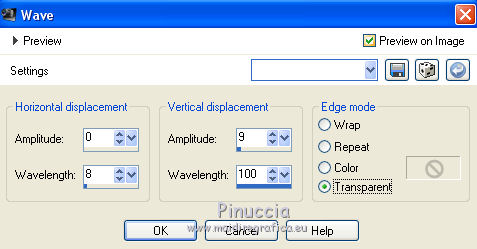
12. Effects>Distortion Effects>Wave.
13. Layers>Duplicate.
Image>Mirror.
Layers>Merge>Merge Down.
14. Keep your foreground color to #eae3d3,
and set your background color to #ab4550.
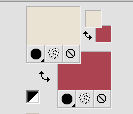
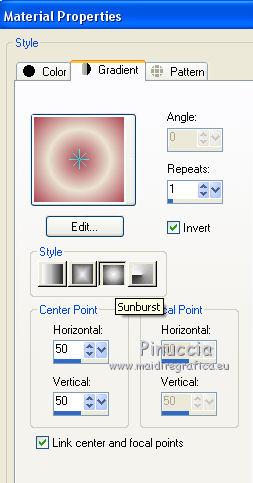
Set your foreground color to a Foreground/Background Gradient, style Sunburst.
15. Layers>New Raster Layer.
Selections>Load/Save Selection>Load Selection from Disk.
Look for and load the selection sélectionFel 1.
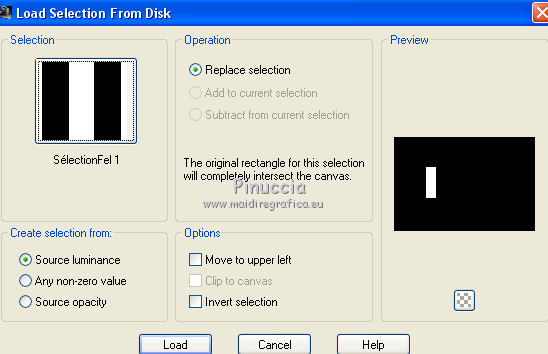
Flood Fill  the selection with your Gradient. the selection with your Gradient.
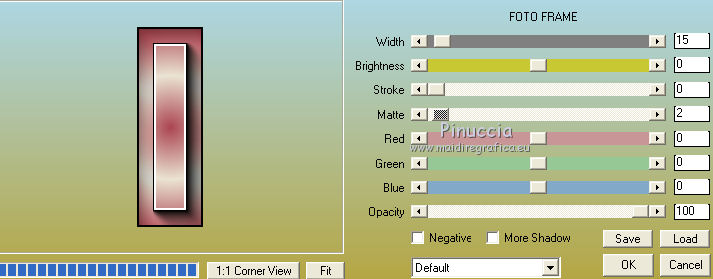
16. Effects>Plugins>AAA Frames - Foto Frame.
17. Selections>Modify>Select Selection Borders.
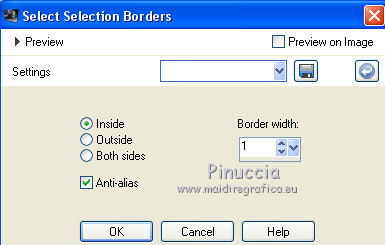
18. Set your foreground color to white.
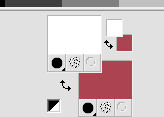
Flood Fill  the selection with color white. the selection with color white.
Selections>Select None.
19. Effects>3D Effects>Drop Shadow, color black.

20. Layers>Duplicate.
Image>Mirror.
Layers>Merge>Merge Down.
21. Layers>Duplicate.
Effects>Distortion Effects>Wave.
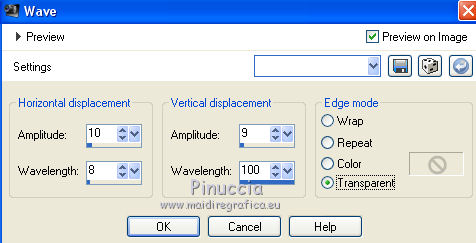
22. Layers>Arrange>Move Down.
Activate again the top layer.
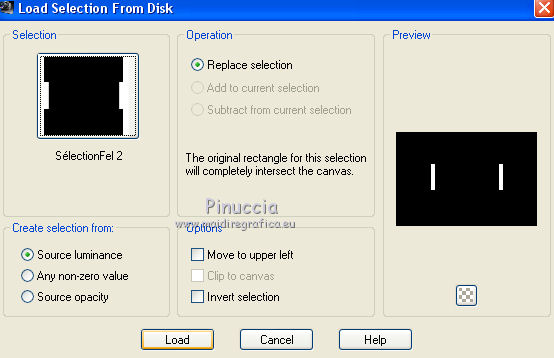
23. Selections>Load/Save Selection>Load Selection from Disk.
Look for and load the selection sélectionFel 2.
24. Effects>Plugins>Cybia - Screenworks.
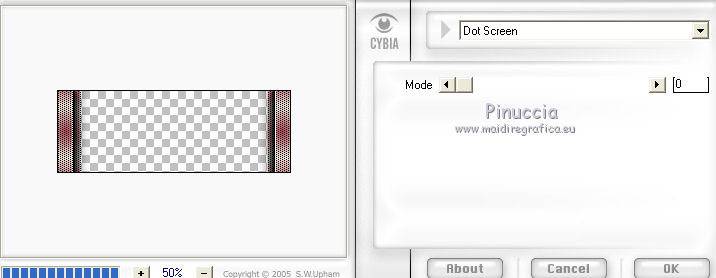
Selections>Select None.
25. Activate the layer Raster 1.
26. Layers>New Raster Layer.
Flood Fill  with color white. with color white.
27. Layers>New Mask layer>From image
Open the menu under the source window and select the mask L&N_Mask.
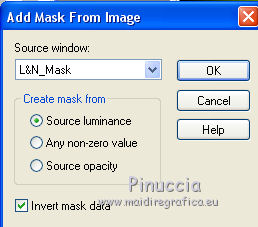
Layers>Merge>Merge Group.
28. Effects>3D Effects>Drop Shadow, color black.
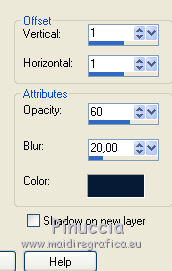
29. Activate the top layer.
Open the tube déco 1 and go to Edit>Copy.
Go back to your work and go to Edit>Paste as new layer.
Don't move it.
30. Open the text and go to Edit>Copy.
Go back to your work and go to Edit>Paste as new layer.
Move  the text at the upper right. the text at the upper right.
31. Effects>3D Effects>Drop Shadow, color black.
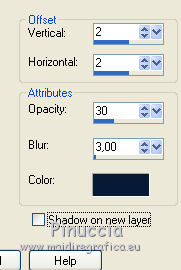
32. Layers>Merge>Merge visible.
33. Image>Picture Frame - select the frame @nn_041118 Frame
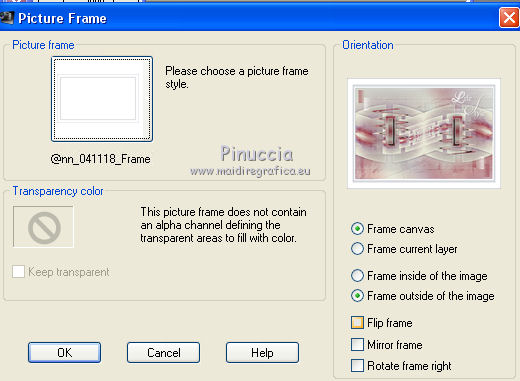
34. Layers>Merge>Merge visible.
35. Activate your Magic Wand Tool 
and click on the little border to select it.
36. Set your foreground color to #eae3d3 to have again the previous gradient
 
Flood Fill  the selection with your gradient. the selection with your gradient.
37. Effects>Plugins>Screenworks - Dot Screen.
Selections>Select None.
38. Select the white big border with your Magic Wand Tool 
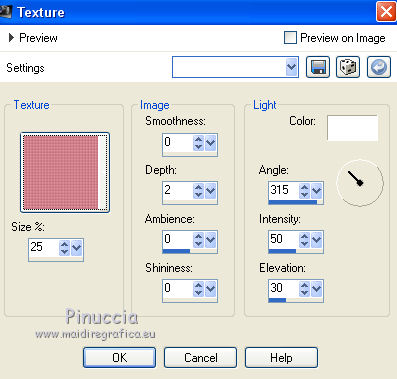
Effects>Texture Effects>Texture - select the texture rose quadrillé
Selections>Select None.
39. Open the tube of the woman Lily 559 and go to Edit>Copy.
Go back to your work and go to Edit>Paste as new layer.
Image>Resize, to 95%, resize all layers not checked.
40. Activate your Pick Tool 
and set Position X: 267,00 and Position Y: 71,00.

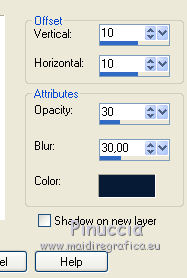
41. Effects>3D Effects>Drop Shadow, color black.
Selections>Select None.
42. Sign your work.
Image>Resize, 900 pixels width, resize all layers checked.
Save as jpg.
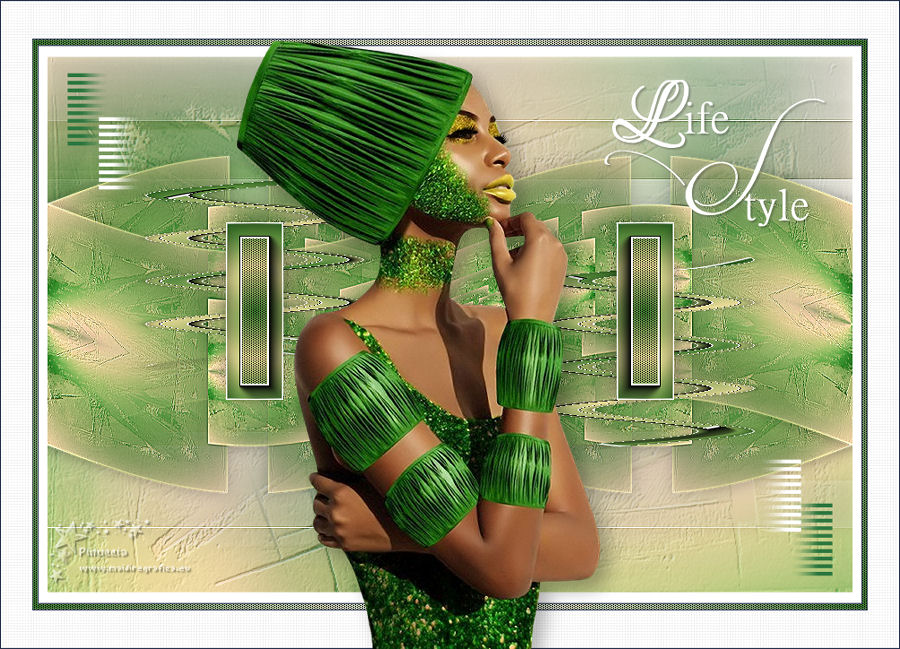
Version with tube by Maryse

Your versions. Thanks.
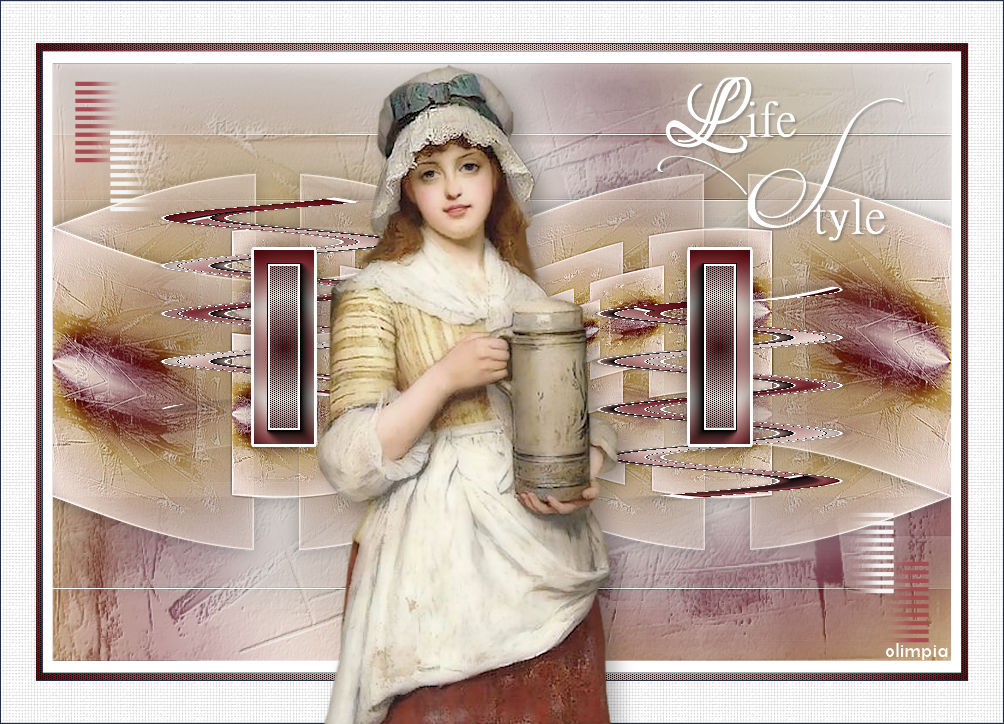
Olimpia
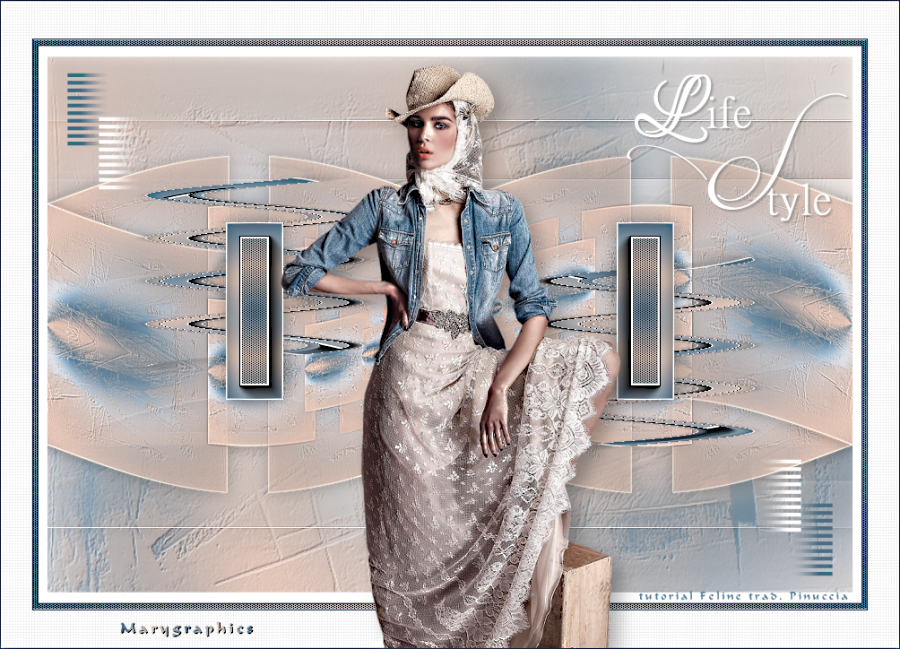
Marygraphics
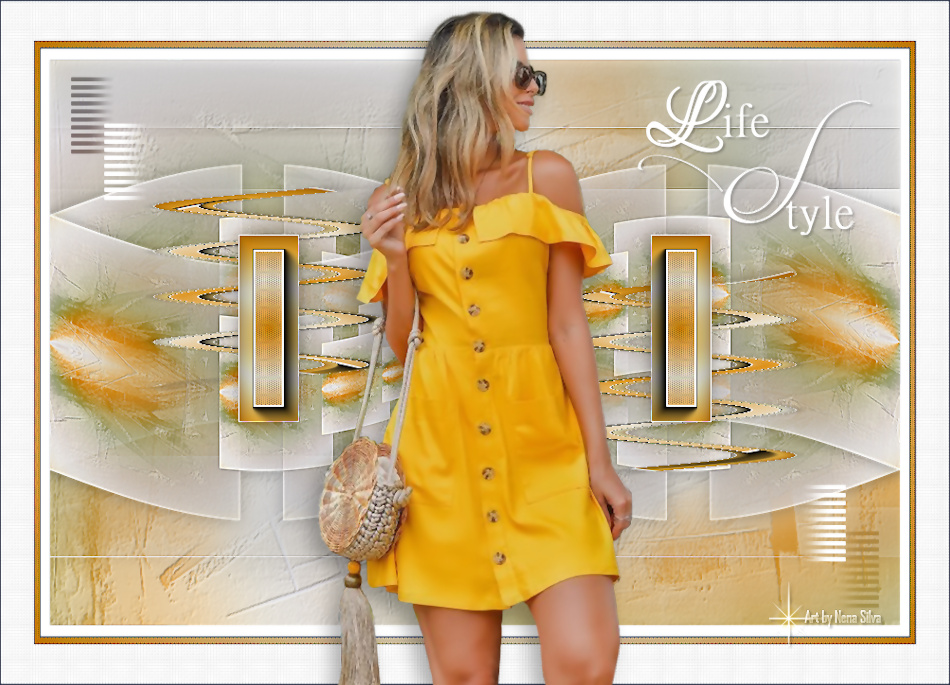
Nena Silva

If you have problems or doubts, or you find a not worked link, or only for tell me that you enjoyed this tutorial, write to me.
5 September 2019
|

