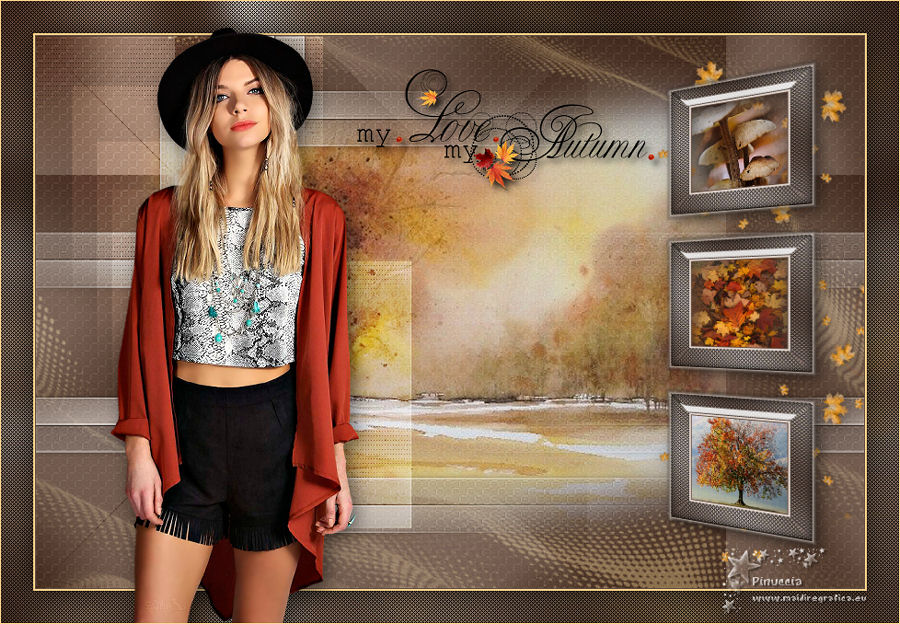
MON AUTOMNE
 English version English version

Thanks Carine for your invitation to translate your tutorials

This tutorial was translated with PSPX and PSPX3, but it can also be made using other versions of PSP.
Since version PSP X4, Image>Mirror was replaced with Image>Flip Horizontal,
and Image>Flip with Image>Flip Vertical, there are some variables.
In versions X5 and X6, the functions have been improved by making available the Objects menu.
In the latest version X7 command Image>Mirror and Image>Flip returned, but with new differences.
See my schedule here
 italian translation here italian translation here
 your versions here your versions here
Material here
Thanks for the tubes Lily and Jewel and for the masks Narah and Violine.
(The links of the tubemakers here).
Plugins
consult, if necessary, my filter section here
Filters Unlimited 2.0 here
Cybia - Screenworks here
Filter Factory Gallery P - Frame 21 Seamless here
Graphics Plus - Cross Shadow here
Filters Cybia, Factory Gallery and Graphics Plus can be used alone or imported into Filters Unlimited.
(How do, you see here)
If a plugin supplied appears with this icon  it must necessarily be imported into Unlimited it must necessarily be imported into Unlimited

You can change Blend Modes according to your colors.
Open the masks in PSP and minimize them with the rest of the material.
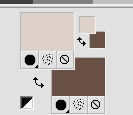
1. Set your foreground color to color #ded1c9,
and your background color to #685044.
2. Open a new transparent image 900 x 600 pixels.
Flood Fill  the transparent image with your background color #685044. the transparent image with your background color #685044.
3. Layers>New Raster Layer, Raster 2.
Flood Fill  with your foreground color #ded1c9. with your foreground color #ded1c9.
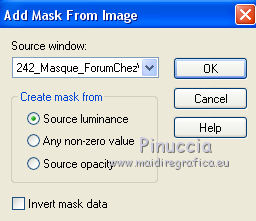
4. Layers>New Mask layer>From image
Open the menu under the source window and you'll see all the files open.
Select the mask 242_Masque_ForumChezVioline.
Layers>Merge>Merge Group.
Effects>Edge Effects>Enhance.
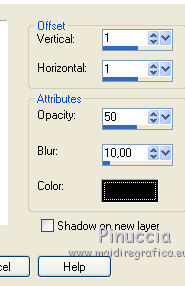
5. Effects>3D Effects>Drop Shadow, color black.
6. Open the landscape tube by Jewel and go to Edit>Copy.
Go back to your work and go to Edit>Paste as new layer.
Image>Resize, to 95%, resize all layers not checked.
Layers>Arrange>Move Down.
7. Activate your top layer.
Open "cadre" and go to Edit>Copy.
Go back to your work and go to Edit>Paste as new layer.
8. Effects>Image Effects>Offset.
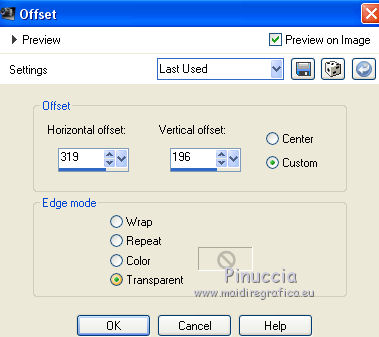
9. Layers>Duplicate.
Effects>Image Effects>Offset.
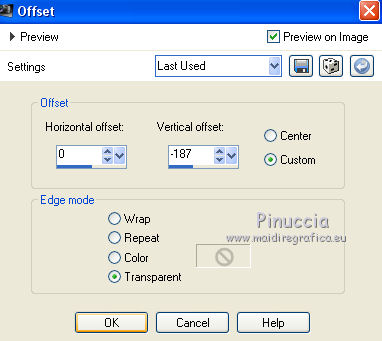
10. Again Layers>Duplicate.
Effects>Image Effects>Offset, same settings.

11. Layers>Merge>Merge down - 2 times (the frames are in one layer).
Stay on this layer.
12. Activate your Magic Wand Tool 

Click on the first frame to select it.
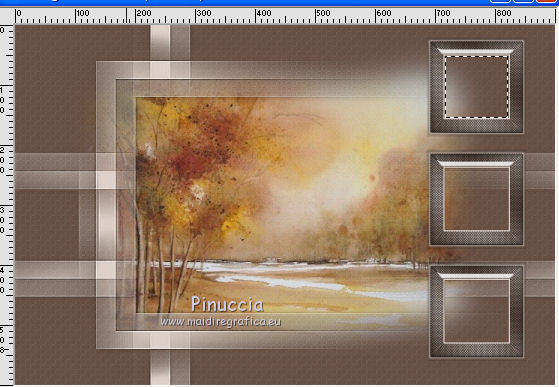
13. Open image 1 and go to Edit>Copy.
Go back to your work and go to Edit>Paste into Selection.
Adjust>Sharpness>Sharpen.
Selections>Select None.
14. Click on the second frame with your Magic Wand Tool  to select it. to select it.
Open image 2 and go to Edit>Copy.
Go back to your work and go to Edit>Paste into Selection.
Selections>Select None.
15. Select the third frame with your Magic Wand Tool 
Open image 3 and go to Edit>Copy.
Go back to your work and go to Edit>Paste into Selection.
Selections>Select None.
16. Effects>3D Effects>Drop Shadow, color black.
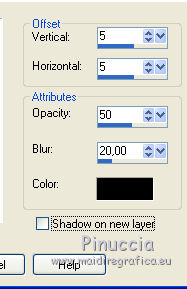
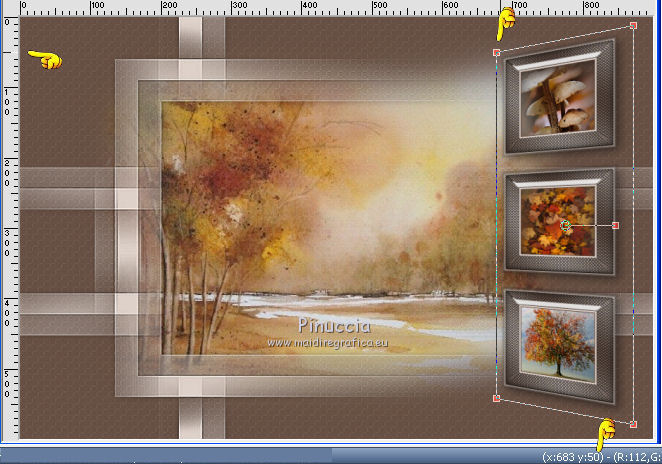
17. Activate your Pick Tool 
mode Perspective 
(if you don't see the rules, go to View>Rules)
pull the top left node down, until 50 pixels.
18. Open Déco A and go to Edit>Copy.
Go back to your work and go to Edit>Paste as new layer.
19. Objects>Align>Top.
Objects>Align>Left
If you are using a previous version that doesn't make the menu Objects available,
activate your Pick Tool 
and set Position X and Y a 0,00


20. Change the Blend Mode of this layer to Overlay and reduce the opacity to 85%.
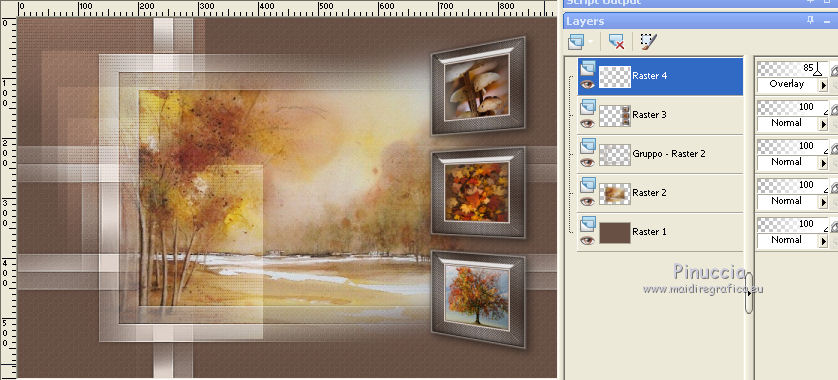
21. Activate the layer Raster 1.
Layers>Duplicate.
22. Effects>Plugins>Filters Unlimited 2.0 - Filter Factory Gallery P - Frame 21 Seamless.

23. Change the Blend Mode of this layer to Luminance (legacy) and reduce the opacity to 75%.
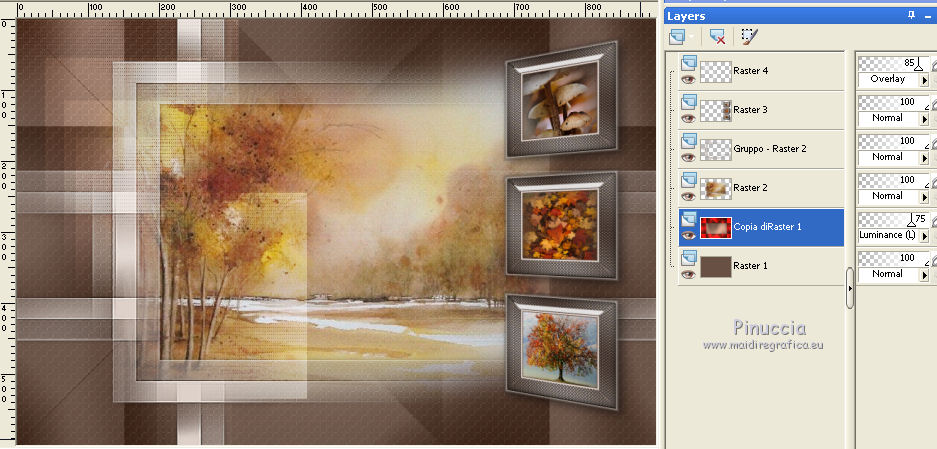
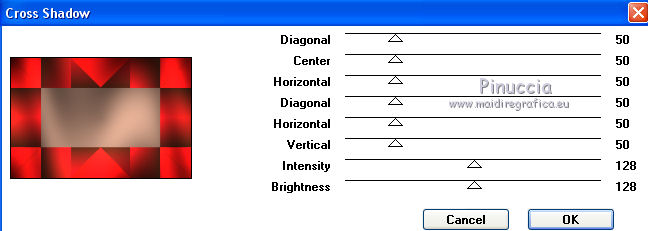
24. Effects>Plugins>Graphics Plus - Cross Shadow, default settings.
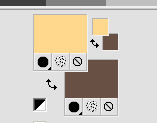
25. Set your foreground color to #ffd88d.
26. Layers>New Raster Layer.
Flood Fill  the layer with your foreground color. the layer with your foreground color.
27. Layers>New Mask layer>From image
Open the menu under the source window
and select the mask NarahsMasks_1570.

Layers>Merge>Merge Group.
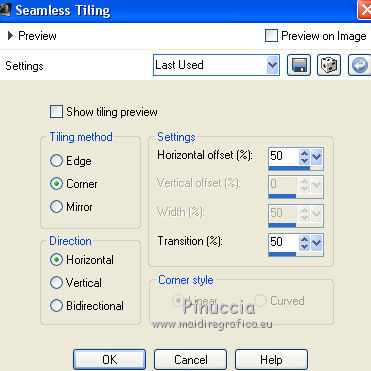
28. Effects>Image Effects>Seamless Tiling.
Change the Blend Mode of this layer to Screen
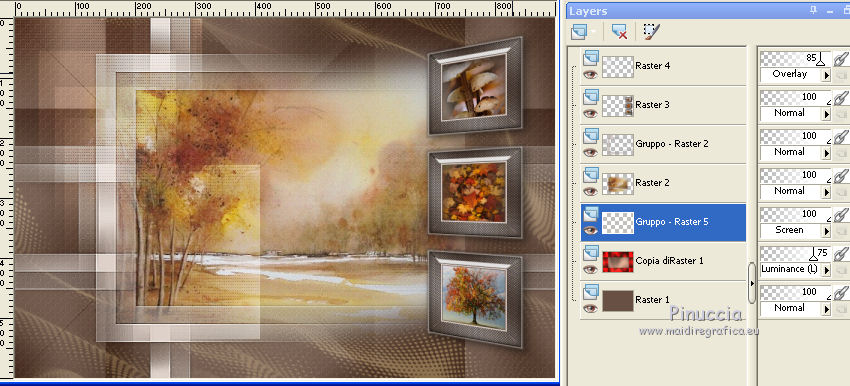
29. Activate the layer Group Raster 2.
Open Deco feuilles and go to Edit>Copy.
Go back to your work and go to Edit>Paste as new layer.
Objects>Align>Right
or activate your Pick Tool 
and set Position X: 664,00 and Position Y: 16,00.

30. Open the text Word 3 and go to Edit>Copy.
Go back to your work and go to Edit>Paste as new layer.
Image>Resize, to 70%, resize all layers not checked.
Move  the text up, see my example. the text up, see my example.
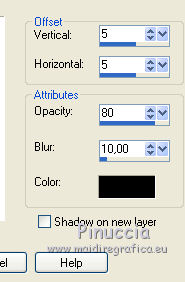
31. Effects>3D Effects>Drop Shadow, color black.
32. Layers>Merge>Merge visible.
Edit>Copy.
33. Image>Add borders, 1 pixel, symmetric, background color #685044.
Image>Add borders, 2 pixels, symmetric, foreground color #ffd88d.
34. Selections>Select All.
Image>Add borders, 35 pixels, symmetric, color white.
Selections>Invert.
Edit>Paste into Selection.
35. Adjust>Blur>Gaussian Blur - radius 15.

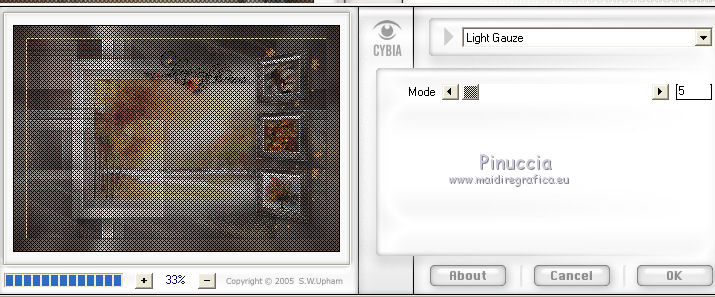
36. Effects>Plugins>Cybia - Screenworks - Light Gauze
37. Selections>Invert.
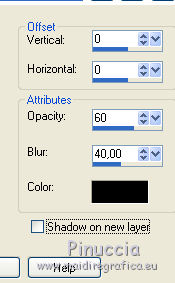
Effects>3D Effects>Drop Shadow, color black.
Selections>Select None.
38. Open the woman tube by Lily and go to Edit>Copy.
Go back to your work and go to Edit>Paste as new layer.
Image>Resize, to 73%, resize all layers not checked.
39. Pick Tool 
and set Position X: 89,00 and Position Y: 28,00.

40. Effects>3D Effects>Drop Shadow, color black.

41. Image>Add borders, 1 pixel, symmetric, foreground color #ffd88d.
42. Sign your work on a new layer.
Image>Resize, 900 pixels width, resize all layers checked.
Layers>Merge>Merge All and save as jpg.
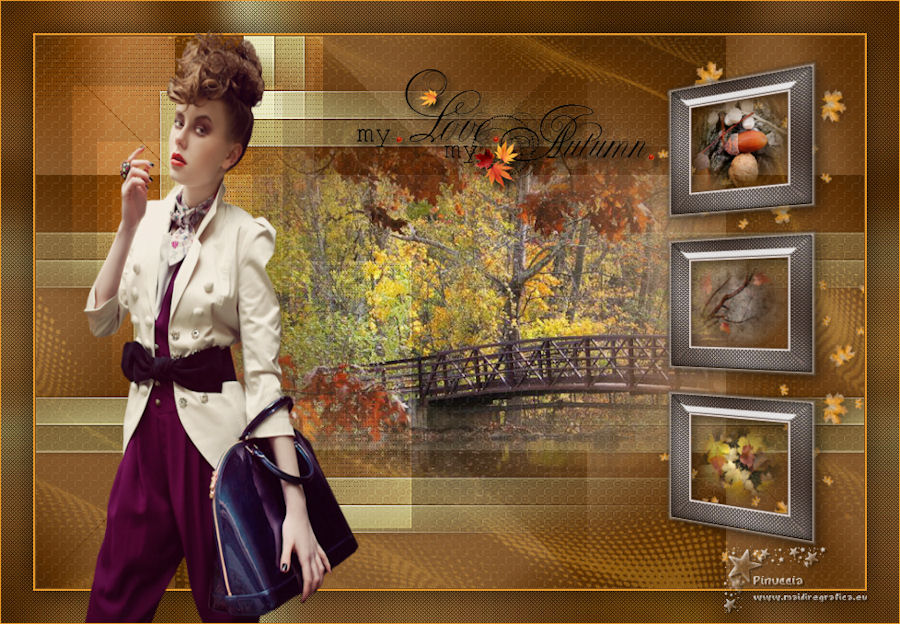
Version with tubes by AnaRidzi and Silvie

If you have problems or doubts, or you find a not worked link, or only for tell me that you enjoyed this tutorial, write to me.
7 October 2020
|
 English version

 English version