SAHIA
 english version
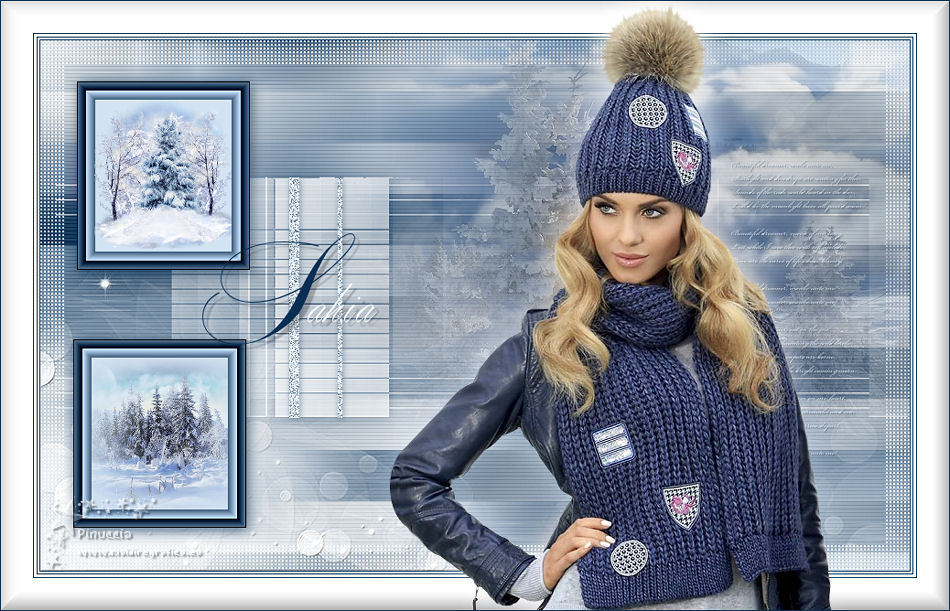
Thanks Carine for your invitation to translate

This tutorial was translated with PSPX and PSPX3, but it can also be made using other versions of PSP.
Since version PSP X4, Image>Mirror was replaced with Image>Flip Horizontal,
and Image>Flip with Image>Flip Vertical, there are some variables.
In versions X5 and X6, the functions have been improved by making available the Objects menu.
In the latest version X7 command Image>Mirror and Image>Flip returned, but with new differences.
See my schedule here
italian translation here
your versions here
Material here
Thanks for the tubes Mary and Nena Silva.
(The links of the tubemakers here).
Plugins
consult, if necessary, my filter section here
Filters Unlimited 2.0 here
Mehdi - Wavy Lab 1.1 here
Carolaine and Sensibility - CS Halloween2 here
DSB Flux - Linear Transmission here
Mura's Seamless - Emboss at Alpha here
AAA Frames - Frame work here
AFS IMPORT - sqborder2 here
Filters Mura's Seamless and AFS IMPORT can be used alone or imported into Filters Unlimited.
(How do, you see here)
If a plugin supplied appears with this icon  it must necessarily be imported into Unlimited it must necessarily be imported into Unlimited

You can change Blend Modes according to your colors.
Copy the selection in the Selections Folder.
Open the masks in PSP and minimize them with the rest of the material.
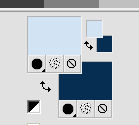
Set your foreground color to light color #d2e3f3,
and your background color to dark color #082e52.
2. Open a new transparent image 950 x 580 pixels.
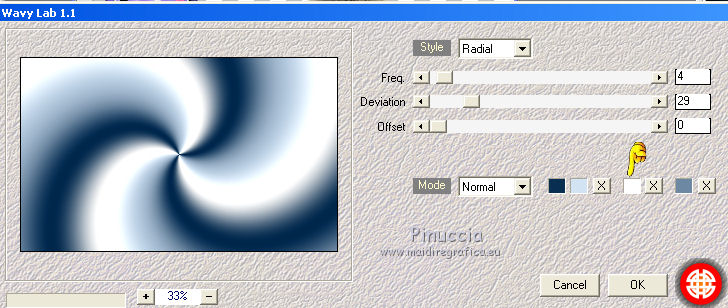
2. Effects>Plugins>Mehdi - Wavy Lab 1.1.
This plugin creates gradients with the color of your material palette;
the first is the background color, the second the foreground one.
Of the last two colors created by the filter, change the third color to white #ffffff.
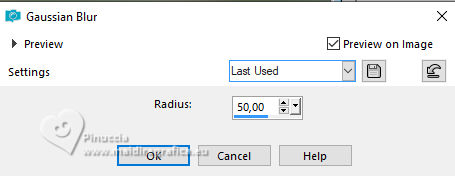
3. Adjust>Blur>Gaussian Blur - radius 50.
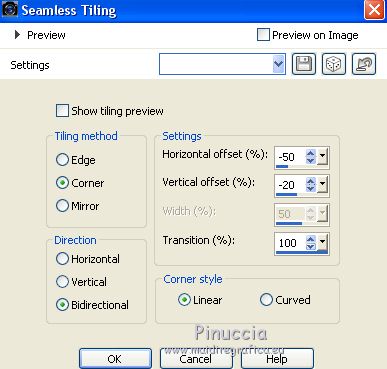
4. Effects>Image Effects>Seamless Tiling.
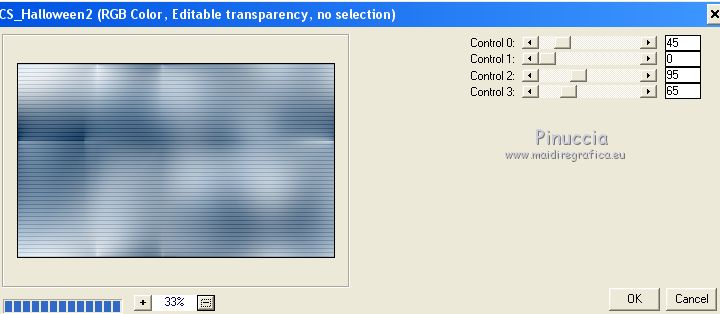
5. Effects>Plugins>Carolaine and Sensibility - CS-Halloween 2.
6. Effects>Plugins>DSB Flux - Linear Transmission
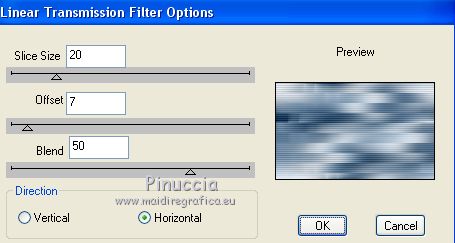
Repeat this Plugin another time.
7. Set your foreground color to white #ffffff.
Layers>New Raster Layer - Raster 2.
Flood Fill  the layer with color white. the layer with color white.
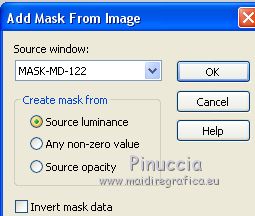
8. Layers>New Mask layer>From image
Open the menu under the source window and you'll see all the files open.
Select the mask MASK-MD-122.
Effects>Edge Effects>Enhance.
Layers>Merge>Merge Group.
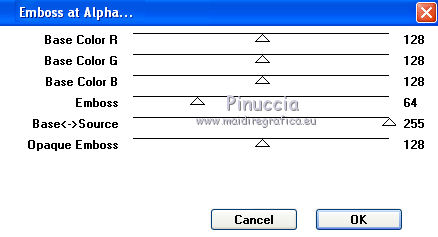
9. Effects>Plugins>Mura's Seamless - Emboss at Alpha, default settings.
10. Layers>New Raster Layer - Raster 3.
Flood Fill  the layer with color white. the layer with color white.
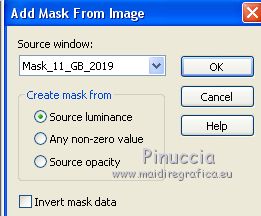
11. Layers>New Mask layer>From image
Open the menu under the source window
and select the mask Mask_11_GB_2019.
Adjust>Sharpness>Sharpen.
Layers>Merge>Merge Group.
Erase the watermark at the bottom right of the layer.
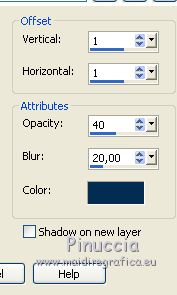
12. Effects>3D Effects>Drop Shadow, background color.
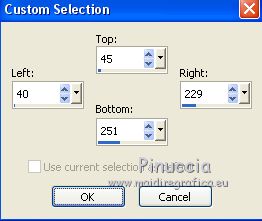
13. Selection Tool 
(no matter the type of selection, because with the custom selection your always get a rectangle)
clic on the Custom Selection 
and set the following settings.
14. Layers>New Raster Layer - Raster 3.
Flood Fill  the layer with color white. the layer with color white.
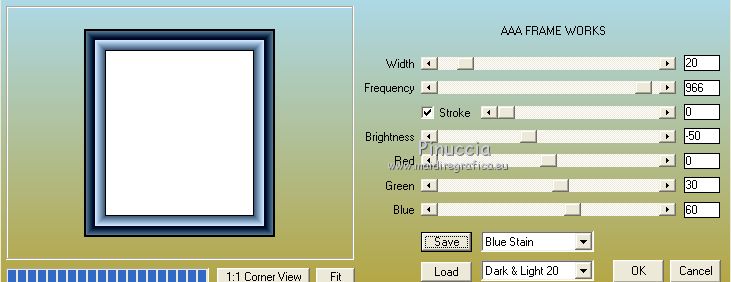
15. Effects>Plugins>AAA Frames - Frame Work.
16. Set again your foreground color to light color.
Selections>Modify>Contract - 20 pixels.
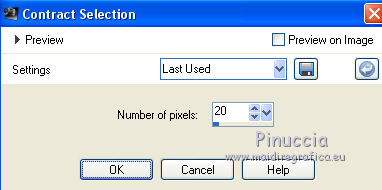
Flood Fill  the layer with your light foreground color. the layer with your light foreground color.
Selections>Select None.
17. Layers>Duplicate.
Activate your Pick Tool 
and set Position X: 36,00 and Position Y: 327,00.

18. Layrs>Merge>Merge Down.
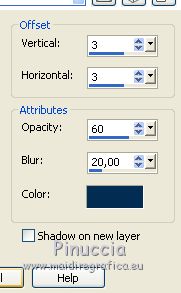
19. Effects>3D Effects>Drop Shadow, background color.
20. Open the tube sapin 1 and go to Edit>Copy.
Go back to your work and go to Edit>Paste as new layer.
Pick Tool 
and set Position X: 59,00 and Position Y: 65,00.

21. Open tube sapin 2 by LisaT and go to Edit>Copy.
Go back to your work and go to Edit>Paste as new layer.
Pick Tool 
and set Position X: 56,00 and Position Y: 347,00.

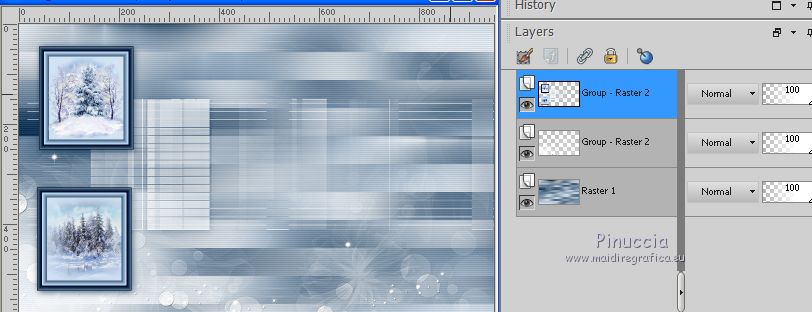
22. Layers>Merge>Merge Down - 3 times.
23. Layers>New Raster Layer, Raster 2.
Selections>Load/Save Selection>Load Selection from Disk.
Look for and load the selection SelectionFelH1.
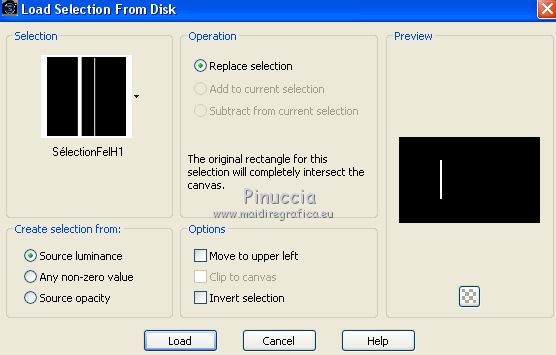
Flood Fill  the selection with your light foreground color. the selection with your light foreground color.
24. Adjust>Add/Remove Noise>Add Noise.
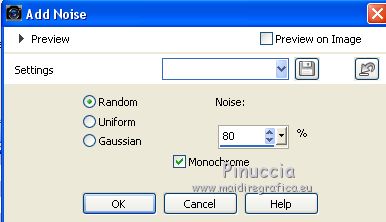
25. Effects>3D Effects>Drop Shadow, background color.
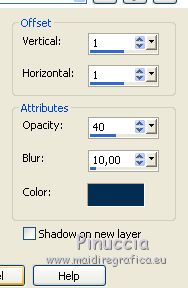
Selections>Select None.
26. Open the landscape by Nena Silva and go to Edit>Copy.
Go back to your work and go to Edit>Paste as new layer.
Image>Resize, to 80%, resize all layers not checked.
Move  the tube to the right side the tube to the right side
(for my example I reduce the opacity to 70%)
27. Activate your bottom layer, Raster 1.
Effects>Plugins>AFS IMPORT - sqborder2.
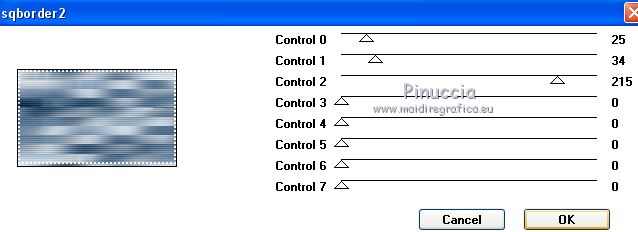
28. Activate the top layer.
Open the tube texte and go to Edit>Copy.
Go back to your work and go to Edit>Paste as new layer.
Pick Tool 
and set Position X: 754,00 and Position Y: 130,00.

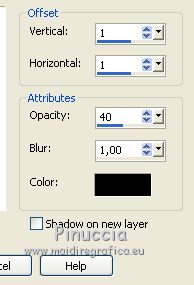
29. Effects>3D Effects>Drop Shadow, color black.
30. Open the tube titre Sahia and go to Edit>Copy.
Go back to your work and go to Edit>Paste as new layer.
Pick Tool 
and set Position X: 177,00 and Position Y: 211,00.

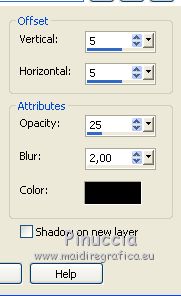
31. Effects>3D Effects>Drop Shadow, color black.
32. Layers>Merge>Merge All.
33. Image>Add borders, 1 pixel, symmetric, background color.
Image>Add borders, 2 pixels, symmetric, color white.
Image>Add borders, 1 pixel, symmetric, background color.
Image>Add borders, 3 pixels, symmetric, foreground color.
Image>Add borders, 1 pixel, symmetric, background color.
Image>Add borders, 35 pixels, symmetric, color white.
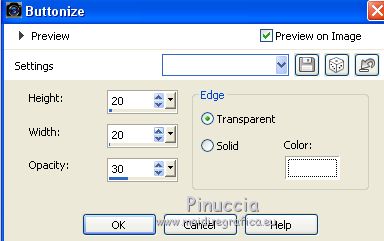
34. Effects>3D Effects>Buttonize
35. Open the tube of the woman by KAd, erase the watermark and go to Edit>Copy.
Go back to your work and go to Edit>Paste as new layer.
Image>Resize, to 70%, resize all layers not checked.
Move  the tube to the right side the tube to the right side
36. Layers>Duplicate.
Adjust>Blur>Gaussian Blur - radius 15.

Change the Blend Mode of this layer to Screen.
Layers>Arrange>Move Down.
37. Image>Add borders, 1 pixel, symmetric, background color.
38. Sign your work and save as jpg.
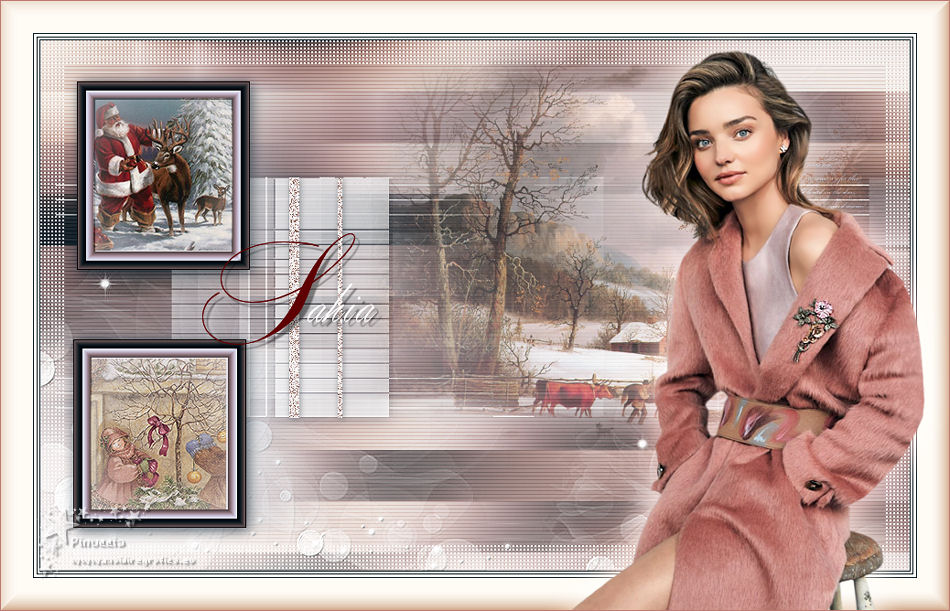
Version with tubes by Isa and kTs

If you have problems or doubts, or you find a not worked link, or only for tell me that you enjoyed this tutorial, write to me.
12 December 2019
|

