SÉJOUR EN MONTAGNE

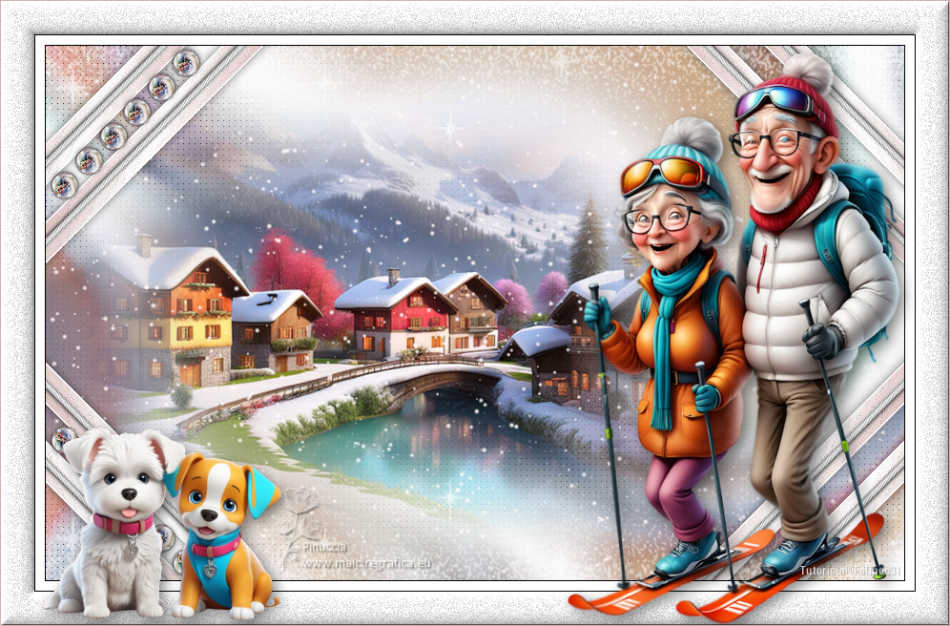
Thanks Carine for your invitation to translate

Clic and move the brush to follow the tutorial.

To print


|
This tutorial was translated with PSPX7 and PSPX2, but it can also be made using other versions of PSP.
Since version PSP X4, Image>Mirror was replaced with Image>Flip Horizontal,
and Image>Flip with Image>Flip Vertical, there are some variables.
In versions X5 and X6, the functions have been improved by making available the Objects menu.
In the latest version X7 command Image>Mirror and Image>Flip returned, but with new differences.
See my schedule here
 italian translation here italian translation here
 your versions here your versions here
Necessary

Thanks for the tubes Kamil and for the mask Narah.
(The links of the tubemakers here).

consult, if necessary, my filter section here
Filters Unlimited 2.0 here
VM Distortion - Radiator II here
VanDerLee - Snowflakes here
AP 01 [Innovations] - Lines SilverLining here
Filters VM Distortion can be used alone or imported into Filters Unlimited.
(How do, you see here)
If a plugin supplied appears with this icon  it must necessarily be imported into Unlimited it must necessarily be imported into Unlimited

You can change Blend Modes according to your colors.

Open the mask in PSP and minimize it with the rest of the material.
1. Open the image Fond 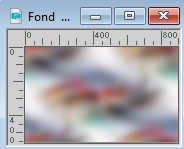
Window>Duplicate, or on the keyboard shift+D to make a copy.
Close the original.
The copy will be the basis of your work.
2. Layers>Promote Background Layer.
3. Effects>Plugins>VM Distortion - Radiator II.
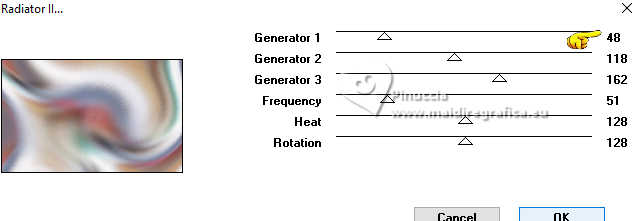
Adjust>Sharpness>Sharpen.
4. Open Déco 1 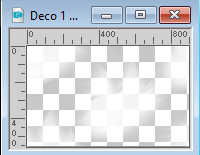
Edit>Copy.
Go back to your work and go to Edit>Paste as new layer, Raster 2.
5. Change the Blend Mode of this layer to Overlay and reduce the opacity to 65%.
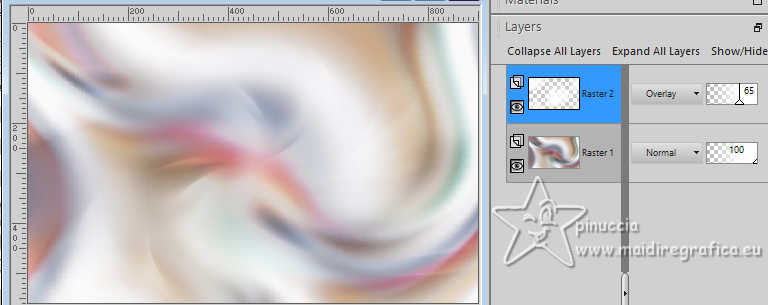
6. Effects>Plugins>AP 01 [Innovations] - Lines SilverLining.
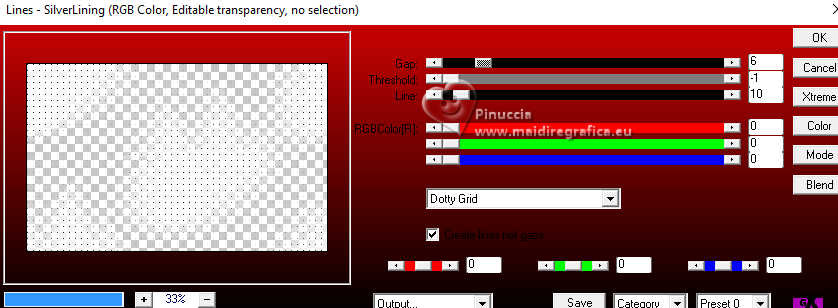
7. Open the landscape tube KamilTube-1152-Landscape 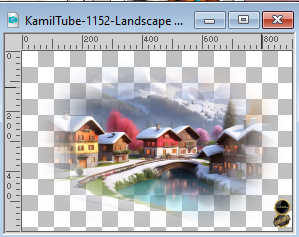
Erase the watermark and go to Edit>Copy.
Go back to your work and go to Edit>Paste as new layer, Raster 3.
Image>Resize, to 85%, resize all layers not checked.
Move  the tube to the left side. the tube to the left side.
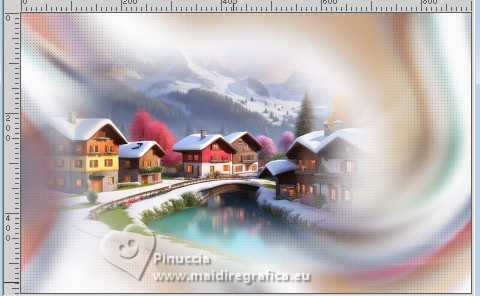
8. Layers>Merge>Merge visible.
9. Open Déco 2 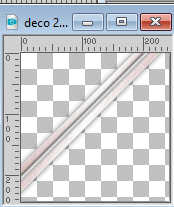
Edit>Copy.
Go back to your work and go to Edit>Paste as new layer.
10. Activate your Pick Tool 
and set Position X and Y to 0,00.

11. Layers>Duplicate.
Set Position X: -70,00 and Position Y: -12,00.

12. Layers>Merge>Merge down.
13. Layers>Duplicate.
Image>Mirror>Mirror horizontal
Layers>Merge>Merge down.
14. Layers>Duplicate.
Image>Mirror>Mirror vertical.
Layers>Merge>Merge down.
15. Set your foreground color to white.
Activate the layer Merged.
Layers>New Raster Layer.
Flood Fill  the layer with color white. the layer with color white.
16. Layers>New Mask layer>From image
Open the menu under the source window and you'll see all the files open.
Select the mask NarahsMasks_1510
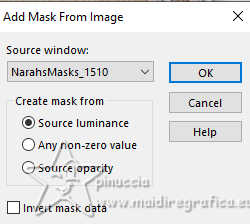
Layers>Merge>Merge Group.
17. Layers>Duplicate.
Image>Mirror>Mirror vertical.
Layers>Merge>Merge down.
18. Reduce the opacity of this layer to 65%.
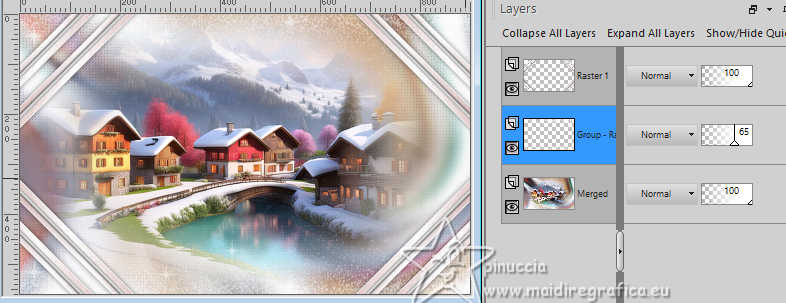
19. Layers>New Raster Layer.
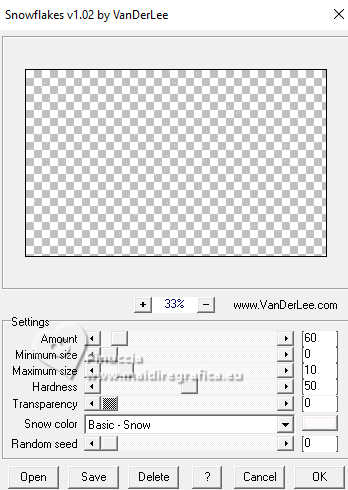
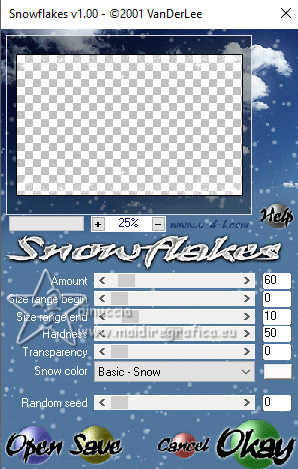
Effects>Plugins>VanDerLee - Snowflakes
if you use the older version of this filter (the result doesn't change):
Effects>Plugins>VDL Adrenaline - Snowflakes
20. Layers>Merge>Merge visible.
21. Image>Add Borders, 1 pixel, symmetric, color black.
Image>Add Borders, 10 pixels, symmetric, color white.
Image>Add borders, 1 pixel, symmetric, color black.
22. Selections>Select All.
Image>Add borders, 35 pixels, symmetric, color white.
23. Selections>Invert.
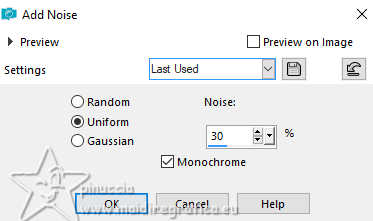
Adjust>Add/Remove Noise>Add Noise.
24. Adjust>Sharpness>Sharpen.
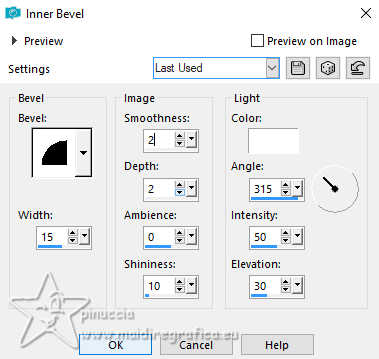
25. Effects>3D Effects>Inner Bevel.
Selections>Select None.
26. Open Déco 3 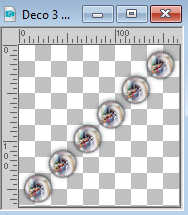
Edit>Copy.
Go back to your work and go to Edit>Paste as new layer.
27. Activate your Pick Tool 
and set Position X: 47,00 and Position Y: 44,00.

28. Layers>Duplicate.
Image>Mirror>Mirror vertical.
29. Open the couple tube KamilTube-1461 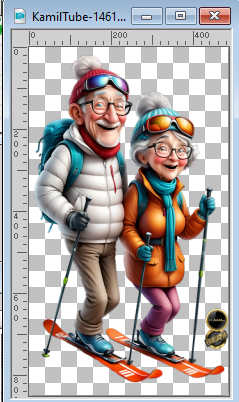
Erase the watermark and go to Edit>Copy.
Go back to your work and go to Edit>Paste as new layer, Raster 2.
Image>Mirror>Mirror horizontal.
Image>Resize, to 75%, resize all layers not checked.
30. Set Position X: 592,00 and Position Y: 54,00.

31. Effects>3D Effects>Drop shadow, color black.

32. Open the tube KamilTube-1034-Animals 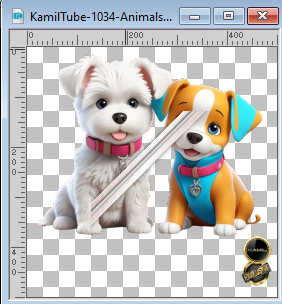
Erase the watermark and go to Edit>Copy.
Go back to your work and go to Edit>Paste as new layer.
Image>Resize, to 56%, resize all layers not checked.
Move  the tube at the bottom left. the tube at the bottom left.
33. Effects>3D Effects>Drop Shadow, same settings.

34. Sign your work on a new layer.
35. Image>Add borders, 1 pixel, symmetric, color #d3afad.
36. Image>Resize, 900 pixels width, resize all layers checked.
Adjust>Sharpness>Sharpen.
Save as jpg.
For the tubes of this version thanks Adrienne and Silvie; the landscape is mine
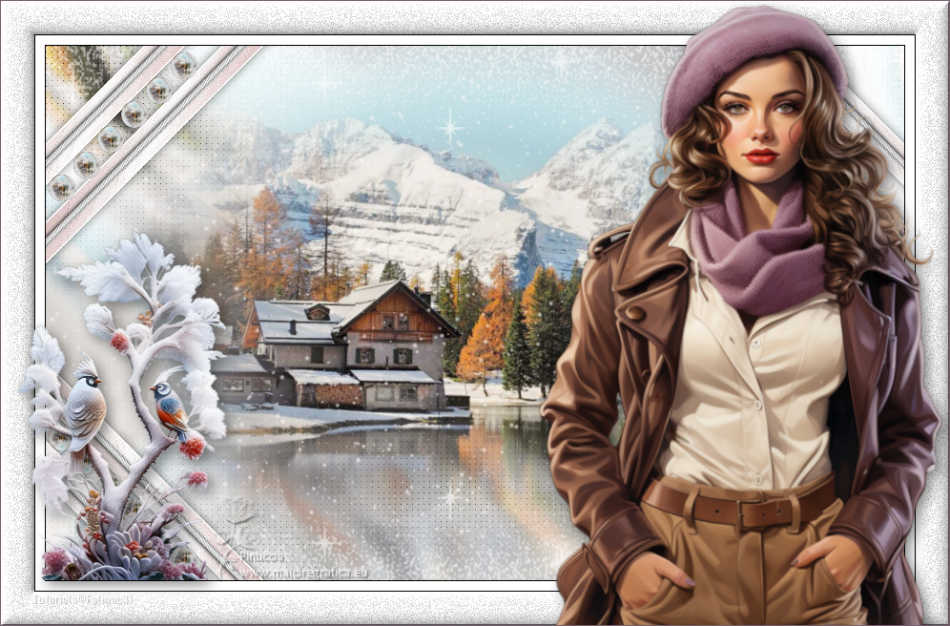

If you have problems or doubts, or you find a not worked link, or only for tell me that you enjoyed this tutorial, write to me.
19 Janvier 2024

|

