SYLVANNA
 english version
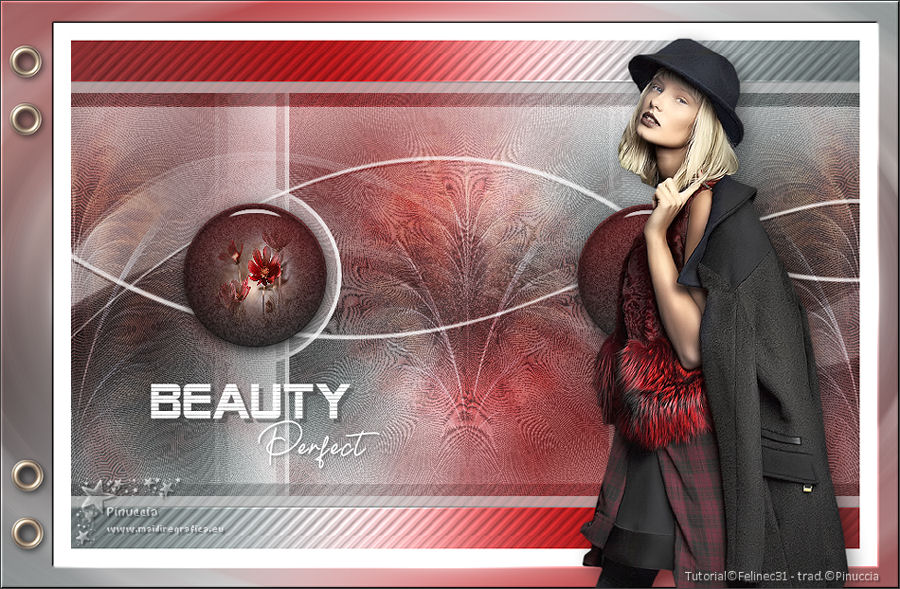
Thanks Carine for your invitation to translate

Clic and move the brush to follow the tutorial.

To print


|
This tutorial was translated with PSPX and PSPX3, but it can also be made using other versions of PSP.
Since version PSP X4, Image>Mirror was replaced with Image>Flip Horizontal,
and Image>Flip with Image>Flip Vertical, there are some variables.
In versions X5 and X6, the functions have been improved by making available the Objects menu.
In the latest version X7 command Image>Mirror and Image>Flip returned, but with new differences.
See my schedule here
 italian translation here italian translation here
 your versions here your versions here
Material here
Thanks: for the tubes thanks Luz Cristina, Yedralina, Butterfly and for one mask Narah.
The rest of the material is by Felinec31.
(The links of the tubemakers here).
Plugins
consult, if necessary, my filter section here
Mehdi - Wavy Lab 1.1. here
Forrest Filters - Circle here
Toadies - What are you here
Simple - Diamonds here
Alien Skin Eye Candy 5 Impact - Glass here
Filters Unlimited 2.0 here
Filters Forrest, Toadies and Simple can be used alone or imported into Filters Unlimited.
(How do, you see here)
If a plugin supplied appears with this icon  it must necessarily be imported into Unlimited it must necessarily be imported into Unlimited

You can change Blend Modes according to your colors.

Copy the preset  in the folder of the plugin Alien Skin Eye Candy 5 Impact>Settings>Glass. in the folder of the plugin Alien Skin Eye Candy 5 Impact>Settings>Glass.
One or two clic on the file (it depends by your settings), automatically the preset will be copied in the right folder.
why one or two clic see here
Copy the Preset Emboss 3 in the Presets Folder.
Copy the Texture in the Textures Folder.
Copy the Selections in the Selections Folder.
Open the masks in PSP and minimize them with the rest of the material.
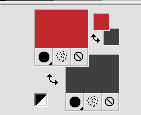
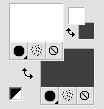
Set your foreground color to #c1292c,
and your backgorund color to #404040.
1. Open a new transparent image 900 x 580 pixels.
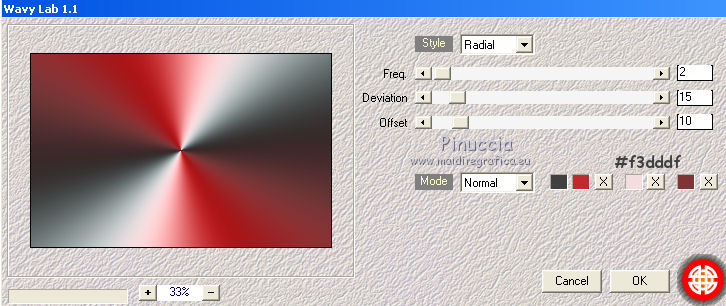
2. Effects>Plugins>Mehdi - Wavy Lab 1.1.
This filters creates gradients with the colors of your Materials palette.
The first is your background color, the second is your foreground color.
Of the last two colors created by the filtre, change the third with #f3dddf:
the third color with #f1e5d9 and the forth color with #e1caa0.
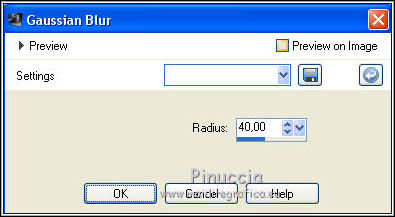
3. Adjust>Blur>Gaussian Blur - radius 40.
4. Layers>Duplicate.
Effects>Plugins>Filters Unlimited 2.0 - Forrest Filter - Circles, default settings.
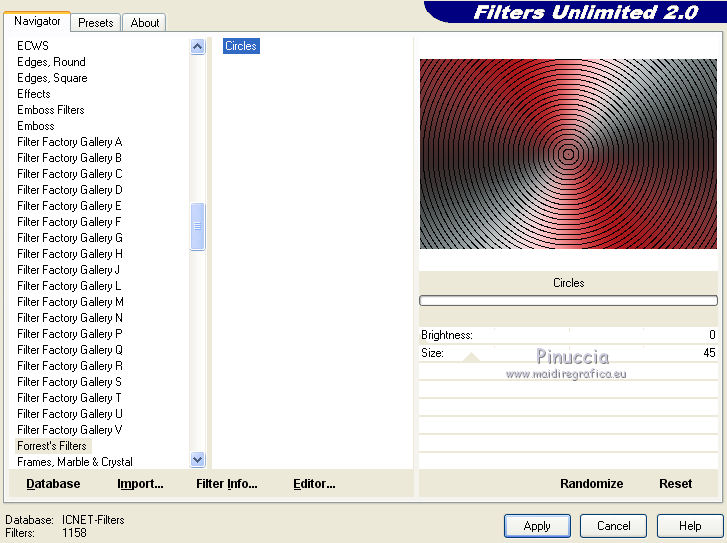
5. Effects>User Defined Filter - select the preset Emboss 3 and ok.

6. Effects>Plugins>Simple - Diamonds.
7. Reduce the opacity of this layer to 40%.
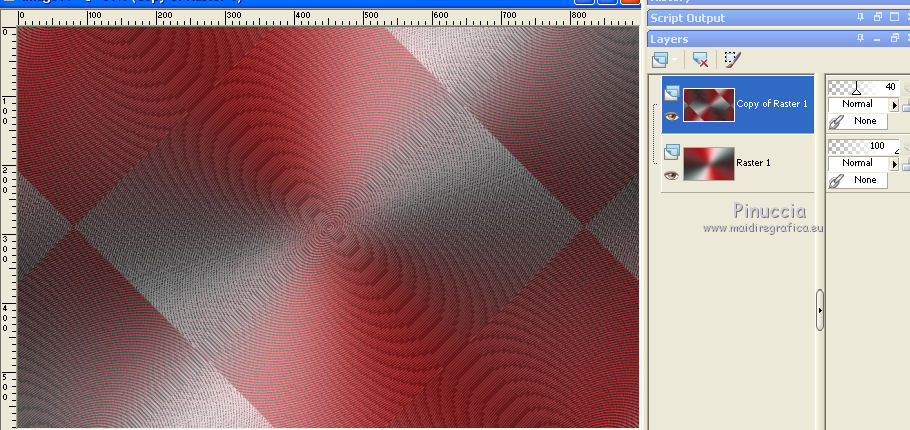
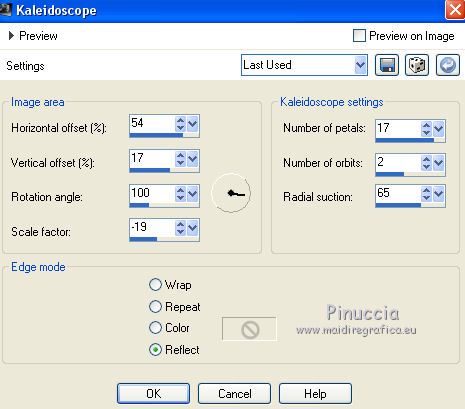
8. Effects>Reflection Effects>Kaleidoscope.
9. Set your foreground color to white #ffffff.
10. Layers>New Raster Layer.
Flood Fill  the layer with color white. the layer with color white.
Layers>New Mask layer>From image
Open the menu under the source window and you'll see all the files open.
Select the mask masque carine
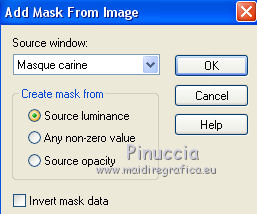
Layers>Merge>Merge Group.
11. Effects>Image Effects>Seamless Tiling.

12. Activate the background layer, Raster 1.
Selections>Load/Save Selection>Load Selection from Disk.
Look for and load the selection Sélection#sylvanna.
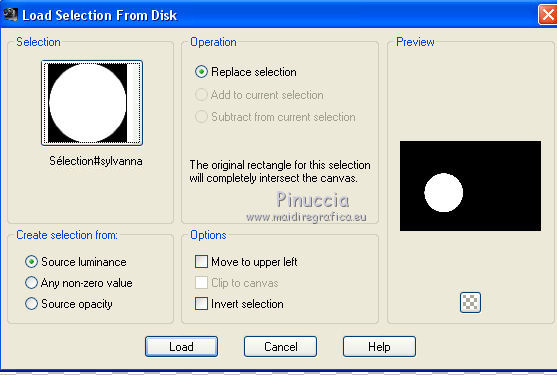
Selections>Promote Selection to layer.
Layers>Arrange>Bring to Top.
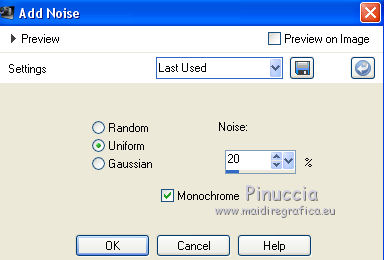
13. Adjust>Add/Remove Noise>Add Noise.
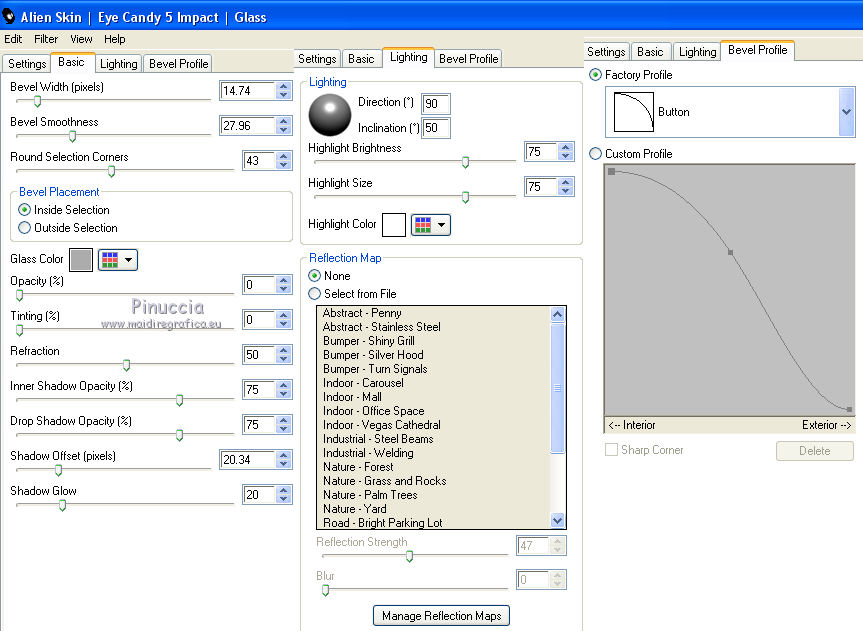
14. Effects>Plugins>Alien Skin Eye Candy 5 Impact - Glass.
Select the preset Glass_feli03 and ok.
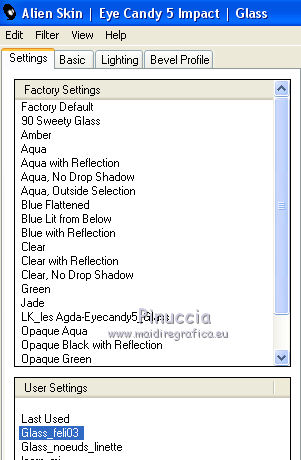
Here below the settings, in case of problems with the preset.
Selections>Select None.
15. Layers>Duplicate.
Image>Mirror.
16. Activate your Pick Tool 
and set Position X: 565,00 and Position Y: 178,00.

17. Layers>Merge>Merge Down.
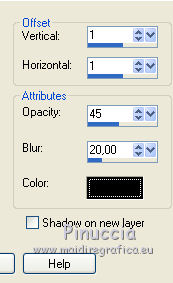
18. Effects>3D Effects>Drop Shadow, color black.
19. Activate again your background layer, Raster 1.
Selections>Load/Save Selection>Load Selection from Disk.
Look for and load the selection Sélection#sylvanna_1.
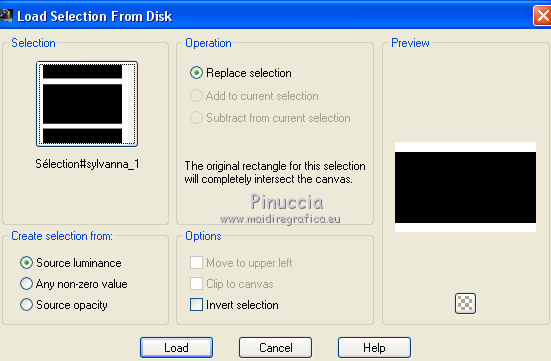
Selections>Promote Selection to Layer.
Layers>Arrange>Bring to Top.
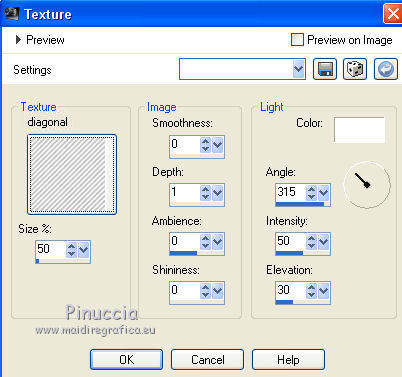
20. Effects>Texture Effects>Texture - select the texture Diagonal.
Selections>Select None.
21. Effects>Plugins>Toadies - What are you.
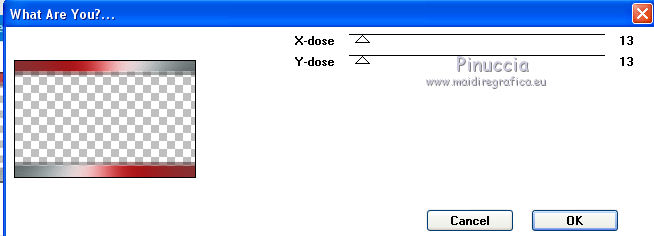
22. Adjust>Sharpness>Sharpen More.
23. Open the tube fractalelegance mj and go to Edit>Copy.
Go back to your work and go to Edit>Paste as new layer.
Image>Resize, to 70%, resize all layers not checked.
Don't move it.
24. Change the Blend Mode of this layer to Overlay and reduce the opacity to 40%.
25. Effects>Image Effects>Seamless Tiling, same settings.

26. Activate the layer Gruppo-Raster 2 (the third from the bottom).
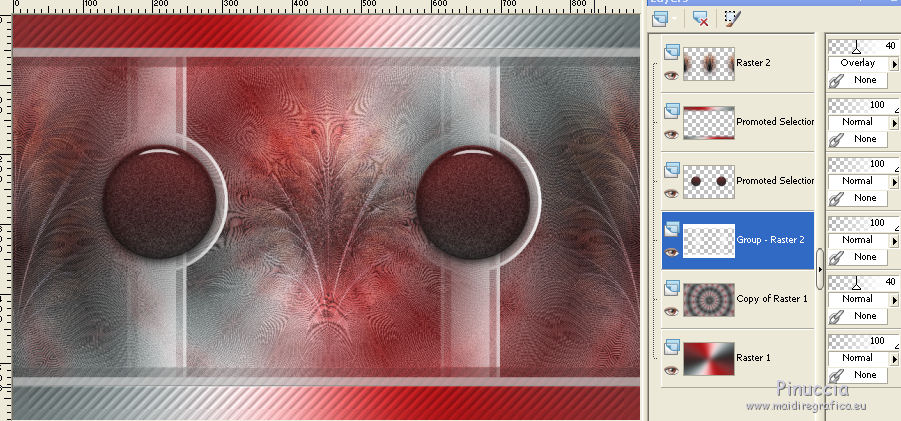
Layers>New Raster Layer.
Selection Tool 
(no matter the type of selection, because with the custom selection your always get a rectangle)
clic on the Custom Selection 
and set the following settings.
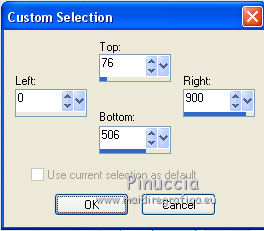
Flood Fill  the selection with color white. the selection with color white.
27. Layers>New Mask layer>From image
Open the menu under the source window
and select the mask Narah_Mask_0402.
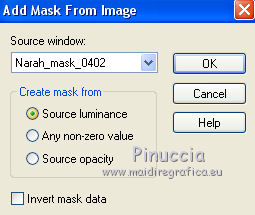
Layers>Merge>Merge Group.
28. Reduce the opacity of this layer to 80%.
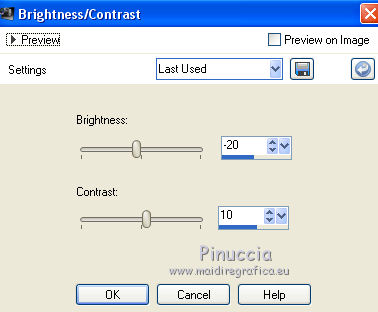
29. Optionnel, according to your colors:
Activate the layer Raster 1.
Adjust>Brightness and Contrast>Brightness and Contrast.
30. Selections>Select None.
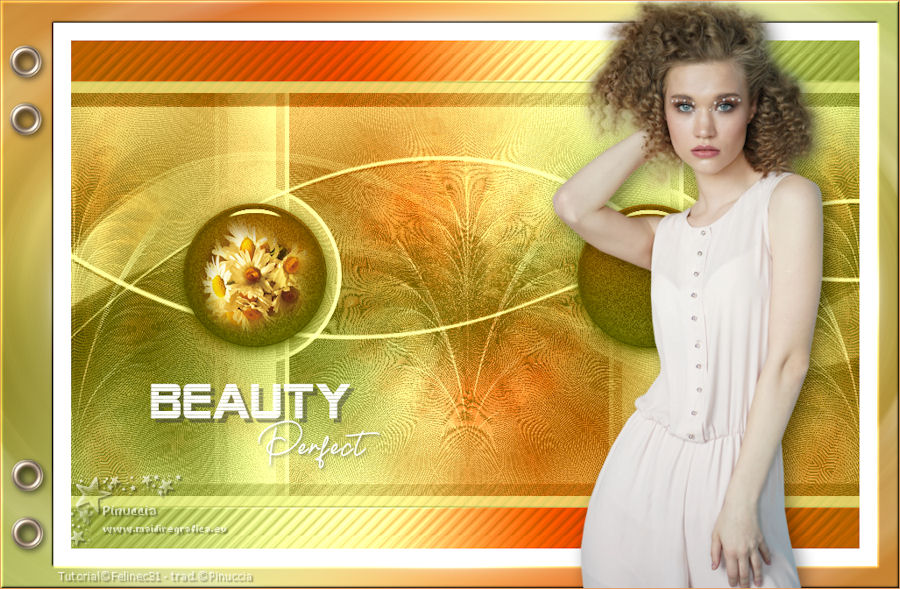
You should have this
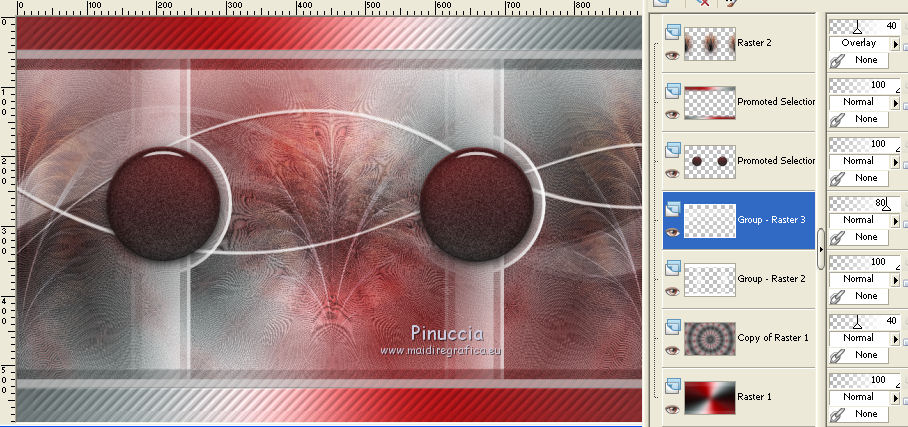
31. Layers>Merge>Merge visible.
32. Edit>Copy.
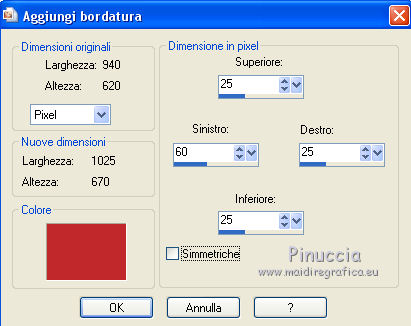
33. Image>Add borders, 20 pixels, symmetric, color white.
Selections>Select All.
Image>Add borders, symmetric not checked, first foreground color #c1292c.
34. Selections>Invert.
Edit>Paste into Selection.
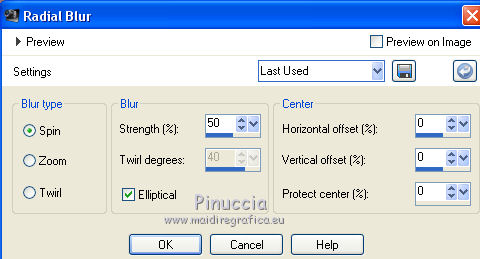
35. Adjust>Blur>Radial Blur.
36. Effects>3D Effects>Inner Bevel.
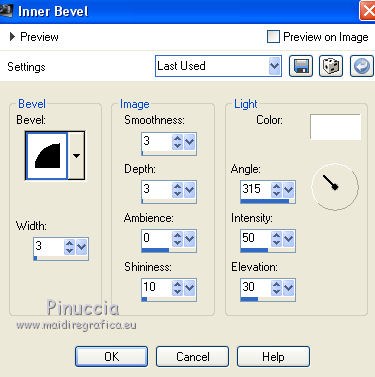
Selections>Select None.
37. Open the woman tube 4586-luzcristina and go to Edit>Copy.
Go back to your work and go to Edit>Paste as new layer.
Image>Mirror.
Image>Resize, to 85%, resize all layers not checked.
Move  the tube to the right side. the tube to the right side.
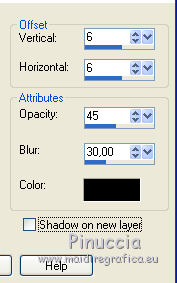
38. Effects>3D Effects>Drop Shadow, color black.
39. Layers>New Raster Layer.
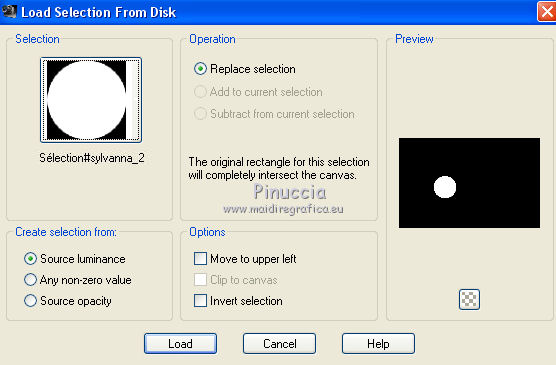
Selections>Load/Save Selection>Load Selection from Disk.
Look for and load the selection Sélection#sylvanna_2.
40. Open the flowers tube by Yedralina, erase the watermark and go to Edit>Copy.
Go back to your work and go to Edit>Paste into Selection.
Adjust>Sharpness>Sharpen.
Selections>Select None.
41. Open the tube déco Feli and go to Edit>Copy.
Go back to your work and go to Edit>Paste as new layer.
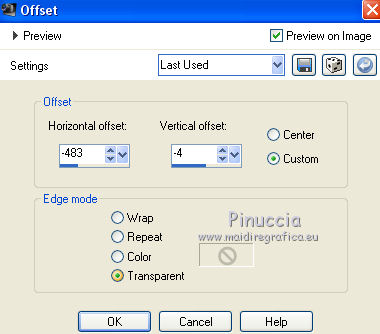
42. Effects>Image Effects>Offset.
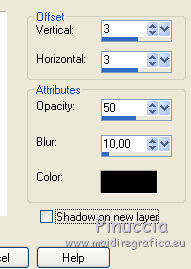
43. Effects>3D Effects>Drop Shadow, color black.
44. Open the text Beauty Perfect and go to Edit>Copy.
Go back to your work and go to Edit>Paste as new layer.
Move  the text at the bottom left. the text at the bottom left.
45. Image>Add borders, 1 pixel, symmetric, background color.
46. Sign your work on a new layer.
Add, if you wand, the auteur and translator's watermarks.
47. Image>Resize, 900 pixels width, resize all layers not checked.
Save as jpg.
Version with tubes by Lana and Lizztish

If you have problems or doubts, or you find a not worked link, or only for tell me that you enjoyed this tutorial, write to me.
28 May 2021
|

