MA VALENTINE
 english version
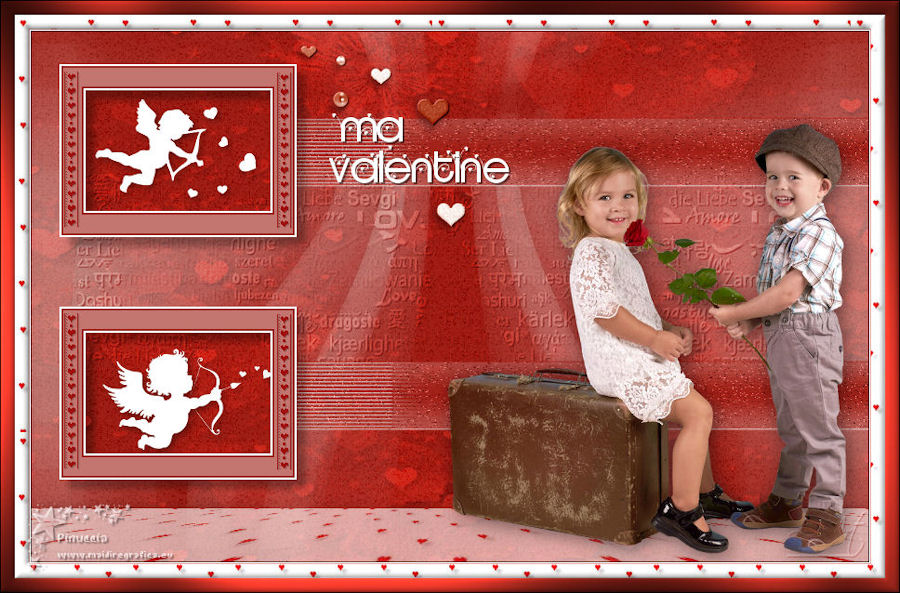
Thanks Carine for your invitation to translate

This tutorial was translated with PSPX and PSPX3, but it can also be made using other versions of PSP.
Since version PSP X4, Image>Mirror was replaced with Image>Flip Horizontal,
and Image>Flip with Image>Flip Vertical, there are some variables.
In versions X5 and X6, the functions have been improved by making available the Objects menu.
In the latest version X7 command Image>Mirror and Image>Flip returned, but with new differences.
See my schedule here
 italian translation here italian translation here
your versions here
Material here
For the tube thanks Tigrw Blanc
(The links of the tubemakers here).
Plugins
consult, if necessary, my filter section here
Filters Unlimited 2.0 qui
Graphics Plus - Cross Shadow qui
Simple - Top Bottom Wrap qui
Mura's Meister - Perspective Tiling qui
Filters Graphics Plus and Simple can be used alone or imported into Filters Unlimited.
(How do, you see here)
If a plugin supplied appears with this icon  it must necessarily be imported into Unlimited it must necessarily be imported into Unlimited

You can change Blend Modes according to your colors.
Copy the script in the Scripts Folder.
Open the masks in PSP and minimize them with the rest of the material.
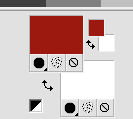
1. Set your foreground color to #9b1a11,
and your background color to #c1b5b5.
2. Open Alpha_St_Valentin.
Window>Duplicate, or on the keyboard shift+D, to make a copy.

Close the original.
The copy, that will be the basis of your work, is not empty,
but contains the selections saved on the alpha channel.
3. Flood Fill  the transparent image with your foreground color #9b1a11. the transparent image with your foreground color #9b1a11.
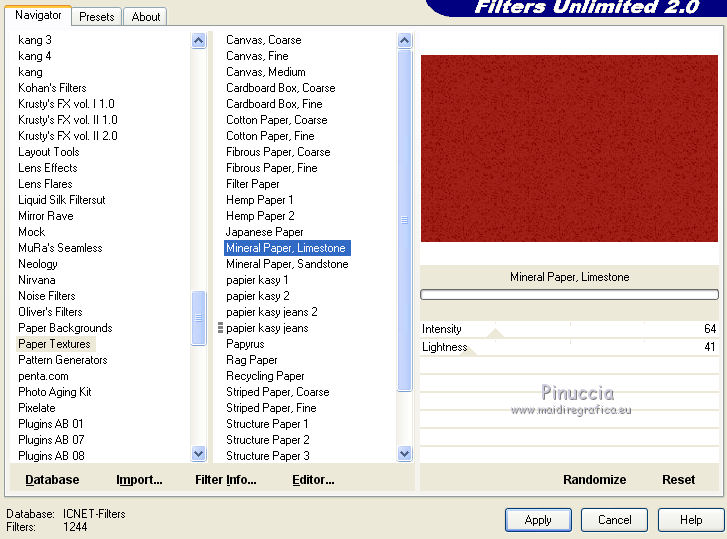
4. Effects>Plugins>Filters Unlimited 2.0 - Paper Textures - Mineral Paper, Limestone
5. Layers>New Raster Layer.
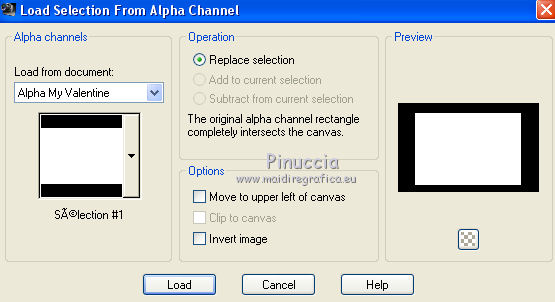
Selections>Load/Save Selection>Load Selection from Alpha Channel.
The selection is immediately available. You just have to click Load.
Flood Fill  the selection with your background color #c1b5b5. the selection with your background color #c1b5b5.
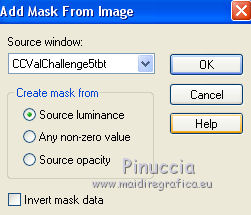
6. Layers>New Mask layer>From image
Open the menu under the source window and you'll see all the files open.
Select the mask CCValChallenge5tbt.
Layers>Merge>Merge Group.
7. Selections>Select None.
Change the Blend Mode of this layer to Overlay.
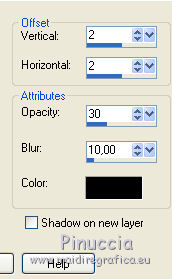
8. Effects>3D Effects>Drop Shadow, color black.
9. Effects>Image Effects>Seamless Tiling, default settings.

10. Effects>Plugins>Simple - Top Bottom Wrap.
11. Layers>Merge>Merge Down.
12. Layers>New Raster Layer, Raster 2.
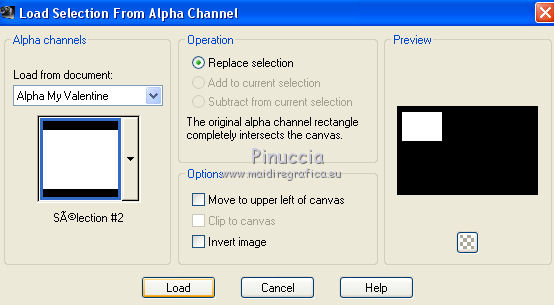
Selections>Load/Save Selection>Load Selection from Alpha Channel.
Open the Selections menu and load the selection #2.
Set your background color to white.
Flood Fill  the selection with color white. the selection with color white.
Selections>Modify>Contract - 2 pixels.
Flood Fill  with your foreground color. with your foreground color.
13. Selections>Modify>Contract - 2 pixels.
Reduce the opacity of your Flood Fill Tool to 40
Flood Fill  with color white. with color white.
14. Selections>Modify>Contract - 20 pixels.
Set again the opacity of the Flood Fill Tool to 100
Flood Fill  the selection with your foreground color. the selection with your foreground color.
15. Selections>Modify>Contract - 2 pixels.
Flood Fill  with color white. with color white.
16. Selections>Modify>Contract - 2 pixels.
Press CANC on the keyboard 
Selections>Select None.
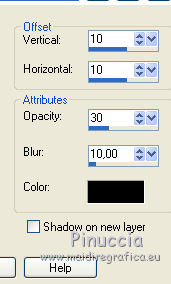
17. Effects>3D Effects>Drop Shadow, color black.
18. Layers>Duplicate.
K key to activate your Pick Tool 
and set Position Y: 296,00 (keep Position X to 30,00).

19. Open the tube Déco 1 and go to Edit>Copy.
Go back to your work and go to Edit>Paste as new layer, Raster 3.
Layers>Arrange>Move down - 2 times (under the two frames)
20. Selections>Load/Save Selection>Load Selection from Alpha Channel.
Open the Selections menu and load the selection #3.
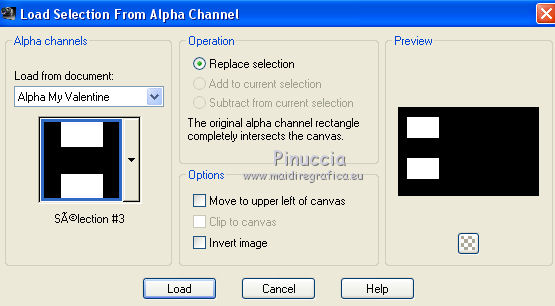
Press CANC on the keyboard.
Selections>Select None.
21. Activate the top layer.
Layers>New Raster Layer, Raster 4.
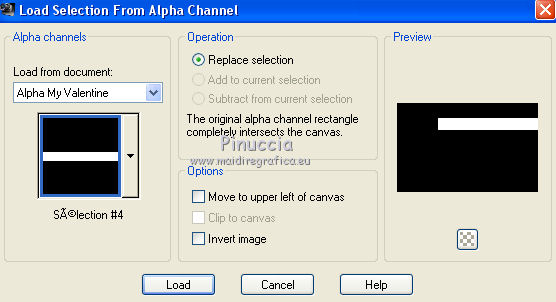
Selections>Load/Save Selection>Load Selection from Alpha Channel.
Open the Selections menu and load the selection #4.
22. Open the tube déco 2 and go to Edit>Copy.
Go back to your work and go to Edit>Paste into Selection.
Selections>Select None.
23. Layers>Duplicate.
Pick Tool 
and set Position0 X: 259,00 (keep Position Y: 354,00)

24. You are on the layer Copy of Raster 4.
Layers>Merge>Merge Down.
Layers>Arrange>Move Down - 2 times (under the two frames layers).
Stay on this layer.
25. Open the tube cupidon 1 and go to Edit>Copy.
Go back to your work and go to Edit>Paste as new layer, Raster 5.
Image>Resize, to 60%, resize all layers not checked.
26. K key 
and set Position X: 68,00 and Position Y: 46,00.

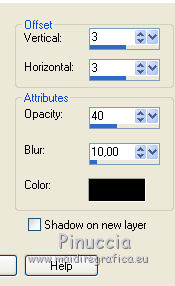
27. Effects>3D Effects>Drop Shadow, color black.
28. Open cupidon 2 and go to Edit>Copy.
Go back to your work and go to Edit>Paste as new layer, Raster 6.
Image>Resize, to 70%, resize all layers not checked.
29. K key 
and set Position X: 76,00 and Position Y: 341,00.

30. Effects>3D Effects>Drop Shadow, same settings.

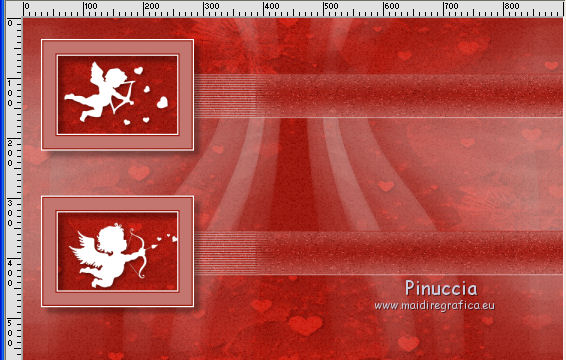
31. You should have this
32. Activate the layer Raster 3.
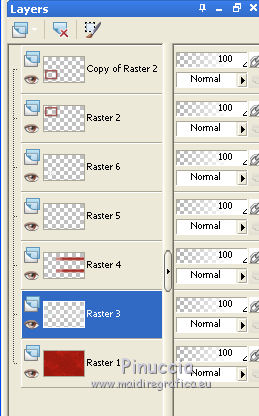
Set again your background color to the initial grey color.

Layers>New Raster Layer, Raster 7.
Flood Fill  with your background color. with your background color.
33. Layers>New Mask layer>From image
Open the menu under the source window
and select the mask SSArt.
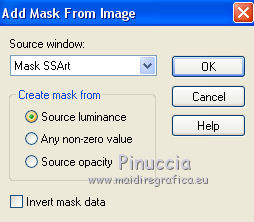
Layers>Merge>Merge Group.
Change the Blend Mode of this layer to Overlay.
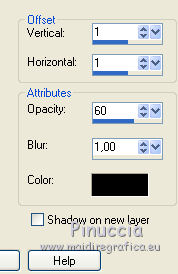
34. Effects>3D Effects>Drop Shadow, color black.
35. Activate the layer Raster 1.
Layers>New Raster Layer.
Selections>Select all.
Open the pattern Motif coeur and go to Edit>Copy.
Minimize the pattern that you'll use again.
Go back to your work and go to Edit>Paste into Selection.
Selections>Select None.
36. Effects>Plugins>Mura's Meister - Perspective Tiling.
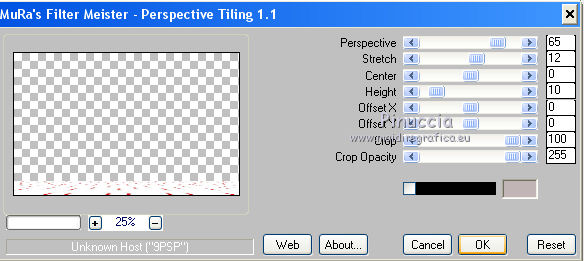
Reduce the opacity of this layer to 60%.
37. Effects>3D Effects>Drop Shadow, color black.
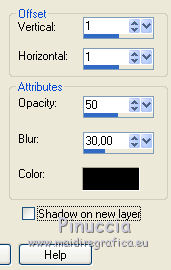
38. Activate the top layer.
Open the couple tube Tube417Tigre Blanc and go to Edit>Copy.
Go back to your work and go to Edit>Paste as new layer.
Image>Resize, to 65%, resize all layers not checked.
Move  the tube to the right side. the tube to the right side.
39. Effects>3D Effects>Drop Shadow, color black.
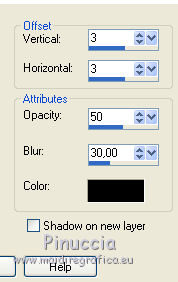
40. Open the tube Ma Valentine titre and go to Edit>Copy.
Go back to your work and go to Edit>Paste as new layer.
Move  the tube up. the tube up.
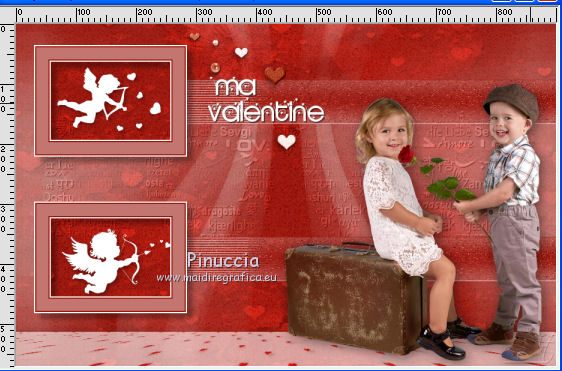
41. Open Déco 3 and go to Edit>Copy.
Go back to your work and go to Edit>Paste as new layer.
Place  the tube on the border of the first frame. the tube on the border of the first frame.
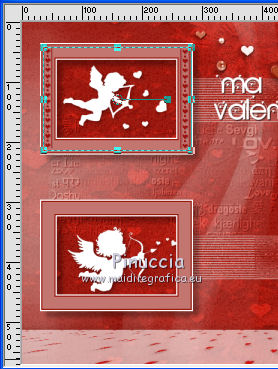
42. Layers>Duplicate
and place  it on the border of the second frame. it on the border of the second frame.
43. Layers>Merge>Merge All.
44. If you don't see your script toolbar, go to View>Toolbars>Script.
Open the scripts menu, look for and select the script My Valentine
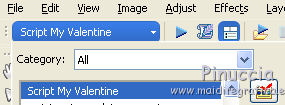
Activate the Toogle Execution Mode to be able to change the borders color, if it is necessary.

Start the script by clicking on the black arrow (blue in the most recent versions).
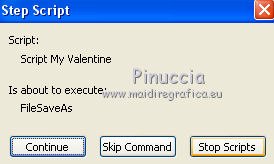
If you are using a version earlier than the one the script was created with,
you'll have this message

Being simple borders, you will not have problems; click ok to continue.
*****************
These are the steps of the script:
Image>Add borders, 1 pixel, symmetric, color black.
Image>Add borders, 1 pixel, symmetric, color white.
Image>Add borders, 1 pixel, symmetric, color red.
Image>Add borders, 15 pixels, symmetric, color white.
Image>Add borders, 15 pixels, symmetric, color red.
Image>Add borders, 1 pixel, symmetric, color black.
After the last border, you'll have this step
Click Stop script
*****************
45. Activate your Magic Wand Tool 
and click on the white border to select it.
Set your foreground color to Pattern and select the pattern Motif coeur
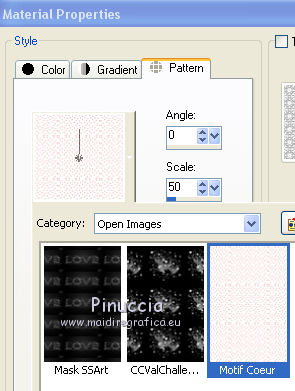
Flood Fill  the selection with your foreground pattern. the selection with your foreground pattern.
46. Effects>3D Effects>Inner Bevel.
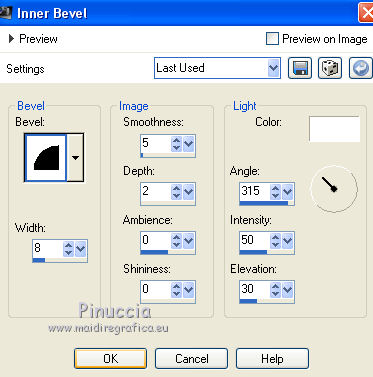
Selections>Select None.
47. Select the red border with your Magic Wand Tool 
Effects>Plugins>Graphics Plus - Cross Shadow, default settings.
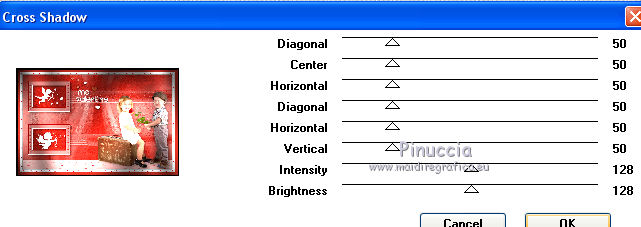
48. Effects>3D Effects>Inner Bevel, same settings.

49. Image>Resize, 900 pixels width, resize all layers checked.
36. Sign your work and save as jpg.
Version with tube by Criss
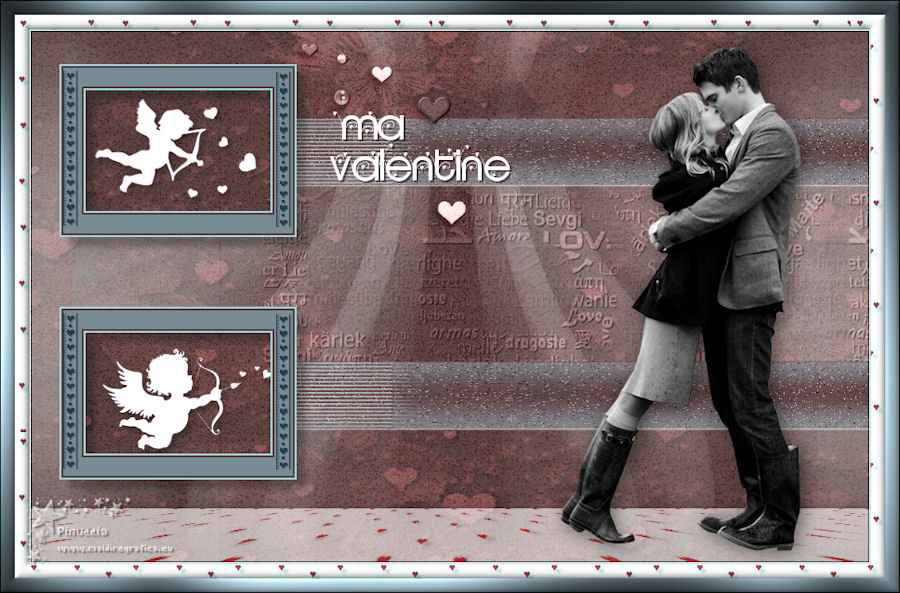

If you have problems or doubts, or you find a not worked link, or only for tell me that you enjoyed this tutorial, write to me.
6 February 2020
|

