|
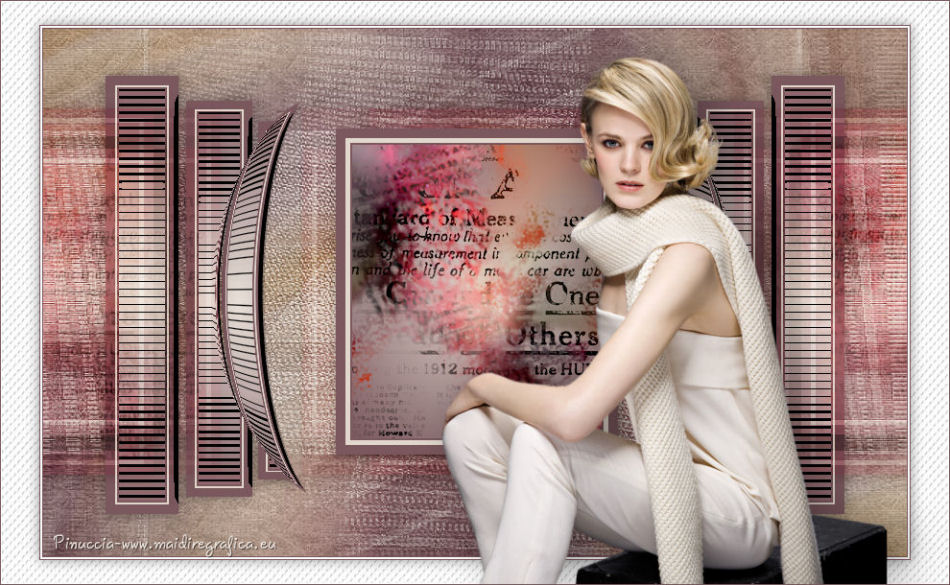
MARYLEE
 english version

Thanks Carine for your invitation to translate

This tutorial was written with CorelX17 and translated with CorelX17, but it can also be made using other versions of PSP.
Since version PSP X4, Image>Mirror was replaced with Image>Flip Horizontal,
and Image>Flip with Image>Flip Vertical, there are some variables.
In versions X5 and X6, the functions have been improved by making available the Objects menu.
In the latest version X7 command Image>Mirror and Image>Flip returned, but with new differences.
See my schedule here
italian translation here
Material here
Thanks for the woman tube Babette, for the deco Agnes Ingap and for the mask Narah.
(The links of the tubemakers here).
Plugins
consult, if necessary, my filter section here
Filters Unlimited 2.0 here
Toadies - What are you here
Filter Factory Gallery J - Tee Wee here
Alien Skin Eye Candy 5 Impact - Perspective Shadow here
Filters Toadies and Factory Gallery can be used alone or imported into Filters Unlimited.
(How do, you see here)
If a plugin supplied appears with this icon  it must necessarily be imported into Unlimited it must necessarily be imported into Unlimited

You can change Blend Modes according to your colors.
In the newest versions of PSP, you don't find the foreground/background gradient (Corel_06_029).
You can use the gradients of the older versions.
The Gradient of CorelX here
Copy the preset  in the folder of the plugin Alien Skin Eye Candy 5 Impact>Settings>Shadow. in the folder of the plugin Alien Skin Eye Candy 5 Impact>Settings>Shadow.
One or two clic on the file (it depends by your settings), automatically the preset will be copied in the right folder.
why one or two clic see here

Copy the texture JC 049 in the Textures Folder.
Open the mask in PSP and minimize it with the rest of the material.
1. Set your foreground color to#684552,
and your background color to #e2d8ce.
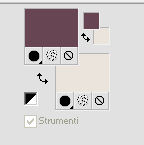
Open a new transparent image 900 x 550 pixels,
Flood Fill  the transparent image with your foreground color. the transparent image with your foreground color.
2. Open the tube déco "42" and go to Edit>Copy.
Go back to your work and go to Edit>Paste into Selection.
Selections>Select None.
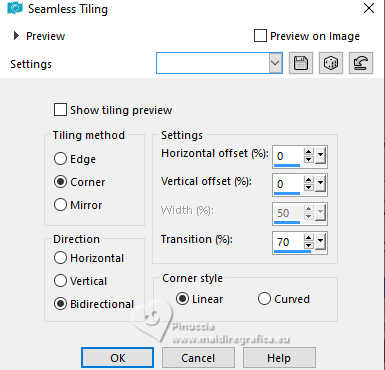
3.Effects>Image Effects>Seamless Tiling.
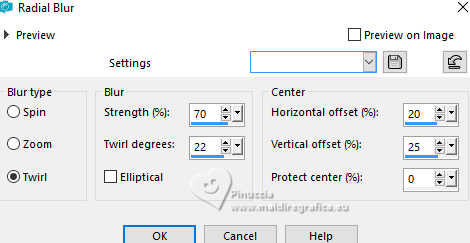
4. Adjust>Blur>Radial Blur.
5. Layers>New Raster Layer.
Flood Fill  with your background color #e2d8ce. with your background color #e2d8ce.
6. Layers>New Mask layer>From image
Open the menu under the source window and you'll see all the files open.
Select the mask Narah_mask0127.
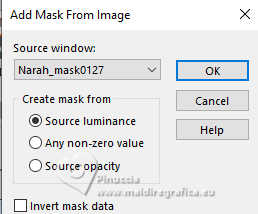
Effects>Edge Effects>Enhance More.
Layers>Merge>Merge Group.
7. Effects>3D Effects>Drop shadow, color black.
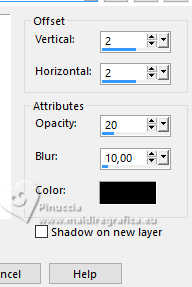
8. Selection Tool 
(no matter the type of selection, because with the custom selection your always get a rectangle)
clic on the Custom Selection 
and set the following settings.
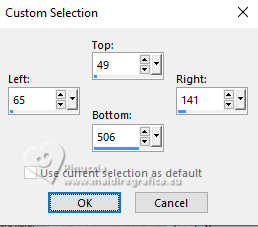
9. Set your foreground color to #e2d8ce,
and your background color to #7a585e.
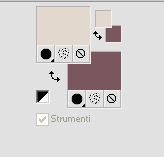
Flood Fill  with your dark background color #7a585e. with your dark background color #7a585e.
Selections>Modify>Contract - 10 pixels.
Flood Fill  with your light foreground color #e2d8ce. with your light foreground color #e2d8ce.
Selections>Modify>Contract - 2 pixels.
Flood Fill  with your dark background color #7a585e. with your dark background color #7a585e.
Selections>Modify>Contract - 2 pixels.
Set your foreground color to a Foreground/Background Gradient, style Sunburst.
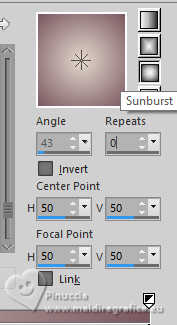
Flood Fill  the selection with your Gradient. the selection with your Gradient.
Selections>Promote Selection to Layer.
Keep selected.
10. Effects>Plugins>Filters Unlimited 2.0 - Filter Factory Gallery J - TeeWee.
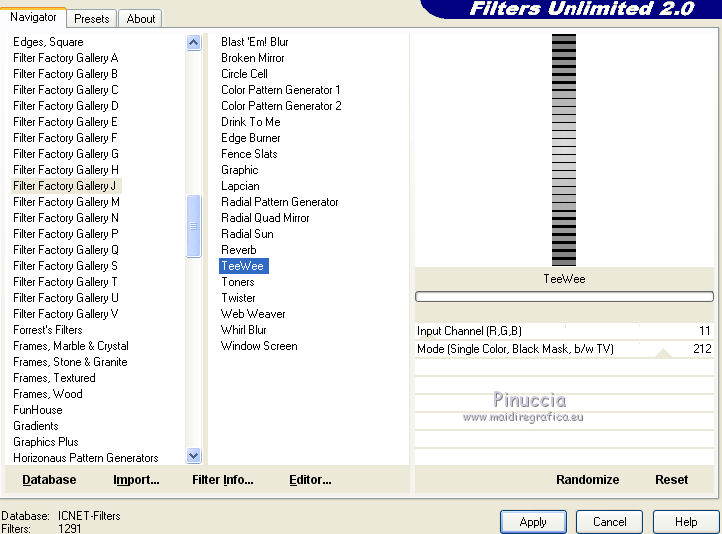
Change the blend Mode of this layer to Luminance.
Layers>Merge>Merge Down.
Selections>Select None.
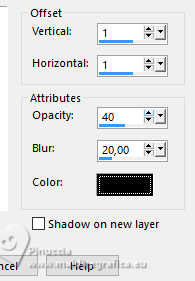
11. Effects>3D Effects>Drop shadow.
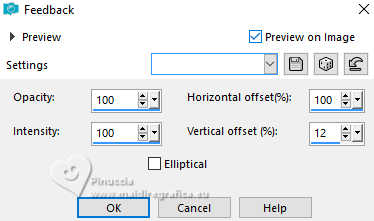
12. Effects>Reflection Effects>Feedback.
13. Custom Selection 
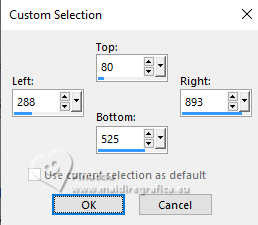
Press CANC on the keyboard 
Selections>Select None.
14. Effects>Geometric Effects>Spherize.
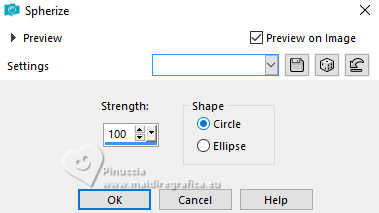
15. Layers>Duplicate.
Image>Mirror>Mirror Horizontal (Image Mirror).
Layers>Merge>Merge Down.
16. Layers>New Raster Layer.
Custom Selection 
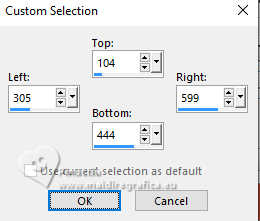
Set your foreground color to Color.
Flood Fill  with your dark background color #7a585e. with your dark background color #7a585e.
Selections>Modify>Contract - 10 pixels.
Flood Fill  with your light foreground color #e2d8ce. with your light foreground color #e2d8ce.
Selections>Modify>Contract - 5 pixels.
Flood Fill  with your dark background color #7a585e. with your dark background color #7a585e.
Selections>Modify>Contract - 2 pixels.
Set again your foreground color to Gradient.
Flood Fill  the selection with yuor Gradient. the selection with yuor Gradient.
Keep selected.
17. Open the tube agnes ingap_I_m_in_love_with_el, and go to Edit>Copy.
Go back to your work and go to Edit>Paste as new layer.
Selections>Invert.
Press CANC on the keyboard.
Selections>Select None.
18. Layers>Merge>Merge Down.
19. Effects>3D Effects>Drop shadow.
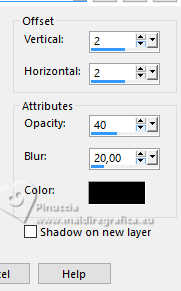
20. Layers>Duplicate.
Effects>Plugins>Toadies - What are you, default settings.
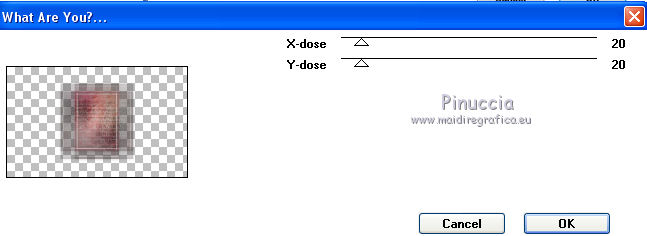
Change the blend Mode of this layer to Overlay.
Move this layer under the layer Raster 3.

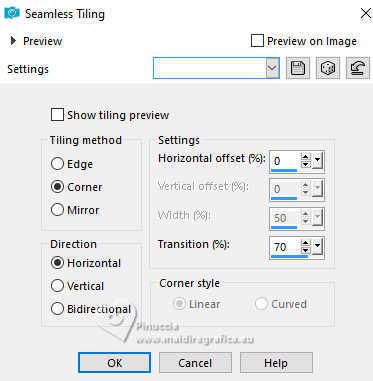
21.Effects>Image Effects>Seamless Tiling.
Result.
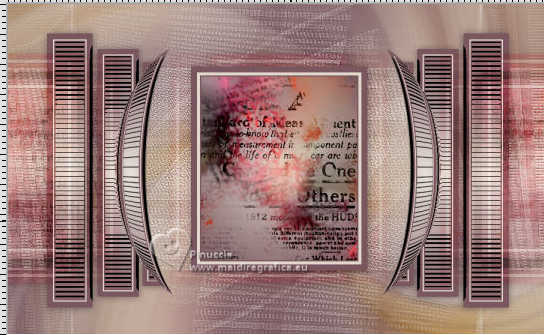
22. Activate your bottom layer Raster 1.
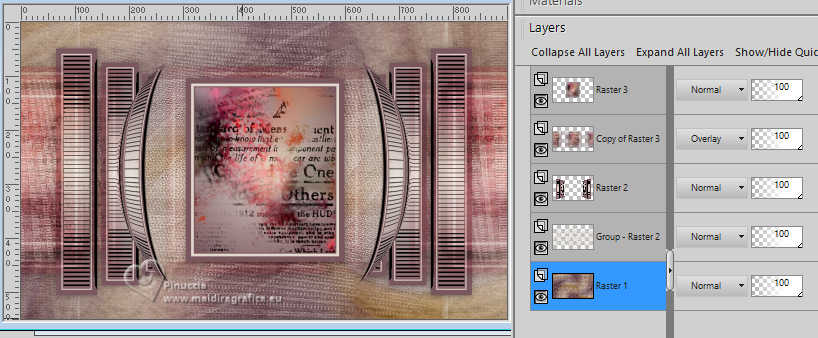
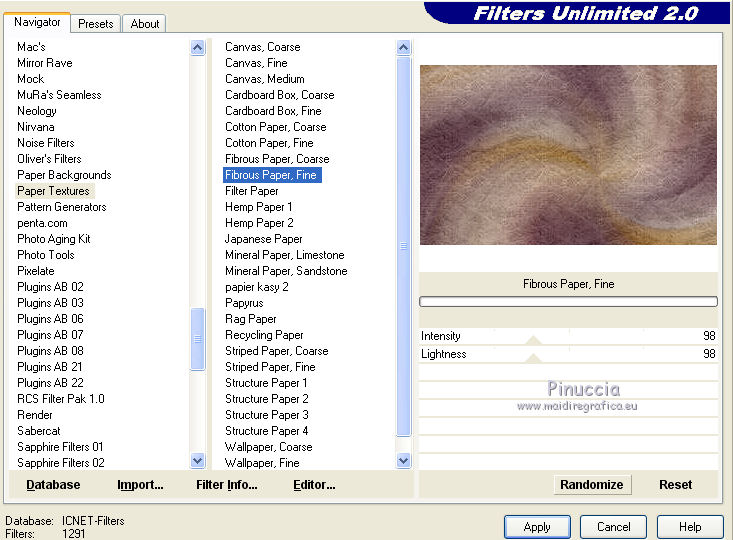
Effects>Plugins>Filters Unlimited 2.0 - Paper Textures - Fibrous,Paper Fine.
23. Image>Add borders, 1 pixel, symmetric, dark background color #7a585e.
Image>Add borders, 2 pixels, symmetric, color white.
Image>Add borders, 1 pixel, symmetric, dark background color #7a585e.
24. Image>Add borders, symmetric not checked, color white.
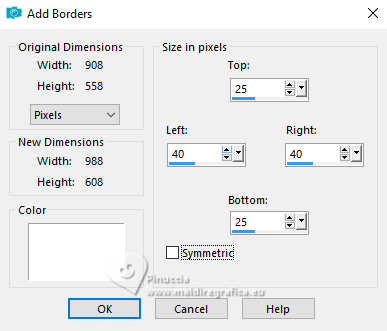
Activate your Magic Wand Tool 
and click in this border to select it.
25. Effects>Texture Effects>Texture - select the texture JC-049.
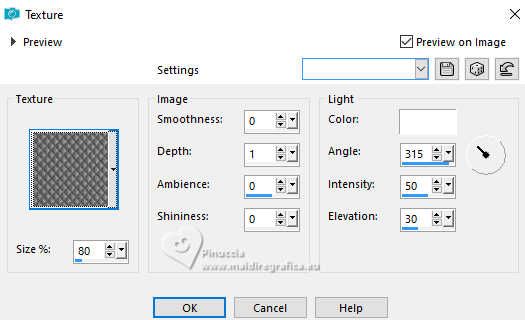
Selections>Invert.
Effects>3D Effects>Drop shadow, color black.

Selections>Select None.
26. Open the woman tube by Babette, erase the watermark and go to Edit>Copy.
Go back to your work and go to Edit>Paste as new layer.
Image>Resize, to 62%, resize all layers not checked.
K key to activate your Pick Tool 
Position X: 458,00 - Position Y: 47,00.

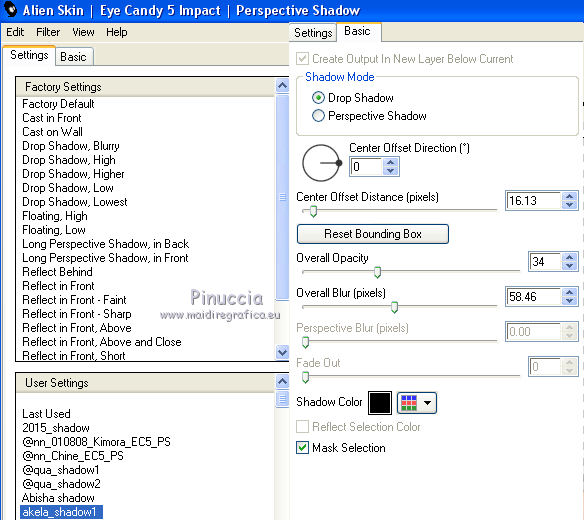
27. Effects>Plugins>Alien Skin Eye Candy 5 Impact - Perspective Shadow.
Select the preset akela_shadow1 and ok
28. Image>Add borders, 1 pixel, symmetric, dark background color #7a585e.
Sign your work and save as jpg.
For the tube of this version thanks Tatie.
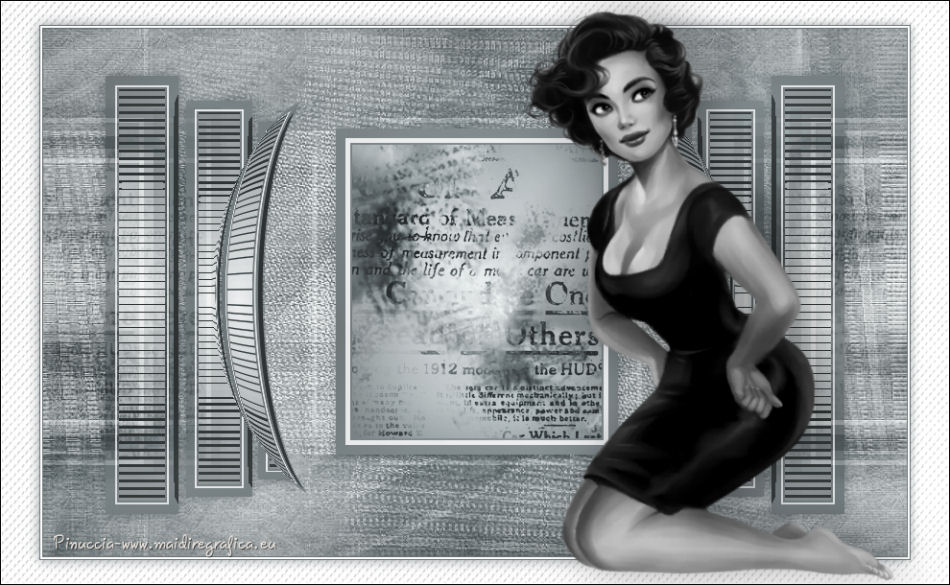

Your versions. Thanks
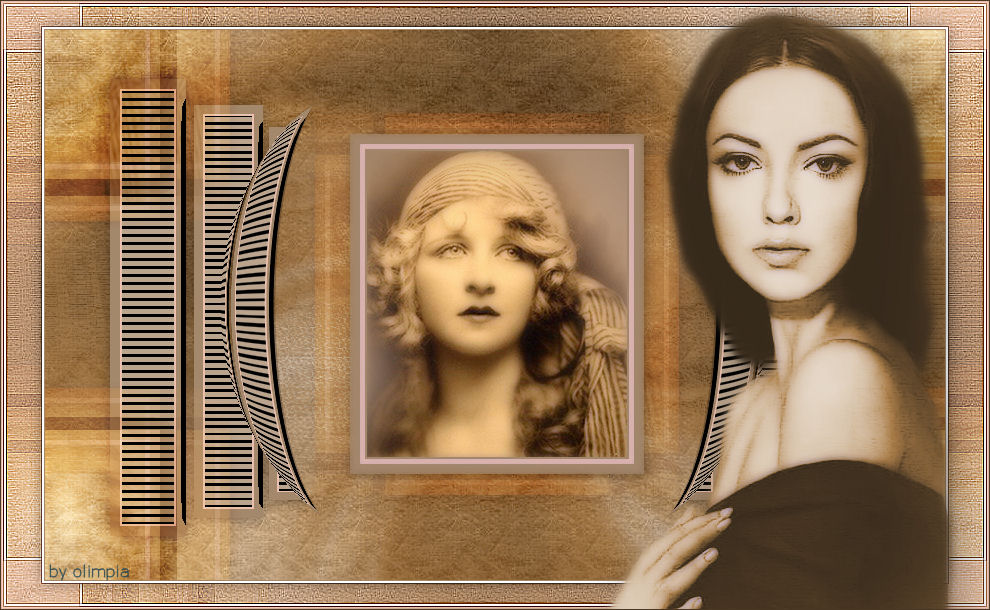
Olimpia

Sefyn
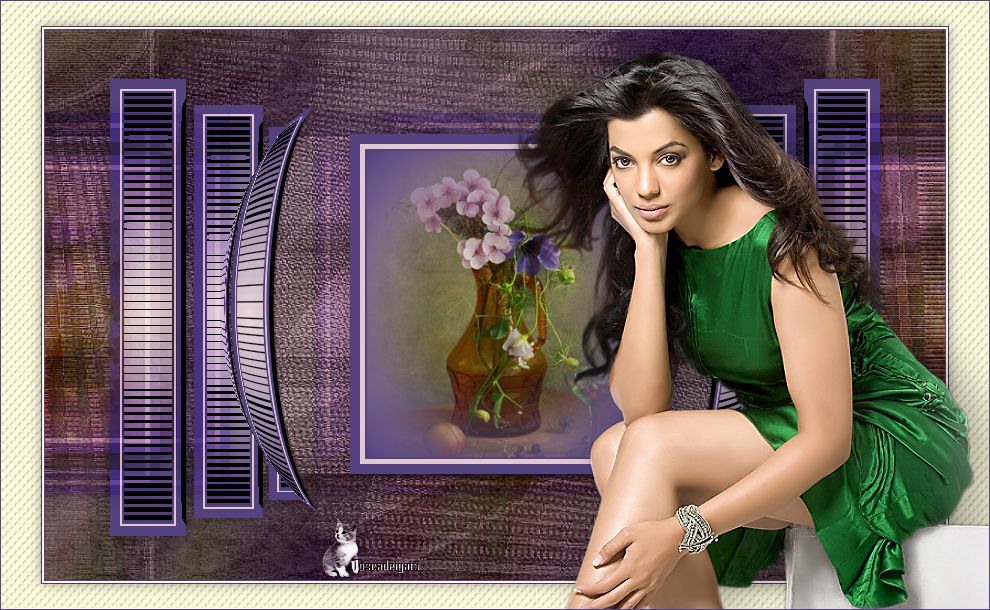
Tosca dei gatti
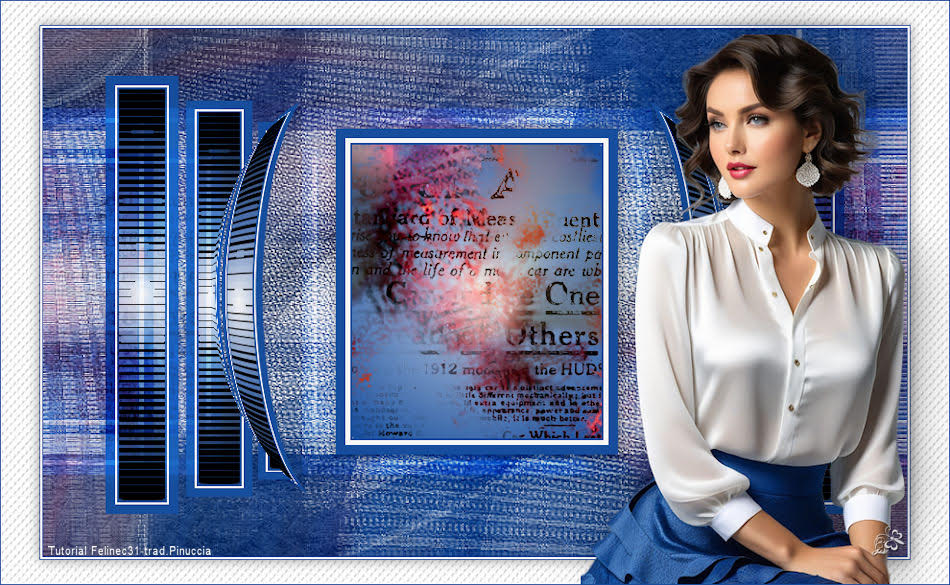
Jolcsi

If you have problems or doubts, or you find a not worked link, or only for tell me that you enjoyed this tutorial, write to me.
20 November 2024
|
 english version

 english version