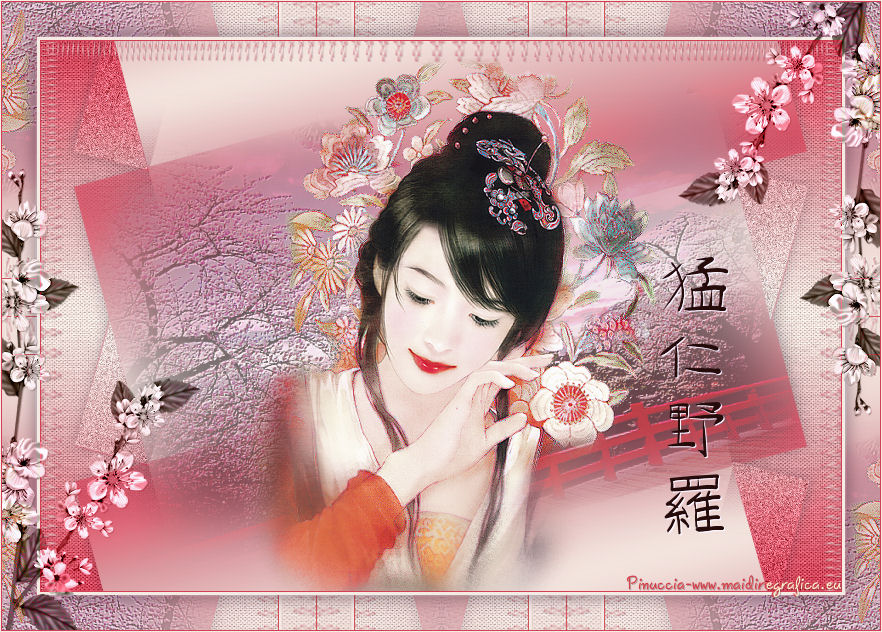
|
MIKO
 english version

Thanks Carine for your invitation to translate

This tutorial was written with CorelX17 and translated with CorelX17, but it can also be made using other versions of PSP.
Since version PSP X4, Image>Mirror was replaced with Image>Flip Horizontal,
and Image>Flip with Image>Flip Vertical, there are some variables.
In versions X5 and X6, the functions have been improved by making available the Objects menu.
In the latest version X7 command Image>Mirror and Image>Flip returned, but with new differences.
See my schedule here
italian translation here
Material here
Thanks for the woman tube Denise Worisch and for the landscape Min@.
(The links of the tubemakers here).
Plugins
consult, if necessary, my filter section here
Filters Unlimited 2.0 here
Graphics Plus - Quick Tile 2 here
Nik Software - Color Efex Pro here
FM Tile Tools - Blend Emboss here
Filters Graphics Plus can be used alone or imported into Filters Unlimited.
(How do, you see here)
If a plugin supplied appears with this icon  it must necessarily be imported into Unlimited it must necessarily be imported into Unlimited

You can change Blend Modes according to your colors.
In the newest versions of PSP, you don't find the foreground/background gradient (Corel_06_029).
You can use the gradients of the older versions.
The Gradient of CorelX here

Copy the selection in the Selections Folder.
Open the mask in PSP and minimize it with the rest of the material.
1. Set your foreground color to #fceacd,
and your background color to #d33f49.
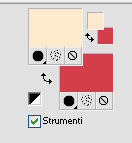
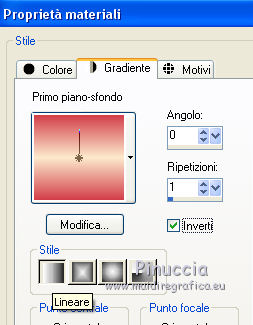
Set your foreground color to a Foreground/Background Gradient, style Linear.
2.Open a new transparent image 800 x 550 pixels,
Flood Fill  the transparent image with your Gradient. the transparent image with your Gradient.
3. Adjust>Blur>Gaussian Blur - radius 20.

4. Layers>Duplicate.
Image>Resize, to 80%, resize all layers not checked.
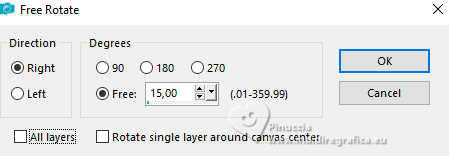
5. Image>Free Rotate - 15 degrees to right.
6. Layers>Duplicate.
Image>Mirror>Mirror Horizontal (Image Mirror).
Layers>Merge>Merge Down.
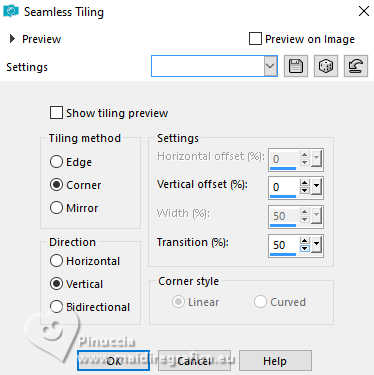
7.Effects>Image Effects>Seamless Tiling.
8. Activate your bottom layer.
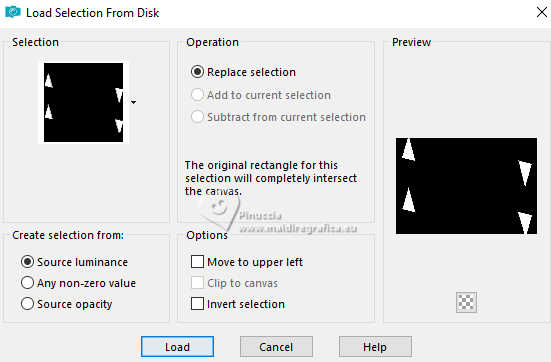
Selections>Load/Save Selection>Load Selection from Disk.
Look for and load the selection sélection Miko.
Selections>Promote Selection to Layer.
Layers>Arrange>Bring to Top.
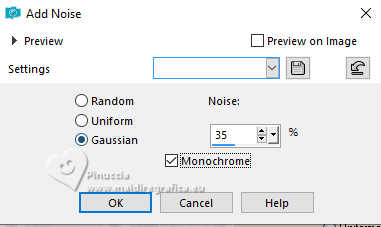
9. Adjust>Add/Remove Noise>Add Noise.
Selections>Select None.
Layers>Merge>Merge Down.
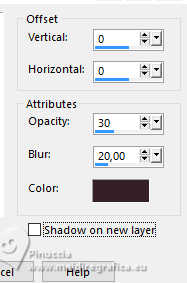
10. Effects>3D Effects>Drop shadow, color #36212a.
11. Activate your bottom layer - Raster 1.
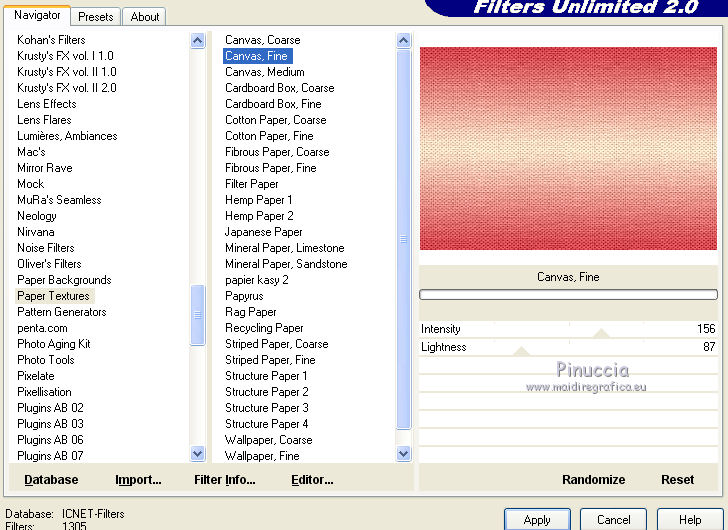
Effects>Plugins>Filters Unlimited 2.0 - Paper Texture - Canvas,Fine, default settings.
12. Activate your top layer.
Open the landscape tube and go to Edit>Copy.
Go back to your work and go to Edit>Paste as new layer.
Image>Resize, to 80%, resize all layers not checked.
13. Image>Free Rotate - 10 degrees to left.

Reduce the opacity of this layer to 55%, or according to your tube.
14. Effects>Plugins>FM Tile Tools - Blend Emboss, default settings.

15. Layers>New Raster Layer.
Selection Tool 
(no matter the type of selection, because with the custom selection your always get a rectangle)
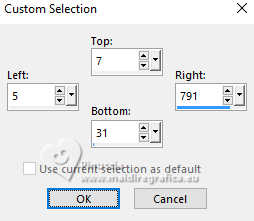
clic on the Custom Selection 
and set the following settings.
Flood Fill  the selection with your Gradient. the selection with your Gradient.
Selections>Select None.
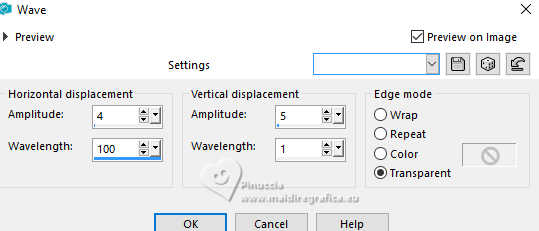
16. Effects>Distortion Effects>Weave.
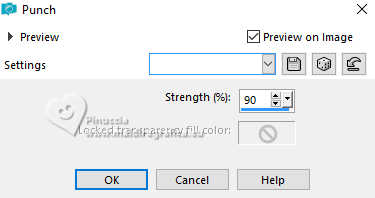
17. Effects>Distortion Effects>Punch.
18. K key to activate your Pick Tool 
Position X: 3,00 - Position Y: -17,00.

19. Layers>Duplicate.
Image>Mirror>Mirror Vertical (Image>Flip).
Layers>Duplicate.
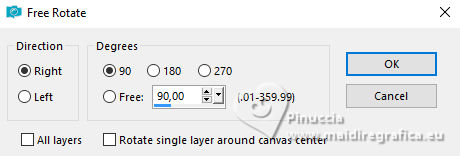
Image>Free Rotate - 90 degrees to right.
20. Pick Tool 
Position X: -17,00 - Position Y: -81,00.

21. Layers>Duplicate.
Image>Mirror>Mirror Horizontal (Image Mirror).
Layers>Merge>Merge Down - 3 times.
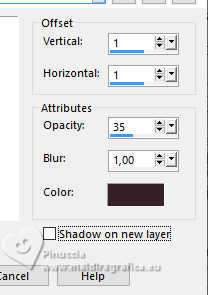
22. Effects>3D Effects>Drop shadow, color #36212a.
23. Open the woman tube, erase the watermark and go to Edit>Copy.
Go back to your work and go to Edit>Paste as new layer.
Image>Resize, to 85%, resize all layers not checked.
Move  the tube a little down. the tube a little down.
24. Image>Add borders, 1 pixel, symmetric, background color.
Edit>Copy.
Image>Add borders, 3 pixels, symmetric, foreground color.
Image>Add borders, 35 pixels, symmetric, background color.
Activate your Magic Wand Tool  , ,
and click in the border of 35 pixels to select it.
25. Edit>Paste into Selection.
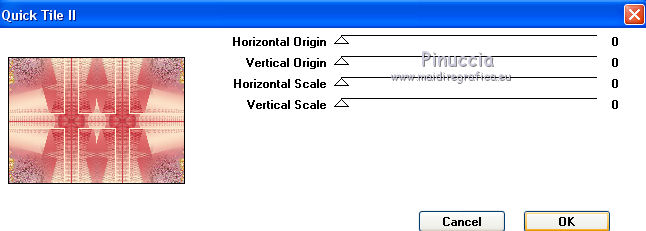
26. Effects>Plugins>Graphics Plus - Quick Tile 2.
Selections>Promote Selection to Layer.
Keep selected.
27. Activate your bottom layer.
Adjust>Blur>Gaussian Blur - radius 30.

28. Activate again your top layer, Promoted Selection.
Reduce the opacity of this layer to 60%.
Adjust>Sharpness>Sharpen More.
Keep always selected.
29. Layers>Merge>Merge Down.
Selections>Invert.
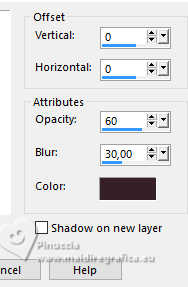
30. Effects>3D Effects>Drop shadow, color #36212a.
Selections>Select None.
31. Open the flowers tube and go to Edit>Copy.
Go back to your work and go to Edit>Paste as new layer.
Image>Resize, to 65%, resize all layers not checked.
32. Pick Tool 
Position X: -37,00 - Position Y: 166,00.

33. Layers>Duplicate.
Image>Mirror>Mirror Horizontal (Image Mirror).
Image>Mirror>Mirror Vertical (Image>Flip).
Pick Tool 
Position X: 675,00 - Position Y: -52,00.

34. Layers>Merge>Merge Down.
Change the blend Mode of this layer to Luminance, opacity 100.
Effects>3D Effects>Drop shadow, color #36212a.
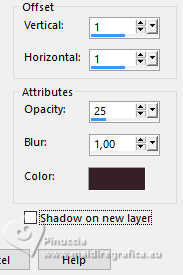
35. Open the tube Texte and go to Edit>Copy.
Go back to your work and go to Edit>Paste as new layer.
Pick Tool 
Position X: 658,00 - Position Y: 254,00.

If you want to write your text,
activate your Text Tool  , font GoJuOn, , font GoJuOn,
background color #2a0908, direction vertical

Write (this font has only lovercase letters) Miko, or what you wand.
Layers>Convert in Raster Layer.
Effects>3D Effects>Drop shadow, color white.
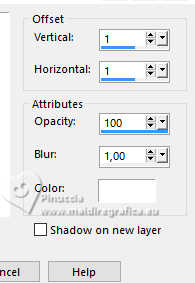
Pick Tool  Position X: 658,00 - Position Y: 254,00.

36. Image>Add borders, 1 pixel, symmetric, background color.
Image>Add borders, 1 pixel, symmetric,, foreground color.
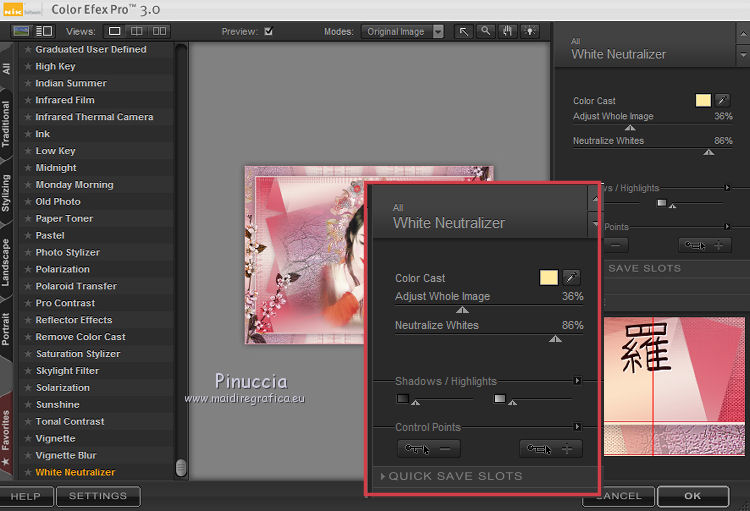
37. (Optional) Effects>Plugins>Nik Software - Color Efex Pro - White Neutralizer
adapt to your colors: for the example.
38. Sign your work on a new layer.
Layer>Merge>Merge All and save as jpg.
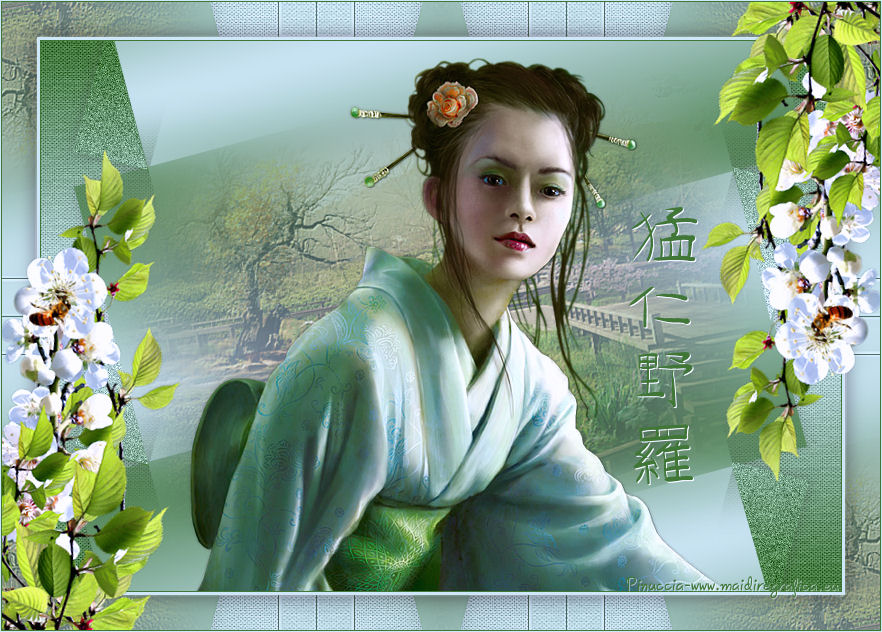
For the tubes of this version thanks Lori Rhae, kTs and Thafs.

If you have problems or doubts, or you find a not worked link, or only for tell me that you enjoyed this tutorial, write to me.
20 November 2024
|
 english version

 english version