|
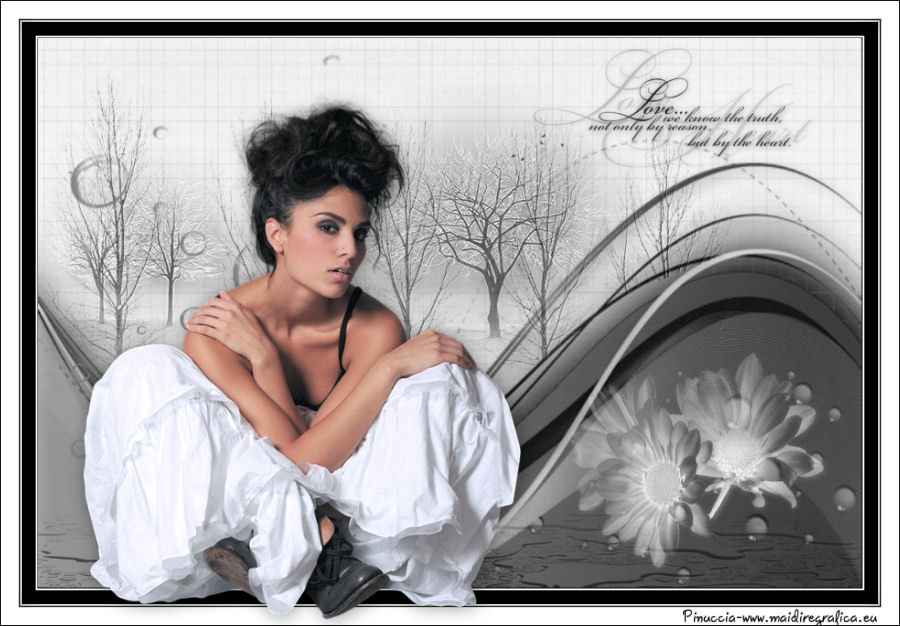
PHELIA
 english version

Thanks Carine for your invitation to translate

This tutorial was written with CorelX17 and translated with CorelX17, but it can also be made using other versions of PSP.
Since version PSP X4, Image>Mirror was replaced with Image>Flip Horizontal,
and Image>Flip with Image>Flip Vertical, there are some variables.
In versions X5 and X6, the functions have been improved by making available the Objects menu.
In the latest version X7 command Image>Mirror and Image>Flip returned, but with new differences.
See my schedule here
italian translation here
Material here
Thanks for the tubes Alies and Marif, for the mask Narah.
(The links of the tubemakers here).

You can change Blend Modes according to your colors.

Copy the Selection in the Selections Folder.
Open the masque and minimize it with the rest of the material.
1. Set your foreground color to #ffffff,
and your background color to #000000.
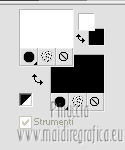
2.Open a new transparent image 900 x 600 pixels,
Flood Fill  the transparent image with your foreground color. the transparent image with your foreground color.
3. Layers>New Raster Layer.
Flood Fill  with your background color. with your background color.
4. Layers>New Mask layer>From image
Open the menu under the source window and you'll see all the files open.
Select the mask Narah_mask_0422.
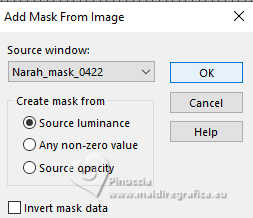
Layers>Merge>Merge Group.
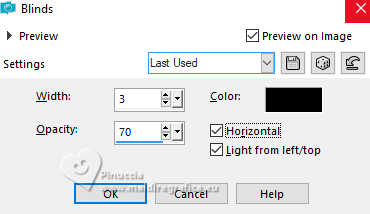
5.Effects>Texture Effects>Blinds - color black.
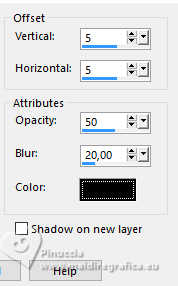
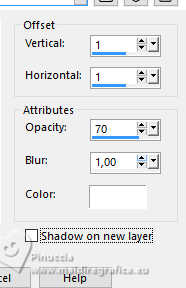
6. Effects>3D Effects>Drop shadow.
7. Open the tube Marif_2007_10Octobre_misted_paysage078.
Erase the watermark and go to Edit>Copy.
Go back to your work and go to Edit>Paste as new layer.
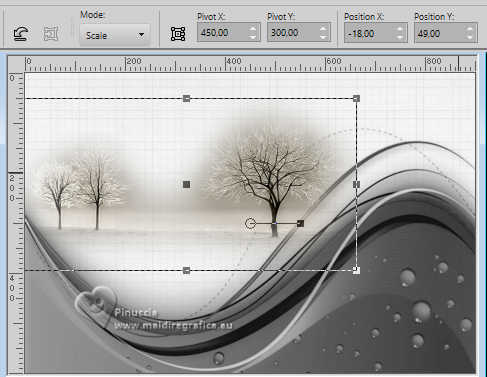
Place  the tube at the upper left. the tube at the upper left.
(or K key to activate your Pick Tool , ,
position X: -18 - position Y:49)
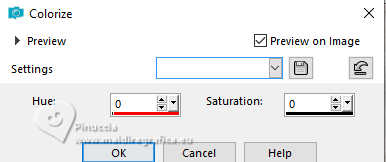
8. Adjust>Hue and Saturation>Colorize.
Reduce the opacity of this layer to 65%.
Adjust>Sharpness>Sharpen.
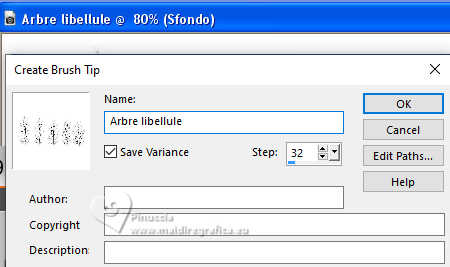
9. Open the brush arbre libellule.
Files>Export>Custom Brush - give a name to the brush and ok.
10. Layers>New Raster Layer.
Activate your Brush Tool 
look for and load the exported brush (for my example size 800)
and apply at the top clicking with your right button to usare the black background color.

10. Effects>3D Effects>Drop shadow, color white.
11. Selections>Load/Save Selection>Load Selection from Disk.
Look for and load the selection Section arbre ca.
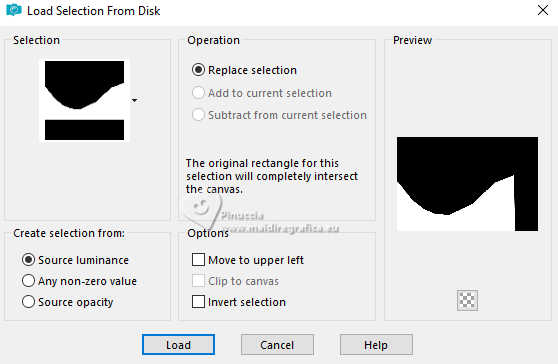
Press CANC on the keyboard 
Selections>Select None.
12. Layers>New Raster Layer.
Open the brush eau7 and, as before, export it as Custom Brush.
Activate your Brush Tool 
Set your background color to #7e7f80,
Apply the brush, size 491, clicking with your right button to use your new background color.
Place  / / correctly the brush. correctly the brush.
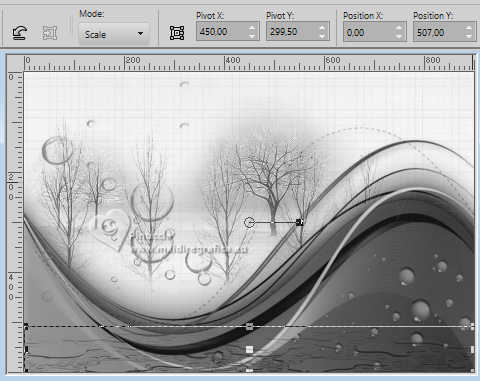
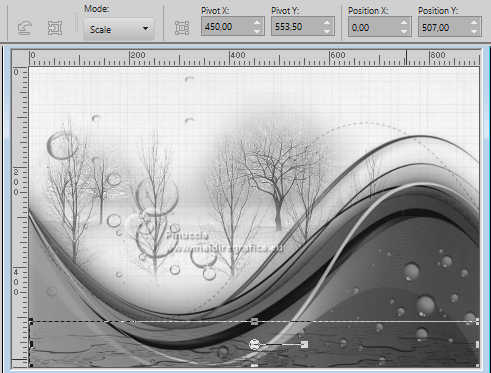
13. Open the tube déco eau and go to Edit>Copy.
Go back to your work and go to Edit>Paste as new layer.
Move  / / the tube down. the tube down.
14. Layers>New Raster Layer.
Open the brush !-fly brush23 and, as before, export it as Custom Brush.
Activate your Brush Tool 
Select the brush - size 280

and apply it at the bottom right,
clicking with your left button to use your white foreground color.
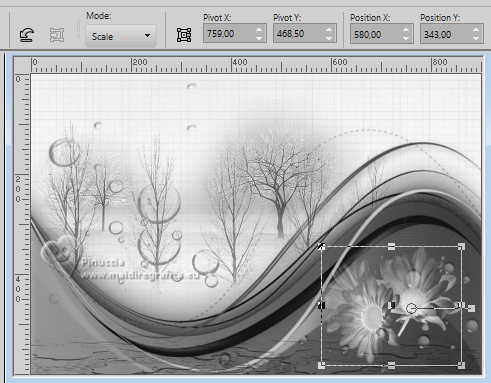
15. Effects>3D Effects>Drop shadow, color white.
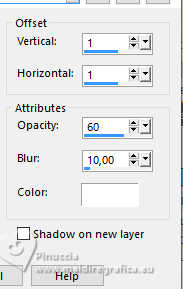
Adjust>Sharpness>Sharpen.
16. Open the tube texte and go to Edit>Copy.
Go back to your work and go to Edit>Paste as new layer.
Move  the text at the upper right. the text at the upper right.
17. Effects>3D Effects>Drop Shadow, color black.
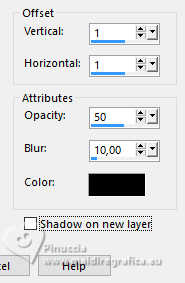
18. Layers>Merge>Merge All.
19. Image>Add borders, 1 pixel, symmetric, color black.
Image>Add borders, 2 pixels, symmetric, color white.
Image>Add borders, 15 pixels, symmetric, color black.
Image>Add borders, 2 pixels, symmetric, color white.
Image>Add borders, 1 pixel, symmetric, color black.
Image>Add borders, 20 pixels, symmetric, color white.
Image>Add borders, 1 pixel, symmetric, color black.
20. Selections>Select All.
Selections>Modify>Contract - 20 pixels.
Selections>Invert.
21. Effects>3D Effects>Drop shadow.
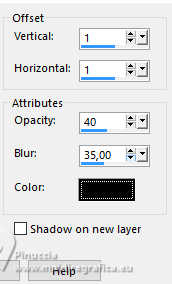
Selections>Select None.
22. Open the woman's tube by Alies and go to Edit>Copy.
Go back to your work and go to Edit>Paste as new layer.
Move  the tube at the bottom left. the tube at the bottom left.
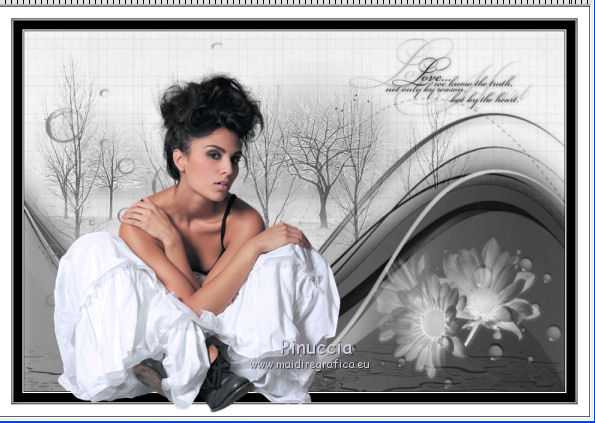
23. Effects>3D Effects>Drop shadow.
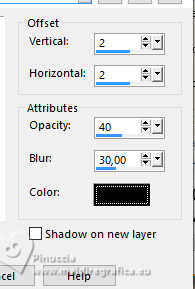
23. Image>Resize, 900 pixels width, resize all layers checked.
Sign your work and save as jpg jpg.

Your versions. Thanks
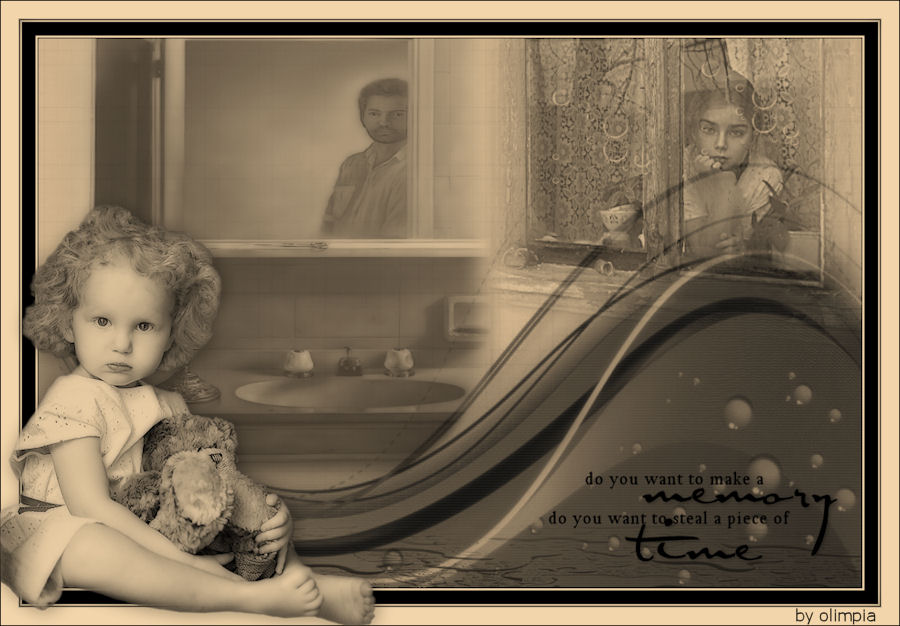
Olimpia
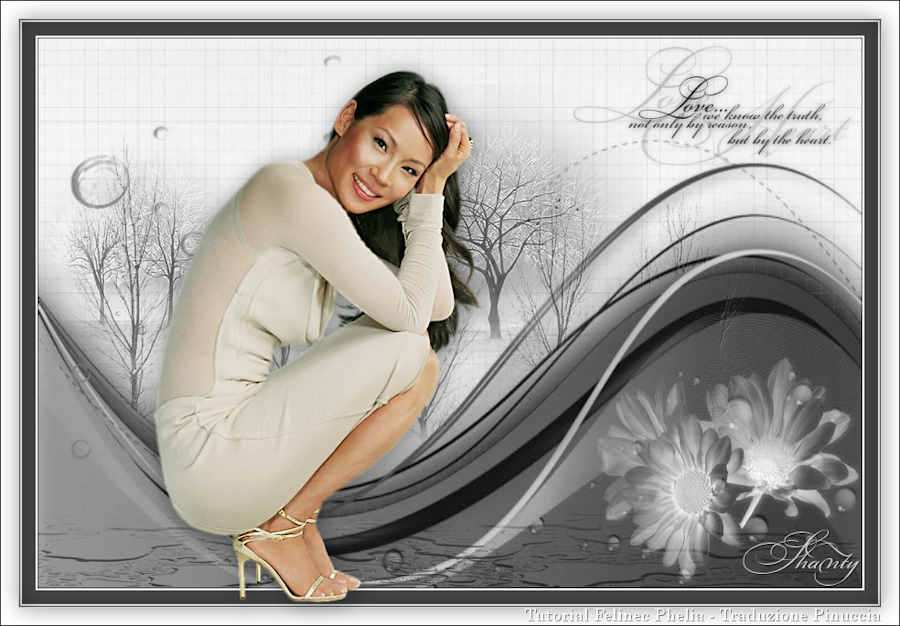
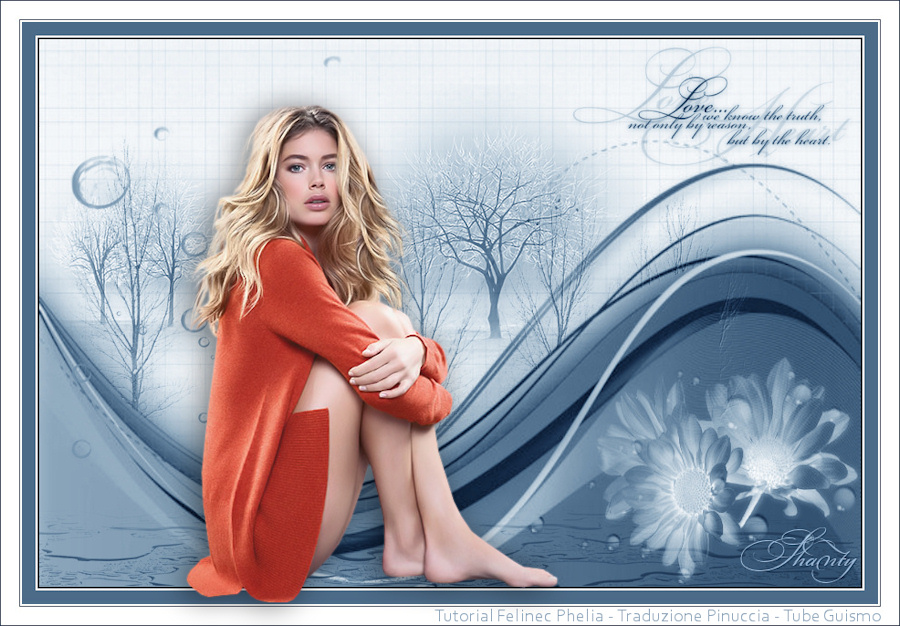
Shanty
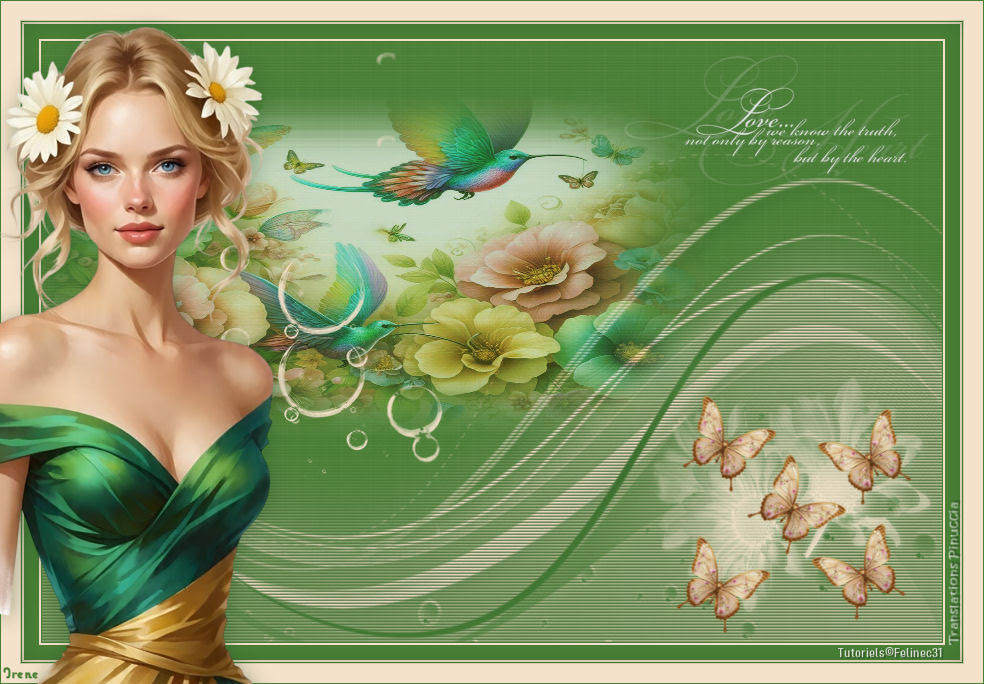
Irene

If you have problems or doubts, or you find a not worked link, or only for tell me that you enjoyed this tutorial, write to me.
20 November 2024
|
 english version

 english version