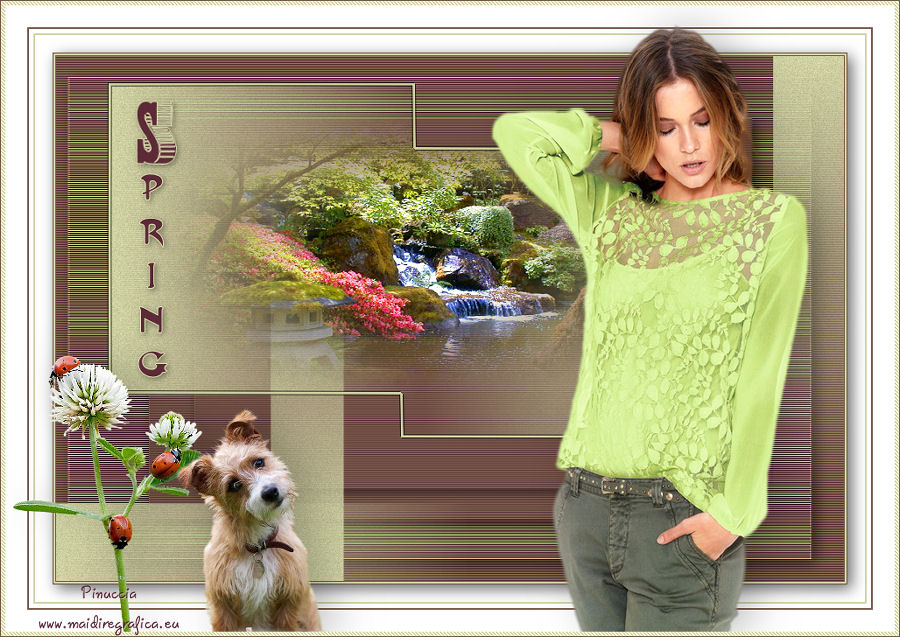
|
SPRING
 english version

Thanks Carine for your invitation to translate

This tutorial was written with CorelX17 and translated with CorelX17, but it can also be made using other versions of PSP.
Since version PSP X4, Image>Mirror was replaced with Image>Flip Horizontal,
and Image>Flip with Image>Flip Vertical, there are some variables.
In versions X5 and X6, the functions have been improved by making available the Objects menu.
In the latest version X7 command Image>Mirror and Image>Flip returned, but with new differences.
See my schedule here
italian translation here
Material here
Thanks for the tube Min@.
(The links of the tubemakers here).
Plugins
consult, if necessary, my filter section here
Filters Unlimited 2.0 here
Mura's Seamless - Emboss at Alpha here
L&K's - L&K's Andreas here
AAA Frames - Foto Frame here
Filters Mura's Seamless can be used alone or imported into Filters Unlimited.
(How do, you see here)
If a plugin supplied appears with this icon  it must necessarily be imported into Unlimited it must necessarily be imported into Unlimited

You can change Blend Modes according to your colors.
In the newest versions of PSP, you don't find the foreground/background gradient (Corel_06_029).
You can use the gradients of the older versions.
The Gradient of CorelX here

Copy the preset  in the folder of the plugin Alien Skin Eye Candy 5 Impact>Settings>Shadow. in the folder of the plugin Alien Skin Eye Candy 5 Impact>Settings>Shadow.
One or two clic on the file (it depends by your settings), automatically the preset will be copied in the right folder.
why one or two clic see here
Copy the selection in the Selections Folder.
Open the mask in PSP and minimize it with the rest of the material.
1. Set your foreground color to#d0d3d4,
and your background color to #552532.
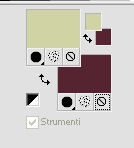
2.Open a new transparent image 900 x 600 pixels,
Flood Fill  the transparent image with your background color. the transparent image with your background color.
3. Layers>New Raster Layer.
Flood Fill  with your foreground color. with your foreground color.
4. Layers>New Mask layer>From image
Open the menu under the source window and you'll see all the files open.
Select the mask Jeanette Mask 3.
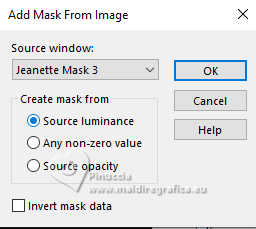
Layers>Merge>Merge Group.
5. Selections>Load/Save Selection>Load Selection from Disk.
Look for and load the selection Selection spring 1.
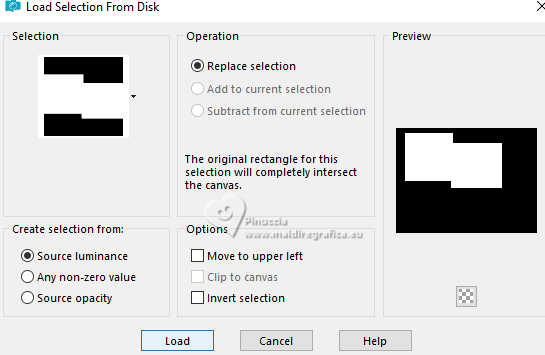
6. Layers>New Raster Layer.
Open the landscape tube by Min@ and go to Edit>Copy.
Go back to your work and go to Edit>Paste into Selection.
7. Selections>Modify>Select Selection Borders.
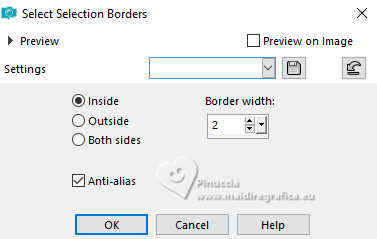
Flood Fill  the selection with your foreground color. the selection with your foreground color.
8. Effects>3D Effects>Drop shadow.
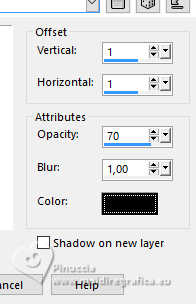
Repeat Drop Shadow, vertical and horizontal -1.
Selections>Select None.
9. Activate the central layer, Group Raster 2.
Adjust>Add/Remove Noise>Add Noise.
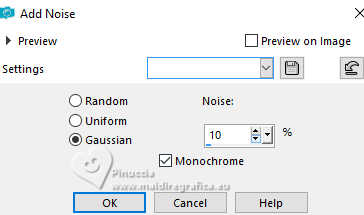
10. Activate your bottom layer, Raster 1.
Effects>Texture Effects>Blinds, color #c5ce7d.
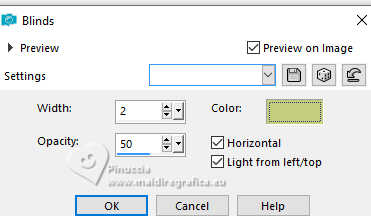
11. Layers>Duplicate.
Image>Resize, to 90%, resize all layers not checked.
Effects>3D Effects>Drop shadow, color black.

12. Layers>Duplicate.
Image>Resize, 85%, resize all layers not checked.
Again Layers>Duplicate.
Image>Resize, to 85%, resize all layers not checked.
13. Activate the second layer from the bottom, Copy of Raster 1.
Image>Resize, to 102%, resize all layers not checked.
Effects>Edge Effects>Enhance.
14. K key to activate your Pick Tool 
in Mode Scale  , ,
pull the left central node
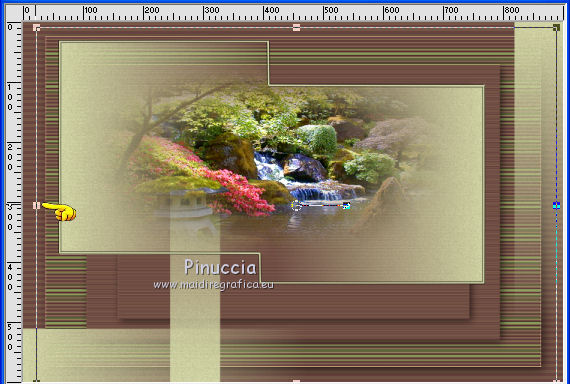
untile the border
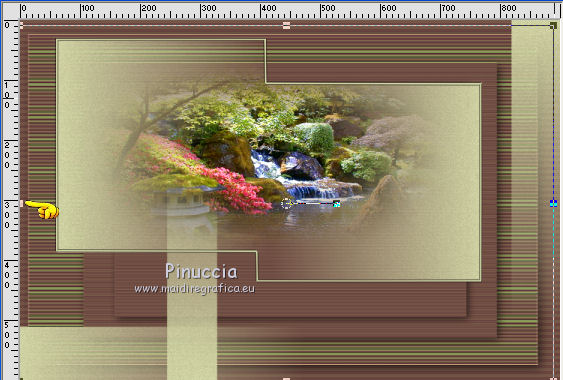
15. Image>Add borders, 1 pixel, symmetric, color #754647.
Image>Add borders, 2 pixels, symmetric, foreground color #d0d3d4.
Image>Add borders, 1 pixel, symmetric, color #754647.
16. Selections>Select All.
Image>Add borders, 20 pixels, symmetric, color white.
Effects>3D Effects>Drop shadow, color black.

Selections>Select None.
17. Image>Add borders, 2 pixels, symmetric, foreground color #d0d3d4.
Image>Add borders, 5 pixels, symmetric, color white.
Image>Add borders, 2 pixels, symmetric, color #754647.
Image>Add borders, 25 pixels, symmetric, color white.
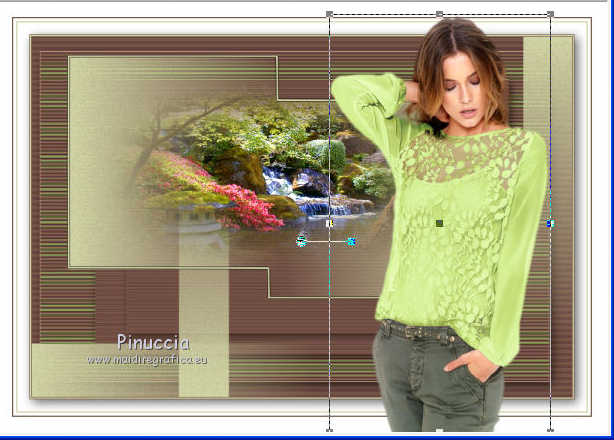
18. Open woman tube by Franiemargot, and go to Edit>Copy.
Go back to your work and go to Edit>Paste as new layer.
Image>Resize, to 85%, resize all layers not checked.
Pick Tool 
Position X: 553,00 - Y: 20,00.

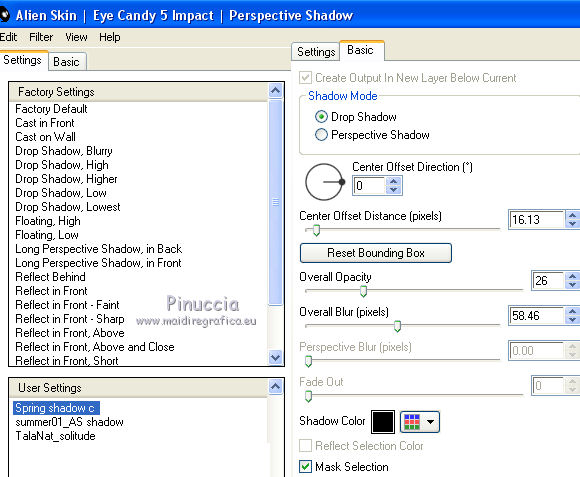
19. Effects>Plugins>Alien Skin Eye Candy 5 Impact - Perspective Shadow.
Select the preset spring shadow and ok.
20. Open the tube Ladybugs in Nature by Maryse, and go to Edit>Copy.
Go back to your work and go to Edit>Paste as new layer.
Image>Resize, to 50%, resize all layers not checked.
Pick Tool 
Position X: 8,00 - Y: 400,00.

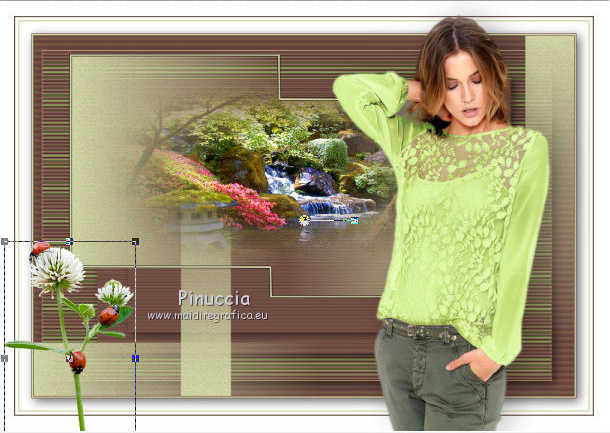
Effects>Plugins>Alien Skin Eye Candy 5 Impact - Perspective Shadow - preset Spring shadow.
20. Open the dog tube _D15kT2IMAc8ds, and go to Edit>Copy.
Go back to your work and go to Edit>Paste as new layer.
Image>Resize, to 50%, resize all layers not checked.
Pick Tool 
Position X: 189,00 - Y: 422,00.

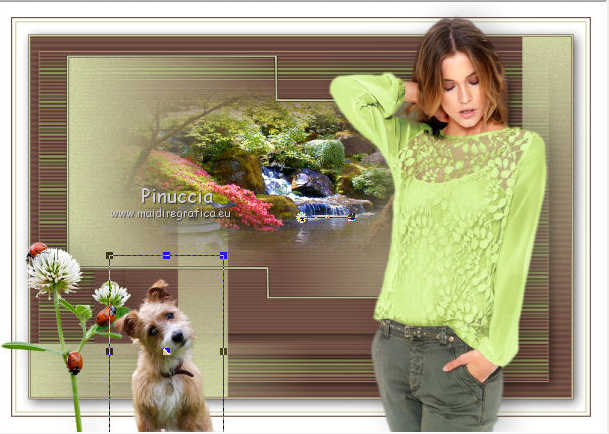
Effects>Plugins>Alien Skin Eye Candy 5 Impact - Perspective Shadow - preset Spring shadow.
21. Open the tube texte spring, and go to Edit>Copy.
Go back to your work and go to Edit>Paste as new layer.
Pick Tool 
Position X: 144,00 - Y: 104,00.

22. Selections>Select All.
Image>Add borders, 5 pixels, symmetric, foreground color #d0d2d4.
Selections>Invert.
Effects>Plugins>Penta.com - Jeans, default settings.

Selections>Select None.
23. Image>Add borders, 1 pixel, symmetric, color #754647.
Sign your work.
Image>Resize, 900 pixels width, resize all layers checked.
Save as jpg.

Your versions. Thanks
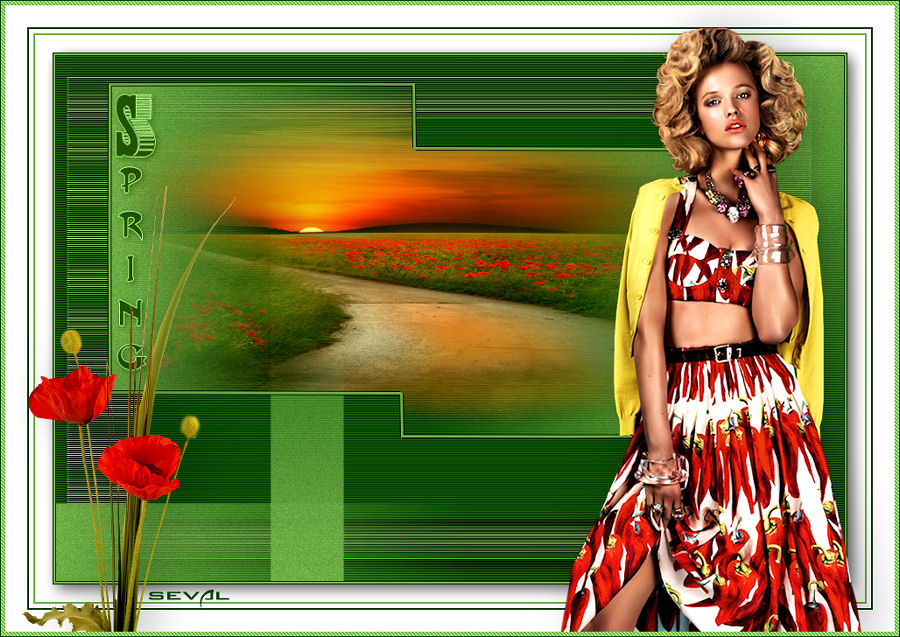
Seval
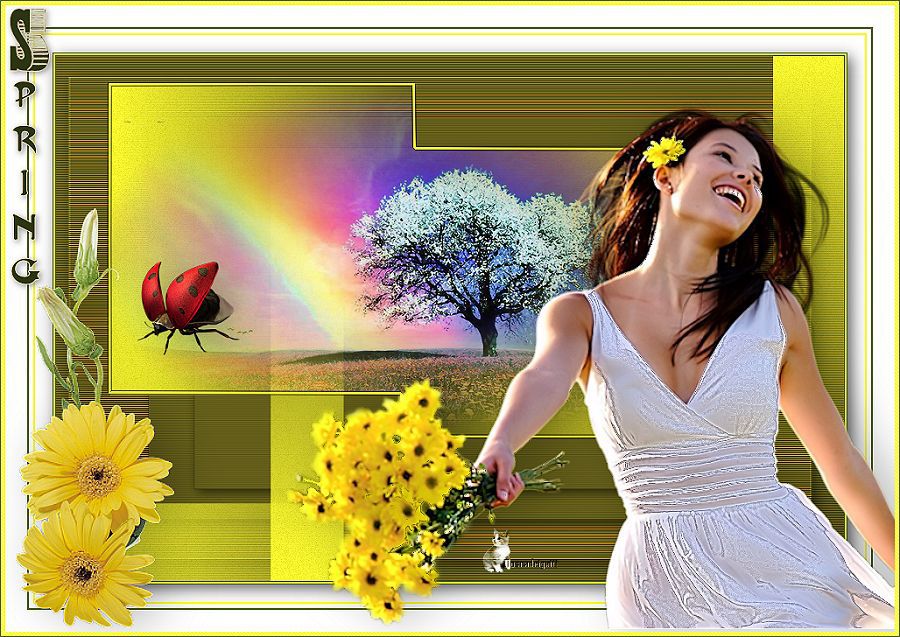
Tosca dei gatti

If you have problems or doubts, or you find a not worked link, or only for tell me that you enjoyed this tutorial, write to me.
20 November 2024
|
 english version

 english version