|
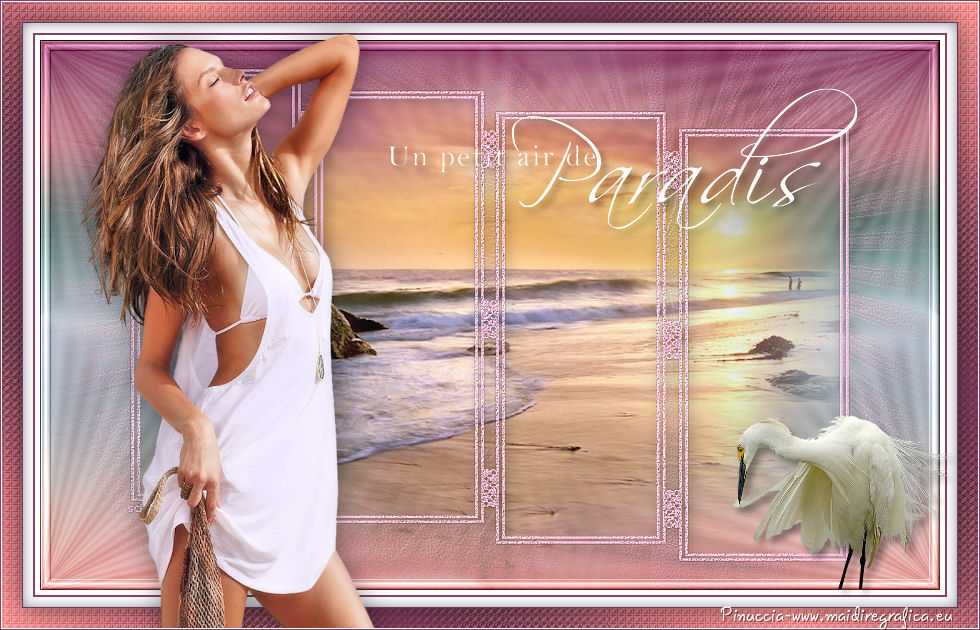
UN PETIT COIN DE PARADIS

Thanks Carine for your invitation to translate

This tutorial was written with CorelX17 and translated with CorelX17, but it can also be made using other versions of PSP.
Since version PSP X4, Image>Mirror was replaced with Image>Flip Horizontal,
and Image>Flip with Image>Flip Vertical, there are some variables.
In versions X5 and X6, the functions have been improved by making available the Objects menu.
In the latest version X7 command Image>Mirror and Image>Flip returned, but with new differences.
See my schedule here
italian translation here
Material qui
For the tubes thanks Azalée and Gina.
The bird tube is by Anna.br and it is not supplied.
Plugins
consult, if necessary, my filter section here
Adjust - Variations (in the material) here
Filter Factory Gallery R - Sinfinity here
(the single effect is in the material)
Filters unlimited 2.0 here
AB 21 - Textured Difference Town here
(the single effect is in the material)
Transparency - Eliminate Black here
Filters Factory Gallery, Plugin AB and Transparency can be used alone or imported into Filters Unlimited.
(How do, you see here)
If a plugin supplied appears with this icon  it must necessarily be imported into Unlimited it must necessarily be imported into Unlimited

You can change Blend Modes according to your colors.
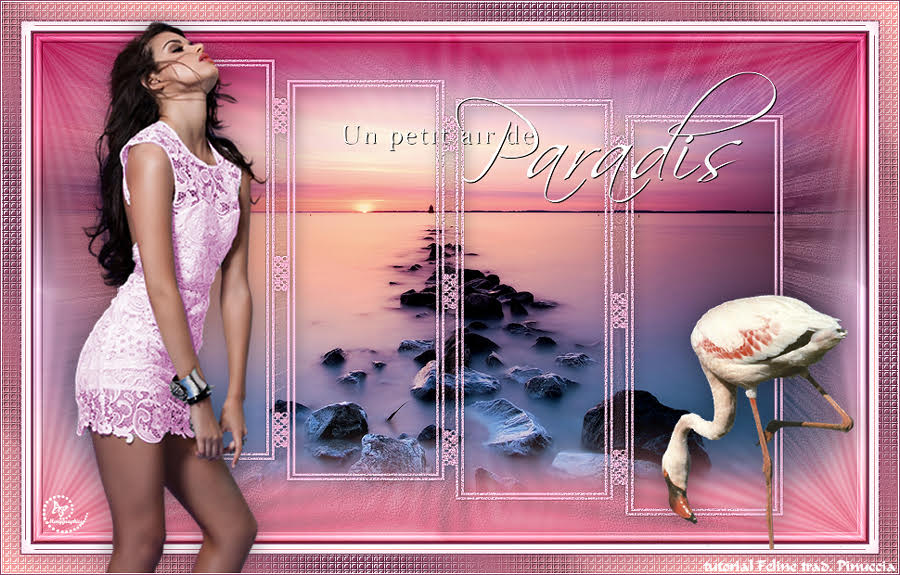
In the newest versions of PSP, you don't find the foreground/background gradient (Corel_06_029).
You can use the gradients of the older versions.
The Gradient of CorelX here

Copy the Gradient @nn_310712_GR_Wayona_tdstudio in the Gradients Folder.
Copy the Texture in the Textures Folder.
Open the mask in PSP and minimize it with the rest of the material.
Colors
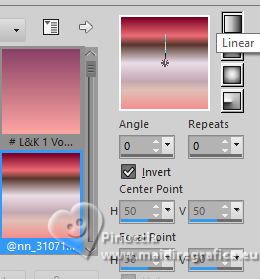
1. Set your foreground color to Gradient, and select the Gradient @nn_310712_GR_Wayona_tdstudio, style Linear.
2. Open a new transparent image 900 x 550 pixels,
Flood Fill  the transparent image with your Gradient. the transparent image with your Gradient.
3. Adjust>Blur>Gaussian Blur - radius 30.

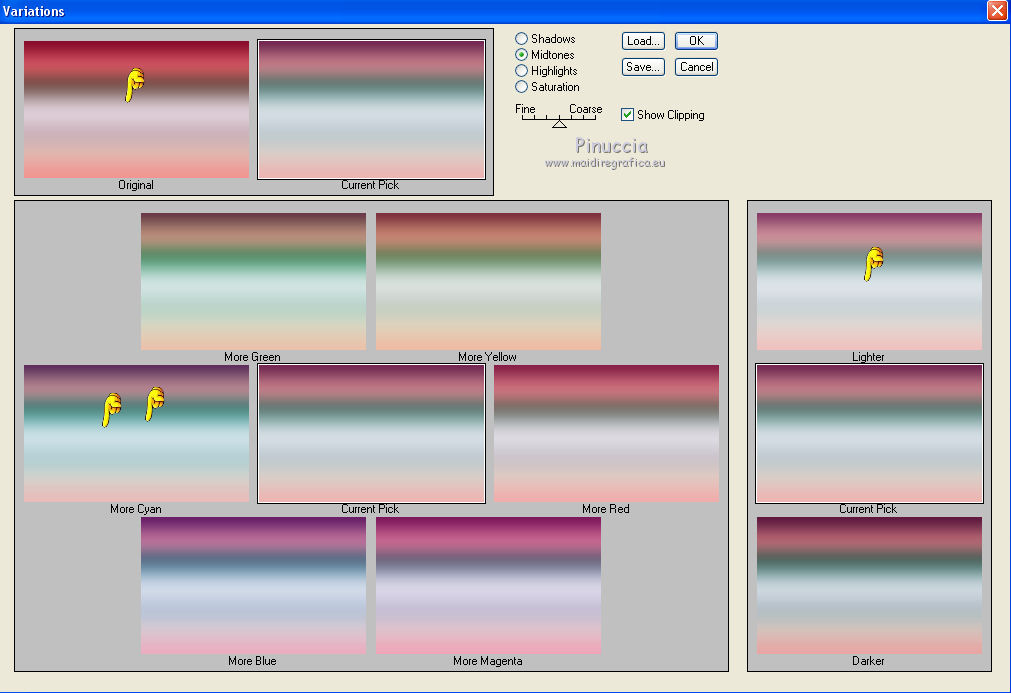
4. Effects>Plugins>Adjust - Variations
Un click on Original, 2 click on More Cyan, 1 click on Lighter and ok
5. Layers>Duplicate.
Effects>Plugins>Filter Factory Gallery R - Sinfinity, default settings.
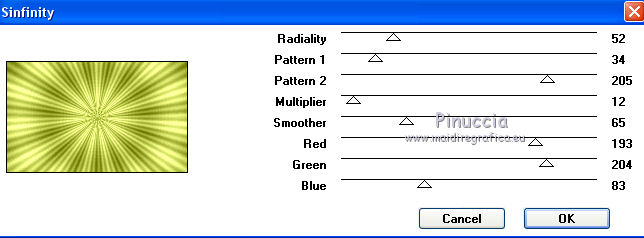
6. Change the Blend Mode of this layer to Luminance and reduce the opacity to 30%.
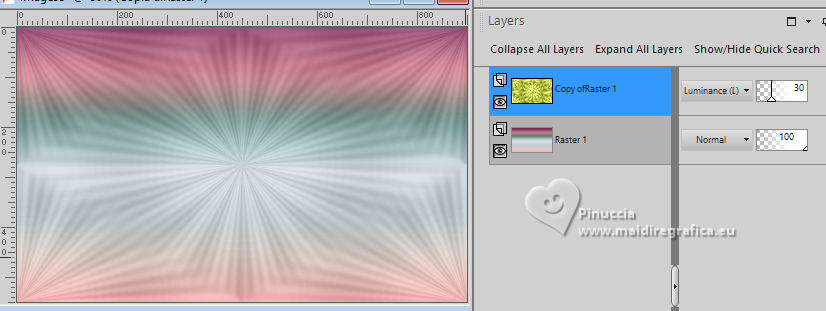
7. Effects>Image Effects>Seamless Tiling, default settings.

8. Set your foreground color with the color 3 #f5b1d0.
Layers>New Raster Layer.
Flood Fill  with your foreground color. with your foreground color.
9. Layers>New Mask layer>From image
Open the menu under the source window and you'll see all the files open.
Select the mask SG_Mask_86
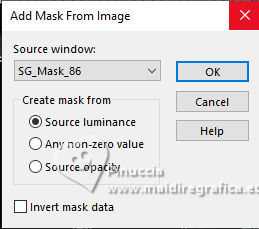
Layers>Merge>Merge Group.
Adjust>Sharpness>Sharpen.
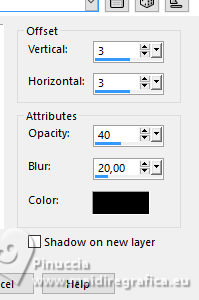
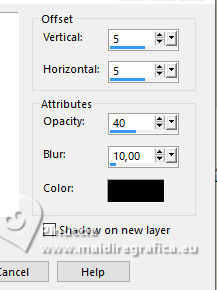
10. Effects>3D Effects>Drop Shadow, color black.
11.Effects>Texture Effects>Texture - select the texture Texture.148, default settings.
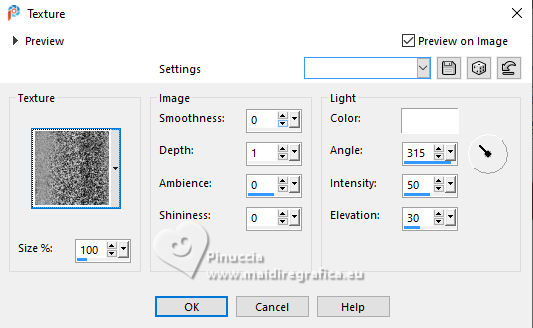
12. Adjust>Sharpness>Sharpen.
13. Activate the layer Copy of Raster 1.
Open the landscape tube Gina Divers 372, erase the watermark, and go to Edit>Copy.
Go back to your work and go to Edit>Paste as new layer - Raster 2.
Don't move it; it is at its place.
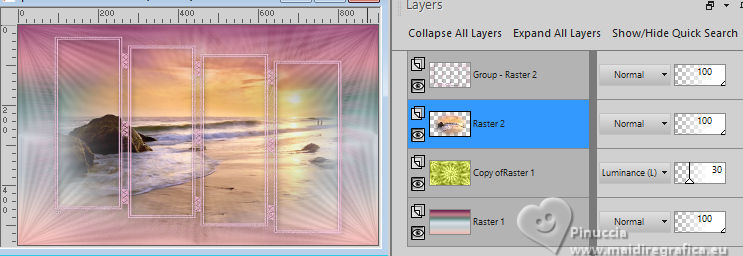
14. Layers>Merge>Merge visible.
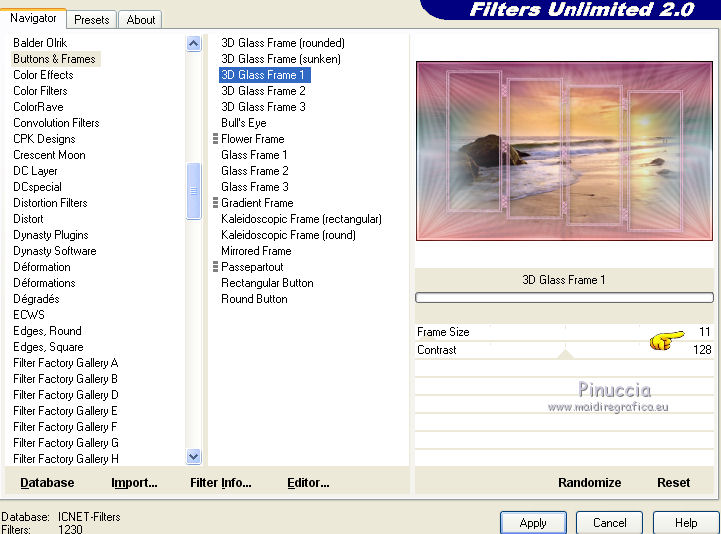
15. Effects>Plugins>Filters Unlimited 2.0 - Buttons & Frames - 3D Glass Frame 1.
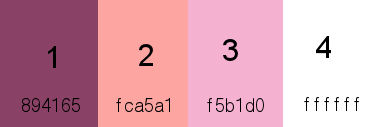
16. Set your foreground color with the color 1 #894165,
and your background color with the color 2 #fca5a1.
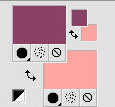
Set your foreground color to a Foreground/Background Gradient, style Linear.
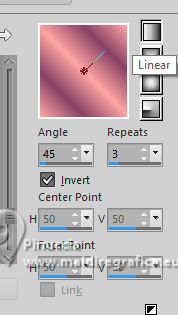
17. Image>Add borders, 2 pixels, symmetric, foreground color #894165.
Image>Add borders, 10 pixels, symmetric, color white.
Image>Add borders, 1 pixel, symmetric, foreground color #894165.
Image>Add borders, 20 pixels, symmetric, color white.
18. Activate your Magic Wand Tool 
and click in the border of 20 pixels to select it.
Flood Fill  the selection with your Gradient. the selection with your Gradient.
19. Selections>Promote Selection to Layer.
20. Effects>Plugins>Filters Unlimited 2.0 - Plugins AB 21 - Textured Difference Town.
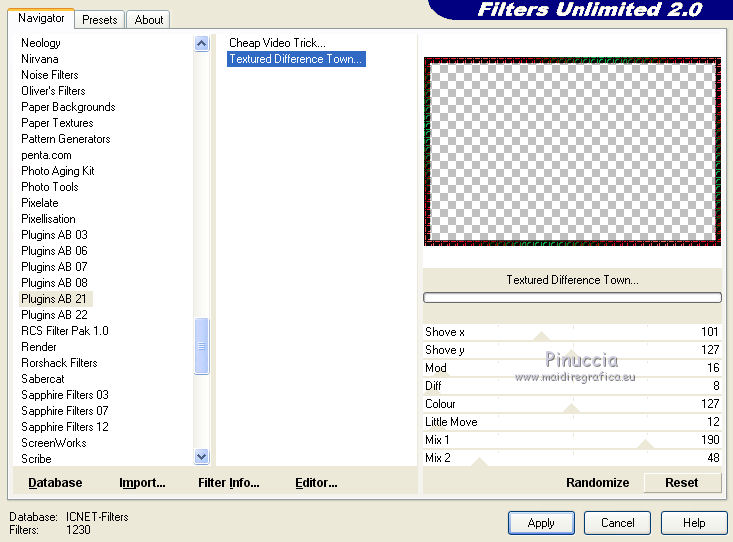
21. Effects>Plugins>Transparency - Eliminate Black.
22. Change the Blend Mode of this layer to Luminance.
23. Selections>Invert.
Layers>Merge>Merge Down.
24. Effects>3D Effects>Cutout.
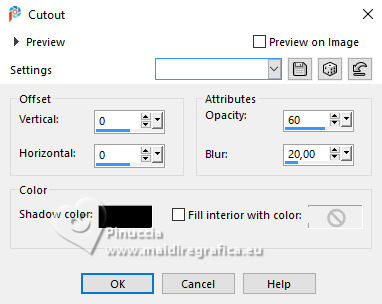
25. Effects>3D Effects>Drop Shadow, color black.

Selections>Select None.
26. Open the woman's tube by Azalee, erase the watermark, and go to Edit>Copy.
Go back to your work and go to Edit>Paste as new layer.
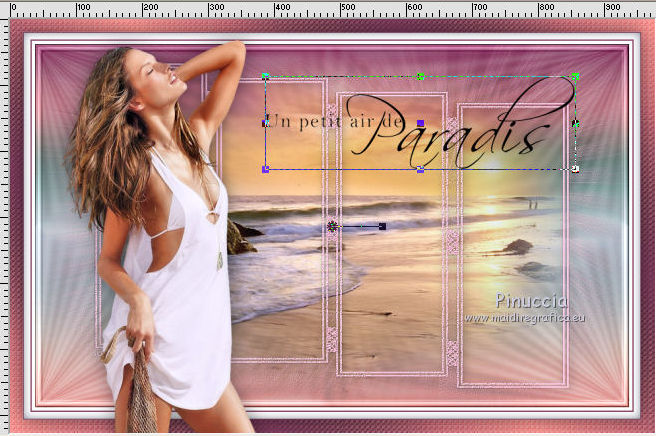
Move  the tube to the left side, see my example. the tube to the left side, see my example.
27. Effects>3D Effects>Drop Shadow, color black.
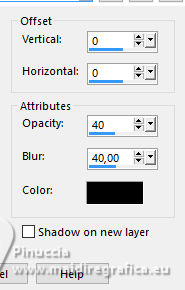
28. Open the text and go to Edit>Copy.
Go back to your work and go to Edit>Paste as new layer.
K key to activate your Pick Tool 
Position X: 386,00 - Position Y: 86,00.

29. Image>Negative Image.
30. Effects>3D Effects>Drop Shadow, color black.
31. Open the birds tube and go to Edit>Copy.
Go back to your work and go to Edit>Paste as new layer.
Move  the tube to the right. the tube to the right.
32. Effects>3D Effects>Drop Shadow, at your choice.
33. Sign your work.
34. Image>Add borders, 1 pixel, symmetric, color white.
Image>Add borders, 1 pixel, symmetric, foreground color #894165.
35. Image>Resize, to 900 pixels width, resize all layers checked.
Save as jpg.

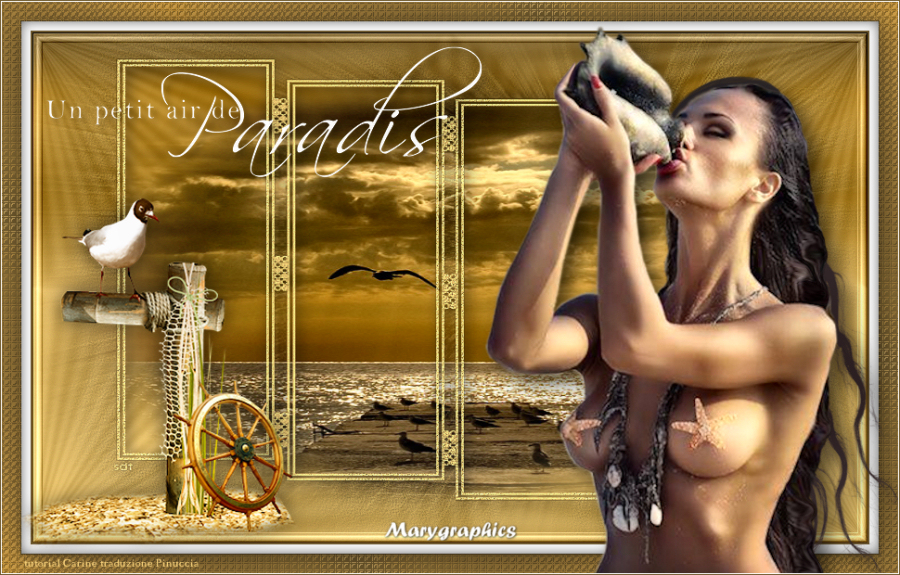
Your versions. Thanks
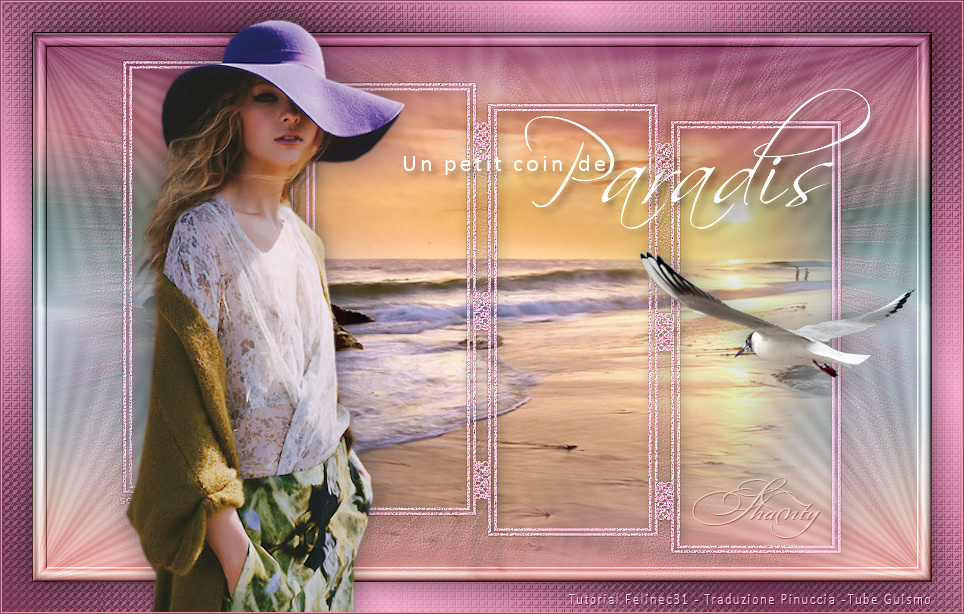
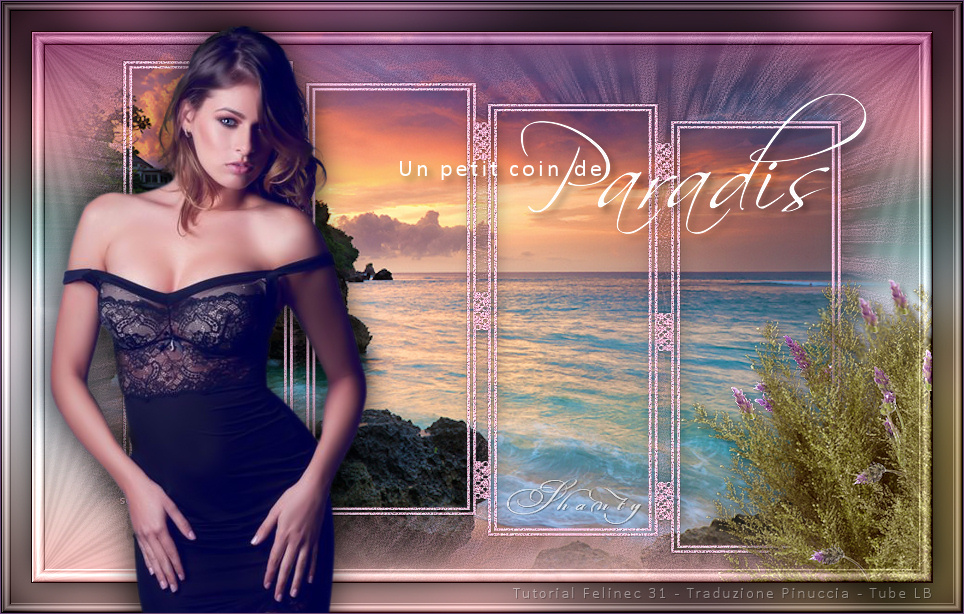
Shanty
Marygraphics
Marygraphics

If you have problems or doubts, or you find a not worked link,
or only for tell me that you enjoyed this tutorial, write to me.
30 Dicembre 2024
|

