|
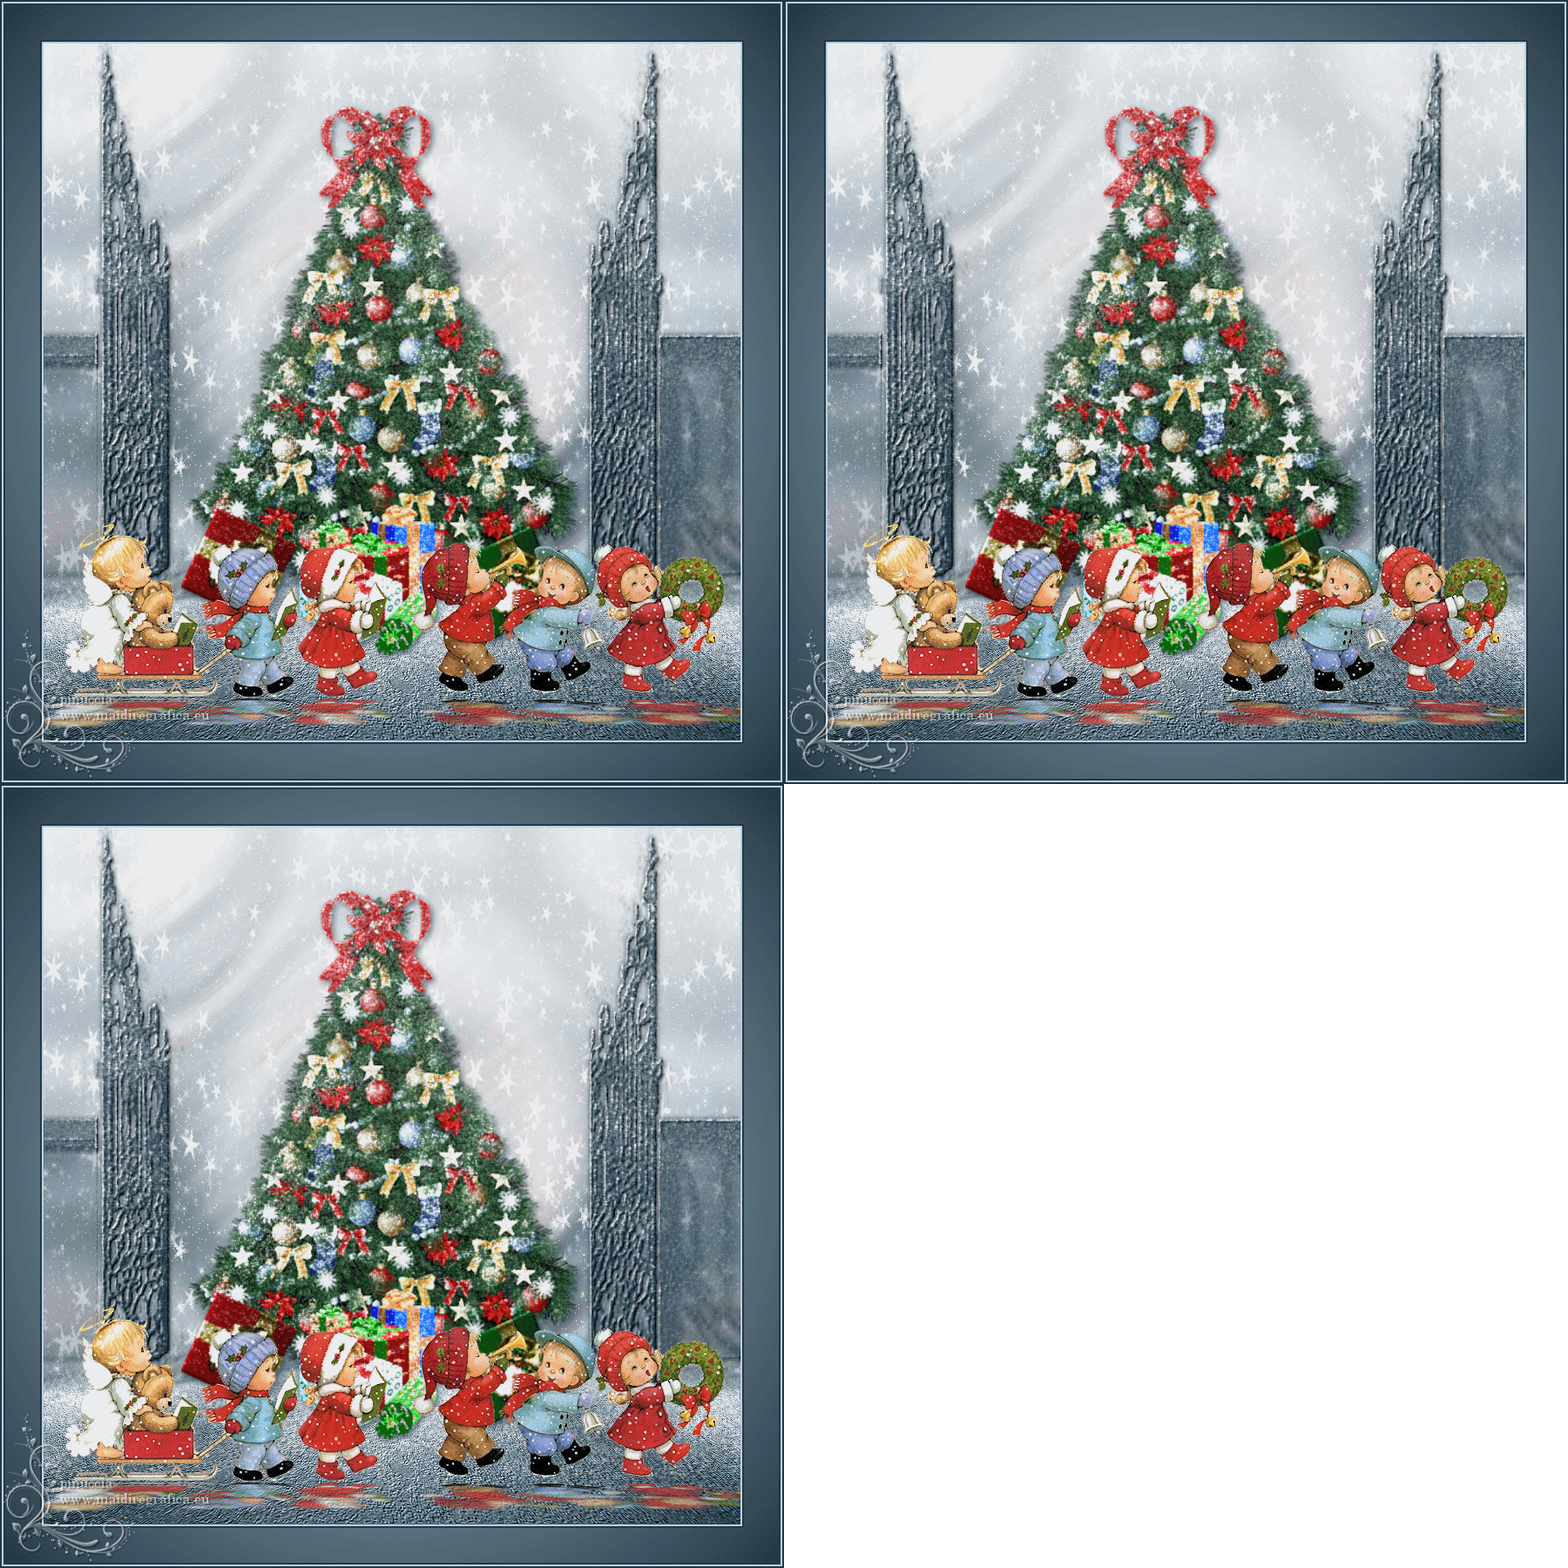
AUX PORTES DE NOËL
 ENGLISH VERSION ENGLISH VERSION
Here you find the original of this tutorial:

This tutorial was created with PSP2019 and translated with PSPX3 but it can also be made using other versions of PSP.
Since version PSP X4, Image>Mirror was replaced with Image>Flip Horizontal,
and Image>Flip with Image>Flip Vertical, there are some variables.
In versions X5 and X6, the functions have been improved by making available the Objects menu.
In the latest version X7 command Image>Mirror and Image>Flip returned, but with new differences.
See my schedule here
Italian translation here
Vos versions here
Material here
Plugins
Filters Unlimited 2.0 here
Neology - Polar Waves here
Alien Skin Xenofex 2 - Constellation here
Mura's Seamless - Emboss at Alpha here
Mura's Meister - Perspective Tiling here
Alien Skin Eye Candy 5 Impact - Perspective Shadow here
Alien Skin Eye Candy 5 Nature - Snow Drift here
Filters Neology and Mura's Seamless can be used alone or imported into Filters Unlimited.
(How do, you see here)
If a plugin supplied appears with this icon  it must necessarily be imported into Unlimited it must necessarily be imported into Unlimited

You can change Blend Modes according to your colors.
In the newest versions of PSP, you don't find the foreground/background gradient (Corel_06_029).
You can use the gradients of the older versions.
The Gradient of CorelX here
The texture Vieux ciment is standard in PSP and it corresponds to Old Cement (Corel_15_041).
If you don't find it in your PSP, copy the supplied texture in the Textures Folder.
Open the masks in PSP and minimize them with the rest of the material.
1. Open a new transparent image 800 x 800 pixels.
Choose two colors from your landscape,
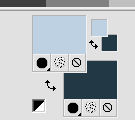
and set your foreground color to a light color; for me #bed1e2,
and your background color to a dark color; for me #233946.
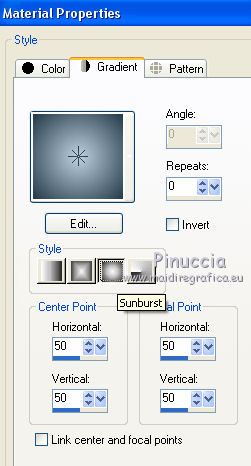
Set your foreground color to a Foreground/Background Gradient, style Sunburst.
Flood Fill  the transparent image with your Gradient. the transparent image with your Gradient.
2. Layers>New Raster Layer.
Selections>Select All.
Open your landscape and go to Edit>Copy.
Go back to your work and go to Edit>Paste into Selection.
Selections>Select None.
3. Effects>Image Effects>Seamless Tiling, default settings.
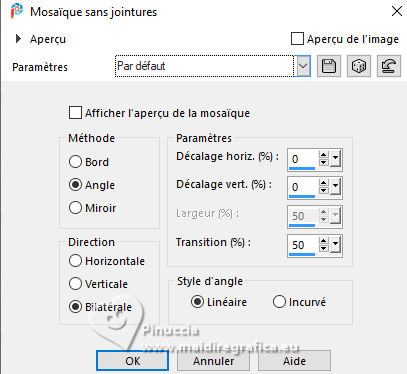
4. Effects>Plugins>Filters Unlimited 2.0 - Neology - Polar Waves.
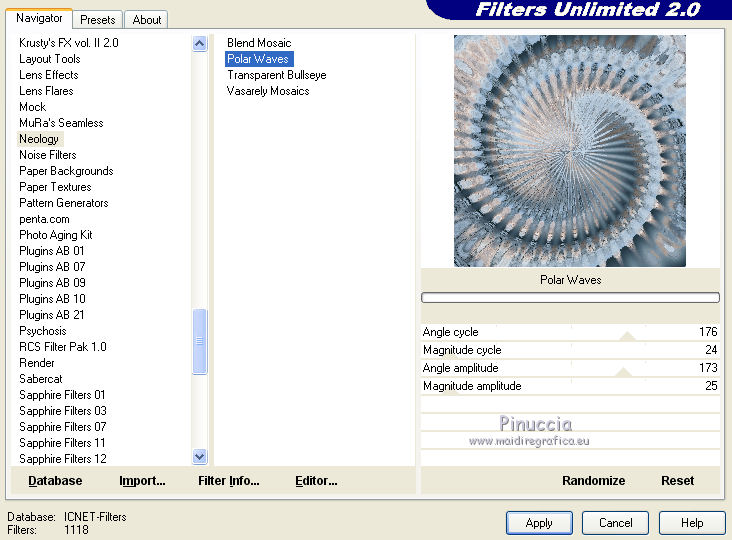
5. Effects>Image Effects>Seamless Tiling, same settings.

6. Adjust>Blur>Motion Blur.
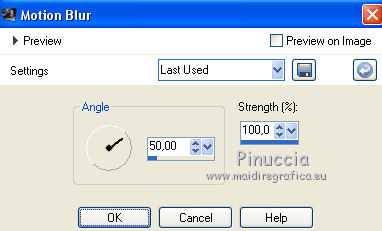
Edit>Repeat Motion Blur.
7. Adjust>Blur>Radial Blur.
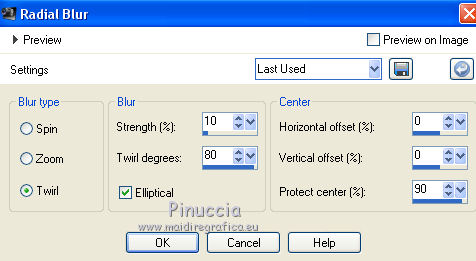
8. Layers>Duplicate.
Image>Mirror.
Change the Blend Mode of this layer to Soft Light, or according to your colors,
and reduce the opacity to 60%.
9. Layers>Merge>Merge Down.
10. Layers>New Raster Layer.
Flood Fill  with your dark background color. with your dark background color.
11. Layers>New Mask layer>From image
Open the menu under the source window and you'll see all the files open.
Select the mask Garances_2
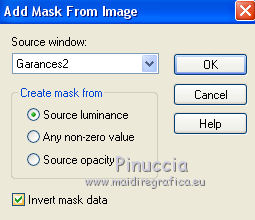
Layers>Merge>Merge group.
12. Effects>Plugins>Mura's Seamless - Emboss at Alpha, default settings.
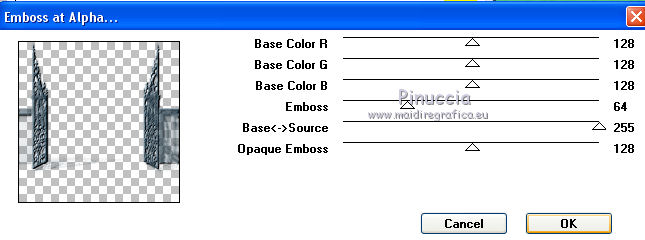
13. Effects>3D Effects>Drop Shadow, background color.

Repeat Drop Shadow, but vertical and horizontal -2.
14. Activate the layer Raster 1.
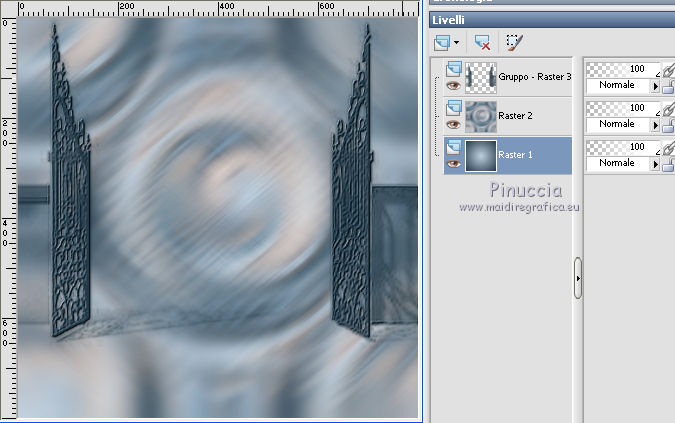
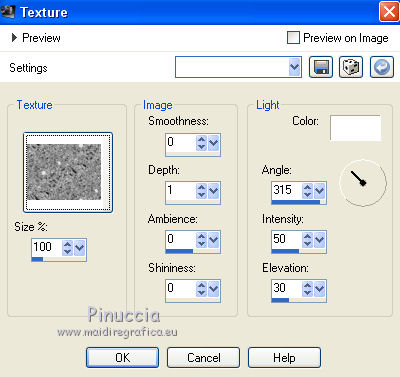
Effects>Texture Effects>Texture - select the texture Old Cement or Corel_15_041
15. Effects>Plugins>Mura's Meister - Perspective Tiling.

Layers>Arrange>Move Up.
Effects>Edge Effects>Enhance.
16. Effetti>Plugins>Alien Skin Eye Candy 5 Nature - Snow Drift.
select the preset Small first flakes and ok.

17. Activate your Magic Wand Tool  , feather 50, , feather 50,
and click on the transparent part to select it.
Press 5 times CANC on your keyboard 
Selections>Select None.
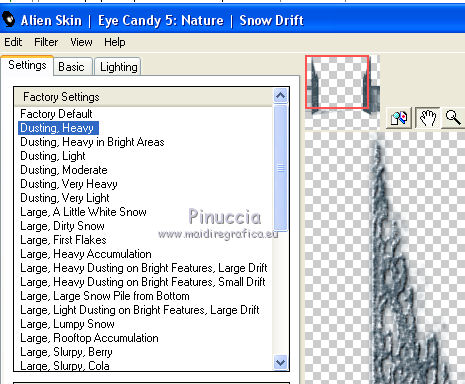
18. Activate the top layer of the mask (Group Raster 2).
Effects>Plugins>Alien Skin Eye Candy 5 Nature - Snow Drift.
select the preset Dusting Heavy and ok.
19. Open your Christmas tube and go to Edit>Copy.
Go back to your work and go to Edit>Paste as new layer.
Image>Resize, if it is necessary, resize all layers not checked.
Effects>3D Effects>Drop Shadow, background color.

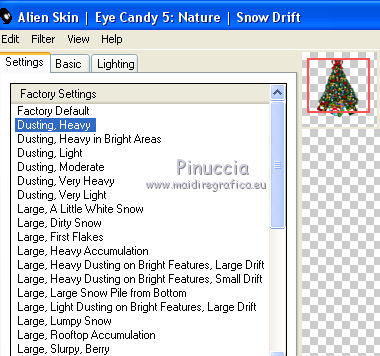
20. Effects>Plugins>Alien Skin Eye Candy 5 Nature - Snow Drift, same settings:
Preset Dusting Heavy and ok.
21. Open your person tube and go to Edit>Copy.
Go back to your work and go to Edit>Paste as new layer.
Effects>3D Effects>Drop Shadow, same settings.
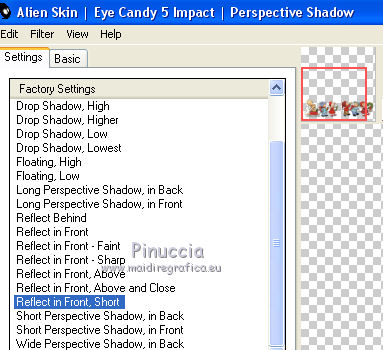
22. Effects>Plugins>Alien Skin Eye Candy 5 Impact - Perspective Shadow.
select the preset Reflect in front, Short and ok.
23. Activate the layer Raster 2.
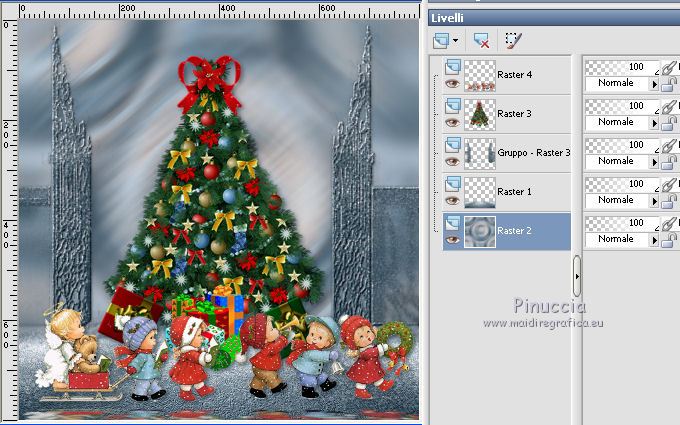
Layers>New Raster Layer.
Set your foreground color to white.
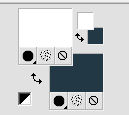
Flood Fill  the layer with color white. the layer with color white.
Layers>New Mask layer>From image
Open the menu under the source window
and select the mask MaskerRi@294
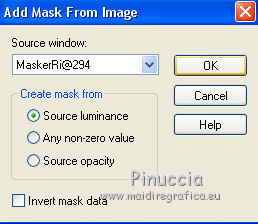
Layers>Merge>Merge Group.
24. Layers>Duplicate - 2 times.
Rename these layers 1, 2 e 3, and activate the layer 1.
25. Effetti>Plugins>Alien Skin Xenofex 2- Constellation.
Settings: Low density Stars with these settings.
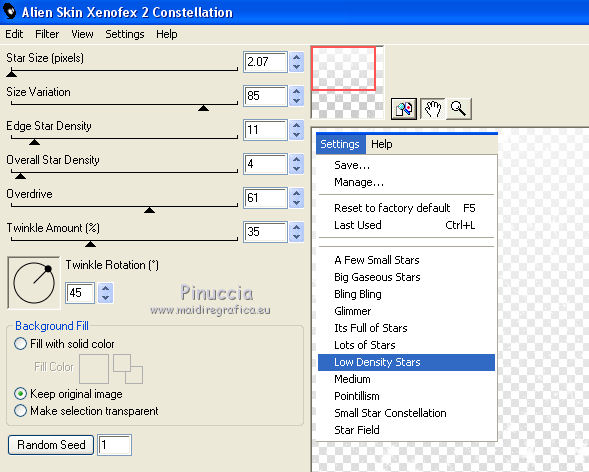
Keep this layer visible.
26. Activate the layer above 2.
Effetti>Plugins>Alien Skin Xenofex 2 - Constellation, click on Random Seed and ok.
Chiudi questo livello e attiva il livello "3"
Effetti>Plugins>Alien Skin Xenofex 2 - Constellation, click on Random Seed and ok.
Close this layer.
27. Activate the bottom layer.
Layers>New Raster Layer.
Image>Canvas Size.
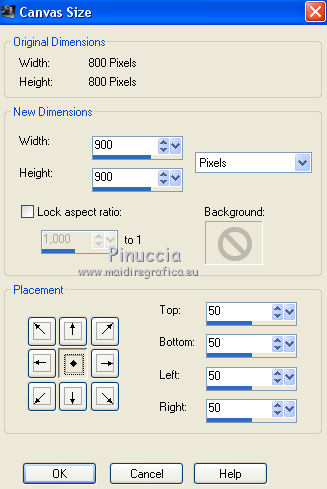
Flood Fill  the layer with your dark background color. the layer with your dark background color.
Selections>Select All.
Selections>Modify>Contract - 2 pixels.
Riporta il colore di primo piano al colore chiaro iniziale.

Flood Fill  with your light foreground color. with your light foreground color.
Selections>Modify>Contract - 2 pixels.
Flood Fill  with your dark background color. with your dark background color.
28. Set your foreground color with your initial gradient
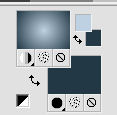
Selections>Modify>Contract - 2 pixels.
Flood Fill  with your gradient. with your gradient.
29. Selections>Modify>Contract - 40 pixels.
Flood Fill  with your dark background color. with your dark background color.
30. Selections>Modify>Contract - 2 pixels.
Set your foreground color to Color.

Flood Fill  with your light foreground color. with your light foreground color.
31. Selections>Modify>Contract - 2 pixels.
Flood Fill  with your dark background color. with your dark background color.
Selections>Select None.
Layers>Arrange>Send to Bottom.
32. Activate the top layer.
Sign your work on a new layer.
33. Stay on this layer.
The layer 1 is open and the layers 2 and 3 closed.

34. Edit>Copy Special>Copy Merged.
Open Animation Shop and go to Edit>Paste>Paste as new image.
35. Go back to PSP.
Close the layer 1 and open the layer 2.
Edit>Copy Special>Copy Merged.
Go back to Animation Shop and go to Edit>Paste>Paste after current frame.
36. Again to PSP.
Close the layer 2 and open the layer 3.
Edit>Copy Special>Copy Merged.
Go back to Animation Shop and go to Edit>Paste>Paste after current frame.
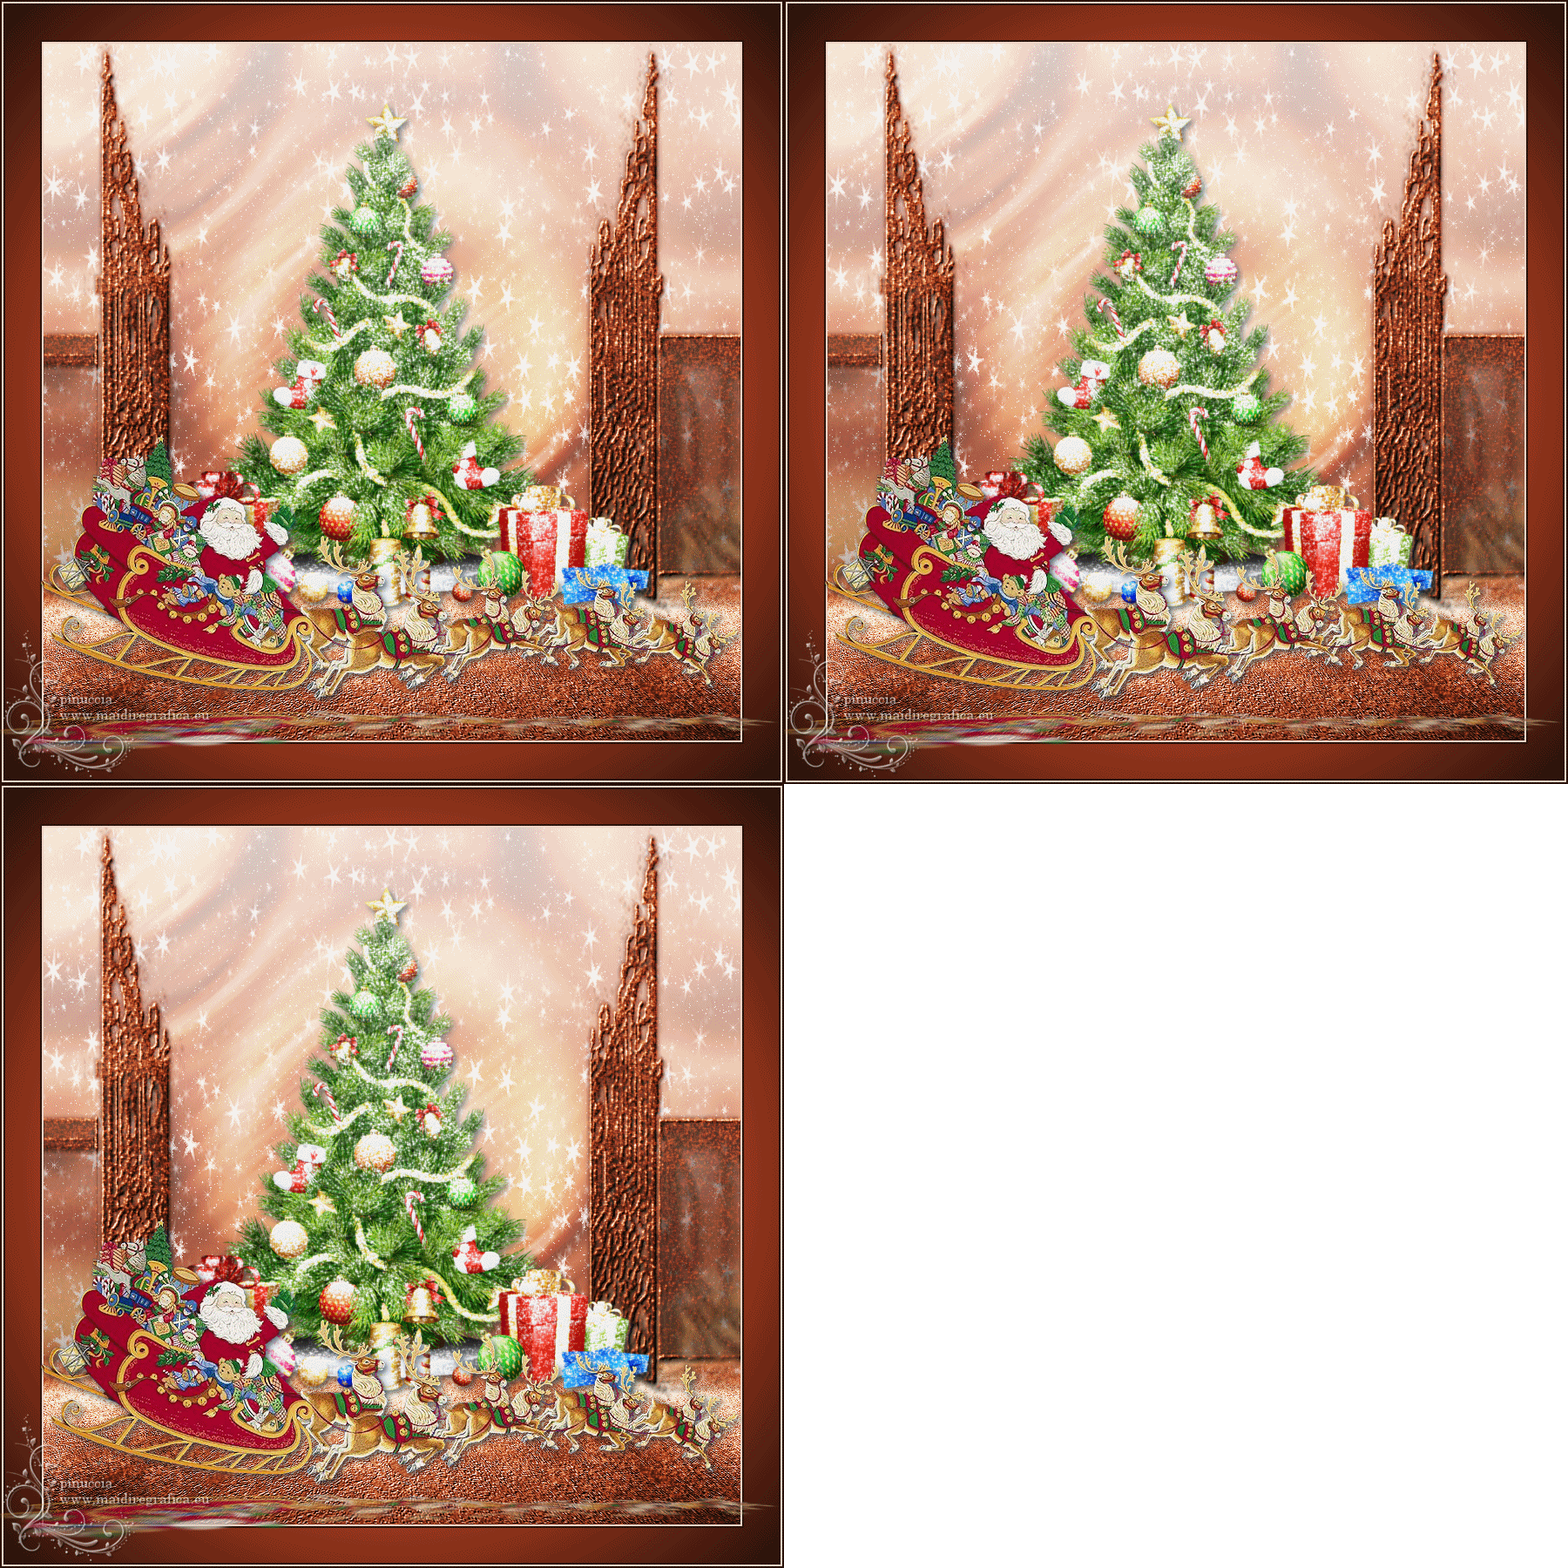
37. Check your result clickon on View Animation 
and save as gif.

If you have problems or doubts, or you find a not worked link, or only for tell me that you enjoyed this tutorial, write to me.
9 December 2018
|
 ENGLISH VERSION

 ENGLISH VERSION
