|
INACIA - SIM 5 AÑOS  REFLECTING LOVE, FRIENDSHIP E RESPEITO REFLECTING LOVE, FRIENDSHIP E RESPEITO
This tutorial was written with Psp2022 and translated with Psp2020, but it can also be made using other versions of PSP.
For this tutorial, you will need:  The material is by Inácia Neves. (The links of the tubemakers here). Plugins consult, if necessary, my filter section here Filters Unlimited 2.0 here Filter Factory Gallery B - Fluttering Flag here Flaming Pear - Flexify 2 here AAA Frames - Foto Frame here Filters Factory Gallery can be used alone or imported into Filters Unlimited. (How do, you see here) If a plugin supplied appears with this icon  it must necessarily be imported into Unlimited it must necessarily be imported into Unlimited You can change Blend Modes according to your colors. In the newest versions of PSP, you don't find the foreground/background gradient (Corel_06_029). You can use the gradients of the older versions. The Gradient of CorelX here Copy the preset  in the folder of the plugin Alien Skin Eye Candy 5 Impact>Settings>Glass. in the folder of the plugin Alien Skin Eye Candy 5 Impact>Settings>Glass.One or two clic on the file (it depends by your settings), automatically the preset will be copied in the right folder. why one or two clic see here  1. Choose 2 colors from your misted. For me: Set your foreground color to the light color #b2bfcd, and your background color to the dark color #072978. 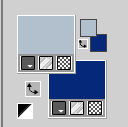 Set your foreground color to a Foreground/Background Gradient, style Rectangular. 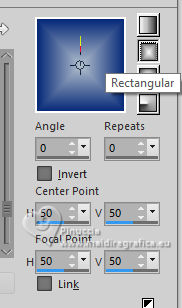 2. Open a new transparent image 1000 x 600 pixels. Flood Fill  the transparent image with your Gradient. the transparent image with your Gradient.3. Layers>New Raster Layer. Selections>Select All. Open your misted IN_044_MistedFloral 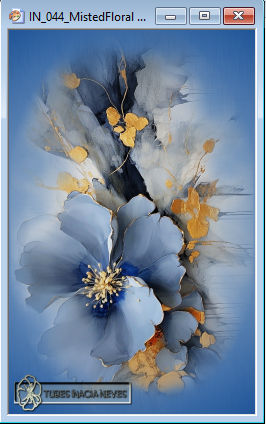 Edit>Copy. Go back to your work and go to Edit>Paste Into Selection. Selections>Select None. 4. Adjust>Sharpness>Sharpen More. Effects>Image Effects>Seamless Tiling, default settings.  Adjust>Blur>Motion Blur 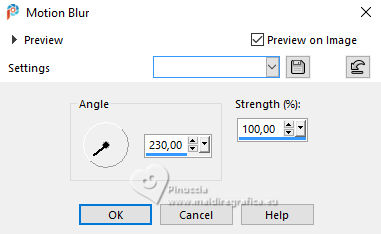 Edit>Repeat Motion Blur. Layers>Duplicate. Image>Mirror>Mirror Horizontal. Reduce the opacity of this layer to 50%. 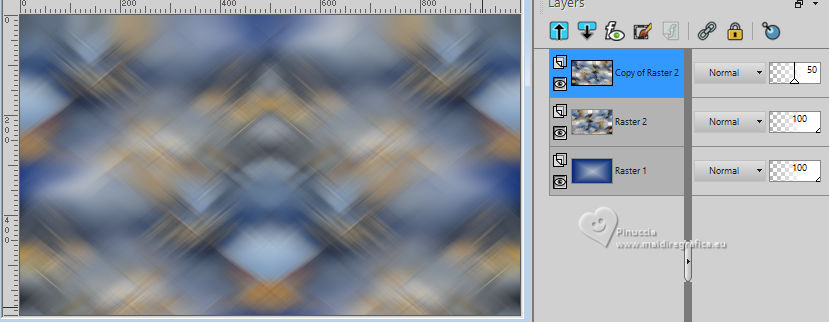 Layers>Merge>Merge Down. 5. Layers>Duplicate. Effects>Texture Effects>Mosaic Antique 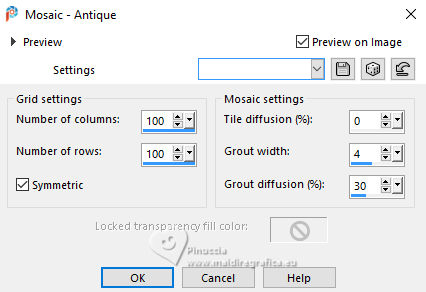 Layers>Duplicate - 2 times. 6. Close the layer Copy (3) of Raster 2. Activate the layer below Copy (2) of Raster 2. 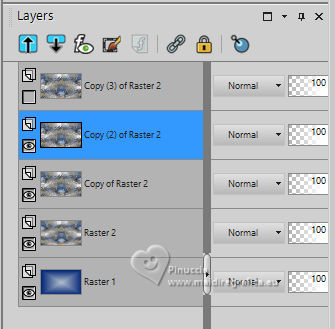 Image>Resize, to 70%, resize all layers not checked. Effects>Plugins>Filter Factory Gallery B - Fluttering Flag 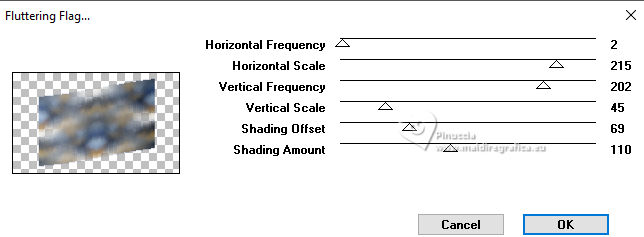 Selections>Select All. Selections>Float. Selections>Defloat. 7. Layers>New Raster Layer. Edit>Paste>Into selection - your flower misted is still in memory. 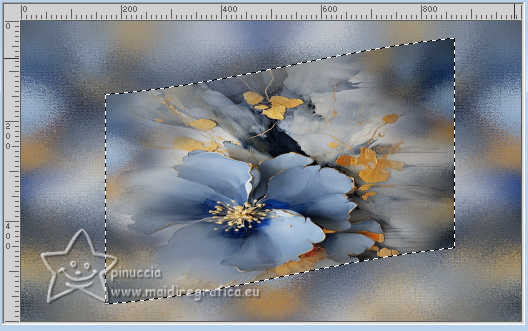 Adjust>Sharpness>Sharpen More. Effects>3D Effects>Drop Shadow, color black 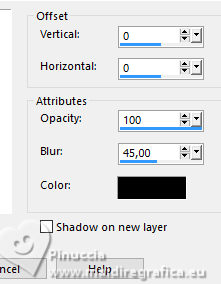 Selections>Select None. 8. Open and activate the top layer Copy(3) of Raster 2. Effects>Plugin>Flaming Pear - Flexify 2 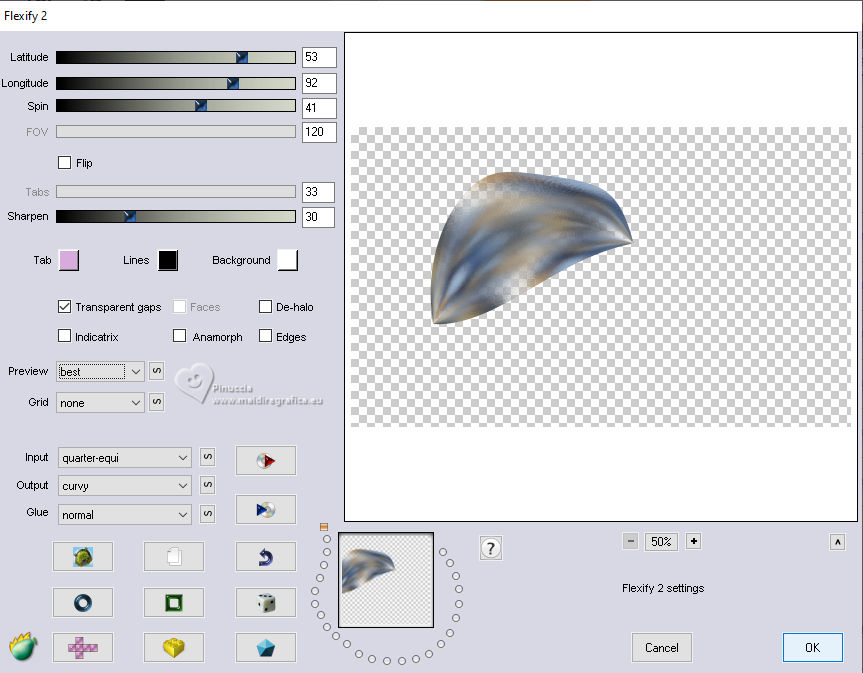 Image>Resize, to 30%, resize all layers not checked. K key to activate your Pick Tool  Position X: 44,00 - Position Y: 104,00. 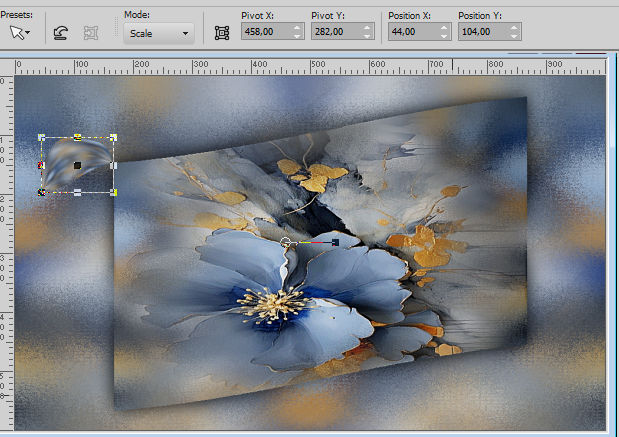 9. Layers>Duplicate. Image>Free Rotate - all layers not checked. 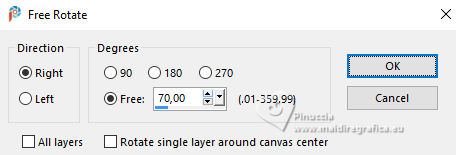 Pick Tool Position X: 87,00 - Position Y: 26,00. 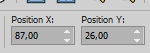 10. Layers>Duplicate. Image>Free Rotate, same settings Pick Tool Position X: 183,00 - Position Y: 25,00. 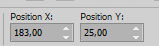 11. Layers>Duplicate. Image>Free Rotate, same settings Pick Tool Position X: 173,00 - Position Y: 150,00. 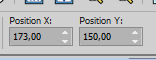 12. Layers>Duplicate. Image>Free Rotate, same settings Pick Tool Position X: 112,00 - Position Y: 152,00. 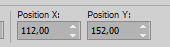 We'll have the 5 petals of the flower, representing the 5 years of our beloved SIMPSP. 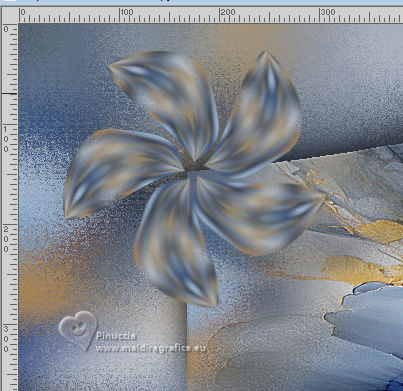 M key to deselect the Tool. Layers>Merge>Merge Down - 4 times. Adjust>Sharpness>Sharpen More. Effects>3D Effects>Drop Shadow, same settings 13. Layers>New Raster Layer. Selection>Load/Save Selection>Load Selection From Disk. Look for and load the selection simpsp5_inacia 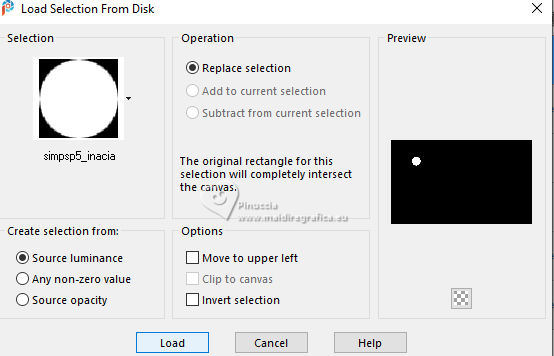 Flood Fill the selection with your Gradient. Effects>Plugins>Alien Skin Eye Candy 5 Impact - Glass. Select the preset simpsp5_inacia or configure manually. 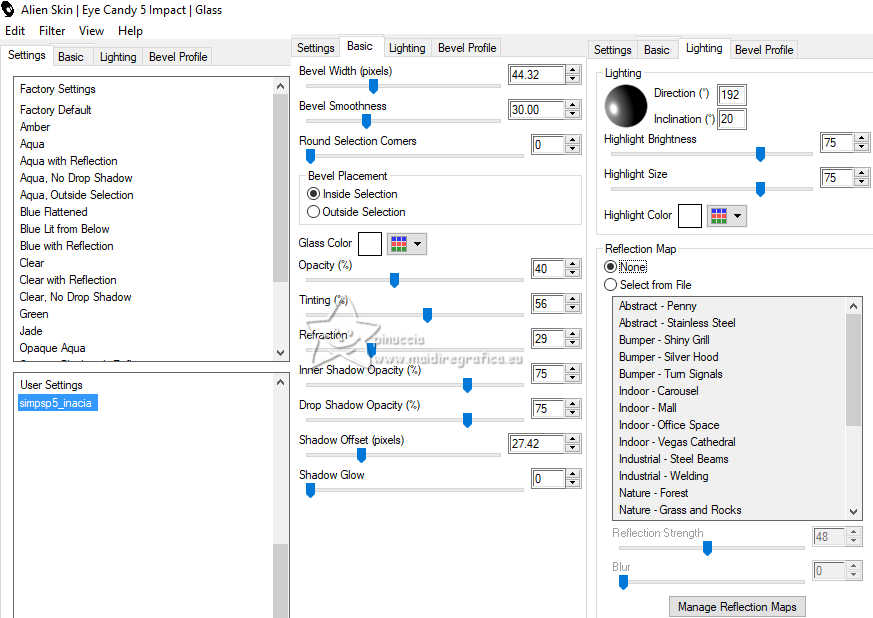 Effects>3D Effects>Drop Shadow, same settings. Selections>Select None. 14. Check the layers and change the Blends Mode to your liking 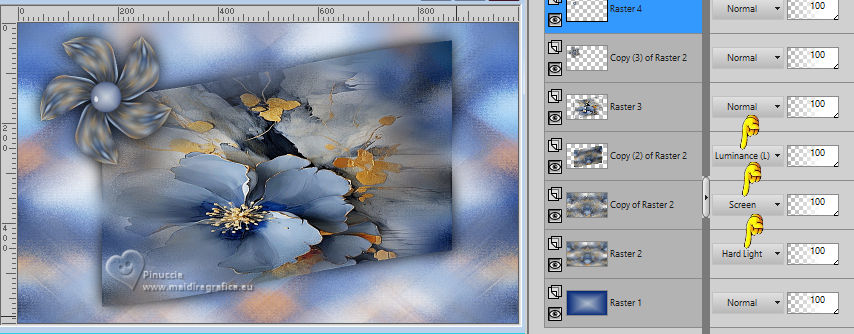 Layers>Merge>Merge Visible. 15. Layers>New Raster Layer. Selection>Load/Save Selection>Load Selection From Disk. Look for and load the selection simpsp5_titulo_inacia 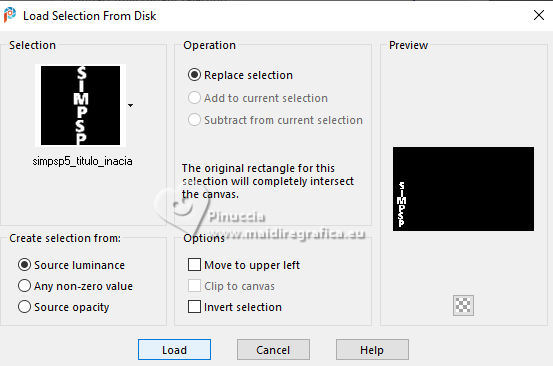 Activate your Paint Brush, with these settings.  Paint with the light or dark color you are using. Selections>Select None. 16. Layers>Duplicate. Pick Tool Position X: 38,00 - Position Y: 247,00. 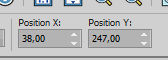 M key to deselect the Tool. Layers>Arrange>Move Down. Change the Blend Mode of this layer to Multiply, or to your liking. 17. Activate your top Layer. Effects>3D Effects>Inner Bevel 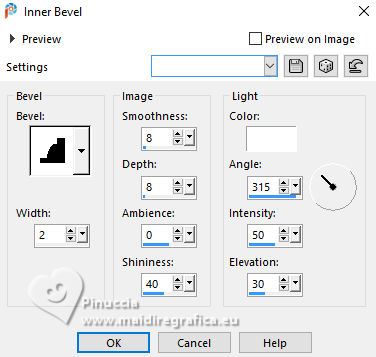 18. Layers>New Raster Layer. Selection>Load/Save Selection>Load Selection From Disk. Look for and load the selection simpsp5_titulo2_inacia Paint Brush Tool same settings Paint with the light or dark color you are using. Selections>Select None. Adjust>Sharpness>Sharpen More. Effects>3D Effects>Drop Shadow, color black. 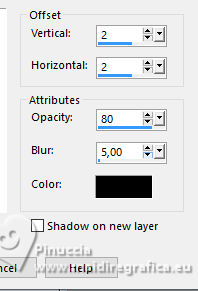 Selections>Select None. 19. Layers>Merge>Merge Visible. Edit>Copy 20. Image>Add Borders, 2 pixels, symmetric, dark color #072978. Image>Add Borders, 3 pixels, symmetric, light color #b2bfcd. Image>Add Borders, 2 px - symmetric, dark color #072978. 21. Selections>Select All. Image>Add Borders, 50 pixels, symmetric, whatever color. Selections>Invert. Edit>Paste>Into Selection Adjust>Blur>Gaussian Blur - radius 10. 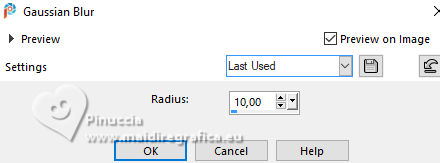 Adjust>Add/Remove Noise>Add Noise  22. Selections>Invert. Effects>3D Effects>Drop Shadow, colore black. 23. Selections>Invert. Effects>Plugin>AAA Frames - Foto Frame.  Selections>Select None. 24. Selections>Select All Selections>Modify>Contract - 30 pixels.  Effects>3D Effects>Drop Shadow, color black.  Selections>Select None. 25. Image>Add Borders, 1 pixels, symmetric, dark color #072978. 26. Image>Resize, if you want. Sign your work and save as jpg. For the tubes of these versions I used images from the net.     Your versions. Thanks Your versions. Thanks Angela Campanella  Louise   If you have problems or doubts, or you find a not worked link, or only for tell me that you enjoyed this tutorial, write to me. 14 July 2024 |