|
SIM PSP 6 ANOS  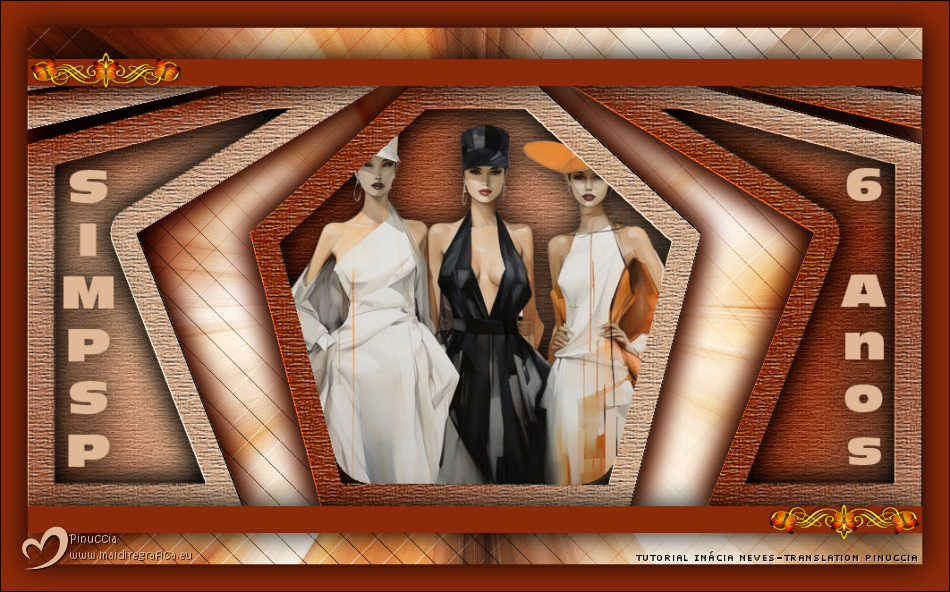

This tutorial - written with Psp2022 - was translated with Psp2020, but it can also be made using other versions of PSP.
For this tutorial, you will need:  The material is by Inácia Neves. (The links of the tubemakers here). Plugins consult, if necessary, my filter section here Filters Unlimited 2.0 here L&K's - L&K's Paris here  You can change Blend Modes according to your colors. In the newest versions of PSP, you don't find the foreground/background gradient (Corel_06_029). You can use the gradients of the older versions. The Gradient of CorelX here  1. Choose 2 colors from your tube. For me: Set your foreground color to the dark color #8c2909 and your background color to the light color #e0b895. 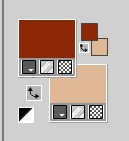 2. Set your foreground color to a Foreground/Background Gradient, style Linear. 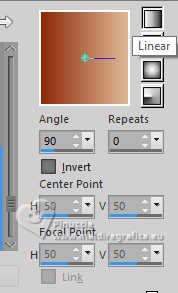 3. Open a new transparent image 1000 x 600 pixels. Flood Fill  the transparent image with your Gradient. the transparent image with your Gradient.Layers>New Raster Layer. Selections>Select All. 4. Open your tube IN_161_Mulheres 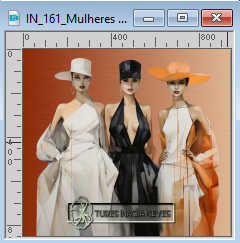 Edit>Copy. Go back to your work and go to Edit>Paste into Selection. Selections>Select None. 5. Effects>Image Effects>Seamless Tiling, default settings.  Adjust>Blur>Radial Blur 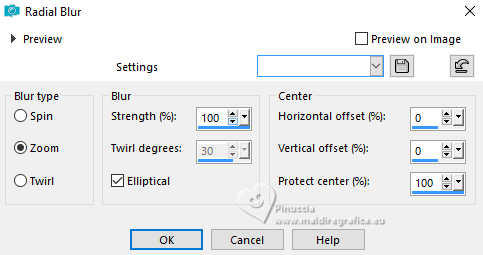 Effects>Edge Effects>Enhance More. Layers>Properties>General>Blend Mode: Hard Light>Opacity: 100%. 6. Layers>Duplicate. Effects>Plugins>L &K's - L&K's Paris 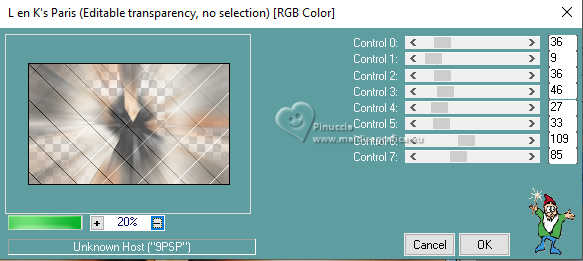 Layers>Properties>General>Blend Mode: Hard Light>Opacity: 100%. 7. Layers>New Raster Layer. Flood Fill  the layer with your Gradient. the layer with your Gradient. Image>Resize - to 80%, resize all layers not checked. Effects>Geometric Effects>Pentagon 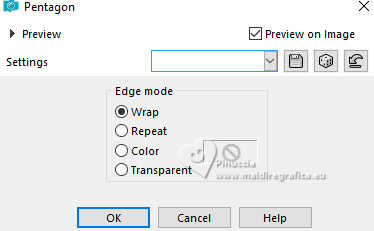 8. Effects>Plugins>Filters Unlimited 2.0 - Paper Textures - Hemp Paper 1, default settings 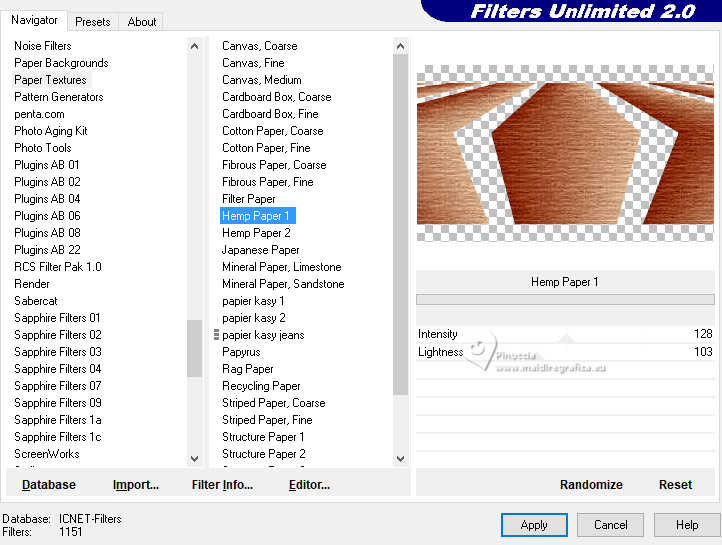 Adjust>Sharpness>Sharpen. Selections All. Selections>Float. Selections>Defloat. 9. Edit>Paste as new layer - your tube is still in memory. Image>Resize, if necessary, for the supplied tube to 55%, resize all layers not checked. Place  your tube to your liking on the selection. your tube to your liking on the selection.Selections>Invert. Press CANC on the keyboard  Selections>Invert. Activate the layer below, Raster 3. Selections>Modify>Select Selection Borders 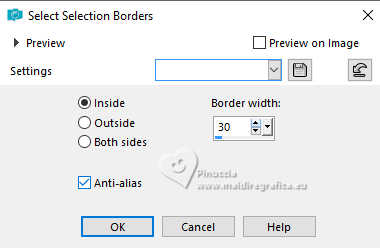 10. Selections>Promote Selection to Layer. Effects>Texture Effects>Emboss. Effects>3D Effects>Drop Shadow  Layers>Properties>General>Blend Mode: Hard Light>Opacity: 100%. Selections>Select None. Activate your top layer, Raster 4. 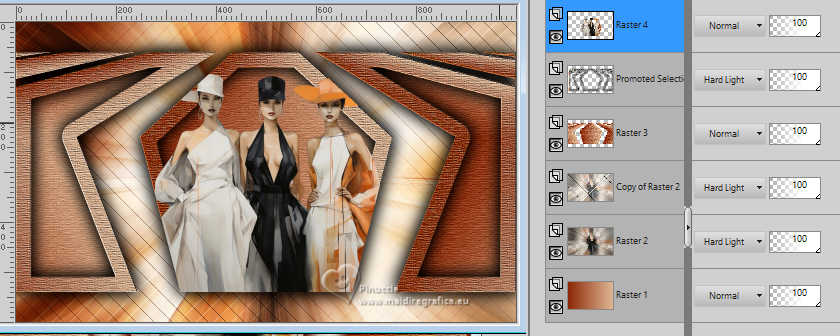 Effects>3D Effects>Drop Shadow, at your choice. 11. Activate the layer Raster 3. Effects>3D Effects>Drop Shadow, dark color, shadow on new layer checked. 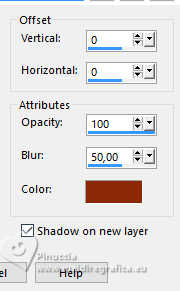 Layers>Properties>General>Blend Mode: Hard Light>Opacity: 100%. 12. Activate the layer Promoted Selection. Activate your Magic Wand Tool  , tolerance and feather 0, , tolerance and feather 0,click in the center of the effect to select it. 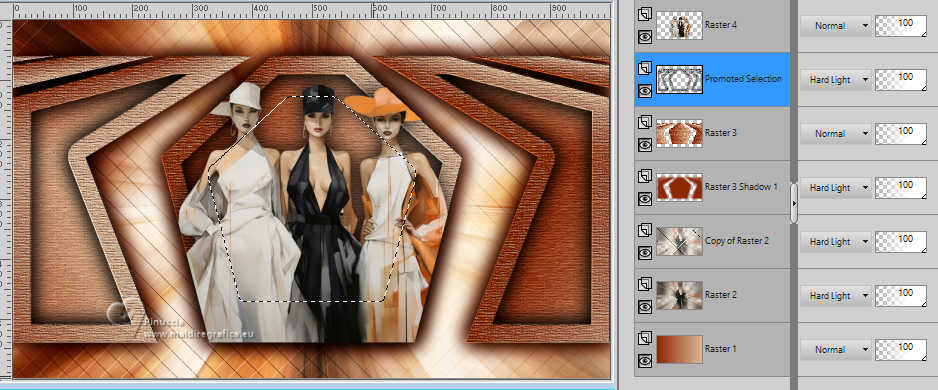 Selection>Modify>Expand 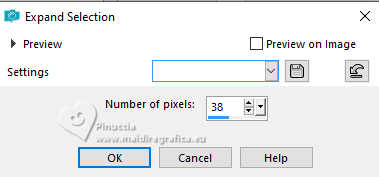 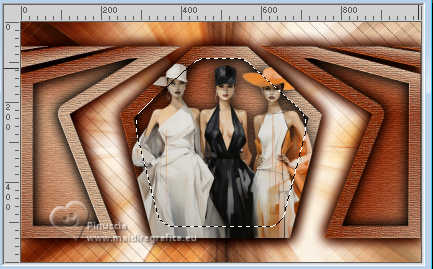 Selection>Invert. Activate again your top layer of the tube, Raster 4. Press CANC on the keyboard. Selections>Select None. 13. Layers>New Raster Layer. Activate your Selection Tool  (no matter the type of selection, because with the custom selection your always get a rectangle) clic on the Custom Selection  and set the following settings. 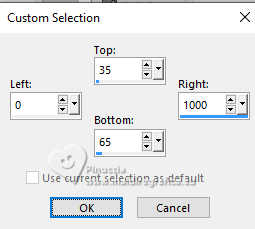 Set your foreground color to Color. Flood Fill  the selection with your dark foreground color #8c2909. the selection with your dark foreground color #8c2909.Selection>Select None. 14. Layers Duplicate. Image>Mirror>Mirror Vertical (Image>Flip). Layers>Merge>Merge Down. Effects>3D Effects>Drop Shadow - color black, shadow on new layer not checked.  15. Open the title wa_sim6_in 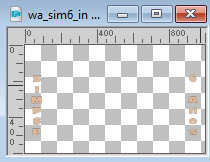 Edit>Copy. Go back to your work and go to Edit>Paste as New Layer. Pick Tool  Position X: 40.00 - Position Y: 157.00.  Apply Drop Shadow or Effects to your liking. 16. Open the tube Decor 715a3e3b 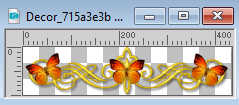 (Using the Color Changer tool  , ,you can change the color of the butterflies to the color used in your work) Edit>Copy. Go back to your work and go to Edit>Paste as new layer. Image>Resize, to 40%, resize all layers not checked. Adjust>Sharpness>Sharpen. 17. Pick Tool  Position X: 3.00 - Position Y: 28.00  Layers>Duplicate. Image>Mirror>Mirror Horizontal. Image>Mirror>Mirror Vertical. Layers>Merge>Merge Down. 18. Your tag and the layers  19. Selections>Select All. Image>Add Borders - 30 pixels, symmetric, dark foreground color #8c2909. Effects>3D Effects>Drop Shadow, color blakc, shadow on new layer not checked.  Selections>Select None. 20. Image>Add Borders, 1 pixel, symmetric, color black #ffffff. 21. If you want, resize yur work. Sign your work and save as jpg. 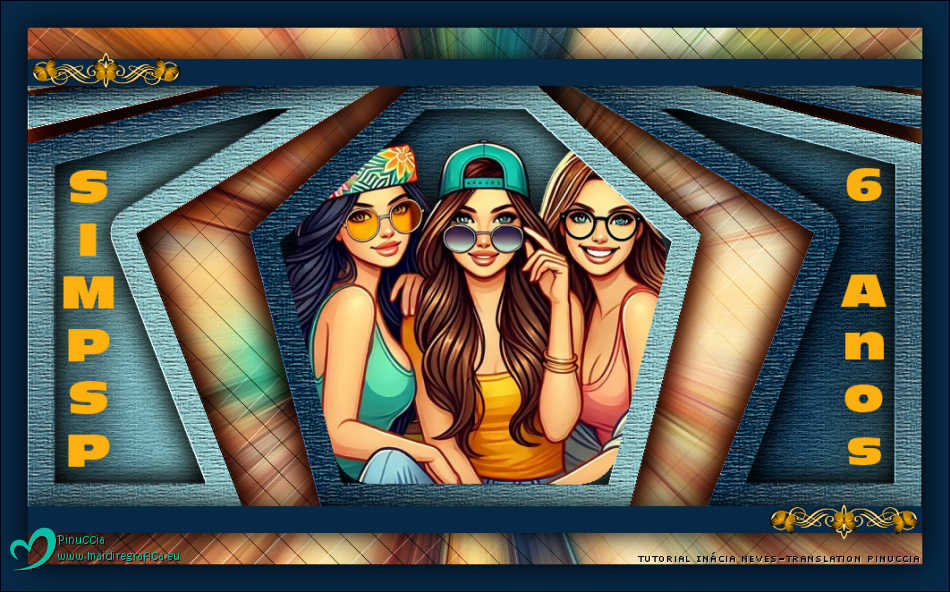   Your versions. Thanks Your versions. Thanks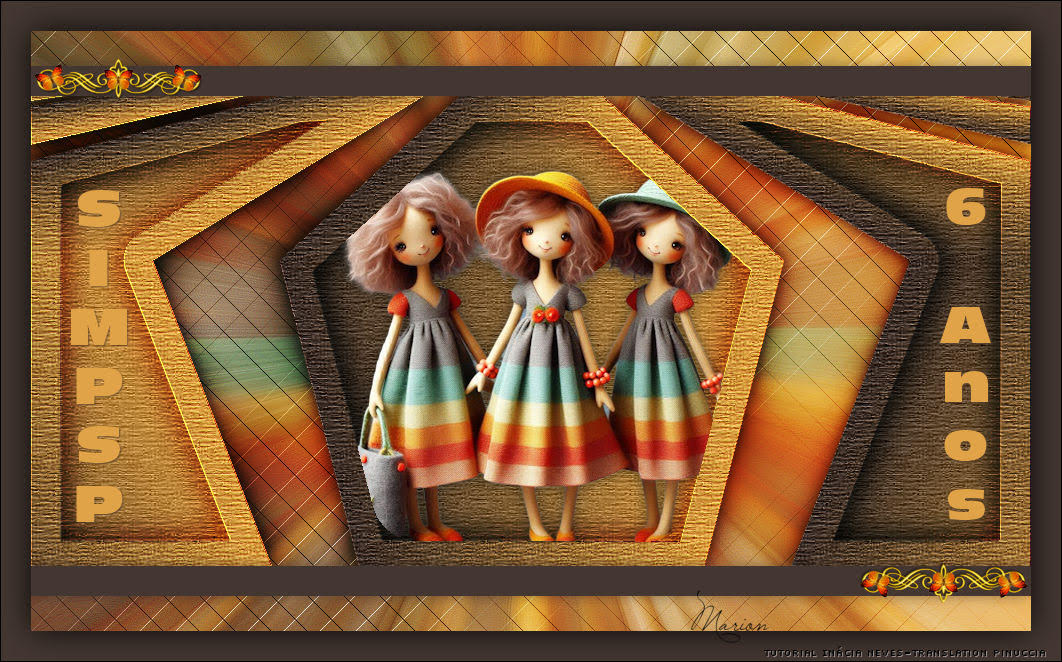 Marion 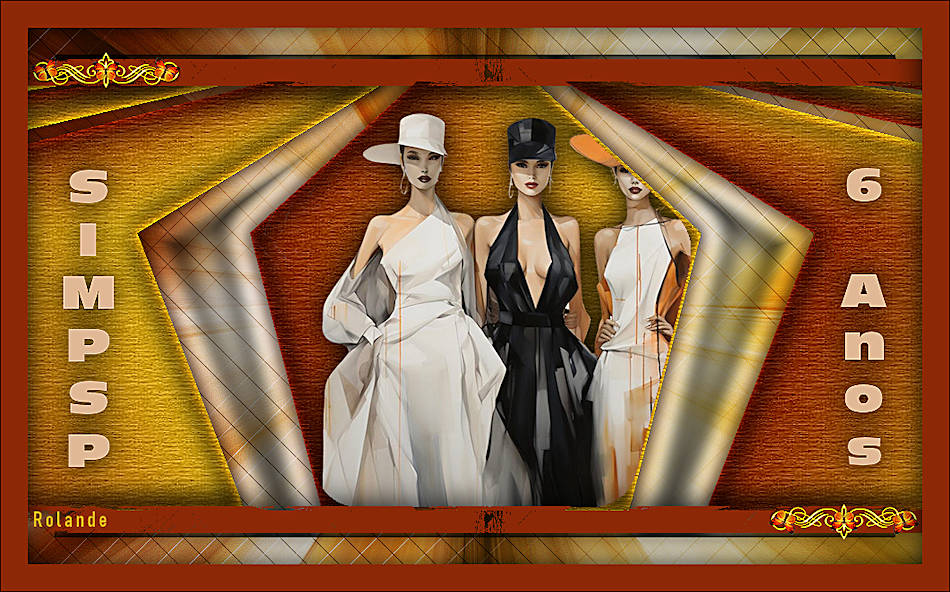 Rolande 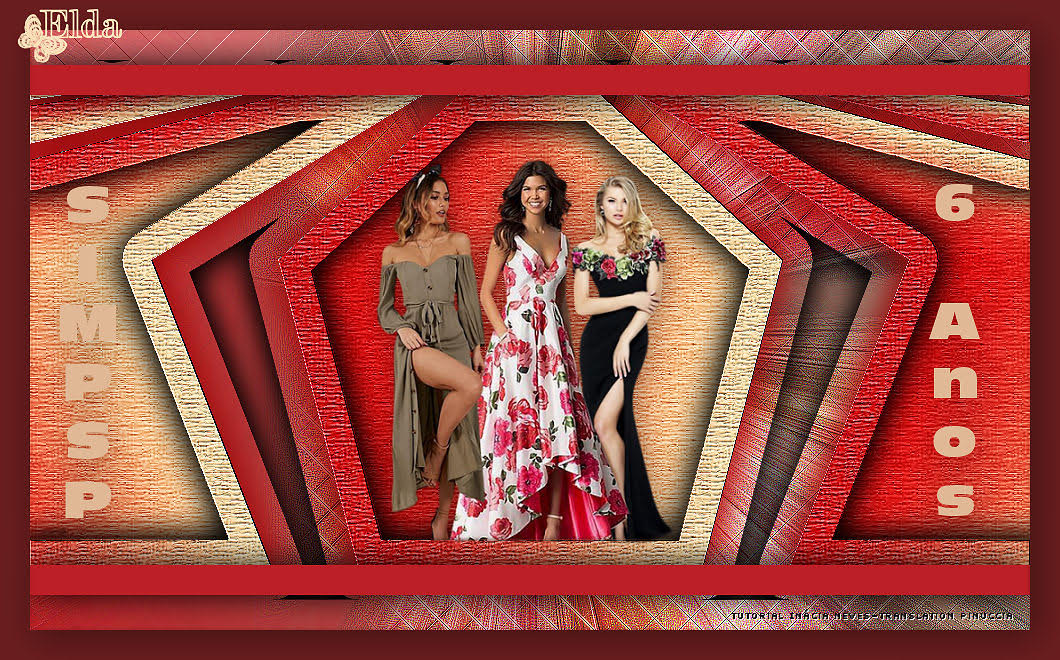 Elda Moguel 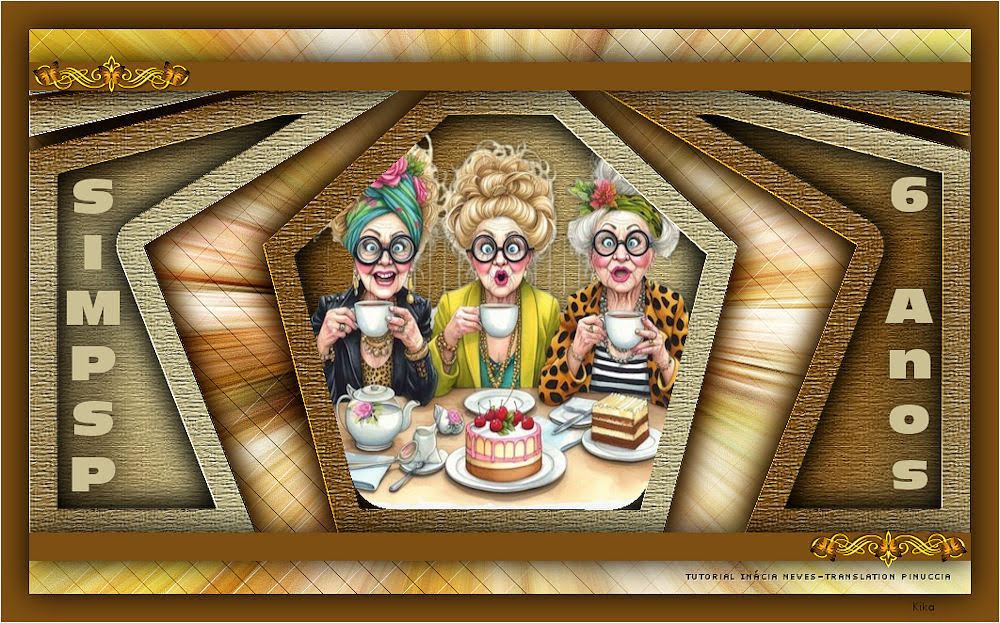 Kika 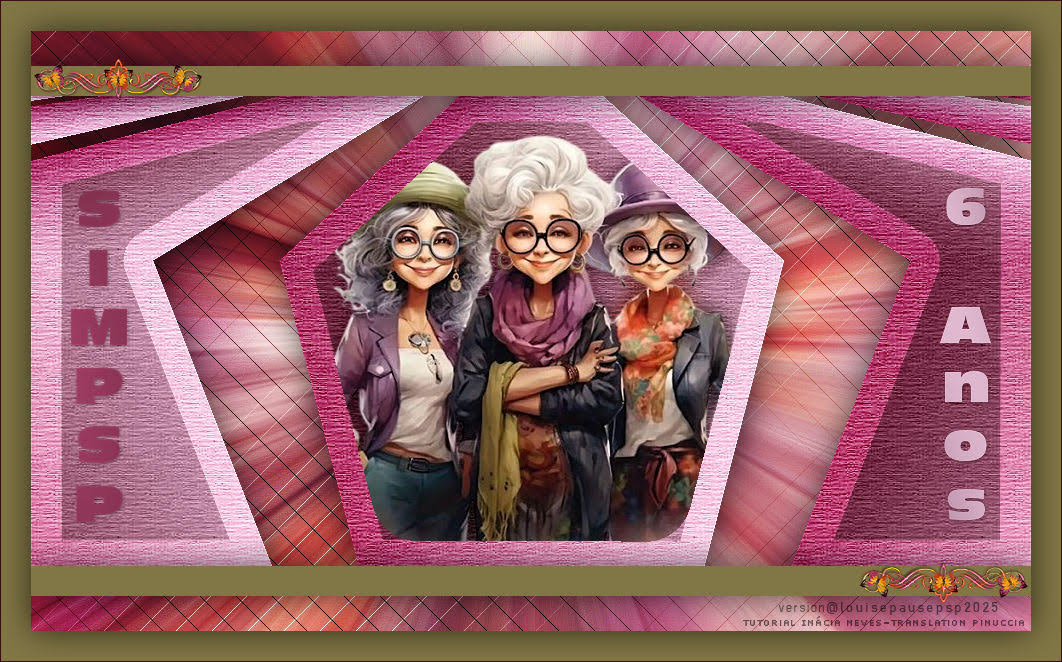 Louise 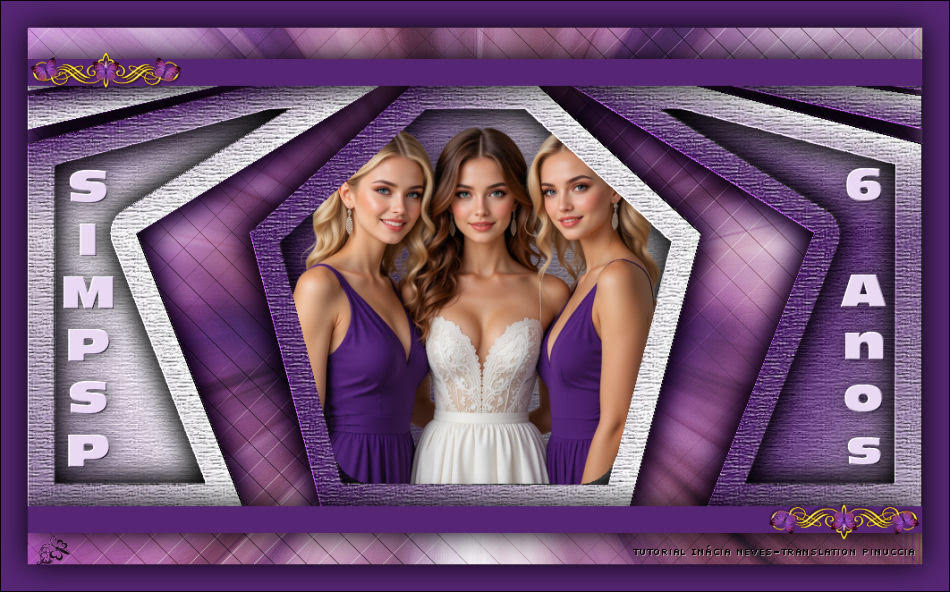 Jolcsi   If you have problems or doubts, or you find a not worked link, or only for tell me that you enjoyed this tutorial, write to me. |


