|
ANJA TIMMERS  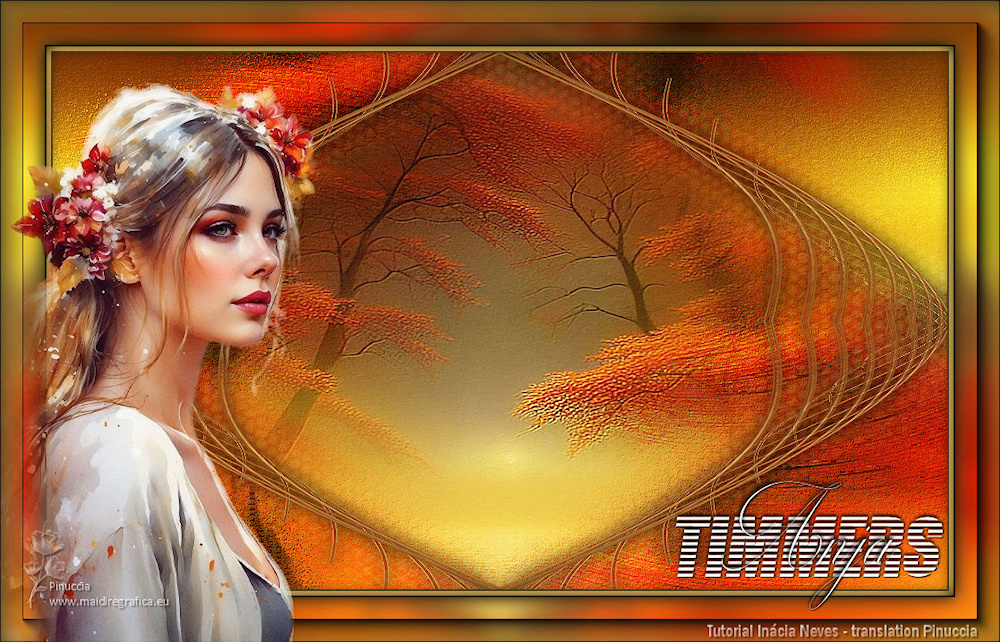

This tutorial was written with Psp2022 and translated with Psp2020, but it can also be made using other versions of PSP.
For this tutorial, you will need:  The material is by Inácia Neves. (The links of the tubemakers here). Plugins consult, if necessary, my filter section here FM Tile Tools - Blend Emboss here Mura's Meister - Copies here AAA Frames - Foto Frame here  You can change Blend Modes according to your colors. In the newest versions of PSP, you don't find the foreground/background gradient (Corel_06_029). You can use the gradients of the older versions. The Gradient of CorelX here  1. Choose 2 colors from your landscape tube. For me: Set your foreground color to the light color #fecd67, and your background color to the dark color #534619. 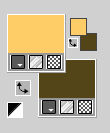 Set your foreground color to a Foreground/Background Gradient, style Linear. 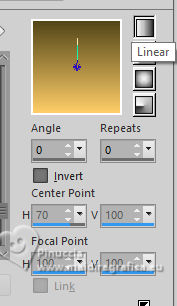 2. Open a new transparent image 1000 x 600 pixels. Flood Fill  the transparent image with your Gradient. the transparent image with your Gradient.3. Layers>New Raster Layer. Selections>Select All. Open your landscape misted IN_078_MistedPaisagem 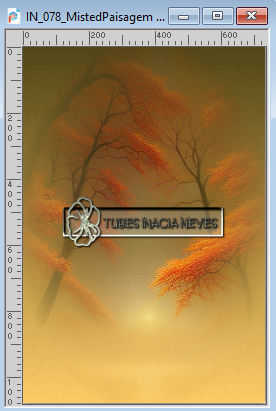 Edit>Copy. Go back to your work and go to Edit>Paste into Selection. Selections>Select None. 4. Adjust>Sharpness>Sharpen More. Effects>Image Effects>Seamless Tiling, default settings.  Adjust>Blur>Radial Blur. 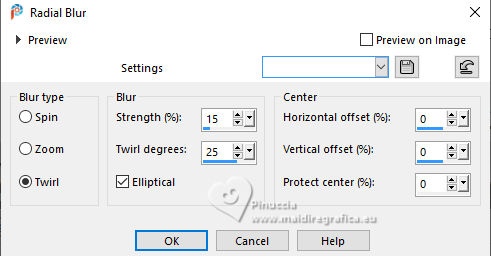 5. Effects>Edge Effects>Enhance More. Layers>Duplicate. Effects>Texture Effects>Mosaic Antique 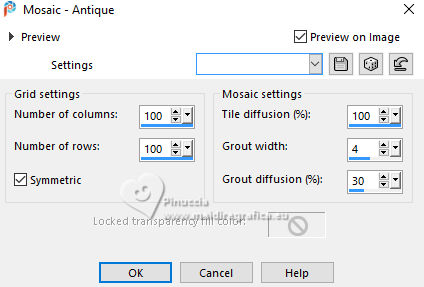 6. Effects>Plugins>FM Tile Tools - Blend Emboss, default settings.  Layers>Arrange>Move Down. Change the Blend Mode of this layer to Hard Light, opacity 100%. 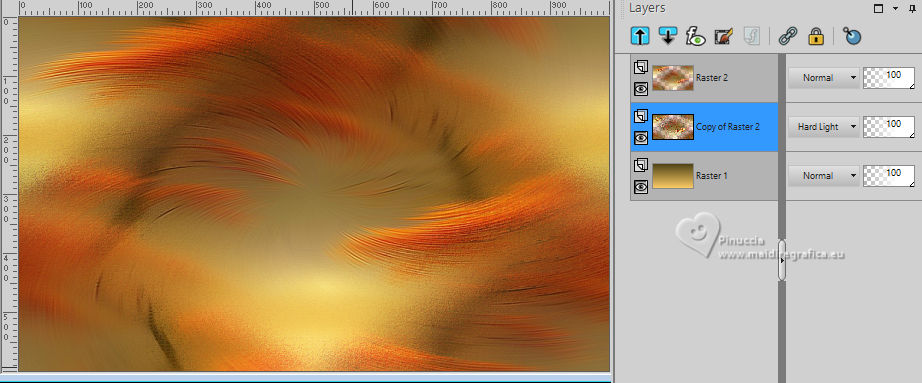 7. Activate your top layer Raster 2. Change the Blend Mode of this layer to Hard Light, opacity 100%. Layers>Duplicate. Change the Blend Mode of this layer to Normal. 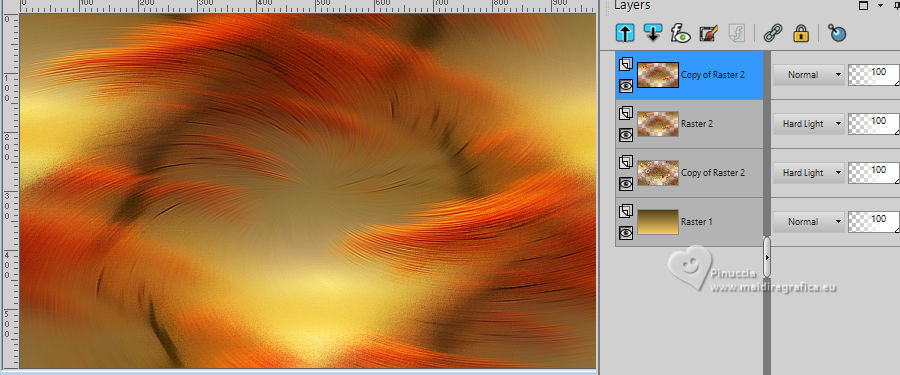 8. Effects>Geometric Effects>Perspective Vertical 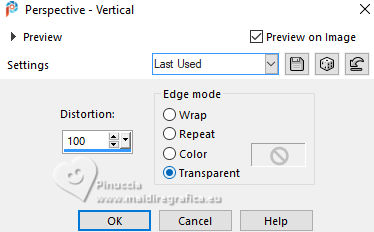 Image>Flip>Flip Vertical. Repeat Effects>Geometric Effects>Perspective Vertical, same settings  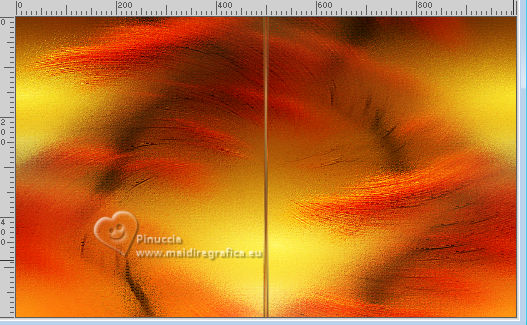 9. Effects>Geometric Effects>Skew 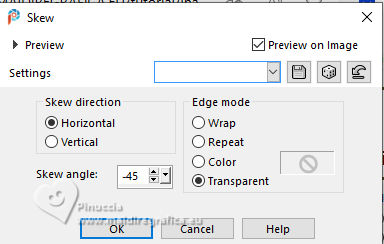 Effects>Distortion Effects>Wave 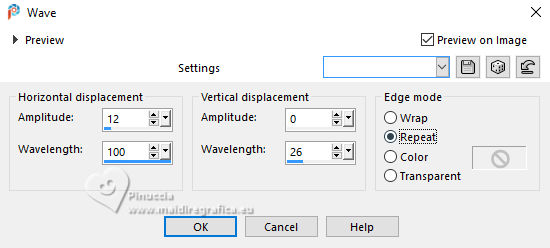 10. Effects>Plugins>Mura's Meister - Copies. 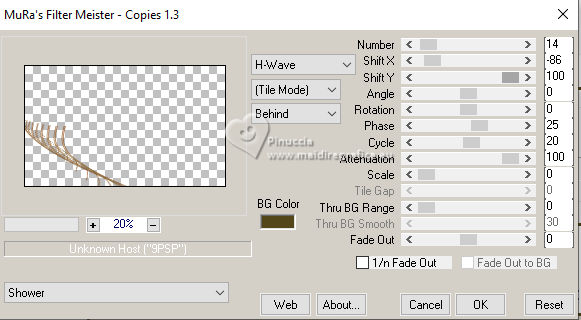 Layers>Duplicate. Image>Mirror>Mirror Vertical. Layers>Merge>Merge Down. Layers>Duplicate. Image>Mirror>Mirror Horizontal. Layers>Merge>Merge Down. 11. Activate your Magic Wand Tool  and click in the center of the Effect to select it.  12. Layers>New Raster Layer. Edit>Paste into Selection (the misted IN_078_MistedPaisagem is still in memory). Effects>Plugins>FM Tile Tools - Blend Emboss, default settings. Adjust>Sharpness>Sharpen More. Selections>Select None. Layers>Arrange>Move Down. 13. Activate your top layer. Effects>3D Effects>Drop Shadow, color black.  Adjust>Sharpness>Sharpen. Layers>Duplicate. Adjust>Blur>Gaussian Blur - radius 30.  Effects>Texture Effects>Tiles  Change the Blend Mode of this layer to Soft Light Opacity 100%. Layers>Arrange>Move Down. 14. Your tag and the layers  Note: In my second version, I placed the main Tube now, before making the edges, but in the original work I only included it later. The placement of the main tube is up to your taste. 15. Image>Add borders, 2 pixels, symmetric, dark color #534619. Image>Add borders, 5 pixels, symmetric, light color #fecd67. Image>Add borders, 2 pixels, symmetric, dark color #534619. 16. Edit>Copy Selections>Select All. Image>Add borders, 50 pixels, symmetric, whatever color. Selections>Invert. Edit>Paste into Selection Adjust>Blur>Gaussian Blur - radius 10.  Effects>3D Effects>Drop Shadow, color black. 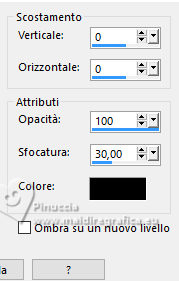 17. Effects>Plugins>AAA Frames - Foto Frame. 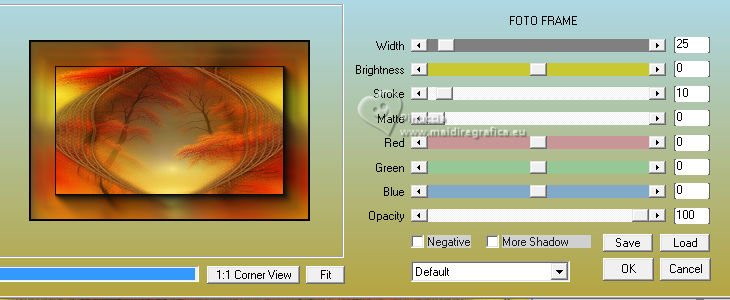 Selections>Invert. Effects>3D Effects>Drop Shadow, color black.  Selections>Select None. 18. Activate your main tube IN_077_Mulher 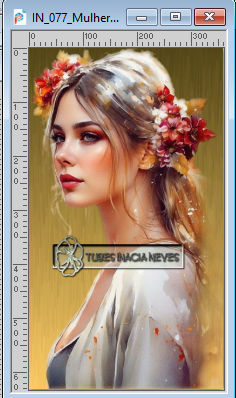 Edit>Copy. Go back to your work and go to Edit>Paste as new layer. Resize, place and apply Effects and/or Drop Shadow at your choice. 19. Open WA_Anja_Inacia  Edit>Copy. Go back to your work and go to Edit>Paste as new layer. Place and apply effects to your liking. 20. Image>Add Borders, 2 pixels, symmetric, color black #000000. 21. Image>Resize, if you want, resize all layers checked. Sign your work and save as jpg. For the tubes of these versions thanksz Silvie and Leny 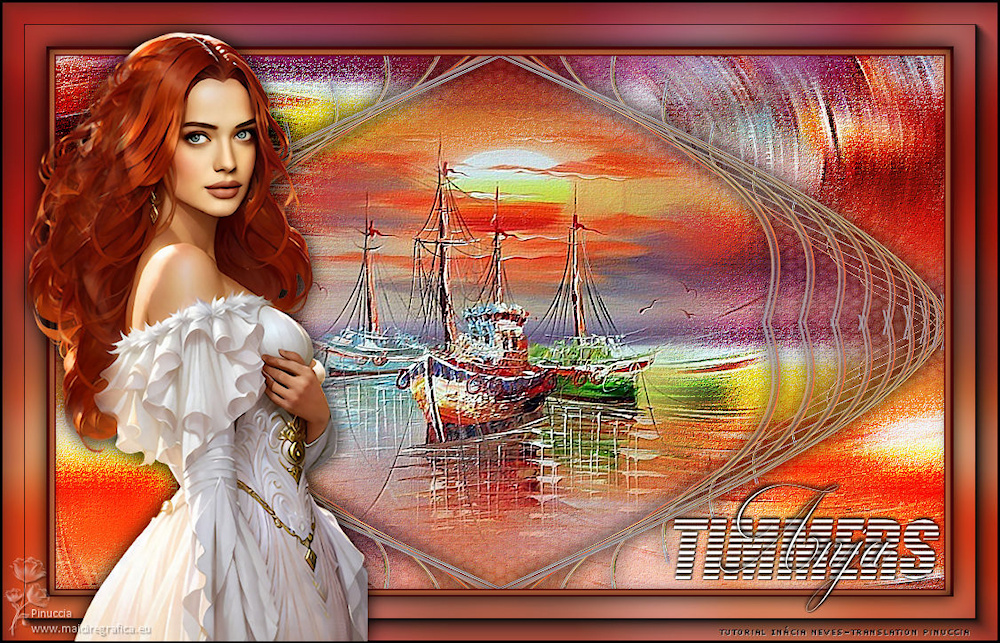 Luz Cristina and Guismo 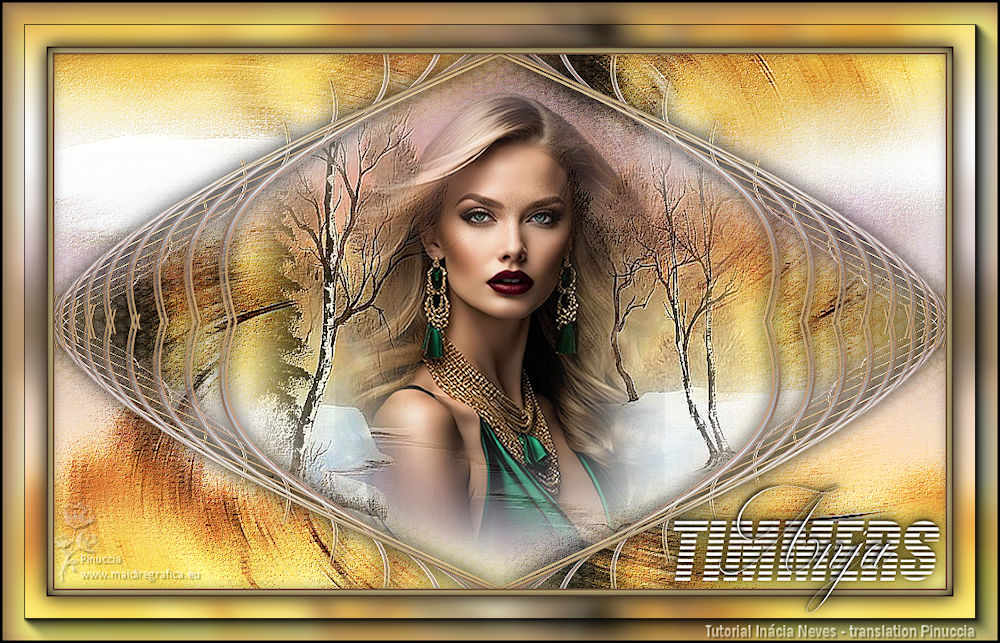   Your versions. Thanks Your versions. Thanks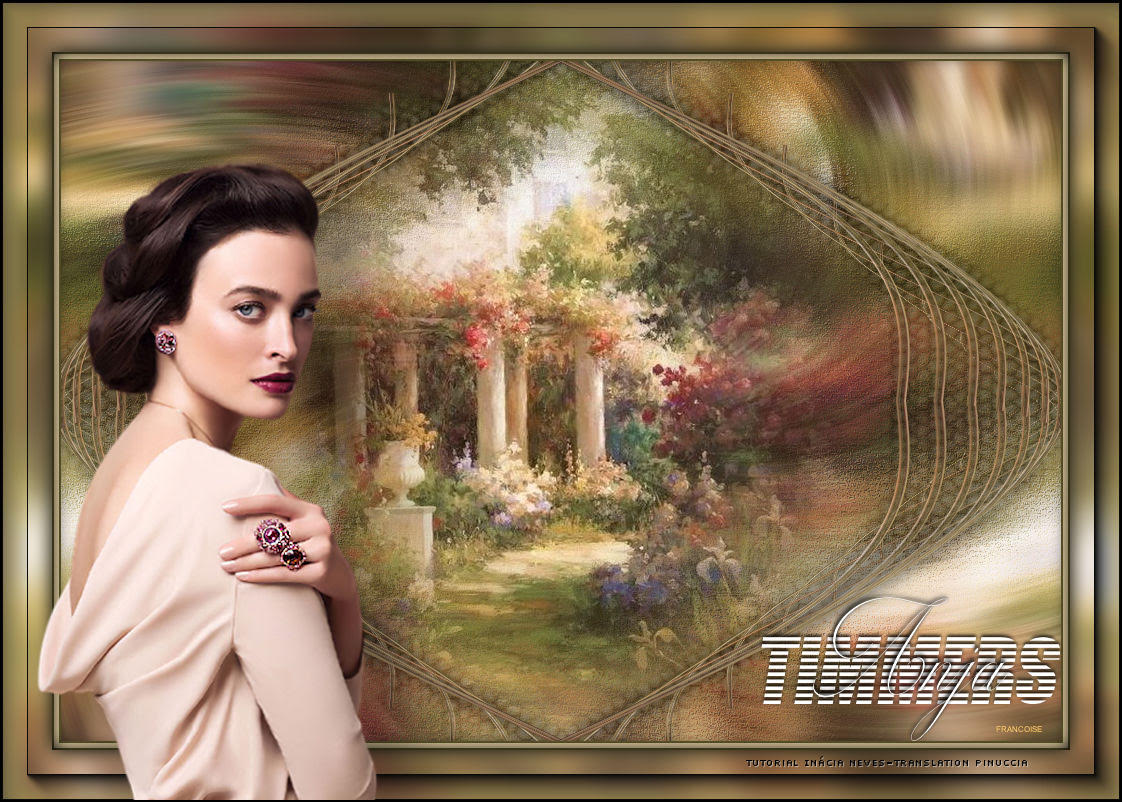 Françoise 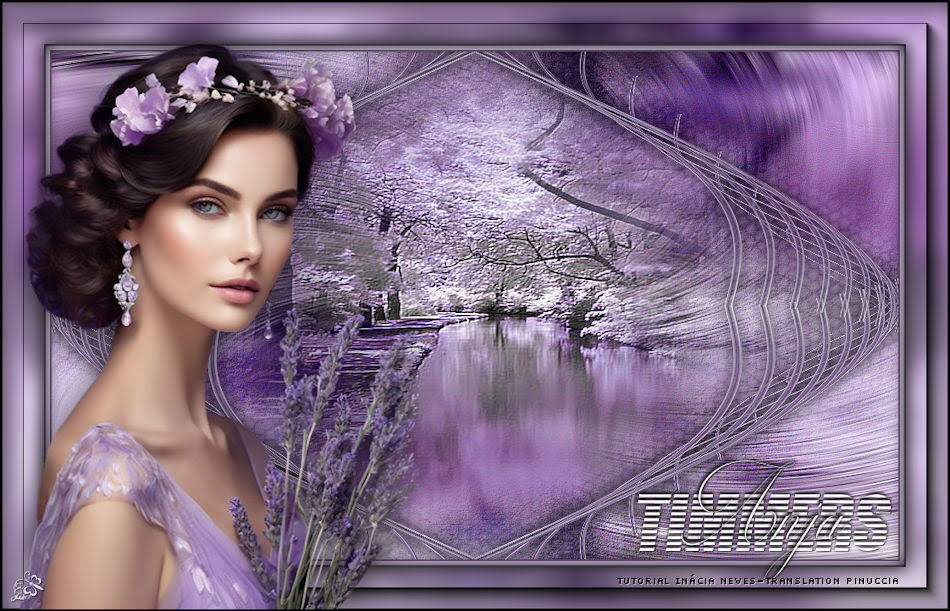 Jolcsi 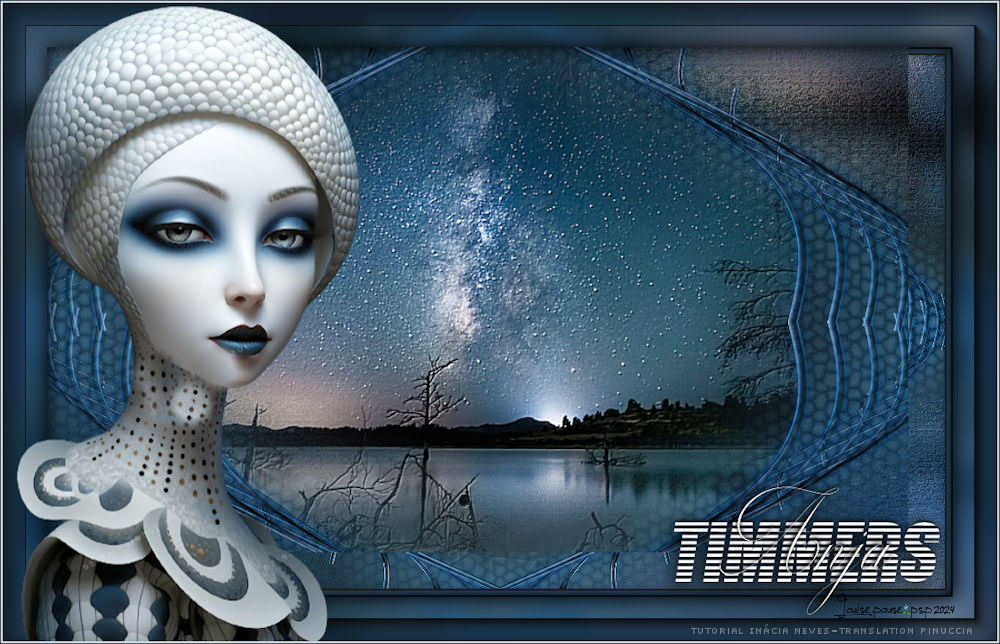 Louise 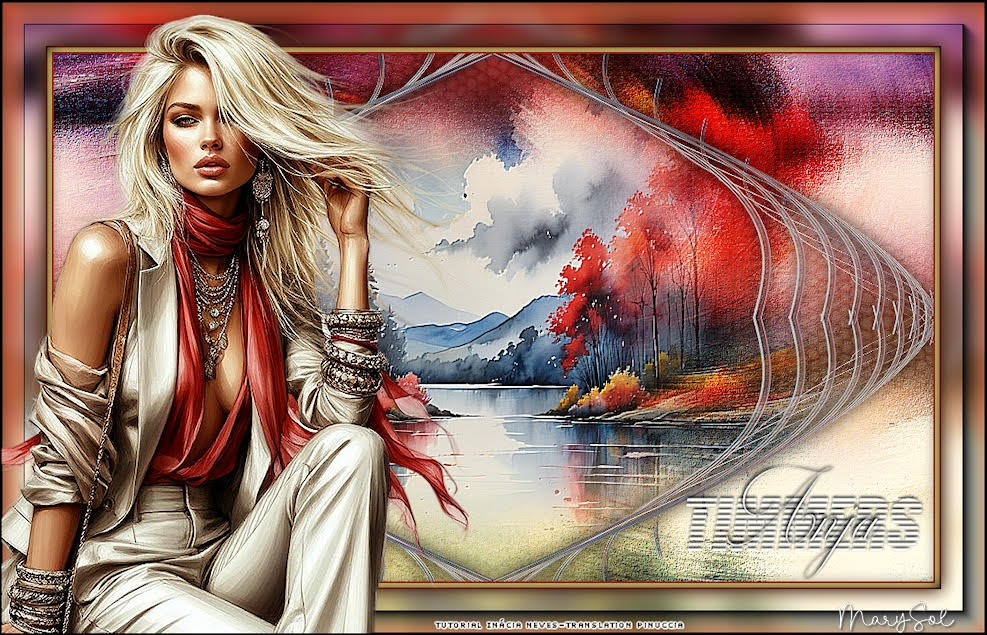 Marysol   If you have problems or doubts, or you find a not worked link, or only for tell me that you enjoyed this tutorial, write to me. |


