|
BYLLINA  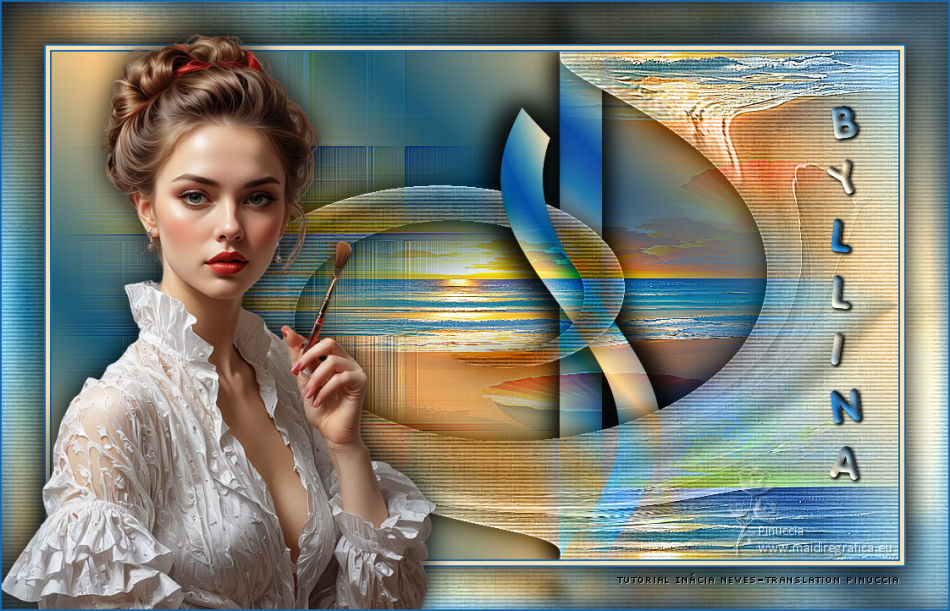

This tutorial - written with Psp2022 - was translated with Psp2020, but it can also be made using other versions of PSP.
For this tutorial, you will need:  The material is by Inácia Neves. (The links of the tubemakers here). Plugins consult, if necessary, my filter section here Filters Unlimited 2.0 here Toadies - Weaver here Greg's Factory Output vol.II - Pool Shadow here Filters Toadies and Greg's Factory Output can be used alone or imported into Filters Unlimited. (How do, you see here) If a plugin supplied appears with this icon  You can change Blend Modes according to your colors. In the newest versions of PSP, you don't find the foreground/background gradient (Corel_06_029). You can use the gradients of the older versions. The Gradient of CorelX here  Copy the selections byllina_inacia_1 and byllina_inacia_2 in the Selections Folder. 1. Choose 2 colors from your Landscape misted. For me: Set your foreground color to the dark color #1869ab and your background color to the light color #fce1b6. 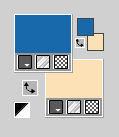 Set your foreground color to a Foreground/Background Gradient, style Linear. 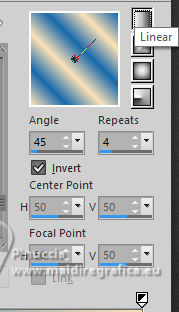 2. Open a new transparent image 1000 x 600 pixels. Flood Fill  the transparent image with your Gradient. the transparent image with your Gradient.Adjust>Blur>Gaussian Blur - radius 10  3. Layers>Duplicate. Effects>Texture Effects>Weave wave color: dark foreground color gap color: light background color 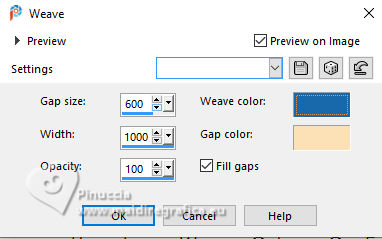 4. Activate your Magic Wand Tool   Click on the light zone of the effect to select it. 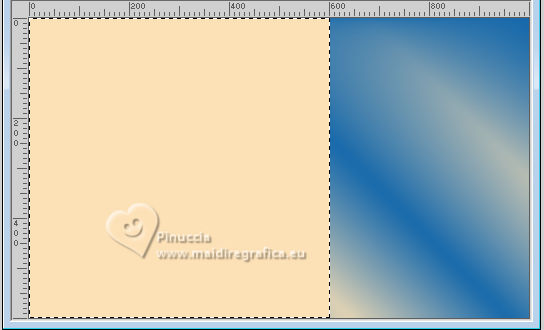 5. Open your landscape's misted (or flowers) IN_050_MistedPaisagem 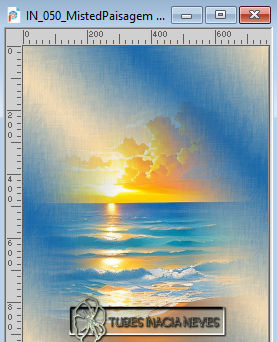 Edit>Copy. Go back to your work and go to Edit>Paste>Into Selection. Adjust>Sharpness>Sharpen More. Effects>Image Effects>Seamless Tiling, default settings.  6. Keep selected. Effects>Plugins>Toadies - Weaver, default settings 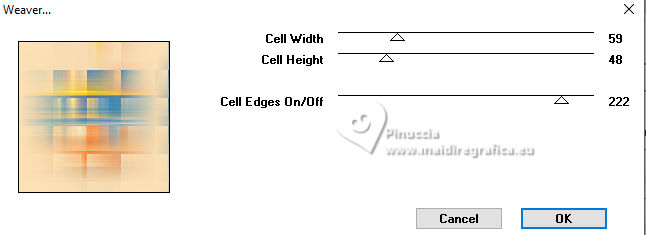 7. Effects>Edge Effects>Enhance More. Selections>Invert. Selections>Promote Selection to Layer. Selections>Select None. 8. Effects>Distortion Effects>Twirl 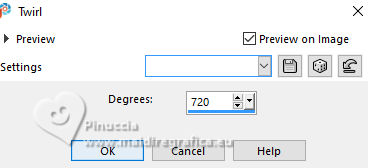 Effects>Plugins>Filters Unlimited 2.0 - Paper Textures- Striped Paper, Fine, default settings 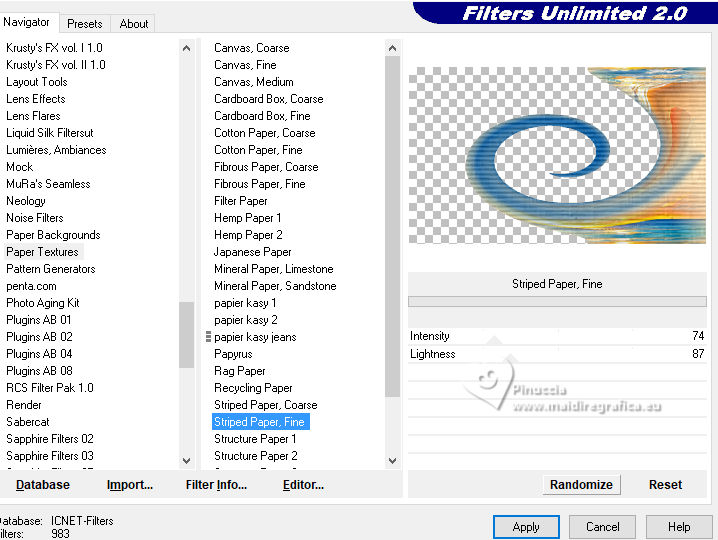 9. Adjust>Sharpness>Sharpen More. Activate the layer below Copy of Raster 1. 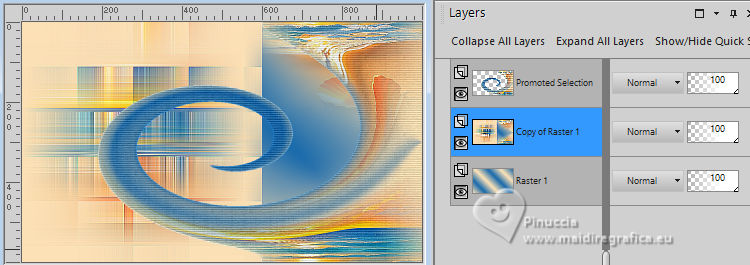 Layers>New Raster Layer. Selection Tool  (no matter the type of selection, because with the custom selection your always get a rectangle) clic on the Custom Selection  and set the following settings. 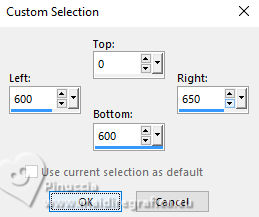 Change the settings of your Gradient, Invert not checked. 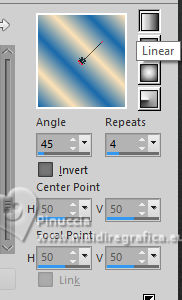 Flood Fill  the selection with your Gradient. the selection with your Gradient.10. Keep Selected. Effects>Distortion Effects>Wave  Effects>3D Effects>Drop Shadow.  11. Selections>Select None. Activate the top layer, Promoted Selection. Selection>Load/Save Selection>Load Selection From Disk. Look for and load the selection byllina_inacia_1  Erase  the top part of the effect the top part of the effect Selections>Select None. Effects>3D Effects>Drop Shadow  Activate the layer Raster 2. Effects>3D Effects>Drop Shadow, same settings.  12. Activate the layer Copy of Raster 1. Activate again your misted and go to Edit>Copy. Go back to your work and go to Edit>Paste as new layer. Activate your Pick Tool  with the central nodes of the Tool, adjust the misted as below  Adjust>Sharpness>Sharpen More. 13. Activate your top layer. Layers>New Raster Layer. Selection>Load/Save Selection>Load Selection From Disk. Look for and load the selection byllina_inacia_2 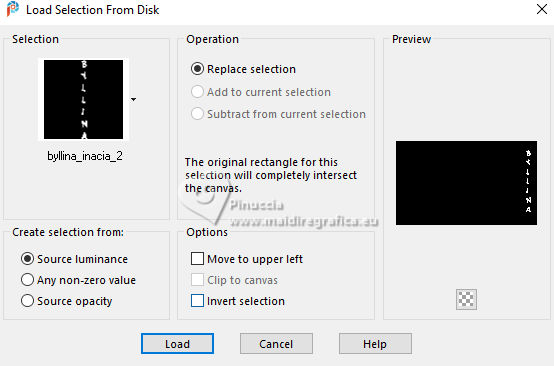 Flood Fill  the selection with one of your colors or the gradient, to your liking. the selection with one of your colors or the gradient, to your liking.Effects>3D Effects>Inner Bevel 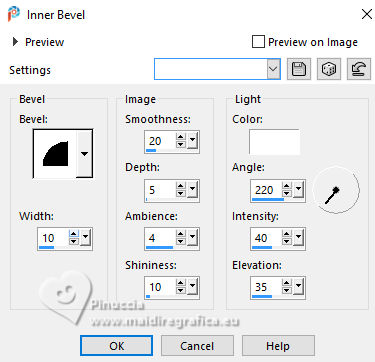 Effects>3D Effects>Drop shadow. 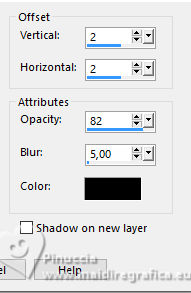 Edit>Repeat Drop Shadow. Selections>Select None. 14. Your tag and the layers Change the Blend Mode as indicated 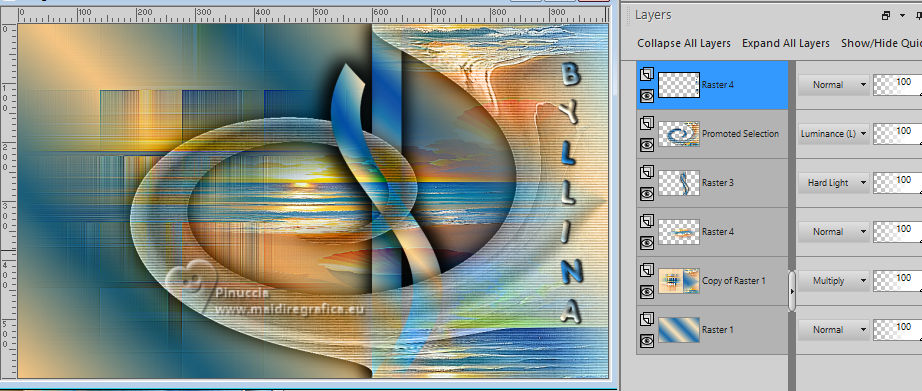 15. Image>Add Borders - 2 pixels, symmetric, dark color #1869ab. Image>Add Borders - 5 pixels, symmetric, light color #fce1b6. Image>Add Borders - 2 pixels, symmetric, symmetric, dark color #1869ab. 16. Edit>Copy. Selections>Select All. Image>Add Borders, 50 pixels, symmetric, whatever color. Selections>Invert. Edit>Paste>Into Selection. Adjust>Blur>Gaussian Blur  Effects>Plugins>Filters Unlimited 2.0 - Paper Textures - Striped Paper,Fine. 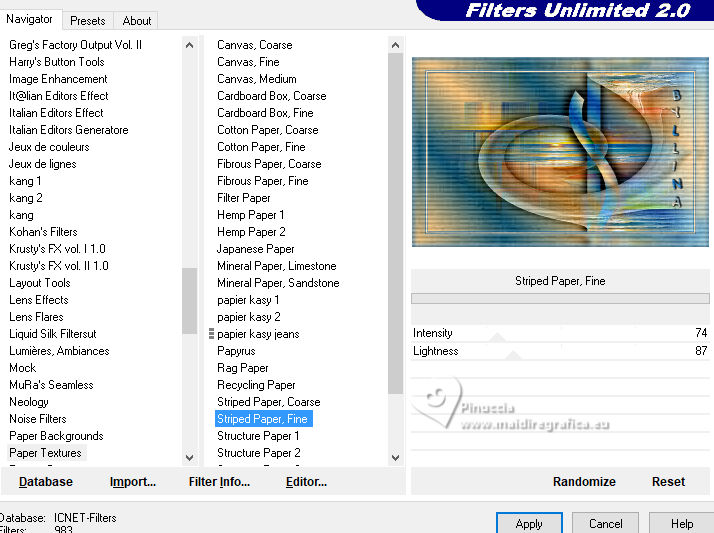 Effects>Plugins>Filters Unlimited 2.0 - Greg's Factory Output Vol.II, Pool Shadow, default settings. 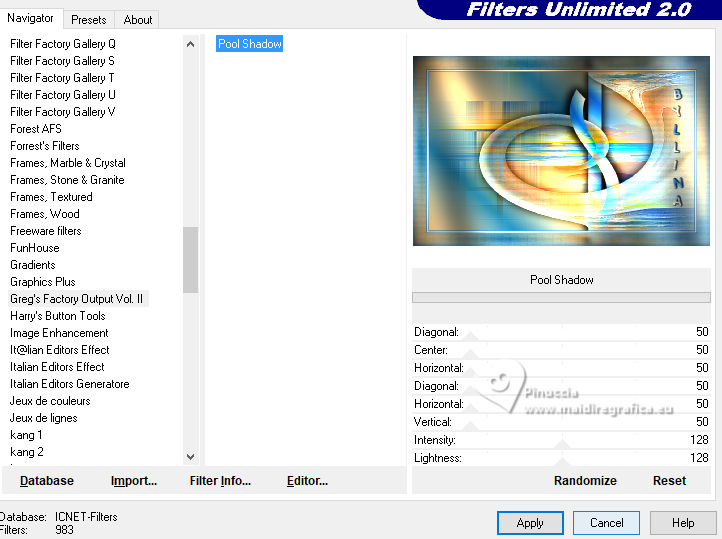 17. Selections>Invert. Effects>3D Effects>Drop Shadow  Selections>Select None. 18. Open your main tube IN_050_MulherDelicada 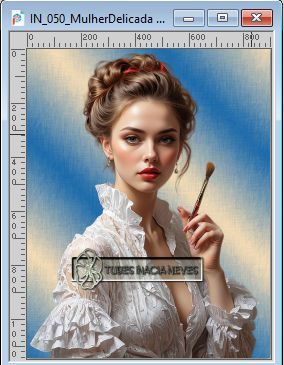 Edit>Copy. Go back to your work and go to Edit>Paste>as new layer. Resize, place and apply Drop Shadow and effects to you liking. 19. Image>Add Borders, 2 pixels, symmetric, dark color #1869ab. 20. Image>Resize, if you want. Sign your work and save as jpg. For the tubes of these versions thanks Luz Cristina and Silvie 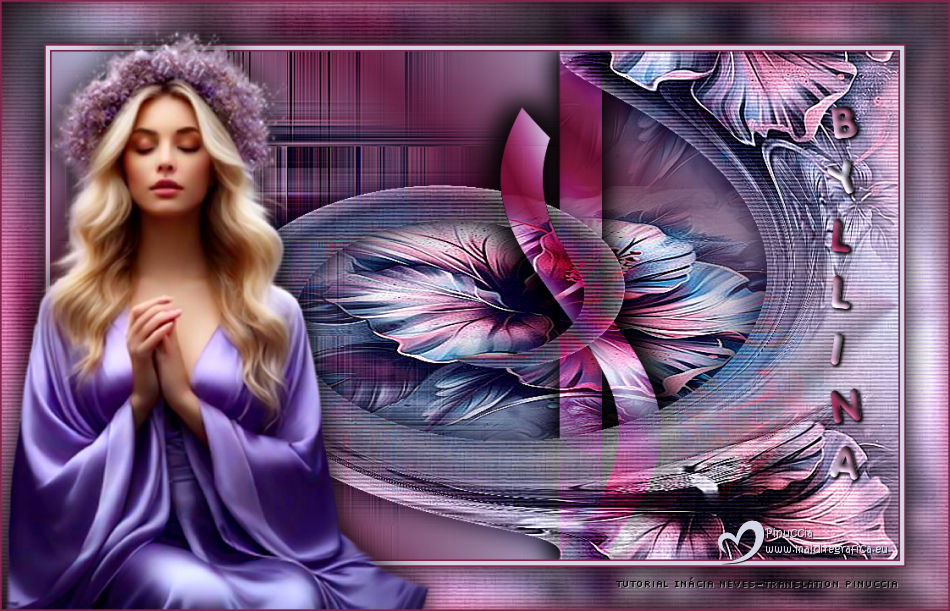   Your versions. Thanks Your versions. Thanks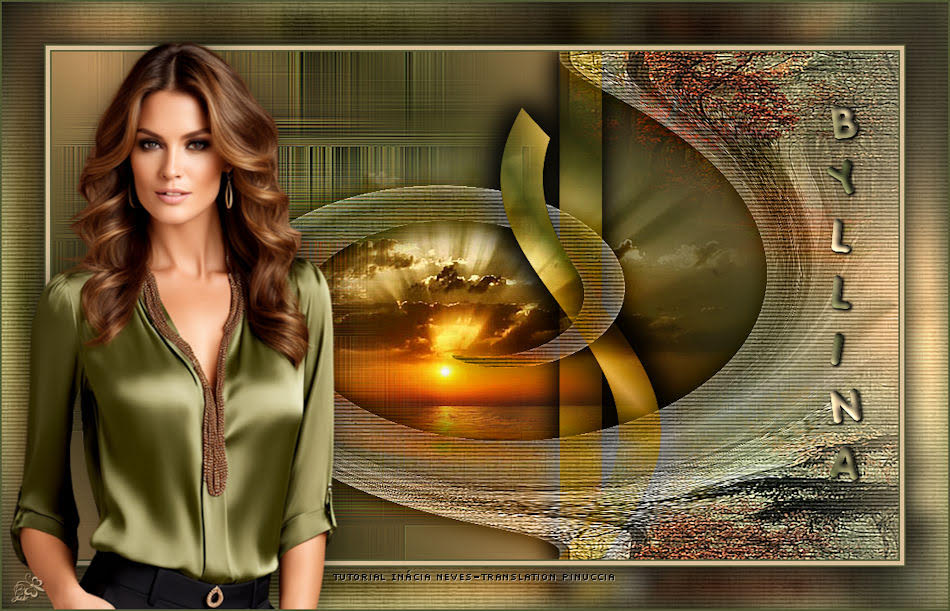 Jolcsi 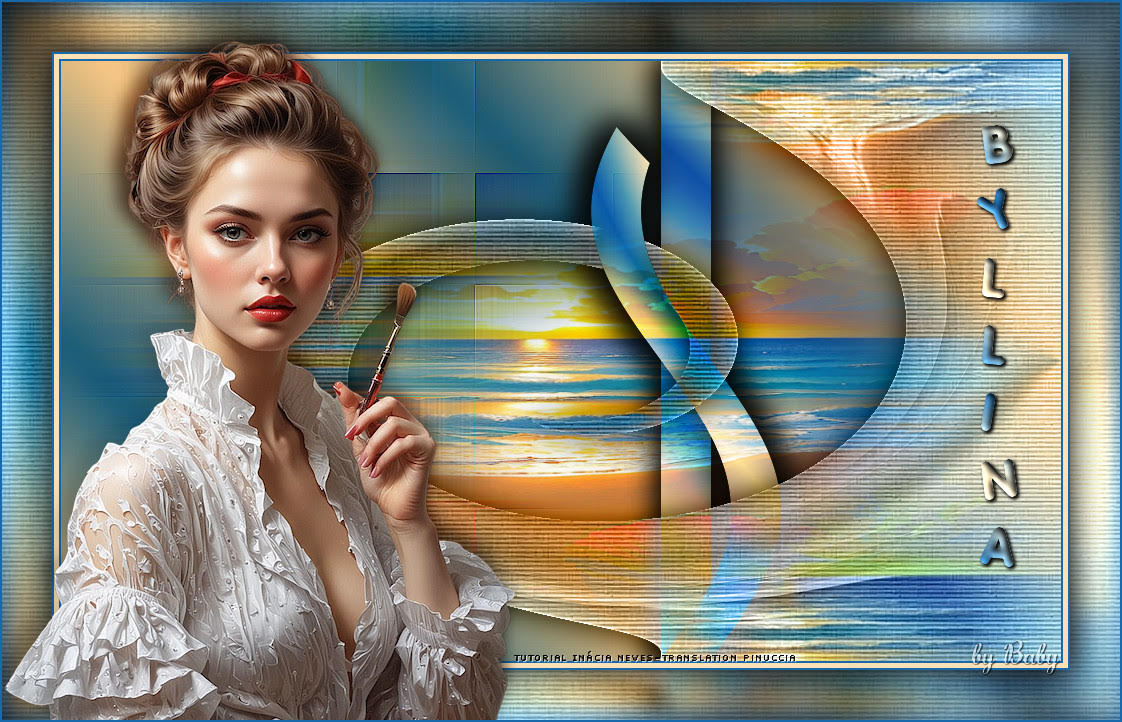 Baby 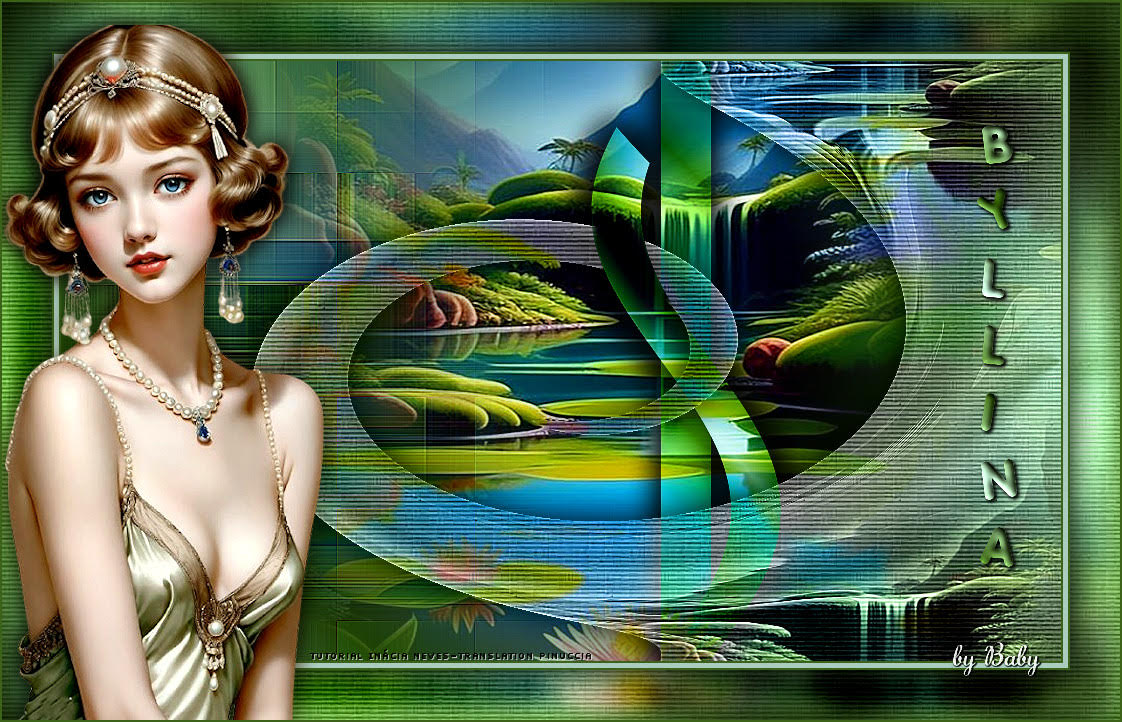 Baby 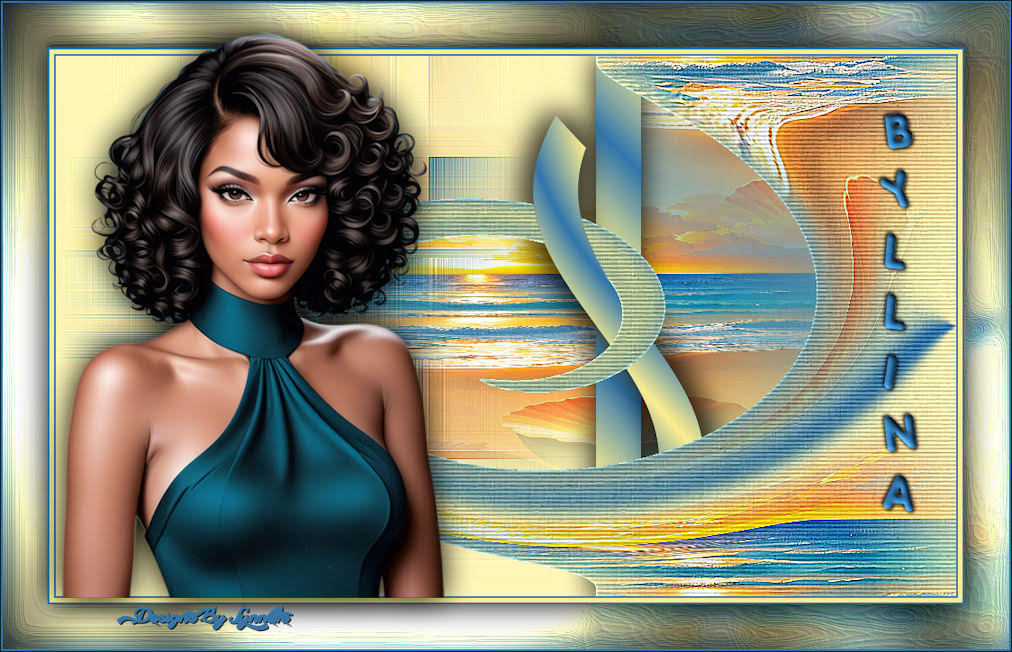 Lynnette 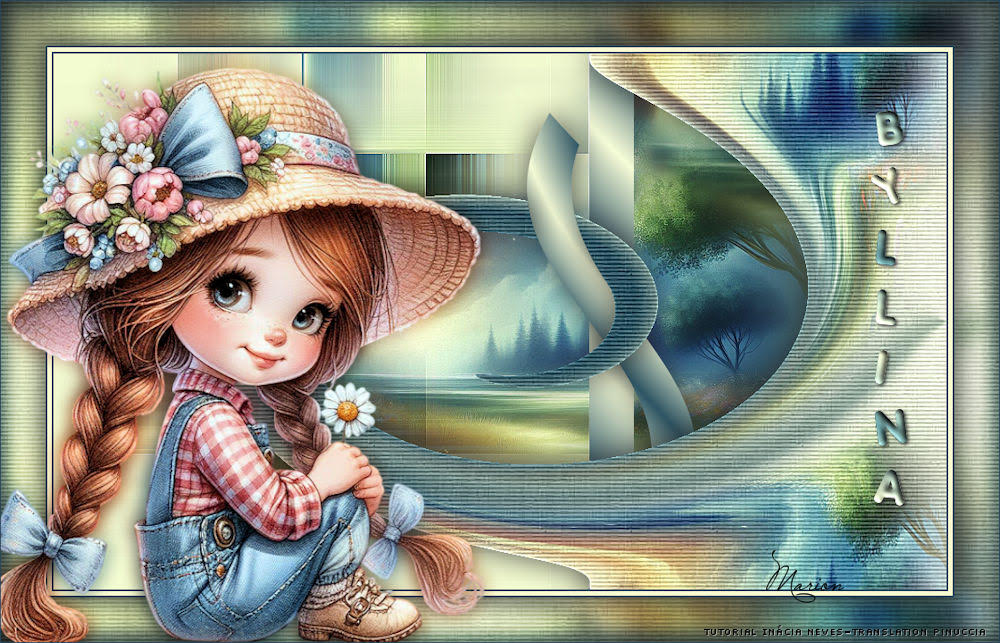 Marion   If you have problems or doubts, or you find a not worked link, or only for tell me that you enjoyed this tutorial, write to me. |


