|
ESSENCIA FLORAL  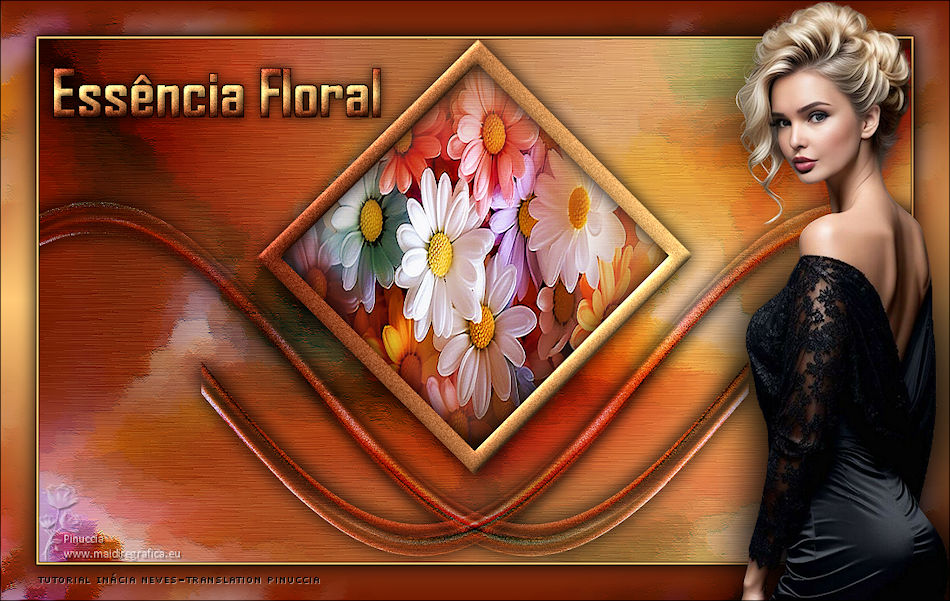
This tutorial - written with PSP2020 and Psp2022 - was translated with Psp2020, but it can also be made using other versions of PSP.
For this tutorial, you will need:  The material is by Inácia Neves. (The links of the tubemakers here). Plugins consult, if necessary, my filter section here Mehdi - Sorting Tiles here  You can change Blend Modes according to your colors. In the newest versions of PSP, you don't find the foreground/background gradient (Corel_06_029). You can use the gradients of the older versions. The Gradient of CorelX here  Copy the selections in the Selections Folder. 1. Choose 2 colors from your misted. For me: Set your foreground color to the light color #ffc876, and your background color to the dark color #731c02. 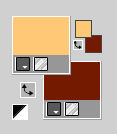 third color: #000000 Set your foreground color to a Foreground/Background Gradient, style Linear. 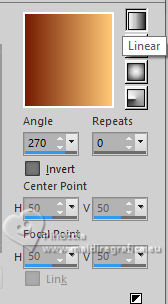 2. Open a new transparent image 1000 x 600 pixels. Flood Fill  the transparent image with your Gradient. the transparent image with your Gradient.3. Layers>New Raster Layer. Selections>Select All. Open your flowers misted  Edit>Copy. Go back to your work and go to Edit>Paste Into Selection. Selections>Select None. 4. Adjust>Sharpness>Sharpen More. Effects>Image Effects>Seamless Tiling, default settings.  5. Adjust>Blur>Motion Blur 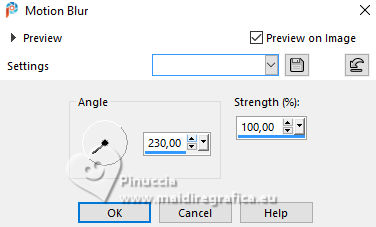 Edit>Repeat Motion Blur. Effects>Edge Effects>Enhance. 6. Effects>Plugins>Mehdi - Sorting Tiles. 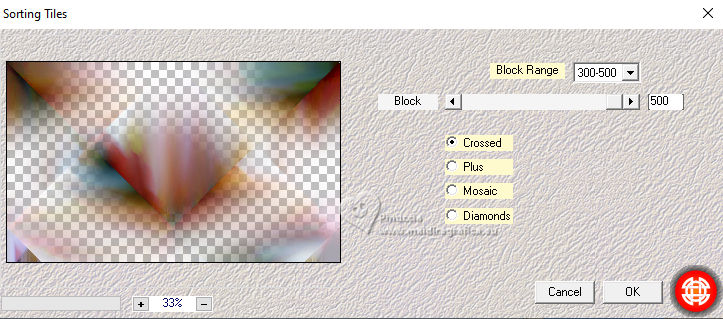 Change the Blend Mode of this layer to Hard Light, opacity 100 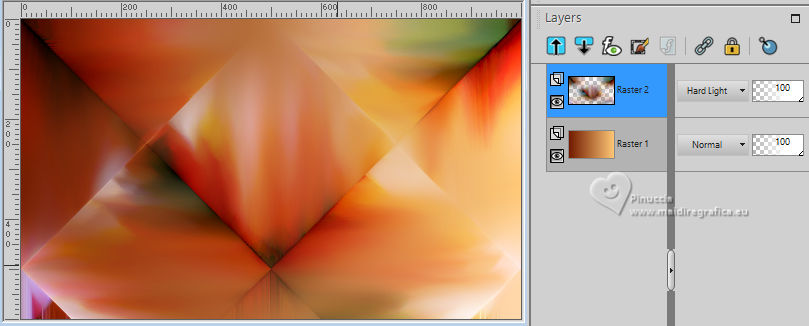 7. Selections>Load/Save selection>Load Selection from Disk. Look for and load the selection Sel01_EssenciaFloral 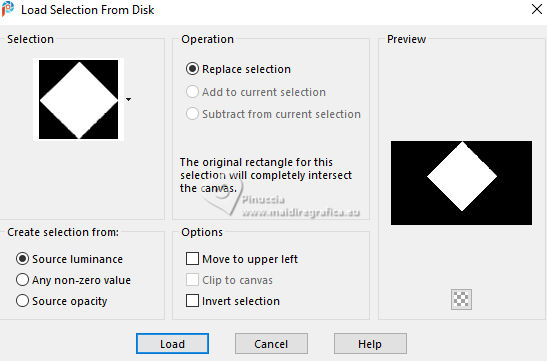 Selections>Promote Selection to Layer. Layers>New Raster Layer. 8. Edit>Paste into Selection - your floral misted is still in memory. Adjust>Sharpness>Sharpen. Change the Blend Mode of this layer to Hard Light, opacity 100. 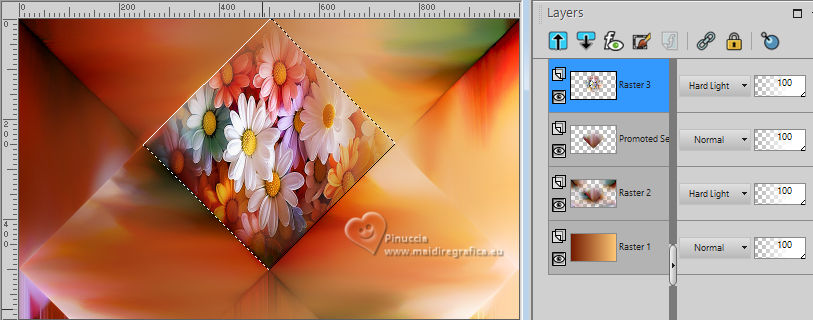 9. Layers>New Raster Layer. Selections>Modify>Select Selection Borders 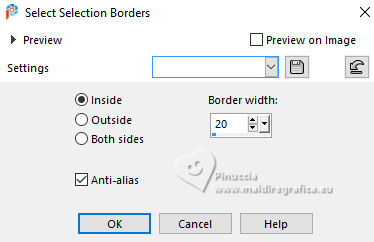 Flood Fill the selection with your Gradient.10. Adjust>Add/Remove Noise>Add Noise 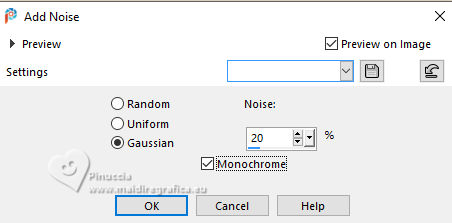 Effects>3D Effects>Inner Bevel  Selections>Select None. Effects>3D Effects>Drop Shadow, color black #000000.  11. Activate the layer Raster 2. Layers>Duplicate. Effects>Geometric Effects>Perspective Horizontal  Image>Mirror>Mirror Horizontal. Repeat Effects>Geometric Effects>Perspective Horizontal, same settings.  Adjust>Add/Remove Noise>Add Noise, same settings. 12. Adjust>Sharpness>Sharpen. Effects>Distortion Effects>Wave  13. K key to activate your Pick Tool  Position X: -186,00 - Position Y: 186,00.  Layers>Duplicate. Image>Mirror>Mirror Horizontal. Keep the Blend Mode of this layer to Hard Light.  Layers>Merge>Merge Down. Effects>3D Effects>Drop Shadow, color black #000000. 14. Activate the layer Raster 2. Adjust>Add/Remove Noise>Add Noise, same settings 15. Effects>Art Media Effects>Brush Strokes, background color  16. Activate the layer Raster 1. Effects>Texture Effects>Fur.  Effects>Edge Effects>Enhance. 17. Image>Add borders, 1 pixel, symmetric, color black #000000. Image>Add borders, 2 pixels, symmetric, light color #ffc876. Image>Add borders, 1 pixel, symmetric, color black #000000. 18. Selections>Select All. Image>Add Bordes - 40 pixels, symmetric, whatever color. Selections>Invert. Change the settings of your Gradient  Flood Fill the selection with your Gradient.19. Layers>New Raster Layer. Selections>Invert. Your misted floral should be always in memory: Edit>Paste into Selection. Effects>Image Effects>Seamless Tiling, default settings.  Press CANC on the keyboard  to erase the central image  20. Selections>Invert. Adjust>Sharpness>Sharpen More. Change the Blend Mode of this layer to Hard Light, opacity 100.  21. Adjust>Blur>Motion Blur, same settings Edit>Repeat Motion Blur. Effects>Art Media Effects>Brush Strokes, same settings 22. Layers>Merge>Merge Down. Selections>Invert. Effects>3D Effects>Drop Shadow, color black #000000. Selections>Select None. 23. Layers>New Raster Layer. Selections>Load/Save Selection>Load Selection From Disk. Look for and load the selection Sel02_EssenciaFloral  Flood Fill the selection with the last Gradient.24. Adjust>Add/Remove Noise>Add Noise, same settings Effects>3D Effects>Inner Bevel, same settings. Keep selected. 25. Layers>New Raster Layer. Selections>Modify>Expand - 1 pixel. Set your foreground color to black #000000. Flood Fill the selection with color black.Layers>Arrange>Move Down. Selections>Select None. Effects>3D Effects>Drop Shadow, color black #000000.  Activate the layer Raster 2. Layers>Merge>Merge Down. 26. Open the tube 1101MulherByPqnaAlice  Erase the watermark and go to Edit>Copy. Go back to your work and go to Edit>Paste as New Layer. Image>Resize, to 65%, resize all layers not checked. Image>Mirror>Mirror Horizontal. Objects>Align>Top. Objects> Align> Right. Adjust>Sharpness>Sharpen. 27. Layers>Duplicate. Adjust>Blur>Gaussian Blur - radius 30  Layers>Arrange>Move Down. Change the Blend Mode of this layer to Multiply We have this 28. Image>Add Borders - 1 pixels, symmetric, color black #000000. 29. Sign your work and save as jpg. For the tubes of this version Wieske and Virginia .    Your versions. Thanks Your versions. Thanks Lynnette  Jolcsi 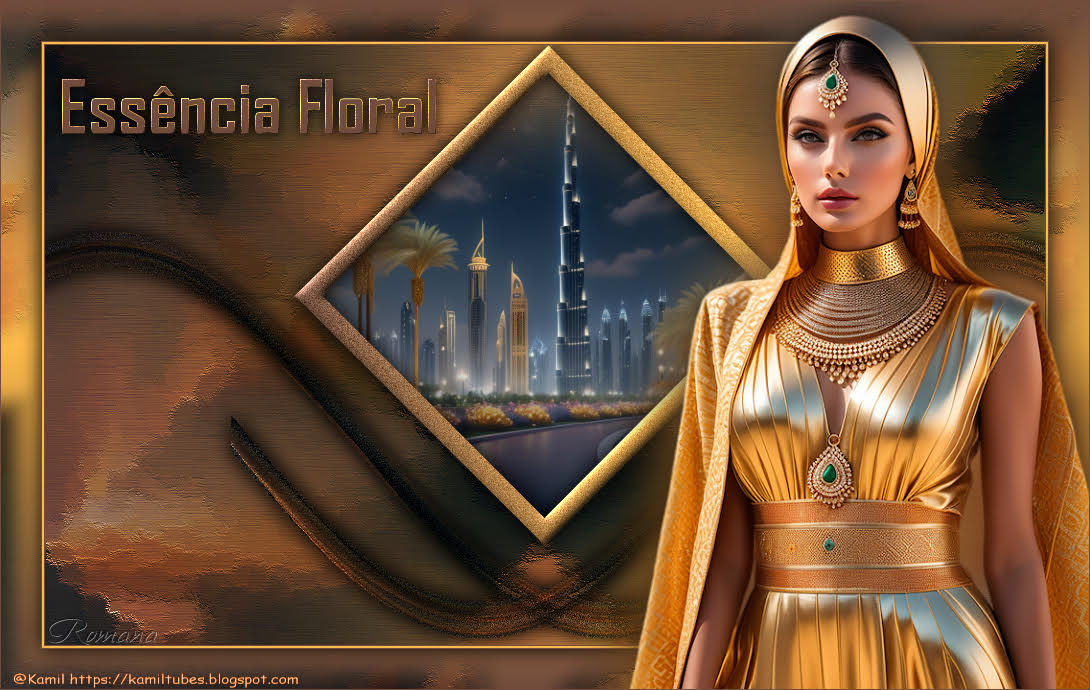 Romana 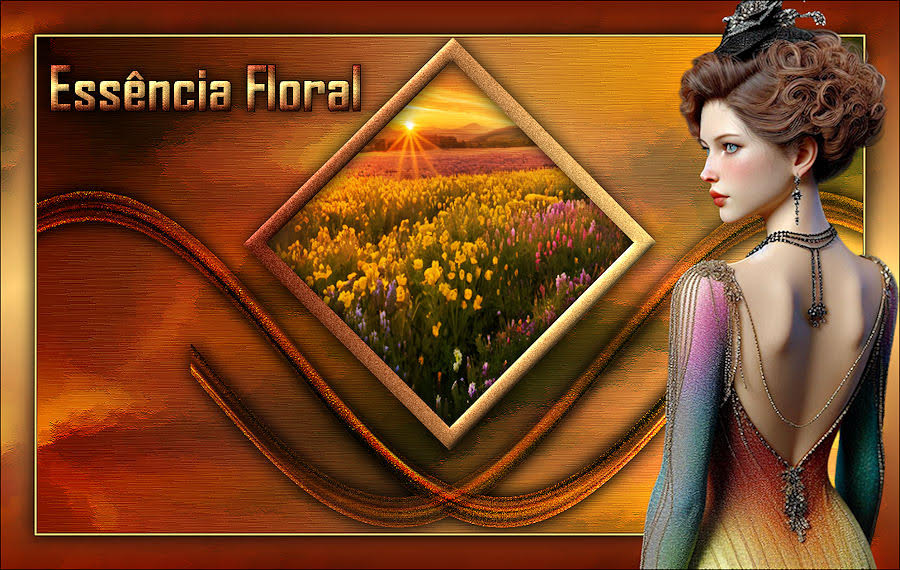 Elly   If you have problems or doubts, or you find a not worked link, or only for tell me that you enjoyed this tutorial, write to me. 25 August 2024 |