|
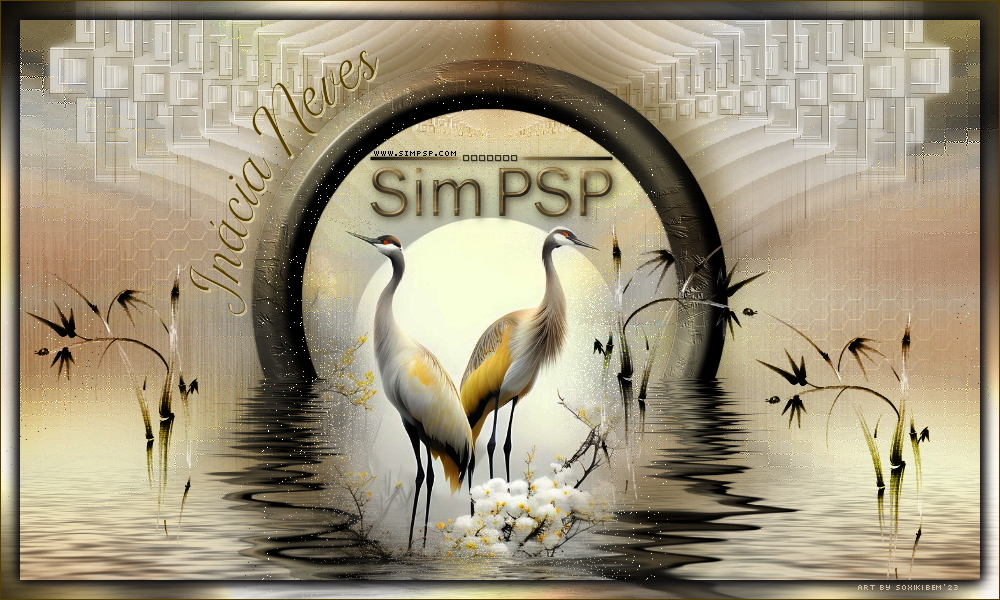
FELIZ NATAL 2024  
This tutorial - written with Psp2022 - was translated with Psp2020, but it can also be made using other versions of PSP.
For this tutorial, you will need:  The material is by Inácia Neves. (The links of the tubemakers here). Plugins consult, if necessary, my filter section here Filters Unlimited 2.0 here Fantastic Machine - Paint Engine here Greg's Factory Output vol.II - Pool Shadow here Filters Greg's Factory Output can be used alone or imported into Filters Unlimited. (How do, you see here) If a plugin supplied appears with this icon  it must necessarily be imported into Unlimited it must necessarily be imported into Unlimited You can change Blend Modes according to your colors. In the newest versions of PSP, you don't find the foreground/background gradient (Corel_06_029). You can use the gradients of the older versions. The Gradient of CorelX here  Copy the preset ChristmasOrnament1 in the Presets Folder. Open the pattern arguld10 in PSP and minimize it with the rest of the materiale. 1. Choose 2 colors from your tubes. For me: Set your foreground color to the dark color #911d1e and your background color to the light color #cdb8ae. 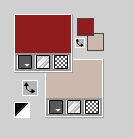 Set your foreground color to a Foreground/Background Gradient, style Linear. 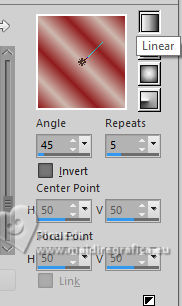 2. Open a new transparent image 1000 x 600 pixels. Flood Fill  the transparent image with your Gradient. the transparent image with your Gradient.Adjust>Blur>Gaussian Blur - radius 20 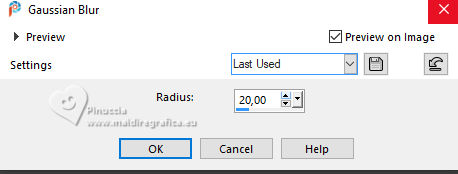 3. Layers>New Raster Layer. Selections>Select All. Open the misted IN_006_MistedFloresNatal 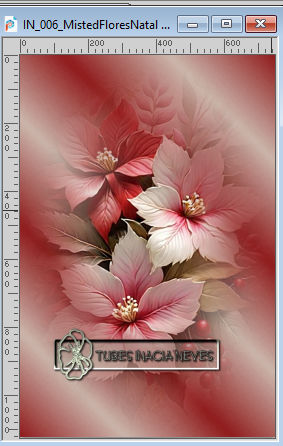 Edit>Copy. Go back to your work and go to Edit>Paste into Selection. Selections>Select None. 4. Adjust>Sharpness>Sharpen More. Effects>Image Effects>Seamless Tiling, default settings.  Adjust>Blur>Radial Blur 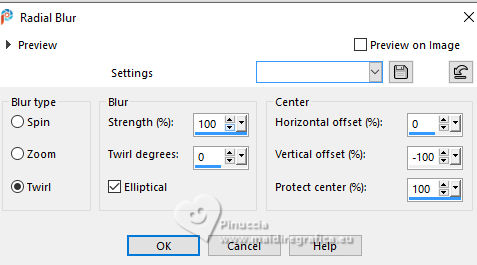 5. Effects>Edge Effects>Enhance. Layers>Duplicate. Close the layer Copy of Raster 2. Activate the layer below of the original, Raster 2. Effects>Plugin>Fantastic Machine - Paint Engine preset Flakes 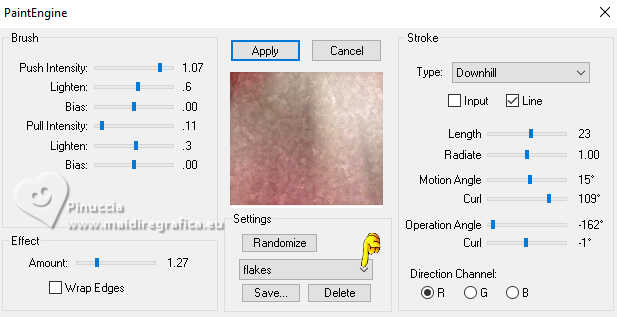 if you don't see the list of presets, it's likely that you didn't follow the necessary steps when installing the filter. To have all the presets you need to copy a file provided with the filter into the Windows folder. See the notes on Paint Engine here In any case, you can manually set the settings corresponding to the "flakes" preset you see in the screenshot. Effects>Edge Effects>Enhance. Layers>Properties>General>Blend Mode: Multiply 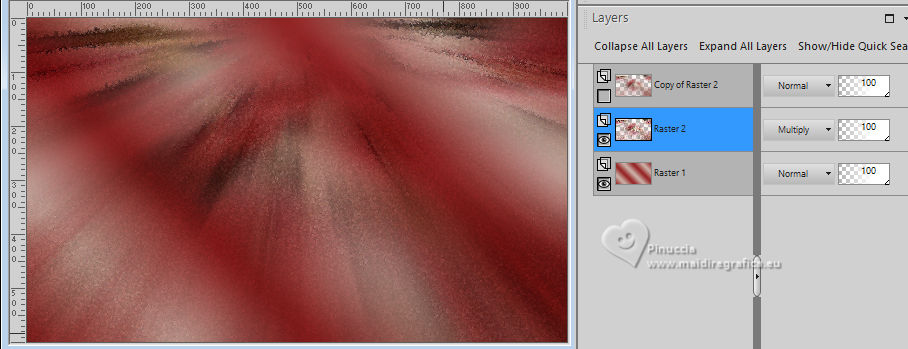 6. Layers>New Raster Layer. Selections>Select All. Edit>Paste>Into Selection - the misted IN_006_MistedFloresNatal is still in memory. Adjust>Sharpness>Sharpen More. Change the Blend Mode of this layer to Hard Light and reduce the opacity to 50%. 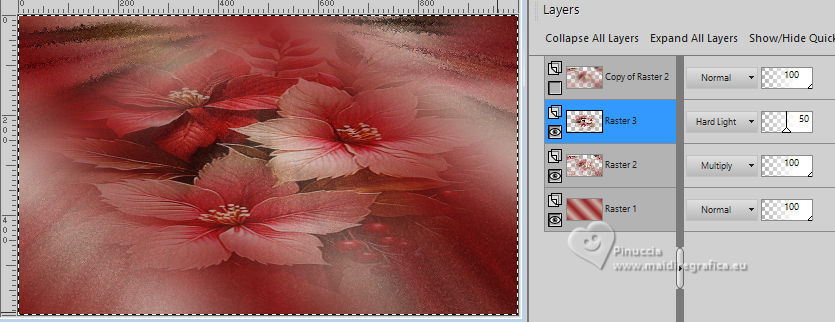 Selections>Select None. 7. Open and activate the layer Copy of Raster 2. Effects>Geometric Effects>Perspective Vertical 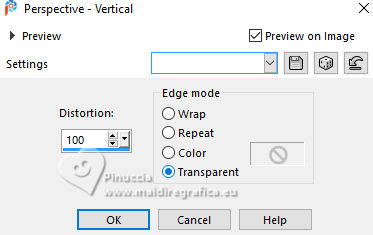 Image>Mirror>Mirror Vertical. 8. Repeat Effects>Geometric Effects>Perspective Vertical, change Distortion to 40 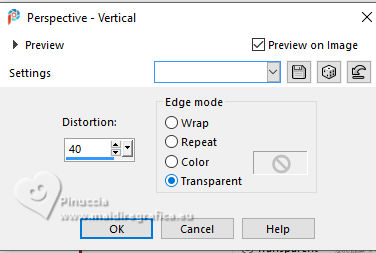 Repeat Effects>Plugin Fantastic Machine - Paint Engine, same settings. 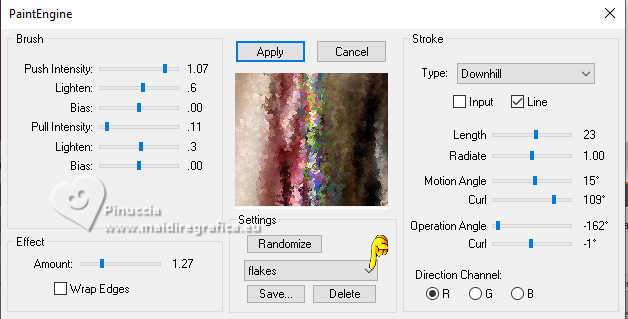 9. Repeat Effects>Plugin Fantastic Machine - Paint Engine preset Whirlpools 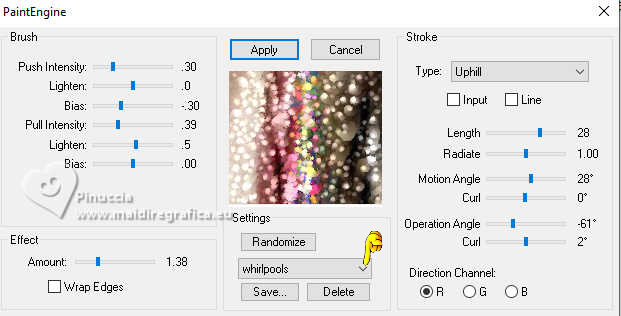 Image>Resize, to 90%, resize all layers not checked. Objects>Align>Bottom Effects>Edge Effetcs>Enhance. Layers>Duplicate. Layers>Merge Down. Effects>3D Effects>Drop Shadow, color black. 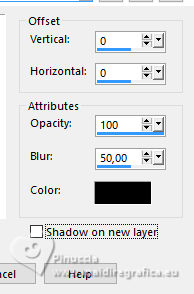 10. Layers>New Raster Layer. Effects>Artistic Effects>Balls and Bubbles select the preset ChristmasOrnament01 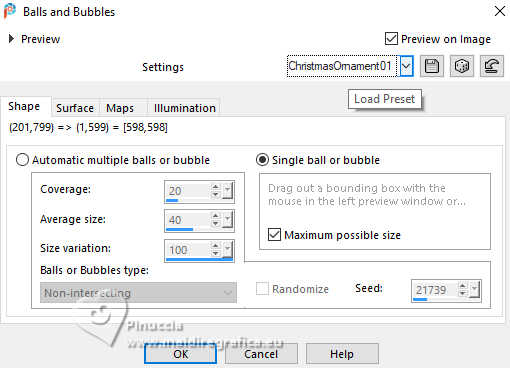 The settings, if you have problems with the preset Surface - Material: your background color 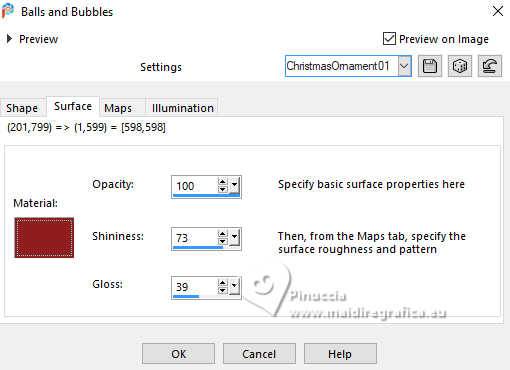 Maps - nothing checked 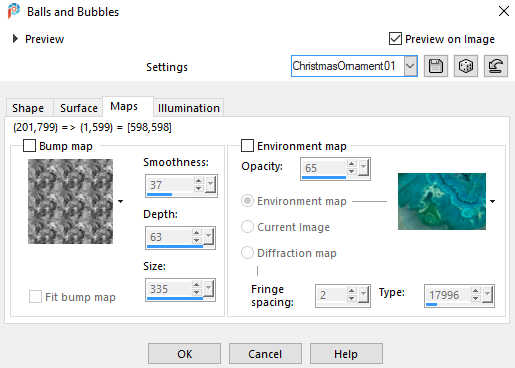 Illumination 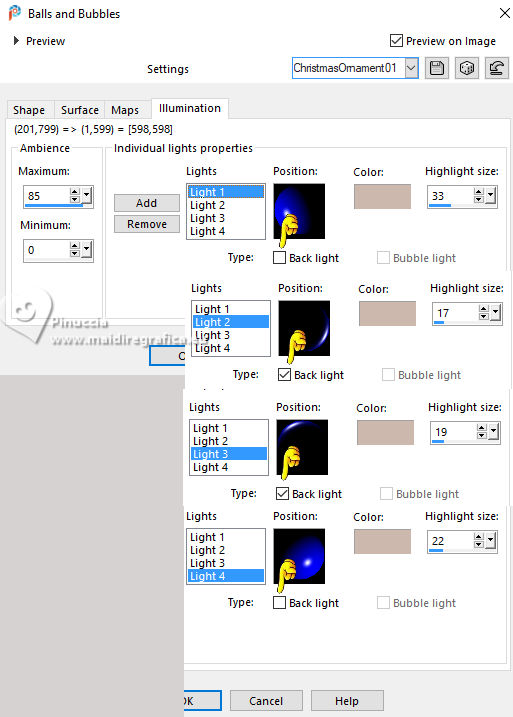 Image>Resize, to 50%, resize all layers not checked. Adjust>Sharpness>Sharpen. 11. Activate your Magic Wand Tool  with these settings, with these settings,and click on the outside of the effect 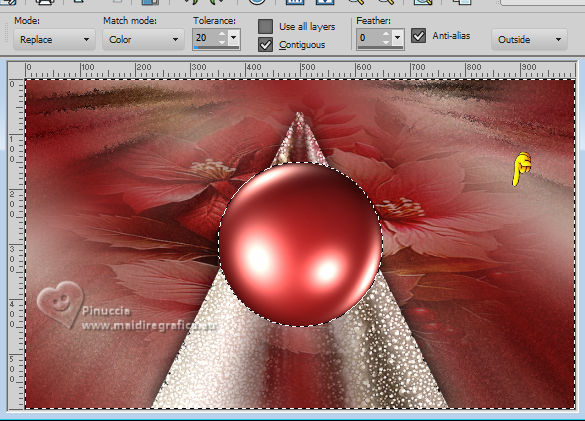 Selections>Select Invert. Layers>New Raster Layer. Edit>Paste into Selection - the misted IN_006_MistedFloresNatal is always in memory Adjust>Sharpness>Sharpen More. Selections>Select None. Layers>Merge>Merge Down. 12. Objects>Align>Bottom. 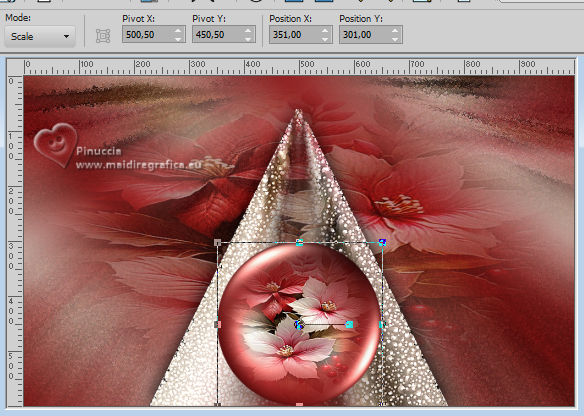 Layers>Duplicate. Image>Resize, to 50%, resize all layers not checked. Adjust>Sharpness>Sharpen. K key to activate your Pick Tool  Position X: 546,00 - Position Y: 353,00.  Layers>Duplicate. Position X: 504,00 - Position Y: 450,00  M key to deselect the Tool. Layers>Merge>Merge Down, 2 times. Effects>3D Effects>Drop Shadow, same settings. Objects>Align>Left.  13. Set your foreground color to Pattern and select the golden pattern arguld10  *** The supplied Brush doesn't work because it is "orphaned" of the script file. So you have to create it: open the Brush Star Gleam in PSP. File>Export>Custom Brush, name the brush and ok 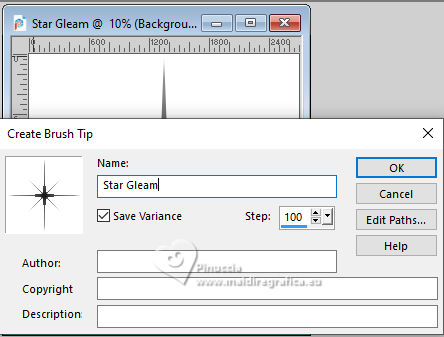 *** Layers>New Raster Layer. Activate your Brush Tool  look for and select the brush Star Gleam 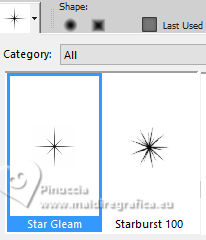  Apply the brush, clicking 3 times on the same point, without moving the mouse. Change the Blend Mode of this layer to Hard Light. 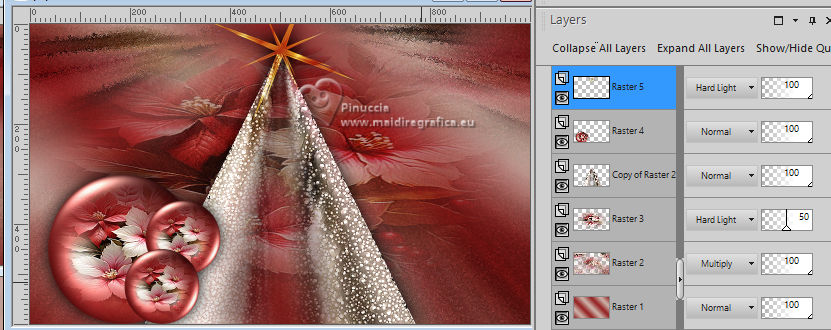 Effects>3D Effects>Drop Shadow, same settings. Adjust>Sharpness>Sharpen More. 14. Your tag and the layers - adapt Blend Mode and opacity according to your work. 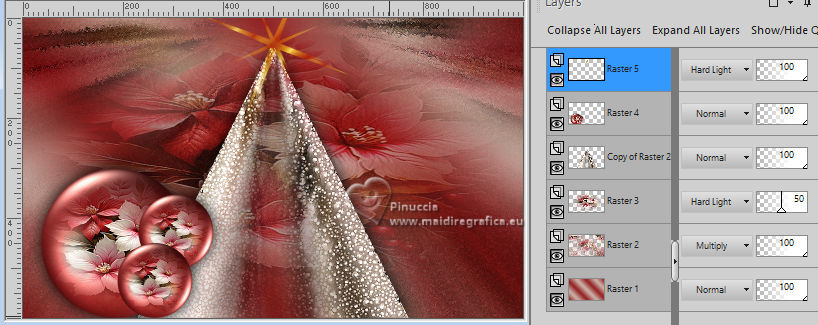 15. Image>Add Borders, 2 pixels, symmetric, dark color #911d1e. Image>Add Borders, 5 pixels, symmetric, light color #cdb8ae. Image>Add Borders, 2 pixels, symmetric, dark color #911d1e. 16. Selections>Select All. Image>Add Borders, 50 pixels, symmetric, whatever color. Selections>Invert Flood Fill with your golden pattern.Layers>New Raster Layer. Set again your foreground color to Gradient. Flood Fill with your Gradient.Change the Blend Mode of this layer to Multiply. 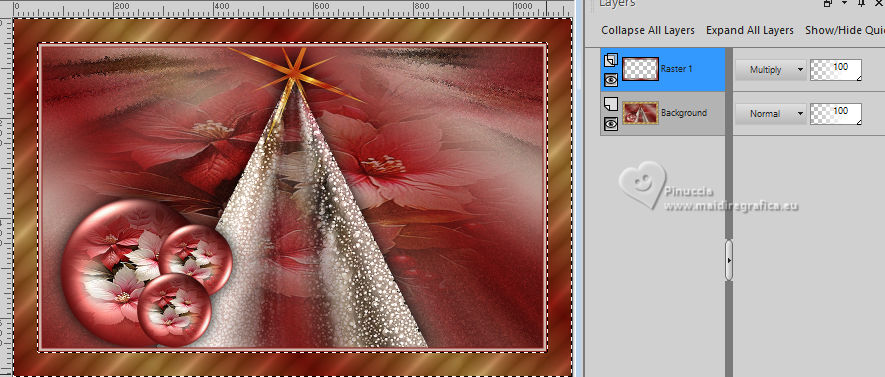 Keep selected. Layers>Merge>Merge Down. 17. Effects>Plugins>Greg's Factory Output Vol.II - Pool Shadow, default settings. 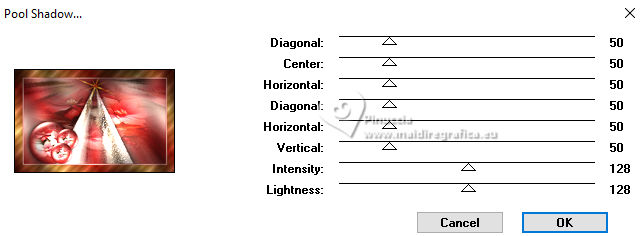 Selections>Invert. Effects>3D Effetcs>Drop Shadow, last settings. Selections>Select None. 18. Activate your main tube IN_005_Mulher_Vermelho 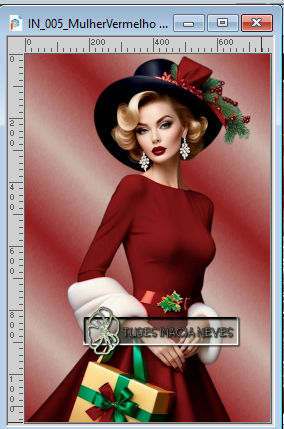 Edit>Copy. Go back to your work and go to Edit>Paste as new layer. Resize, Place and apply the effects to your liking. 19. Activate your Text Tool  , font New Pose, , font New Pose, Write the text Place the text and apply the effects to your liking. 20. Image>Add Borders, 2 pixels, symmetric, dark color #911d1e. 21. Image>Resize, if you want. Sign your work and save as jpg. For the tubes of these versions thanks Felinec31 and Mentali 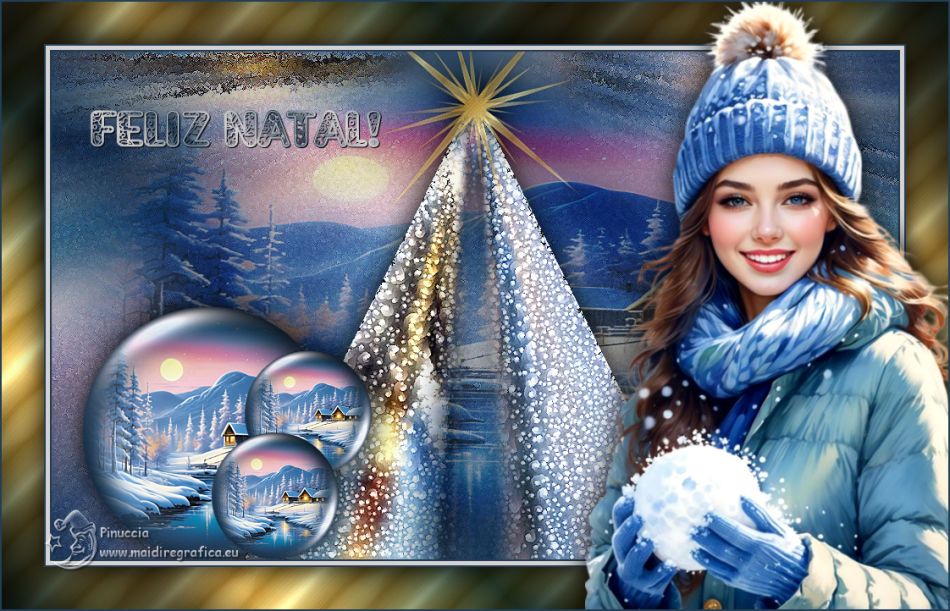   Your versions. Thanks Your versions. Thanks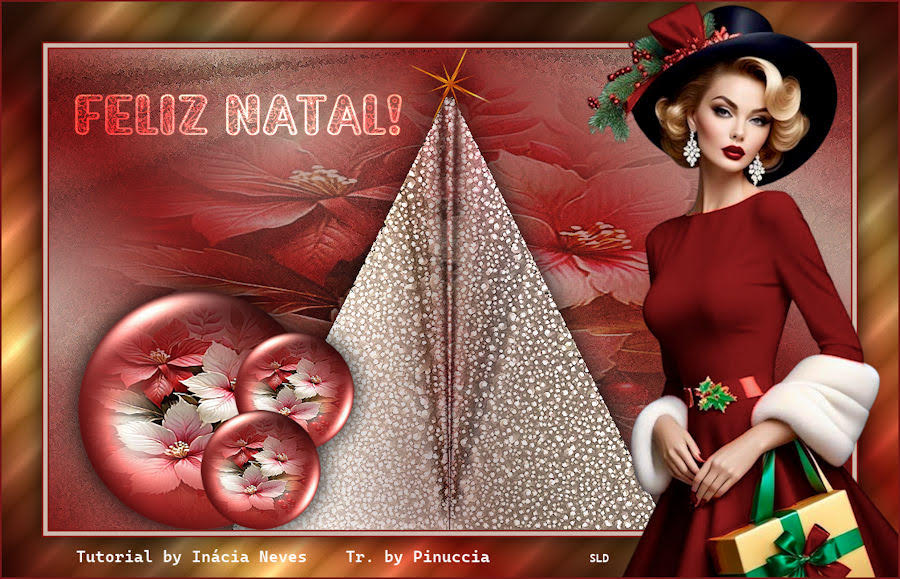 Sue 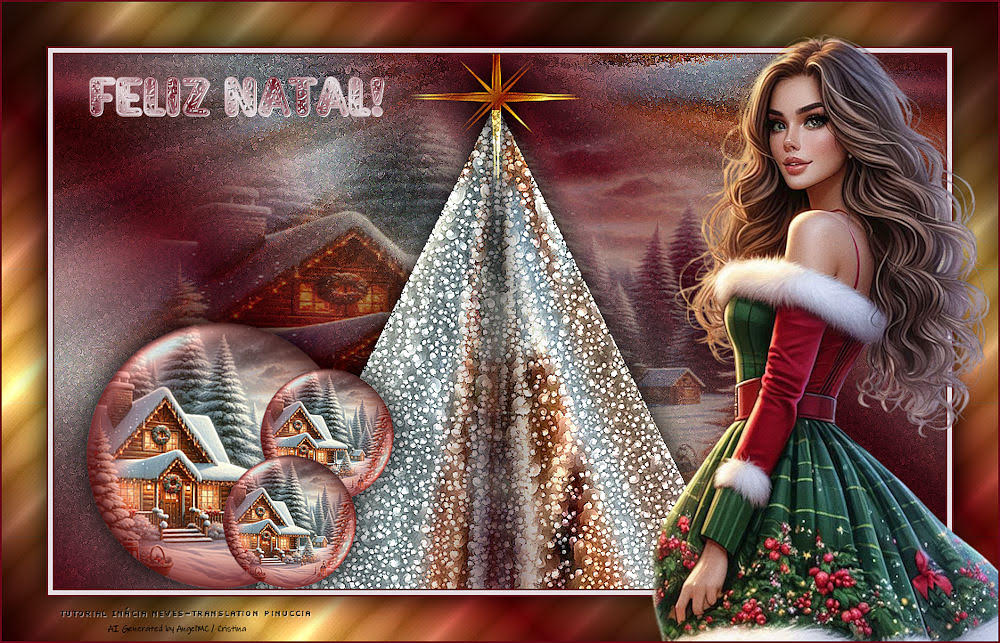 Kika   If you have problems or doubts, or you find a not worked link, or only for tell me that you enjoyed this tutorial, write to me. 6 December 2024 |