|
LUZ CRISTINA


Thanks SIM PSP Group for your invitation to translate your tutorials into english

This tutorial was written with Psp2022 and translated with PspX7, but it can also be made using other versions of PSP.
Since version PSP X4, Image>Mirror was replaced with Image>Flip Horizontal,
and Image>Flip with Image>Flip Vertical, there are some variables.
In versions X5 and X6, the functions have been improved by making available the Objects menu.
In the latest version X7 command Image>Mirror and Image>Flip returned, but with new differences.
See my schedule here
For this tutorial, you will need:

The material is by Inacia.
(The links of the tubemakers here).
Plugins
consult, if necessary, my filter section here
Filters Unlimited 2.0 here
Mehdi - Weaver, Sorting Tiles here
Mura's Meister - Copies here
Flaming Pear - Flood here
AAA Frames - Foto Frame here

You can change Blend Modes according to your colors.
In the newest versions of PSP, you don't find the foreground/background gradient (Corel_06_029).
You can use the gradients of the older versions.
The Gradient of CorelX here

The texture Corel_15_021 or Hatch Fine is standard in PSP.
If you don't find it in your PSP, copy the supplied one in your Textures Folder.
1. Choose 2 colors from your flowers tube.
For me:
Set your foreground color to light color #fd84e8,
and your background color to dark color #a62332.
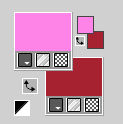
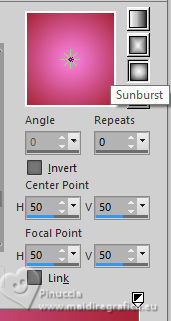
Set your foreground color to a Foreground/Background Gradient, style Sunburst.
2. Open a new transparent image 1000 x 600 pixels.
Flood Fill  the transparent image with your Gradient. the transparent image with your Gradient.
3. Layers>New Raster Layer.
Selections>Select All.
Open your flower's tube 17G 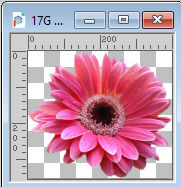
Edit>Copy.
Go back to your work and go to Edit>Paste into Selection.
Selections>Select None.
4. Ajust>Sharpness>Sharpen More.
Effects>Image Effects>Seamless Tiling, default settings.

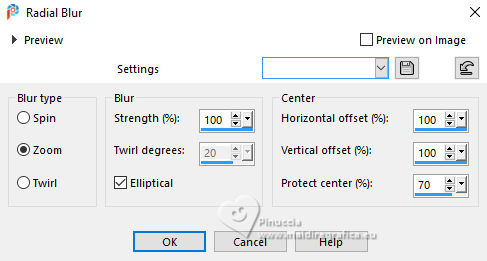
Ajust>Blur>Radial Blur
5. Effects>Edge Effects>Enhance More.
Layers>Duplicate.
Effects>Plugins>Mehdi - Weaver.
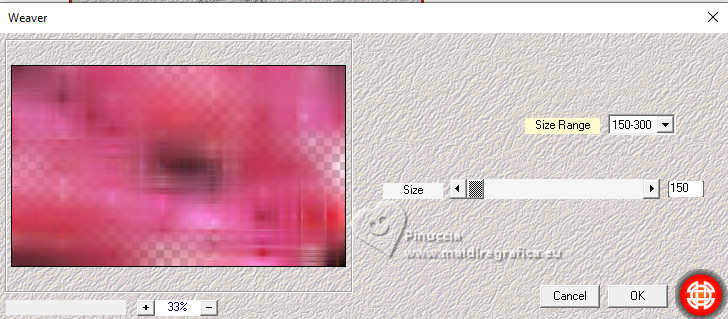
6. Effects>Edge Effects>Enhance.
Layers>Duplicate.
Effects>Plugins>Mehdi - Sorting Tiles
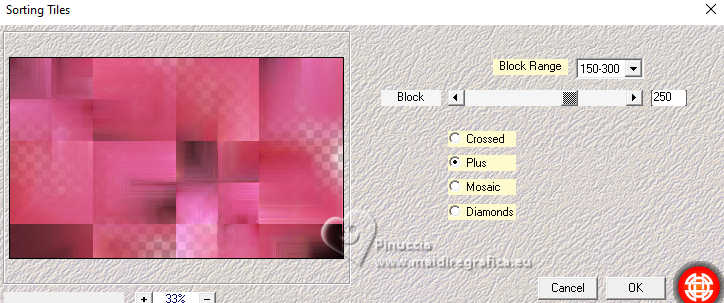
7. Effects>Geometric Effects>Skew.
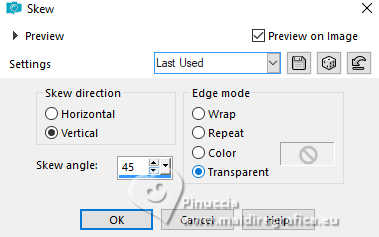
Repeat Effects>Geometric Effects>Skew, same settings.
Objects>Align>Left
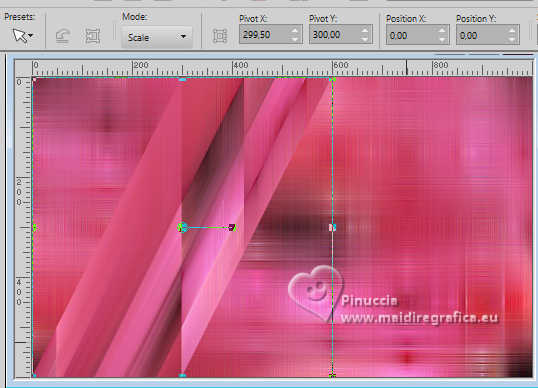
8. Effects>Distortion Effects>Ripple.
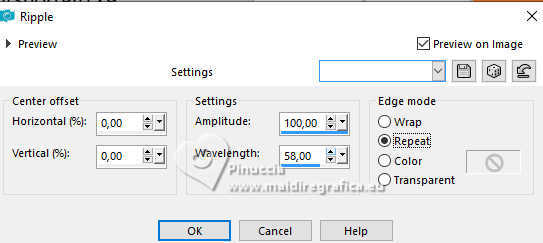
Layers>Duplicate.
Image>Mirror>Mirror horizontal.
Layers>Merge>Merge Down.
Effects>3D Effects>Drop shadow.

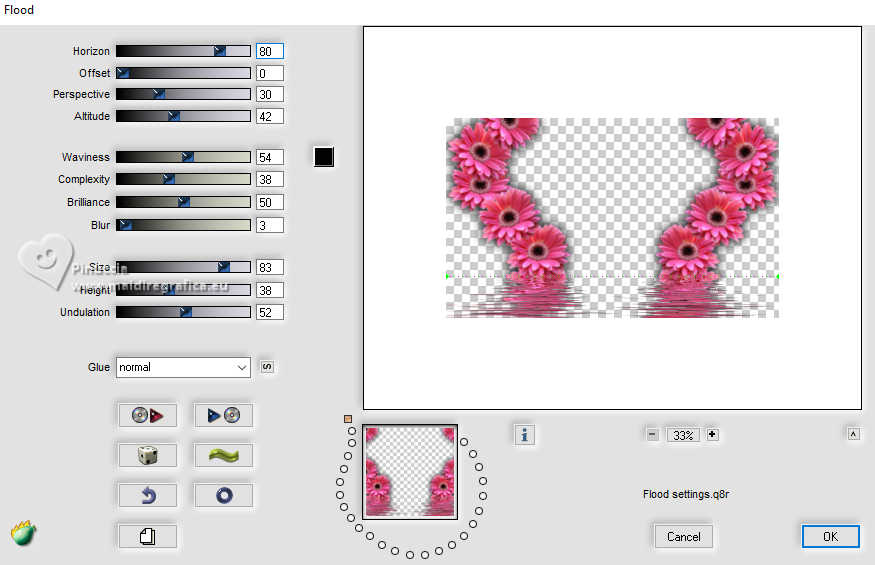
9. Effects>Plugins>Flaming Pear - Flood
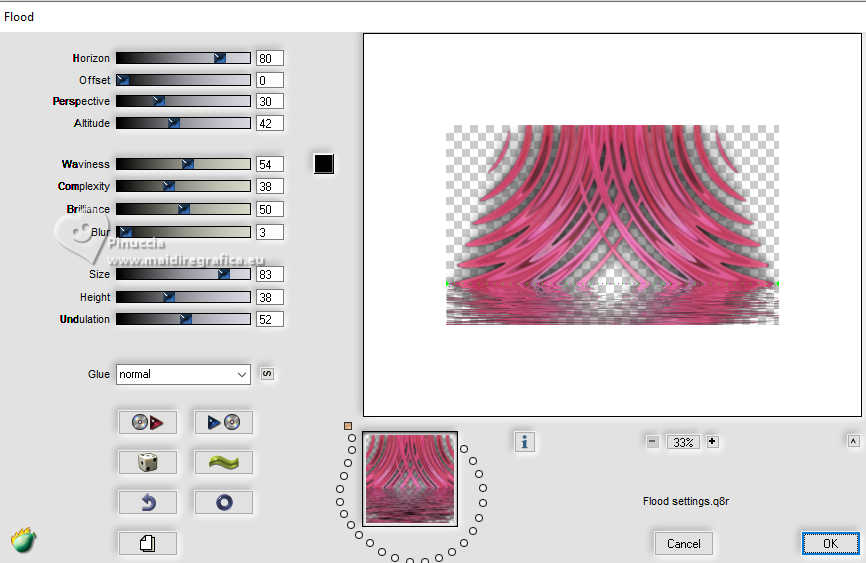
Minimize your work for a moment.
10. Open a new transparent image 200 x 176 pixels.
Selections>Select All.
Edit>Paste into Selection (your flower's tube 17G is still in memory).
Adjust>Sharpness>Sharpen More.
Selections>Select None.
Edit>Copy.
11. Go back to your work and go to Edit>Paste as new layer.
Effects>Plugins>Mura's Meister - Copies.
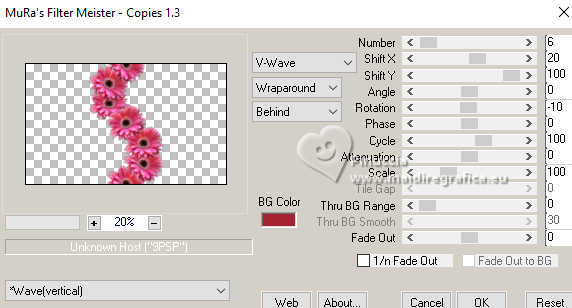
12. Objects>Align>Left
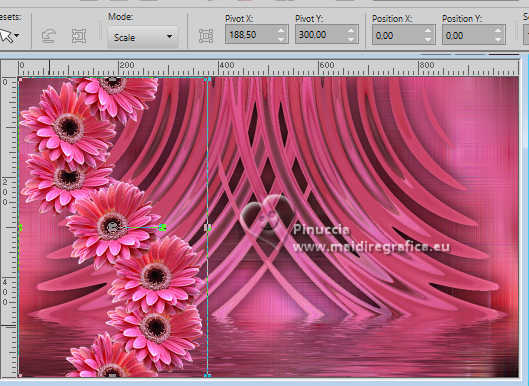
Layers>Duplicate.
Image>Mirror>Mirror Horizontal.
Layers>Merge>Merge Down.
13. Activate your Magic Wand Tool 

Click to the right and to the left of the flowers.
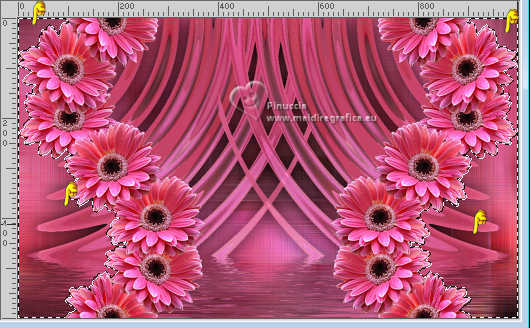
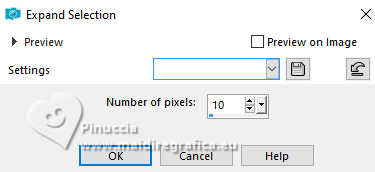
Selections>Modify>Expand - 10 pixels
Layers>New Raster Layer.
Flood Fill  the layer with your Gradient. the layer with your Gradient.
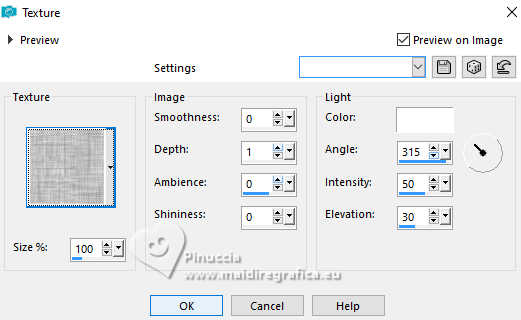
Effects>Texture Effects>Texture - select the texture Corel_15_021 or Hatch Fine.
Selections>Select None.
Layers>Arrange>Move Down.
14. Effects>Plugins>Flaming Pear - Flood, same settings.

Change the Blend Mode of this layer to Difference, or to your liking
(for my version, I used Multiply).
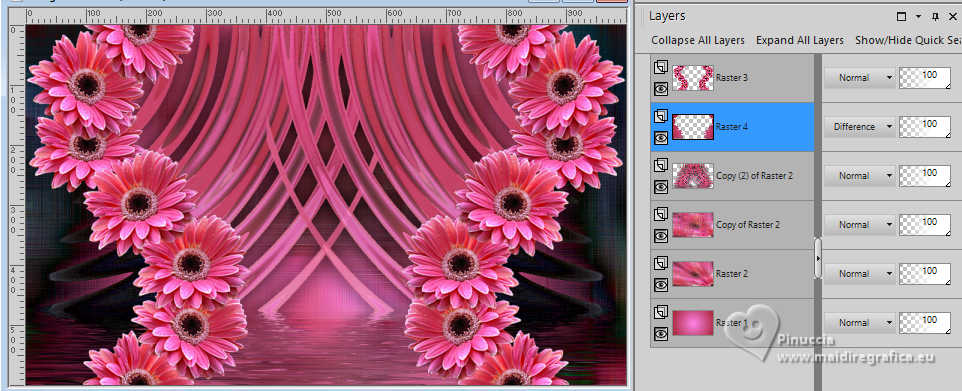
15. Activate your top layer, Raster 3.
Effects>3D Effects>Drop Shadow, same settings.

Effects>Plugins>Flaming Pear - Flood, same settings.
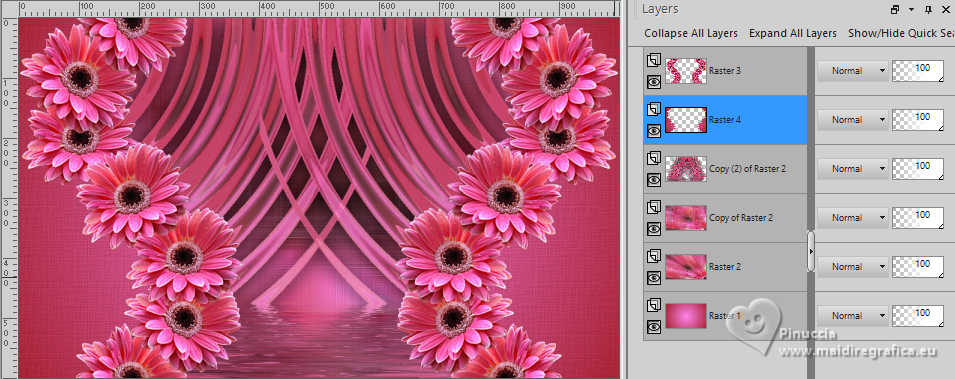
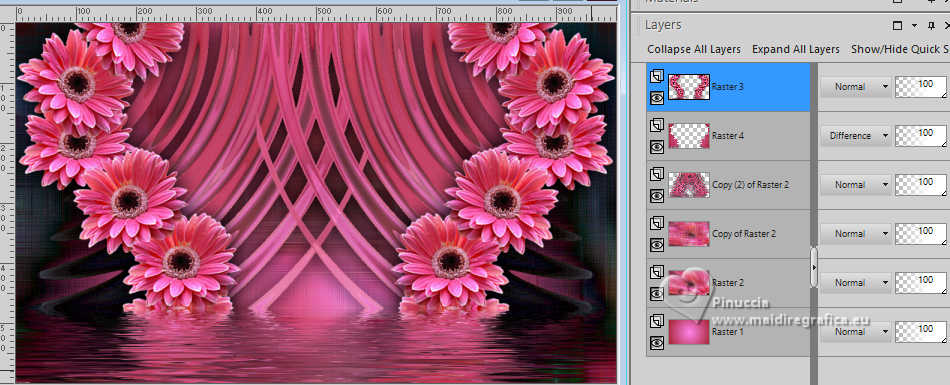
Your tag and the layers
16. Edit>Copy Special>Copy Merged.
Image>Add borders, 1 pixel, symmetric, dark color #a62332.
Image>Add borders, 3 pixels, symmetric, light color #fd84e8.
Image>Add borders, 1 pixel, symmetric, dark color #a62332.
17. Selections>Select All.
Image>Add borders, 50 pixels, symmetric, whatever color.
Selections>Invert.
Edit>Paste into Selection.
18. Adjust>Blur>Gaussian Blur - radius 30

Effects>Plugins>AAA Frames - Foto Frame.
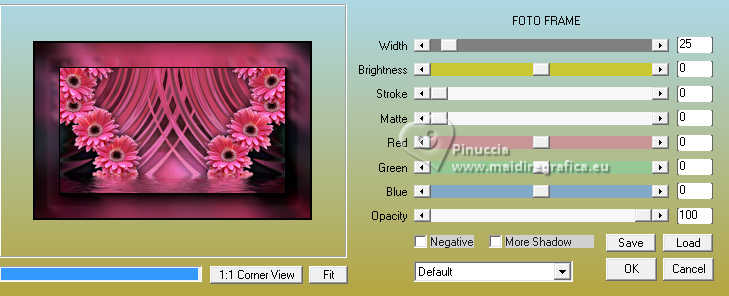
Selections>Invert.
Effects>3D Effects>Drop Shadow, same settings.

Selections>Select None.
19. Open LuzCristina_titulo_Inacia 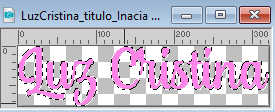
Colorize with one of your color.
Edit>Copy.
Go back to your work and go to Edit>Paste as new layer.
Effects>3D Effects>Drop Shadow and/or effects to your liking.
20. Open your main tube 7257-Luz Cristina 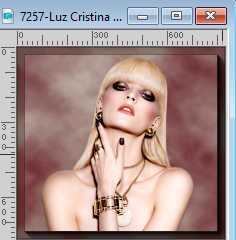
Edit>Copy.
Go back to your work and go to Edit>Paste as new layer.
Image>Resize, if necessary - for the supplied tube to 80%, resize all layers not checked.
Adjust>Sharpness>Sharpen.
Move  the tube to the left side. the tube to the left side.
Effects>3D Effects>Drop Shadow and/or effects to your liking.
21. Image>Add borders, 1 pixel, symmetric, color black #000000.
22. Image>Resize, if you want, resize all layers checked.
Sign your work and save as jpg.
For the tubes of these versions thanks Luz Cristina;
for the flowers thanks
Maryse

Gabry


 Your versions. Thanks Your versions. Thanks
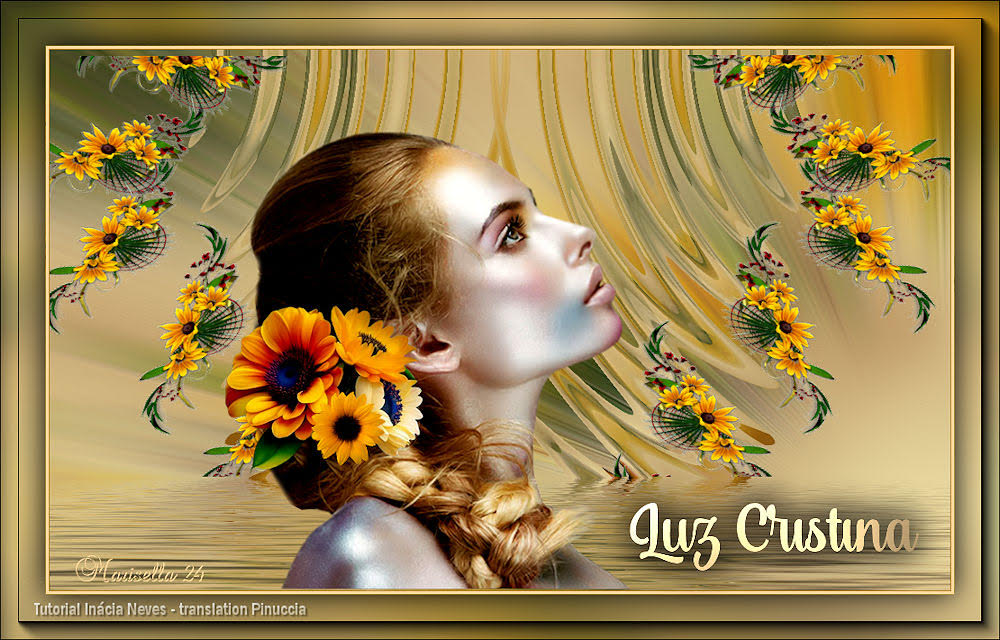
Marisella

Renée
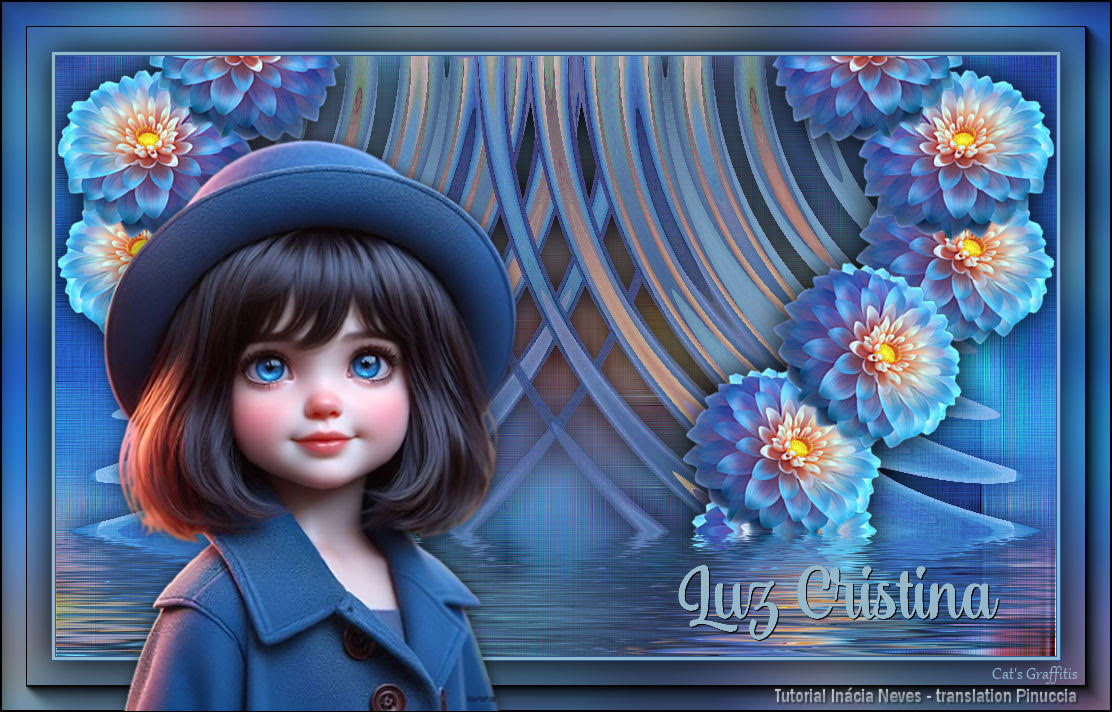
Cat's Graffitis
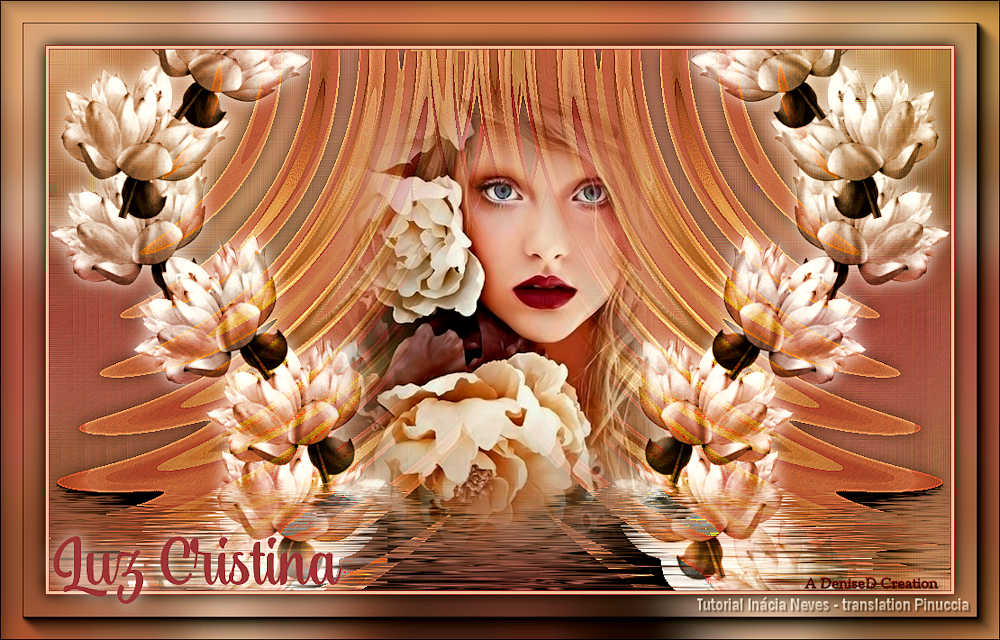
DeniseD
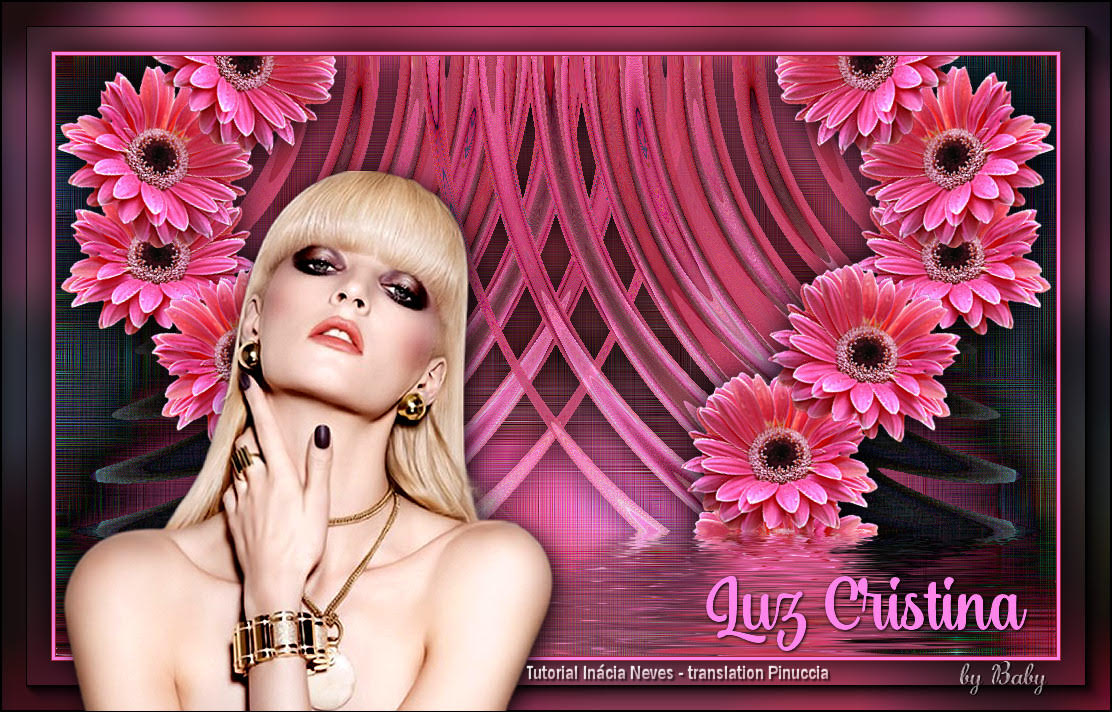
Baby

Baby
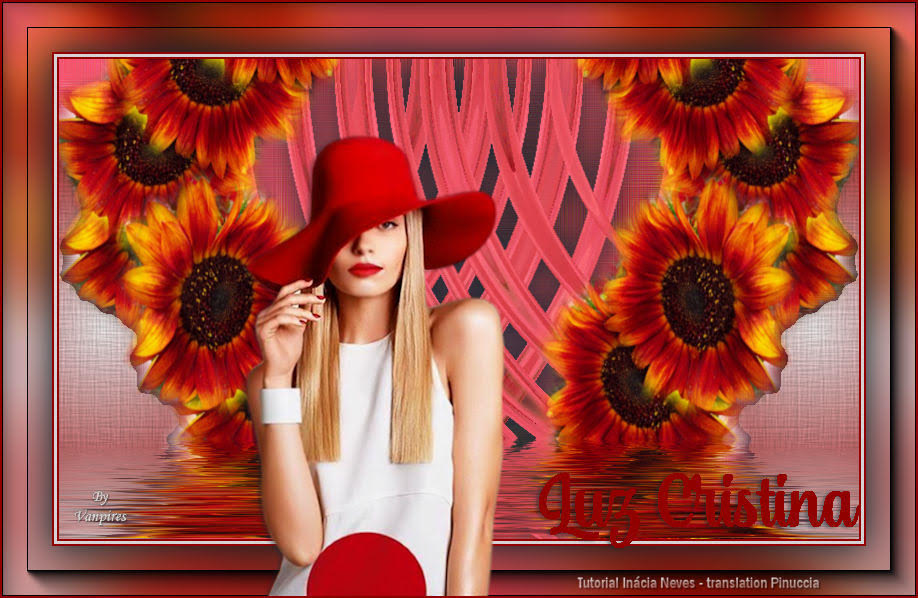
Vanpires

Di@ne
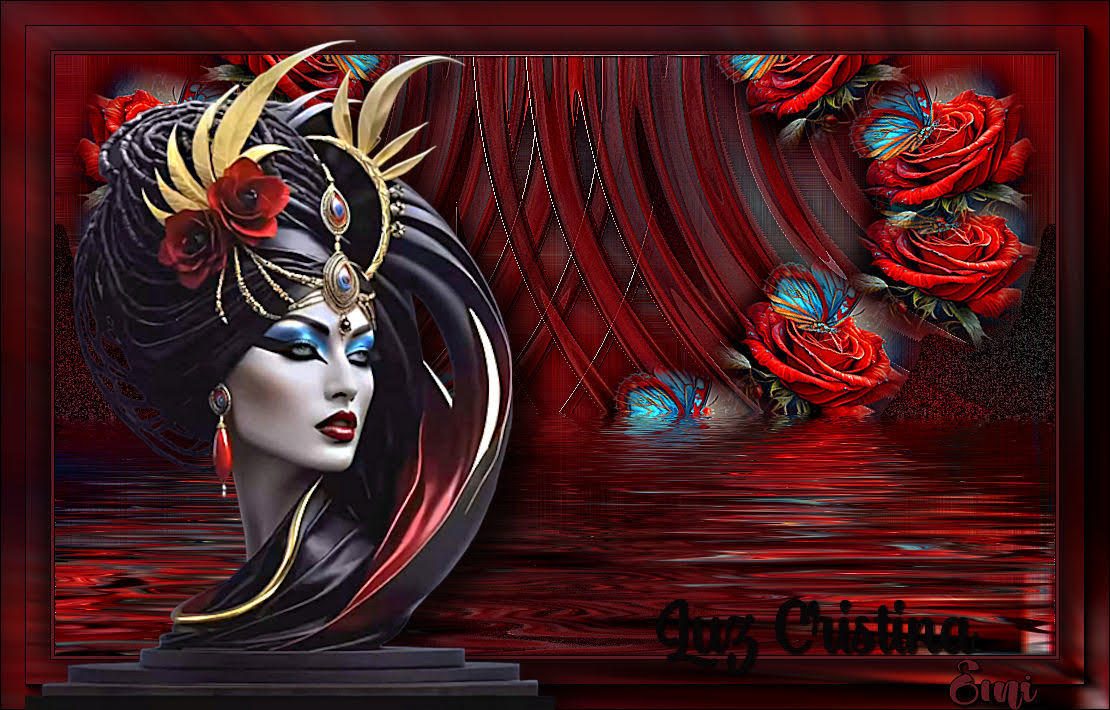
Emi
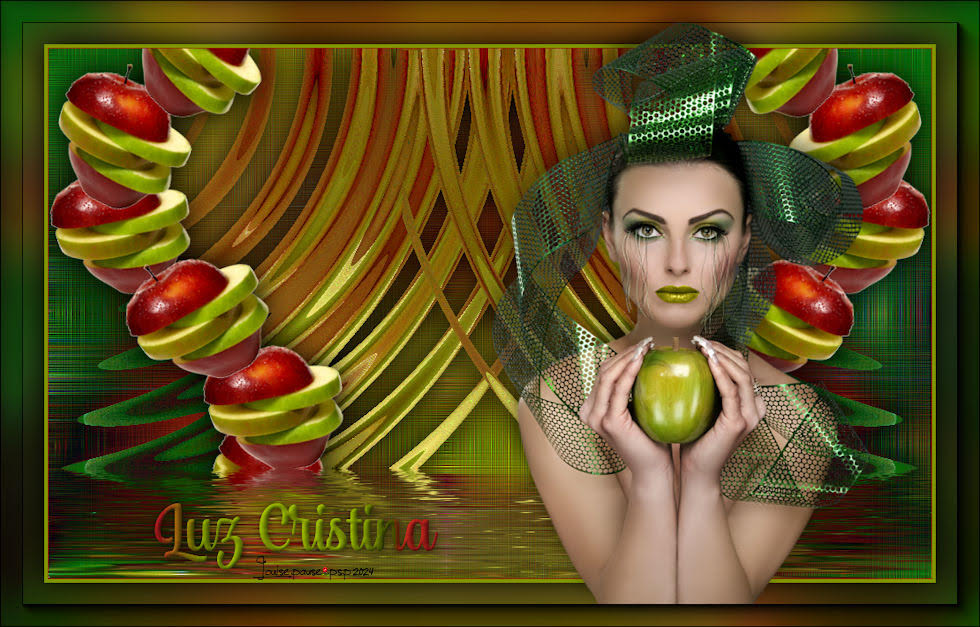
Louise


If you have problems or doubts, or you find a not worked link, or only for tell me that you enjoyed this tutorial, write to me.
30 January 2024

|

