|
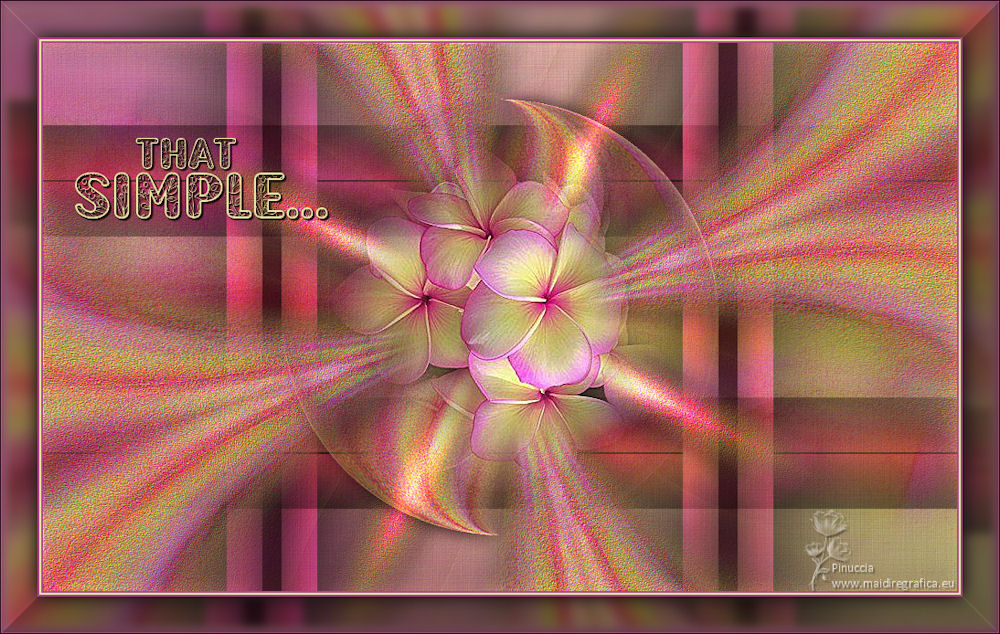
THAT SIMPLE


Thanks SIM PSP Group for your invitation to translate your tutorials into english

This tutorial was written with Psp2022 and translated with PspX7, but it can also be made using other versions of PSP.
Since version PSP X4, Image>Mirror was replaced with Image>Flip Horizontal,
and Image>Flip with Image>Flip Vertical, there are some variables.
In versions X5 and X6, the functions have been improved by making available the Objects menu.
In the latest version X7 command Image>Mirror and Image>Flip returned, but with new differences.
See my schedule here
For this tutorial, you will need:

The material is by Inacia.
(The links of the tubemakers here).
Plugins
consult, if necessary, my filter section here
FM Tile Tools - Saturation Emboss, Blend Emboss here

You can change Blend Modes according to your colors.
In the newest versions of PSP, you don't find the foreground/background gradient (Corel_06_029).
You can use the gradients of the older versions.
The Gradient of CorelX here

Copy the preset Edge Enhance in the Presets Folder.
1. Choose 2 colors from your material.
Set your foreground color to #ad4b88,
and your background color to #e8e4a5.
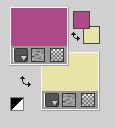
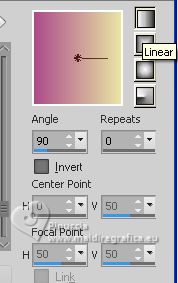
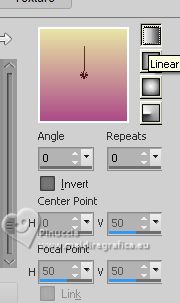
Set your foreground color to a Foreground/Background Gradient, style Linear.
2. Open a new transparent image 1000 x 600 pixels.
Flood Fill  the transparent image with your Gradient. the transparent image with your Gradient.
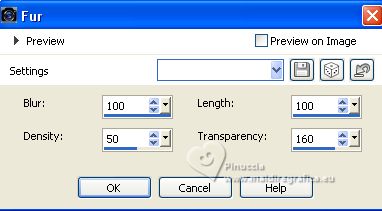
3. Effects>Texture Effects>Fur
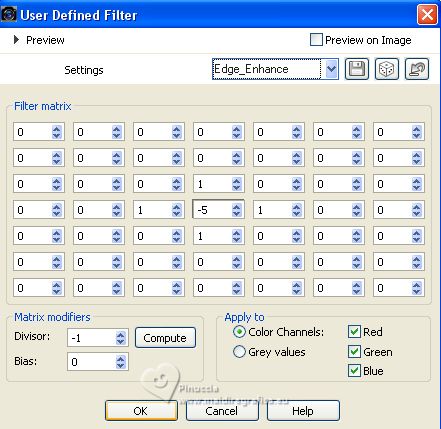
4. Effects>User Defined Filter - Select the preset Edge Enhance and ok.
5. Change the settings of your Gradient, angle 0
Layers>New Raster Layer.
Flood Fill  the layer with your Gradient. the layer with your Gradient.
6. Effects>Texture Effects>Fur, same settings

7. Effects>User Defined Filter - Select the preset Edge Enhance and ok.

Change the Blend Mode of this layer to Luminance (L) and reduce the opacity to 50%.
8. Layers>New Raster Layer.
Selections>Select All.
Open the flowers misted IN_008_Flor 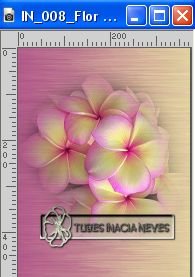
Edit>Copy.
Go back to your work and go to Edit>Paste Into Selection.
Selections>Select None.
Effects>Image Effects>Seamless Tiling - side by side

9. Adjust>Blur>Radial Blur

Layers>Duplicate.
Image>Mirror>Mirror Horizontal.
Reduce the opacity of this layer to 50%.
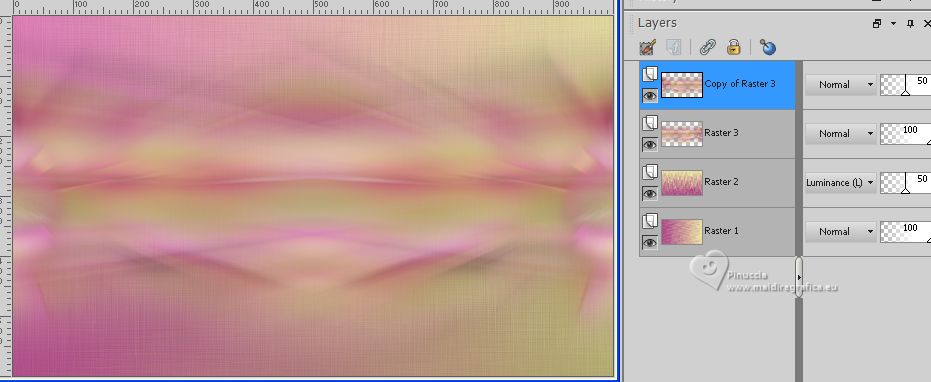
Layers>Merge>Merge Down.
10. Adjust>Add/Remove Noise>Add Noise.
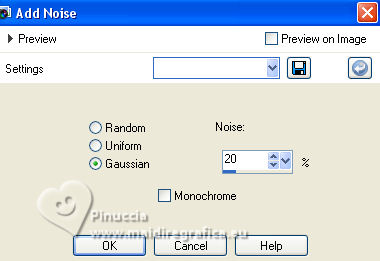
Effects>Plugin>FM Tile Tools>Saturation Emboss, default settings.

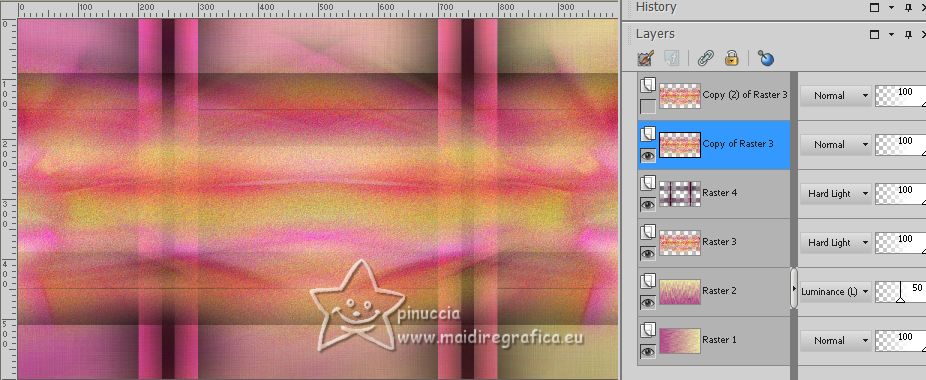
11. Layers>Duplicate - 2 times.
Close the layers of the copies and activate the layer original, Raster 3.
Change the Blend Mode of this layer to Hard Light.
12. Layers>New Raster Layer.
Selection Tool 
(no matter the type of selection, because with the custom selection your always get a rectangle)
clic on the Custom Selection 
and set the following settings.
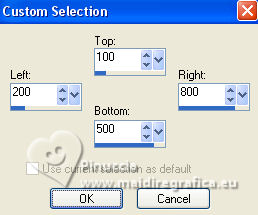
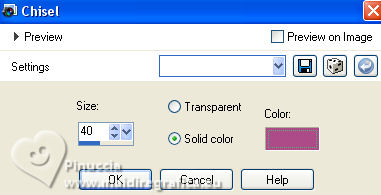
Effects>3D Effects>Chisel, foreground color
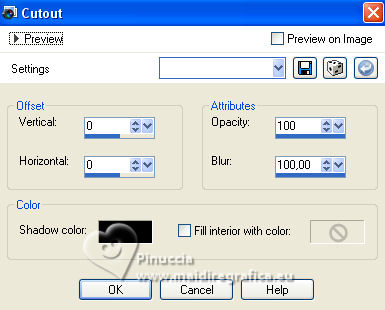
13. Effects>3D Effects>Cutout
Selections>Select None
Effects>Image Effects>Seamless Tiling
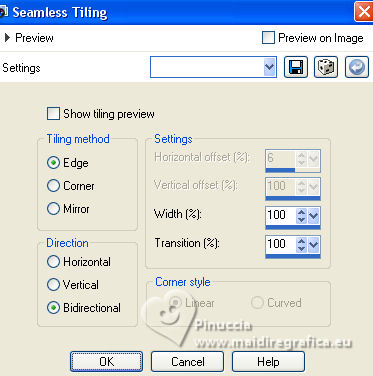
Layers>Duplicate.
Image>Mirror>Mirror Horizontal.
Image>Flip Vertical.
Layers>Merge>Merge Down.
Change the Blend Mode of this layer to Hard Light.
14. Open and activate the layer Copy of Raster 3.
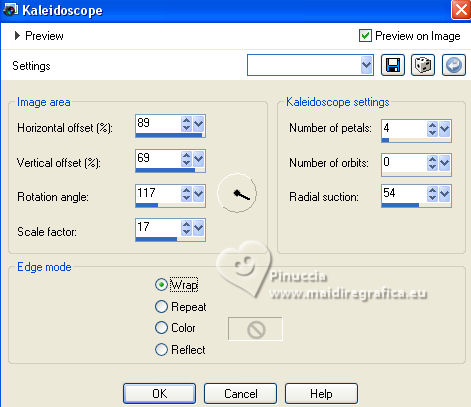
Effects>Reflection Effects>Kaleidoscope
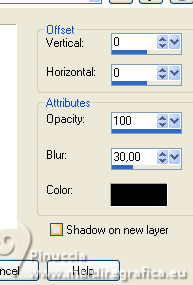
Effects>3D Effects>Drop Shadow, color black.
Effects>Plugin>FM Tile Tools>Blend Emboss, default settings.

15. Open and activate the layer Copy(2) of Raster 3.
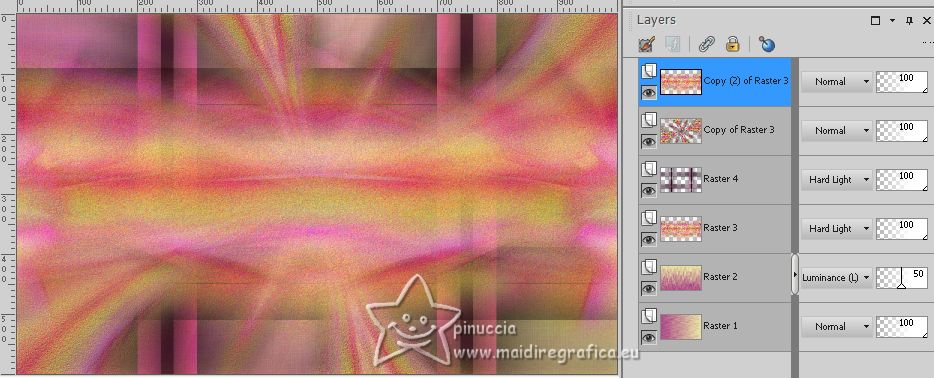
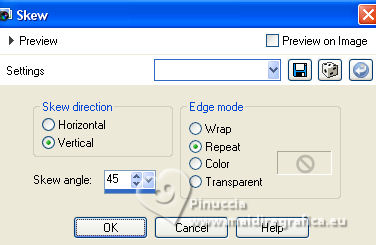
Effects>Geometric Effects>Skew
Effects>Geometric Effects>Circle

Image>Resize, to 80%, resize all layers not checked.
Effects>3D Effects>Drop Shadow, color black.

Édition>Repeat Drop Shadow.
Adjust>Sharpness>Sharpen More.
16. Edit>Paste as new layer (the flowers misted is still in memory).
(If you use the supplied tube, it is not necessary to resize it;
if you use another tube, resize it to be in the center of the effect ).
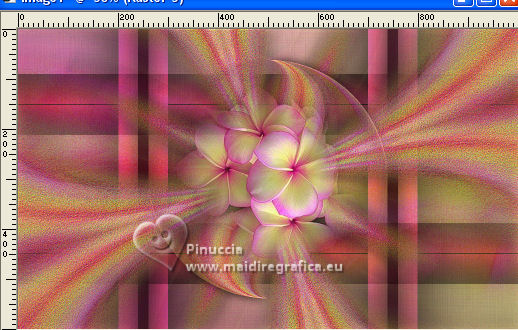
Adjust>Sharpness>Sharpen More.
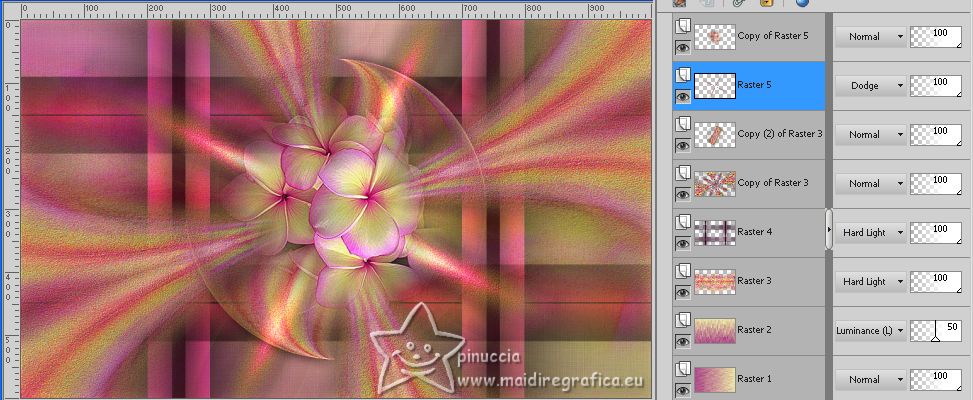
17. Layers>Duplicate.
Activate the layer below of the original, Raster 5.
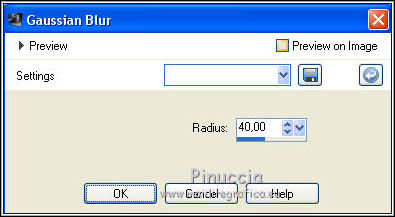
Adjust>Blur>Gaussian Blur - radius 40
Effects>Reflection Effects>Kaleidoscope

Change the Blend Mode of this layer to Dodge.
18. Image>Add borders, 2 pixels, symmetric, dark color #ad4b88.
Image>Add borders, 2 pixels, symmetric, light color #e8e4a5.
Image>Add borders, 2 pixels, symmetric, dark color #ad4b88.
Selections>Select All.
Edit>Copy.
19. Image>Add borders, 40 pixels, whatever color.
Selections>Invert.
Edit>Paste into Selection
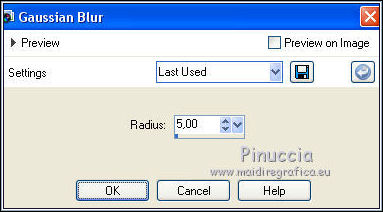
Adjust>Blur>Gaussian Blur - radius 5.
20. Selections>Invert.
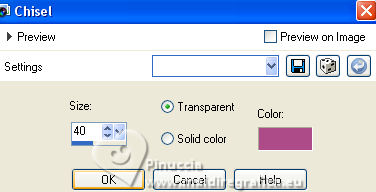
Effects>3D Effects>Chisel, Transparent checked.
Effects>3D Effects>Drop Shadow, color black.

Selections>Select None
21. Open Título_Inácia 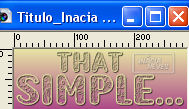
Edit>Copy.
Go back to your work and go to Edit>Paste as new layer.
K key on the keyboard to activate your Pick Tool 
and set Position X: 81,00 and Position Y: 150,00.

Effects>3D Effects>Drop Shadow, at your choice.
22. Image>Add borders, 1 pixel, symmetric, color black.
23. Image>Resize, if you want, resize all layers checked.
Sign your work and save as jpg.
For the tube of this version thanks Silvie.
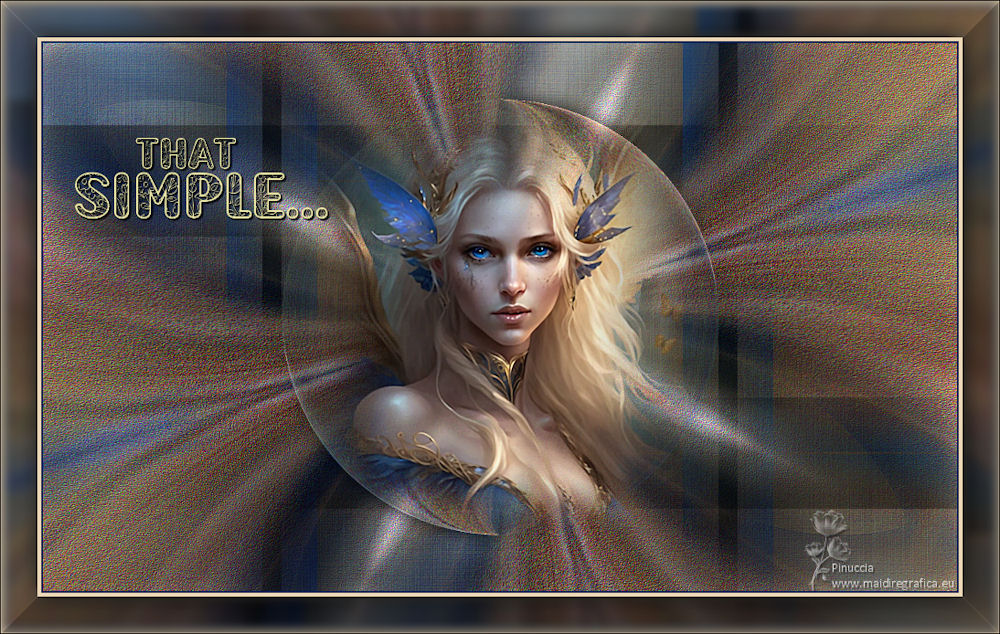

Your versions. Thanks
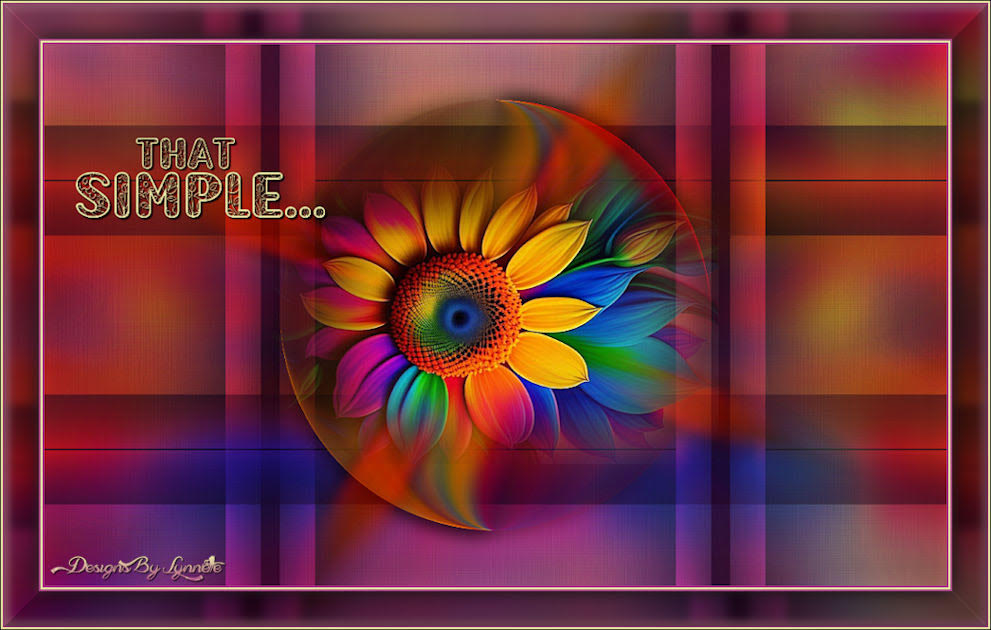
Lynnette
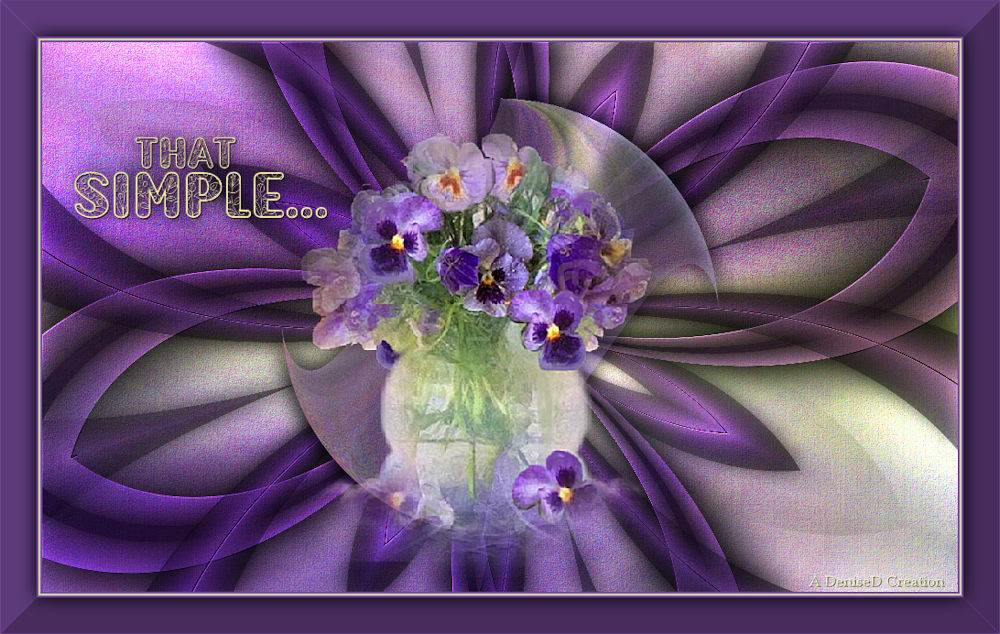
Denise
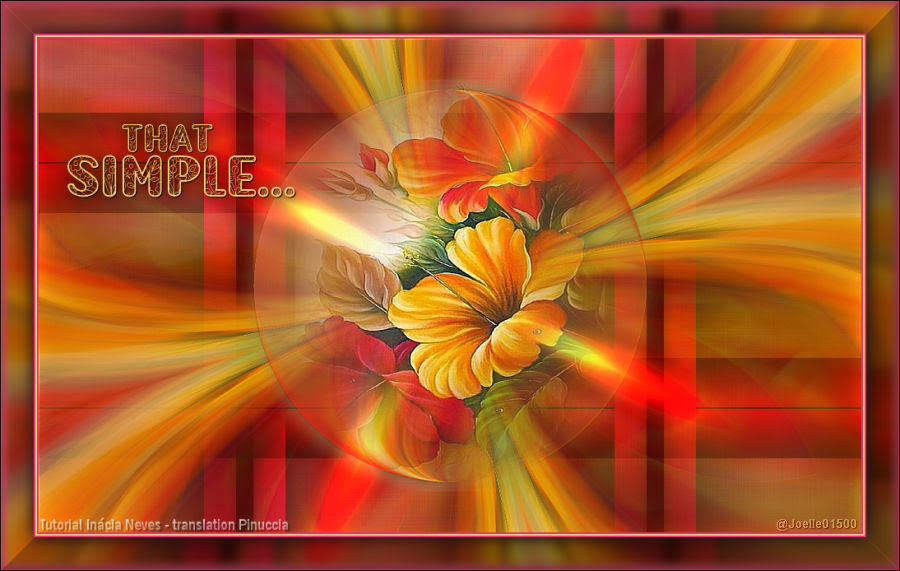
Joelle

Di@ne


If you have problems or doubts, or you find a not worked link, or only for tell me that you enjoyed this tutorial, write to me.
27 August 2023

|

