|
VIER JAHRE SIM PSP
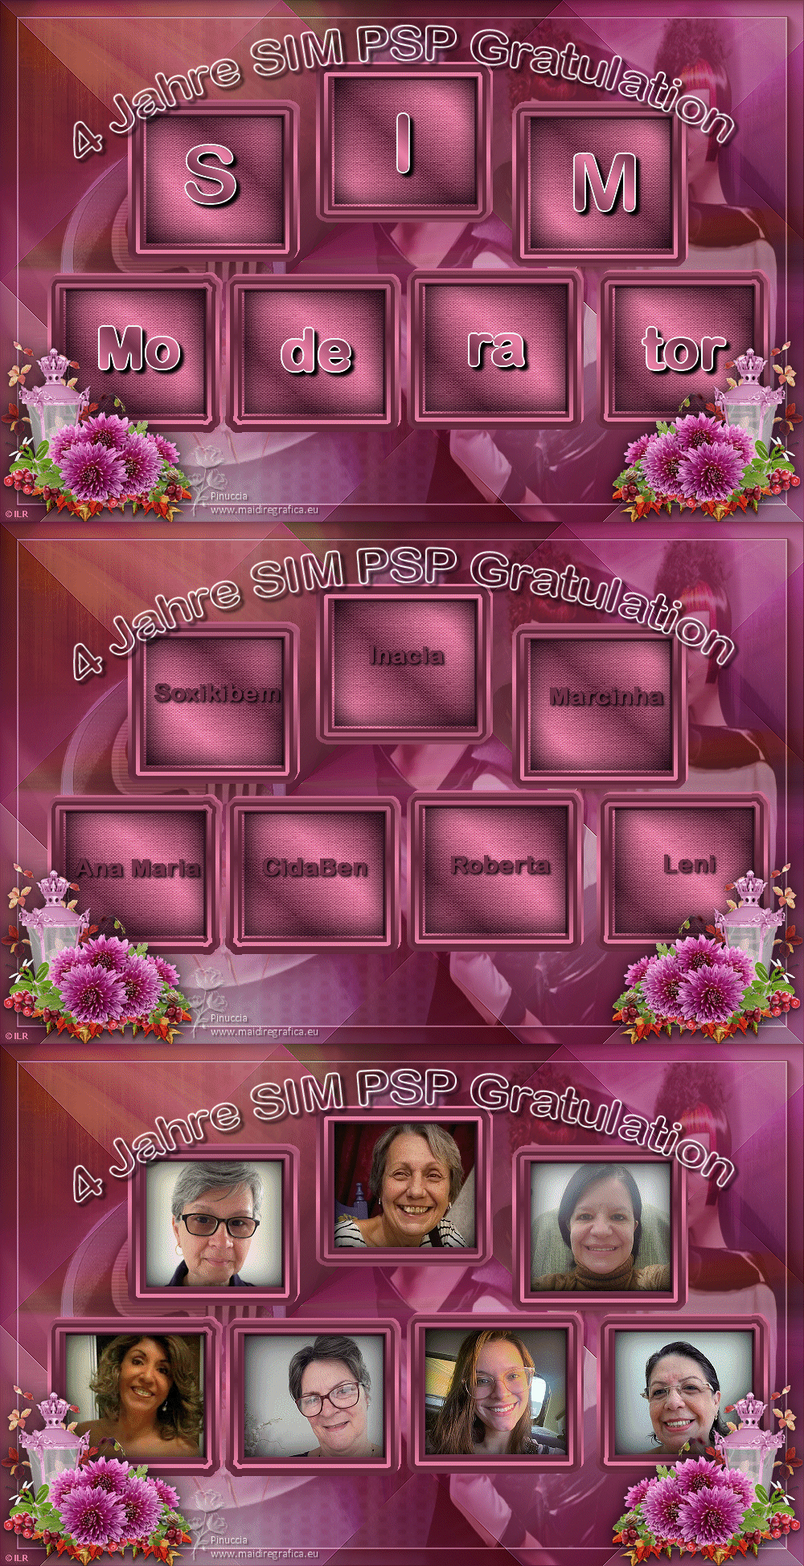
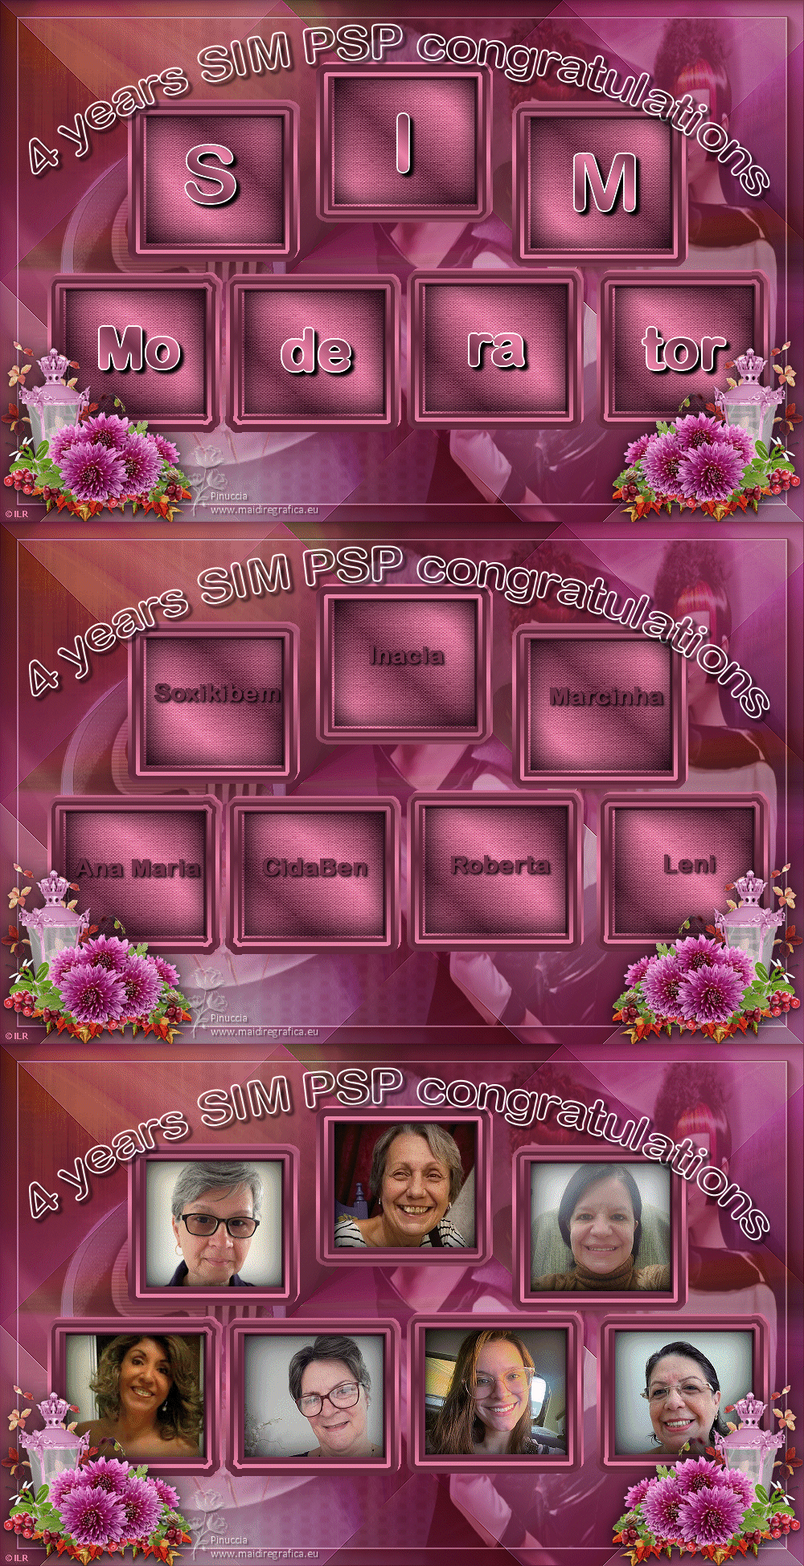
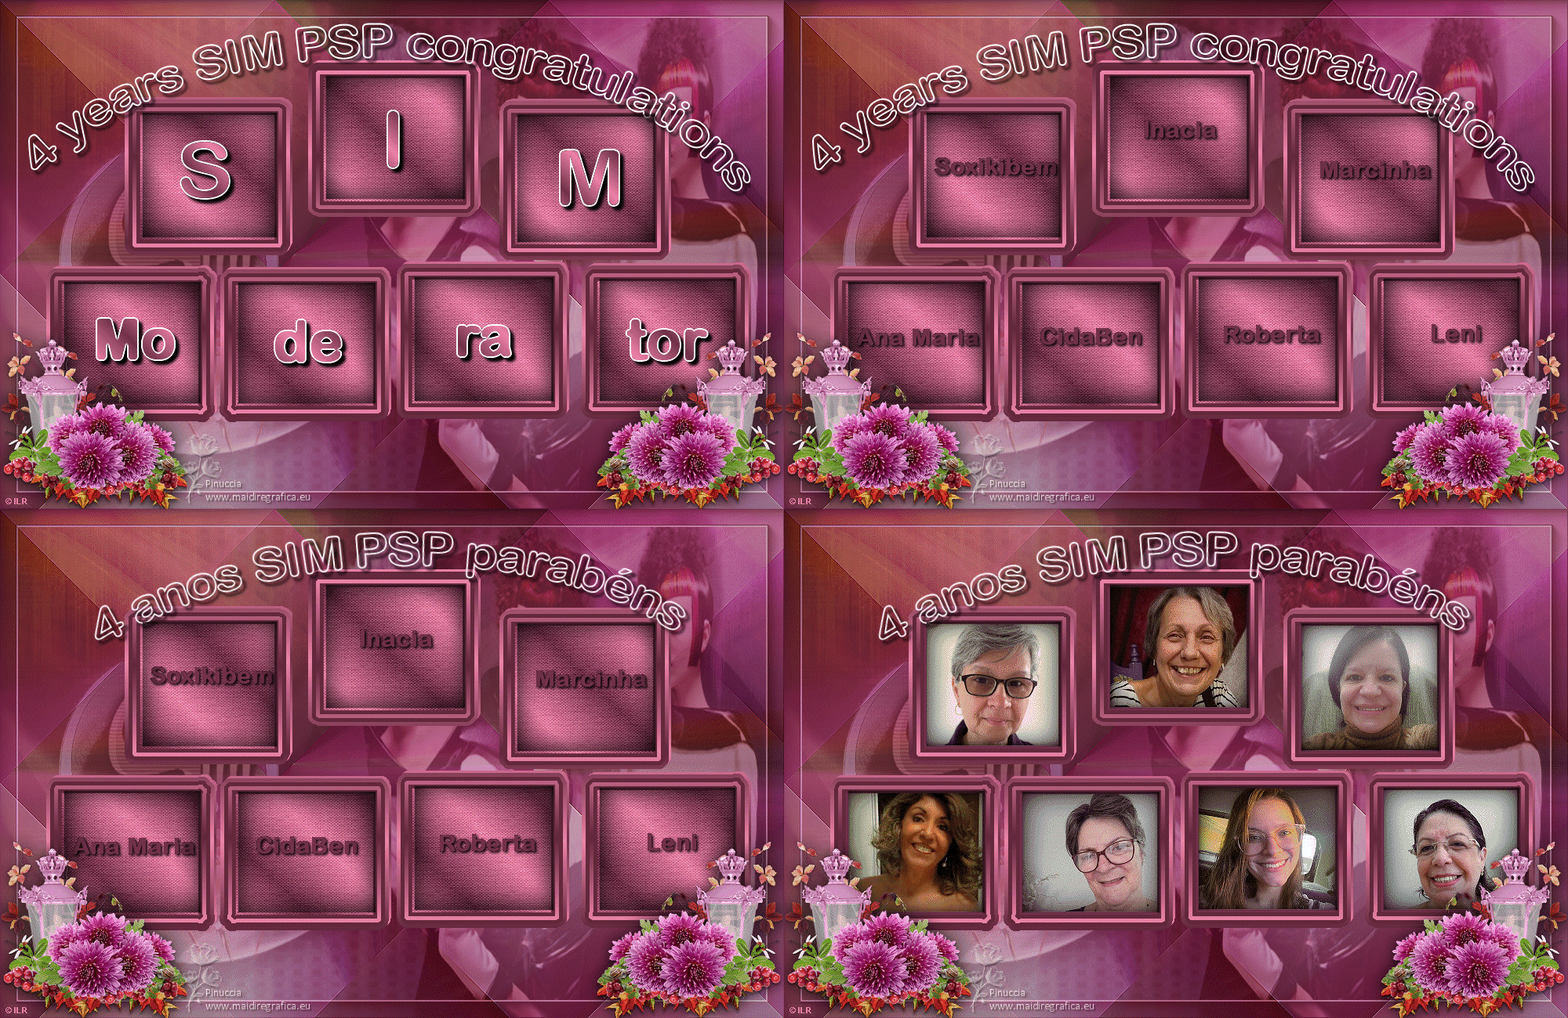
 4 YEARS SIM PSP CONGRATULATIONS 4 YEARS SIM PSP CONGRATULATIONS
Thanks Inge-lore for your invitation to translate your tutorials.

This tutorial was translated with PSPX, PSPX2, PSPX3, but it can also be made using other versions of PSP.
Since version PSP X4, Image>Mirror was replaced with Image>Flip Horizontal,
and Image>Flip with Image>Flip Vertical, there are some variables.
In versions X5 and X6, the functions have been improved by making available the Objects menu.
In the latest version X7 command Image>Mirror and Image>Flip returned, but with new differences.
See my schedule here
 Italian translation qui Italian translation qui
 French translation here French translation here
 Your versions ici Your versions ici
For this tutorial, you will need:
Material 
(you find here the links to the material authors' sites)

consult, if necessary, my filter section here
Filters Unlimited 2.0 here
AAA Frames - Foto Frame here
Mehdi - Sorting Tiles here
Animation Shop here

In the newest versions of PSP, you don't find the foreground/background gradient (Corel_06_029).
You can use the gradients of the older versions.
The Gradient of CorelX here

Copy the Selection in the Selections Folder.
Open the mask in PSP and minimize it with the rest of the material.
1. Choose 2 colors from your material;
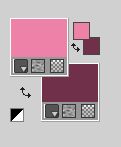
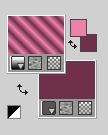
set your foreground color to the light color; for me #ee81a8
and your background color to the dark color; for me #713149
Open a new transparent image 1000 x 650 pixels.
Flood Fill  the transparent image with your dark color. the transparent image with your dark color.
Layers>New Raster Layer.
Selections>Select All.
Open your flowers tube 1 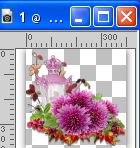
Edit>Copy.
Go back to your work and go to Edit>Paste into Selection.
Selections>Select None.
Effects>Image Effects>Seamless Tiling, default settings.

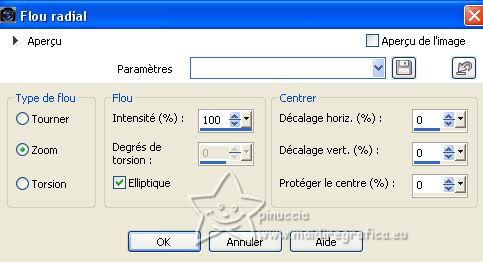
Adjust>Blur>Radial Blur.
2. Effects>Reflections Effects>Rotating Mirror, default settings.

Layers>Merge>Merge Down.
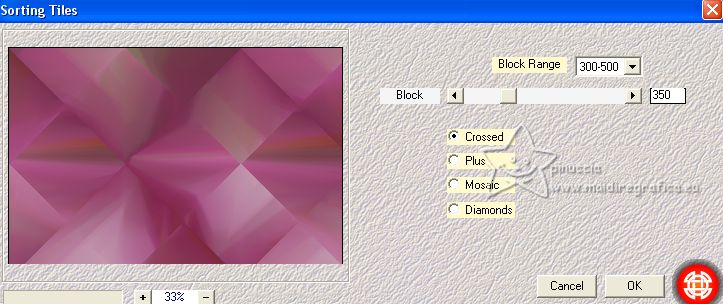
Effects>Plugins>Mehdi - Sorting Tiles.
Effects>Edge Effects>Enhance.
Layers>New Raster Layer.
Flood Fill  the layer with your light color. the layer with your light color.
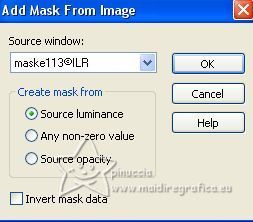
Layers>New Mask layer>From image
Open the menu under the source window and you'll see all the files open.
Select the mask maske113©ILR
Effects>Edge Effects>Enhance.
Layers>Merge>Merge Group.
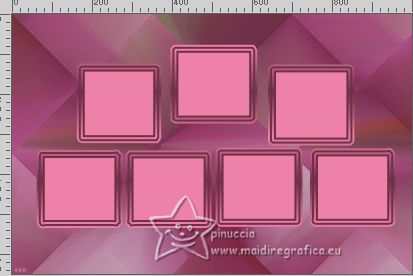
3. Set your foreground color to a Foreground/Background Gradient, style Linear.
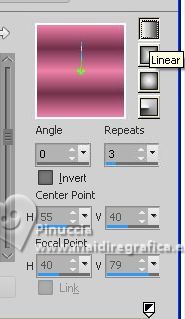
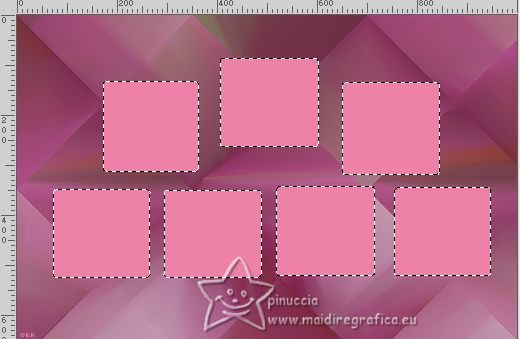
Activate your Magic Wand Tool 
and click in the frames to select them.
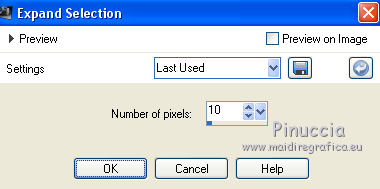
Selections>Modify>Expand - 10 pixels.
Layers>New Raster Layer.
Flood Fill  the selection with your gradient. the selection with your gradient.
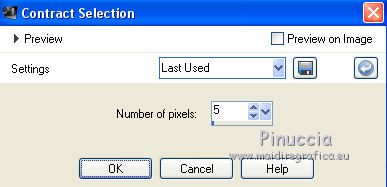
Selections>Modify>Contract - 5 pixels.
Press CANC on the keyboard 
4. Layers>New Raster Layer.
Flood Fill  with your dark background color. with your dark background color.
Selections>Modify>Contract - 5 pixels.
Flood Fill  the selection with your gradient. the selection with your gradient.
Selections>Modify>Contract - 5 pixels.
Flood Fill  the selection with your dark background color. the selection with your dark background color.
Selections>Modify>Contract - 5 pixels.
Set your foreground color to Color.
Flood Fill  the selection with your light foreground color. the selection with your light foreground color.
Selections>Select None.
Open deko-1 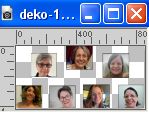
Edit>Copy.
Go back to your work and go to Edit>Paste as new layer.
K key to activate your Pick Tool 
Set Position X: 82,00 and Position Y: 96,00.

5. Open deko-2 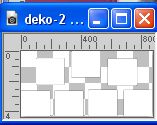
Edit>Copy.
Go back to your work and go to Edit>Paste as new layer.
Set Position X: 73,00 and Position Y: 88,00.

Selections>Select All.
Selections>Float.
Selections>Defloat.
Set again your foreground color to Gradient and change the settings.
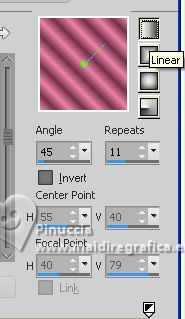
Flood Fill  the selection with your gradient. the selection with your gradient.
Effects>Plugins>Filters Unlimited 2.0 - Paper Texture - Canvas,Fine, default settings.
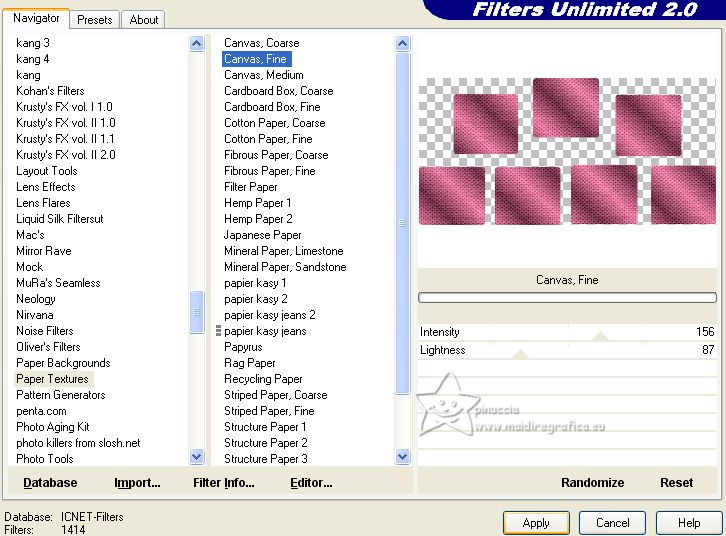
Selections>Select None.
Open deko-3 
Edit>Copy.
Go back to your work and go to Edit>Paste as new layer.
Set Position X: 229,00 and Position Y: 139,00.

6. Activate again your Magic Wand Tool 
and click in the lettres to select them.
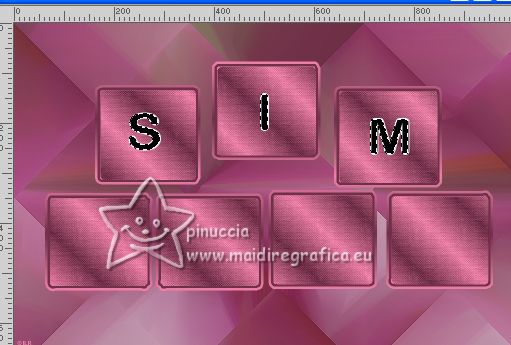
Flood Fill  the selection with your gradient. the selection with your gradient.
Selections>Select None.
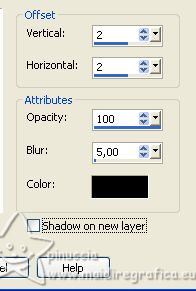
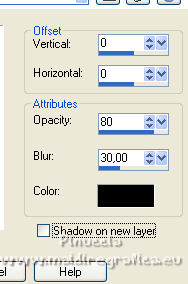
Effects>3D Effects>Drop shadow.
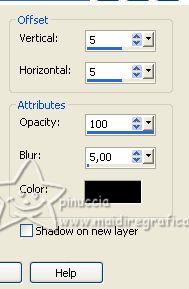
Open deko-4 
Edit>Copy.
Go back to your work and go to Edit>Paste as new layer.
K key to activate your Pick Tool 
Set Position X: 124,00 and Position Y: 407,00.

Selections>Select All.
Selections>Float.
Selections>Defloat.
7. Selections>Modify>Expand - 2 pixels.
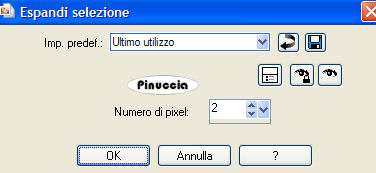
Set your foreground color to white.
Flood Fill  the selection with color white. the selection with color white.
Set again your background color to the initial dark color
Selections>Modify>Contract - 2 pixels.
Flood Fill  the selection with your gradient. the selection with your gradient.
Selections>Select None.
Effects>3D Effects>Drop shadow, same settings.
Open deko-5 
Edit>Copy.
Go back to your work and go to Edit>Paste as new layer.
K key to activate your Pick Tool 
Set Position X: 93,00 and Position Y: 154,00.

8. Selections>Select All.
Selections>Float.
Selections>Defloat.
Flood Fill  the selection with your gradient. the selection with your gradient.
Selections>Select None.
Effects>3D Effects>Drop shadow.
Open deko-6  (or a text in your language). (or a text in your language).
Edit>Copy.
Go back to your work and go to Edit>Paste as new layer.
K key to activate your Pick Tool 
Set Position X: 91,00 and Position Y: 30,00.

if you use the text in your language,
adapt the settings to your text
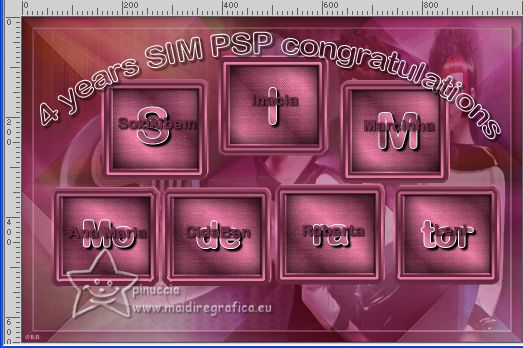
Effects>3D Effects>Drop shadow.

9. Open deko-7 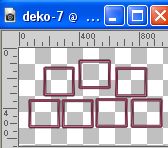
Edit>Copy.
Go back to your work and go to Edit>Paste as new layer.
Set Position X: 59,00 and Position Y: 80,00.

colorize, if you are using other colors
Layers>Arrange>Move Down.
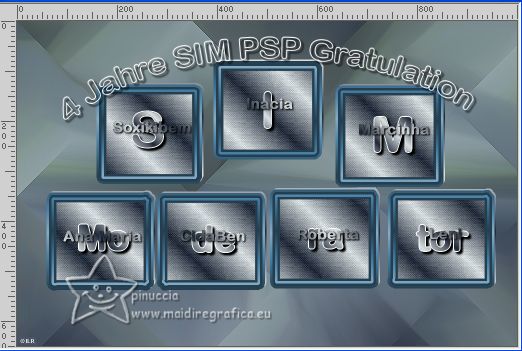
Activate your background layer, Raster 1.
Layers>New Raster Layer.
Selections>Select All.
Open the image fond 
Edit>Copy.
Go back to your work and go to Edit>Paste into Selection.
Selections>Select None.
Change the Blend Mode of this layer to Soft Light and reduce the opacity to 80%.
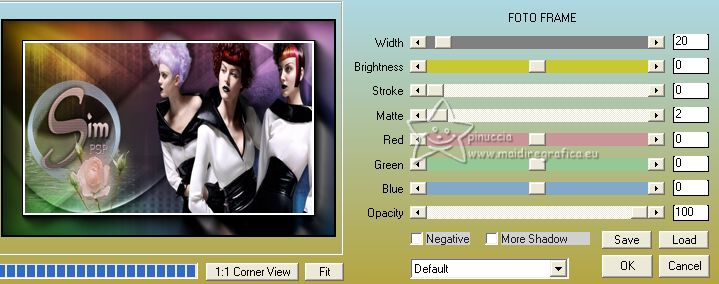
10. Effects>Plugins>AAA Frames - Foto Frame.
Activate your top layer.
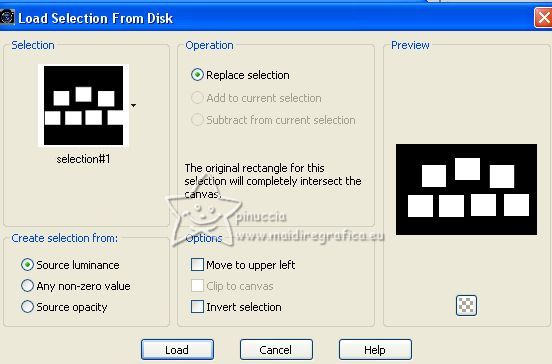
Selections>Load/Save Selection>Load Selection from Disk.
Look for and load the selection Selection #1
Layers>New Raster Layer.
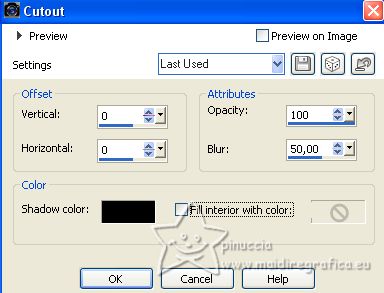
Effects>3D Effects>Cutout.
Selections>Select None.
11. Activate again your flowers tube and go to Edit>Copy.
Go back to your work and go to Edit>Paste as new layer.
Image>Resize, to your liking, for me 60%, resize all layers not checked.
Adjust>Sharpness>Sharpen.
Effects>3D Effects>Drop shadow.
Move  the tube at the bottom left or right. the tube at the bottom left or right.
Layers>Duplicate.
Image>Mirror.
Layers>Merge>Merge Down.
Sign your work on a new layer.
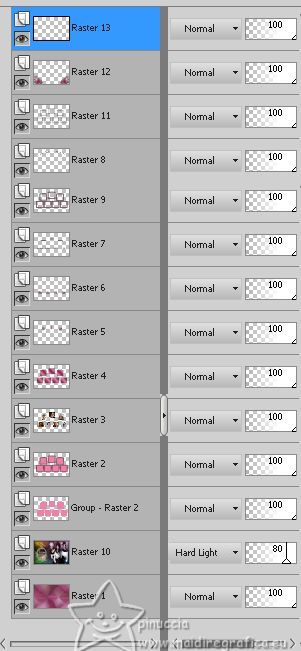
12. Animation with your text
If you want to realize the animation with your text and the portuguese text,
see step 14
Close the layer Raster 7.
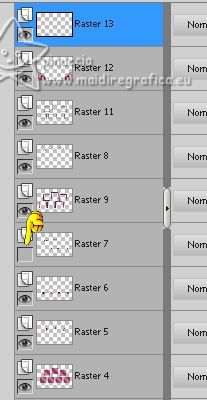
Edit>Copy Special>Copy Merged.
Open Animation Shop and go to Edit>Paste>Paste as new animation.
Go back to PSP.
Open the layer Raster 7 and close the layers Raster 5 and Raster 6.
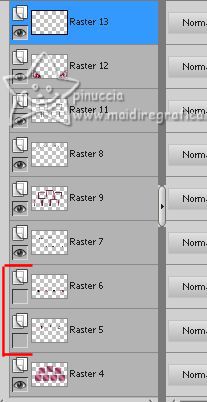
Edit>Copy Special>Copy Merged.
Go back to Animation Shop and go to Edit>Paste>Paste after the current frame.
13. Go back to PSP.
Close also the layers 4 and 7.
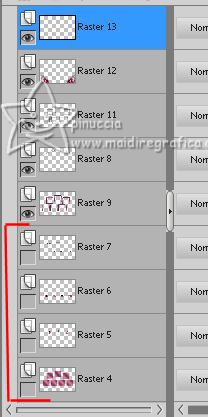
Edit>Copy Special>Copy Merged.
Go back to Animation Shop and go to Edit>Paste>Paste after the current frame.
Click on the first frame to select it.
Edit>Selection All.
Animation>Frame Properties and set the delay frame to 300.
Check your result clicking on View animation 
and save as gif
14. Animation with the two texts.
Activate the layer of your text, Raster 8.
Open tekst 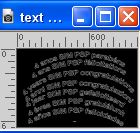
Select the layer with the portuguese text and go to Edit>Copy.
Go back to your work and go to Edit>Paste as new layer.
Place  correctly the text over yours. correctly the text over yours.

Close the portuguese text layer,
and the layer Raster 7.
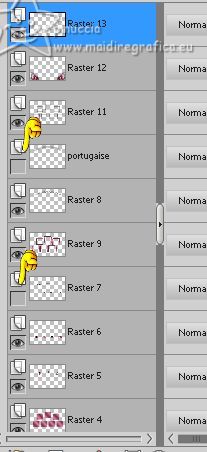
Edit>Copy Special>Copie Merged.
Open Animation Shop and go to Edit>Paste>Paster as new animation.
Go back to PSP.
Open the layer Raster 7 and close the layers Raster 5 and Raster 6.
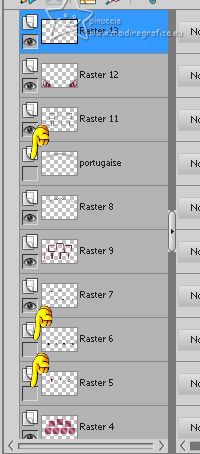
Edit>Copy Special>Copy Merged.
Go back to Animation Shop and go to Edit>Paste>Paste after the current frame.
In PSP.
Open the portuguese text layer,
and close the layer with your text.
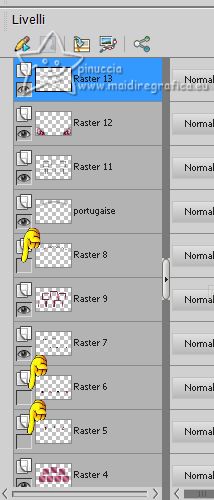
Edit>Copy Special>Copy Merged.
Go back to Animation Shop and go to Edit>Paste>Paste after the current frame.
In PSP.
Close also the layers Raster 4 and Raster 7.
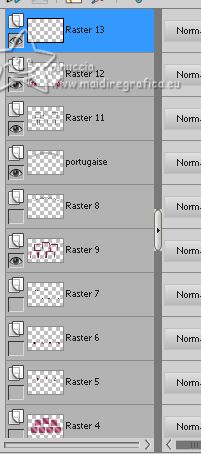
Edit>Copy Special>Copy Merged.
Go back to Animation Shop and go to Edit>Paste>Paste after the current frame.
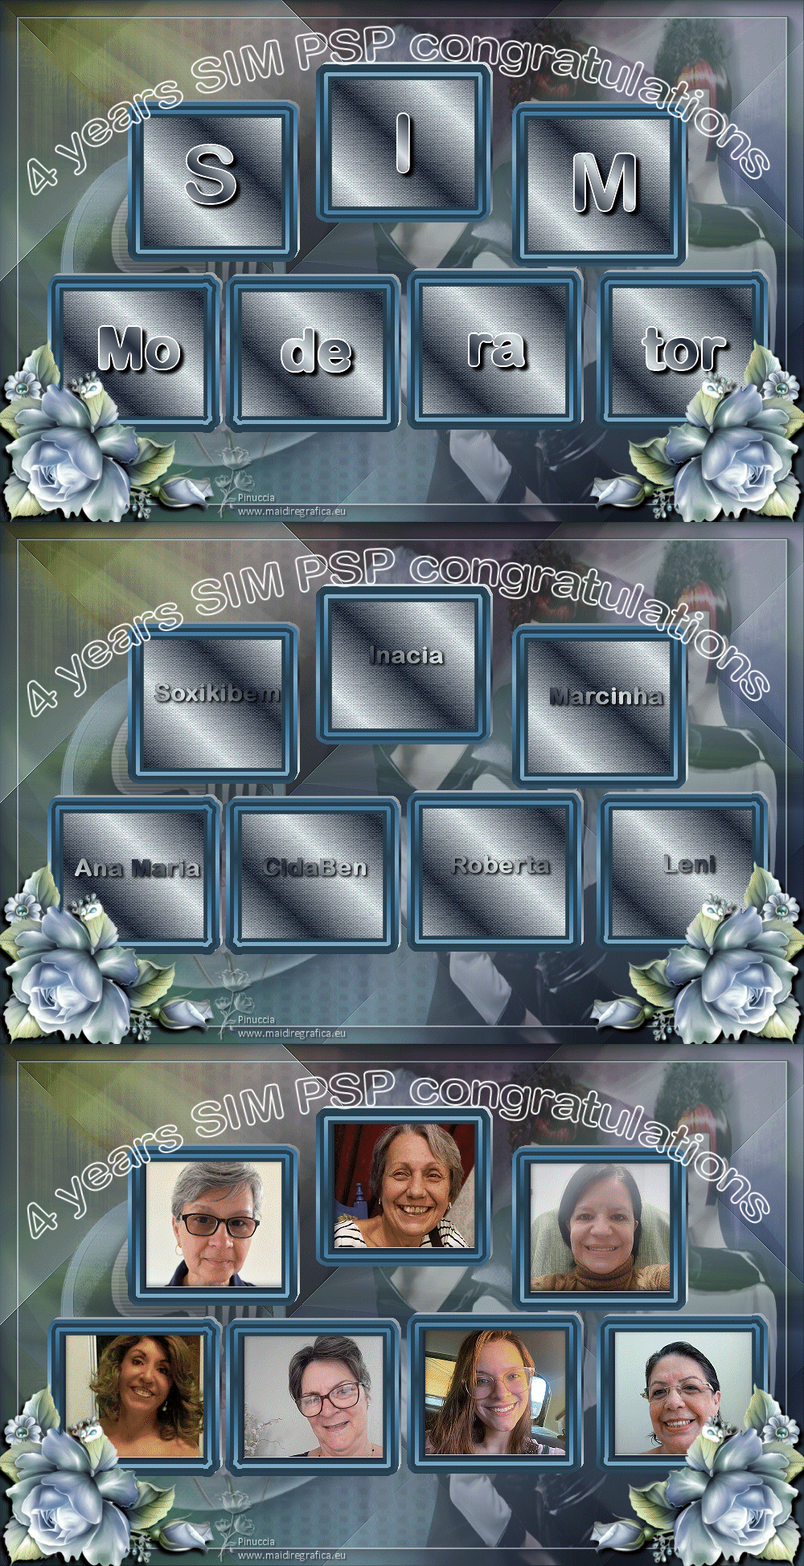
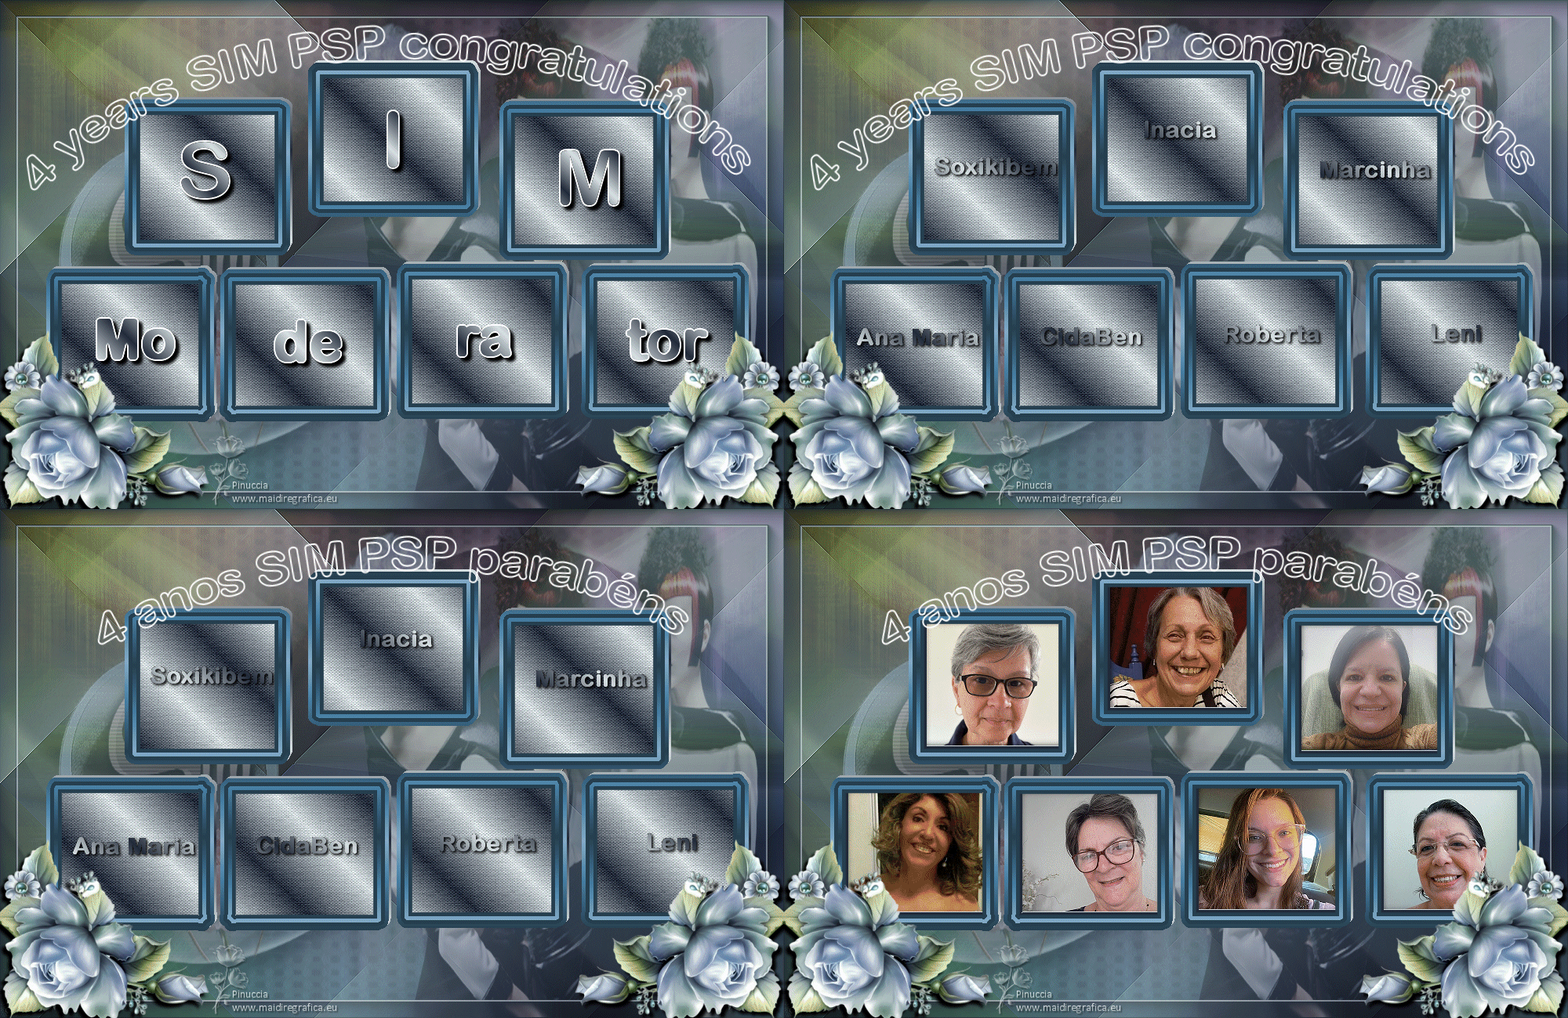
And now you have an animation composed by 4 frames.
Click on the frames 1 and 4 and set frame delay to 300.
Click on the frames 2 and 3 and set frame delay to 150.

Check your result clicking on View animation 
and save as gif
For the tube of this version thanks NaiseM.

If you have problems or doubts, or you find a not worked link, or only for tell me that you enjoyed this tutorial, write to me.
28 June 2023

|
 4 YEARS SIM PSP CONGRATULATIONS
 4 YEARS SIM PSP CONGRATULATIONS