|
ANASTASIA

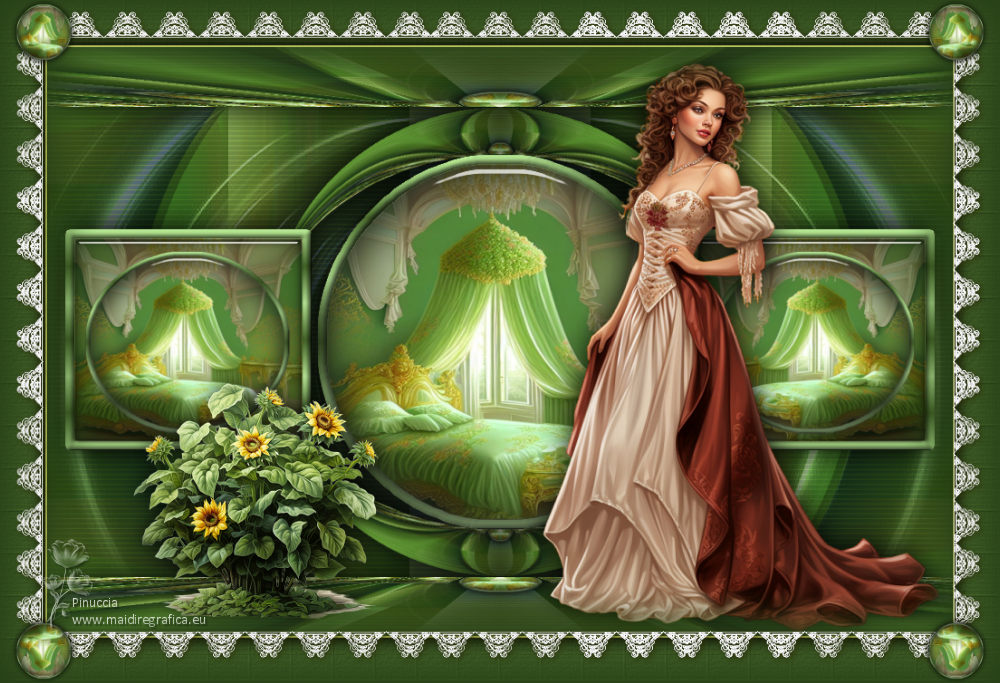
Thanks Inge-lore for your invitation to translate your tutorials.

This tutorial was translated with PSPX, PSPX2, PSPX3, but it can also be made using other versions of PSP.
Since version PSP X4, Image>Mirror was replaced with Image>Flip Horizontal,
and Image>Flip with Image>Flip Vertical, there are some variables.
In versions X5 and X6, the functions have been improved by making available the Objects menu.
In the latest version X7 command Image>Mirror and Image>Flip returned, but with new differences.
See my schedule here
 Italian translation qui Italian translation qui
 French translation here French translation here
 Your versions ici Your versions ici
Material:
Tube at your choice (the tube used by Inge-Lore is under licence)
The rest of the material here
Thanks for a deco Sweety and for the mask Narah.
(you find here the links to the material authors' sites)

consult, if necessary, my filter section here
Filters Unlimited 2.0 here
Mehdi - Sorting Tiles here
Mura's Meister - Perspective Tiling here
Simple - Top Left Mirror here
Alien Skin Eye Candy 5 Impact - Glass here
Filters Simple can be used alone or imported into Filters Unlimited.
(How do, you see here)
If a plugin supplied appears with this icon  it must necessarily be imported into Unlimited it must necessarily be imported into Unlimited

You can change Blend Modes according to your colors.
In the newest versions of PSP, you don't find the foreground/background gradient (Corel_06_029).
You can use the gradients of the older versions.
The Gradient of CorelX here

Copy the Selection in the Selection Folder.
Copy the Texture Ligne texture in the Texture Folder.
Open the mask in PSP and minimize it with the rest of the material.
1. Choose from your tubes a light and a dark colors.
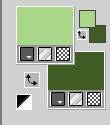
Open a new transparent image 1000 x 650 pixels.
Selections>Select All.
Open your background image 9bee57de86ac... 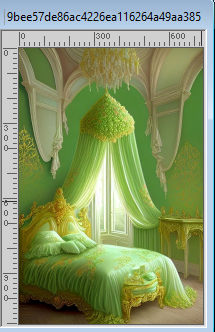
Edit>Copy.
Go back to your work and go to Edit>Paste into Selection.
Selections>Select None.
Effects>Image Effects>Seamless Tiling, default settings

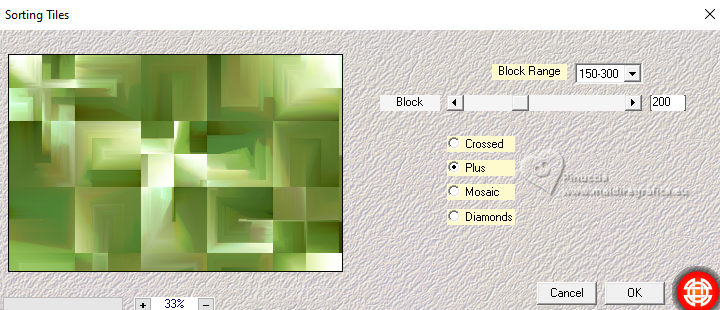
2. Effects>Plugins>Mehdi – Sorting Tiles

Repeat Effects>Plugins>Mehdi - Sorting Tiles
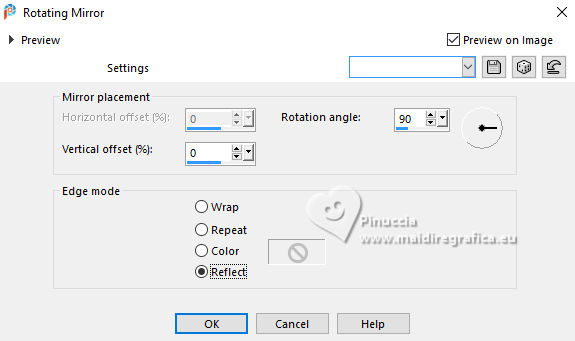
Effects>Reflection Effects>Rotating Mirror.
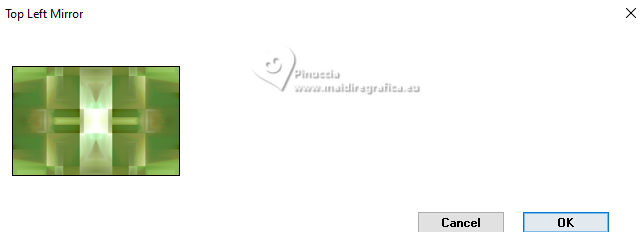
Effects>Plugins>Simple – Top Left Mirror.
Layers>New Raster Layer.
Selections>Select All.
Open DECO PERSO ETAPE 6 196 AVRIL 2023 SWEETY 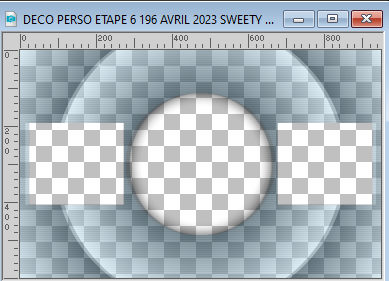
Edit>Copy.
Go back to your work and go to Edit>Paste into Selection.
Selections>Select None.
3. Colorize with your Color Changer Tool 
Change the Blend Mode of this layer to Multiply
(for my second version I made Soft Light).
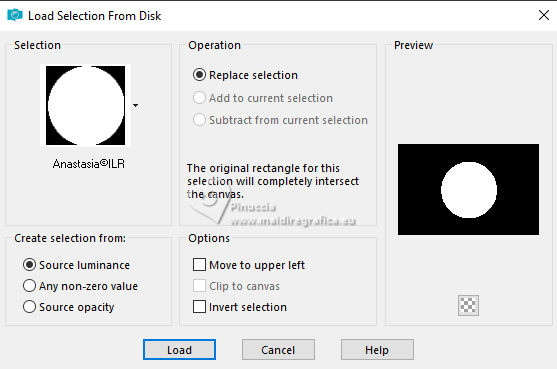
Selections>Load/Save Selection>Load Selection from Disk.
Look for and load the selection Anastasia©ILR
Layers>New Raster Layer.
Activate again your background image and go to Edit>Copy.
Go back to your work and go to Edit>Paste into Selection.
4. Layers>New Raster Layer.
Effects>3D Effects>Cutout, with a dark color of your image.
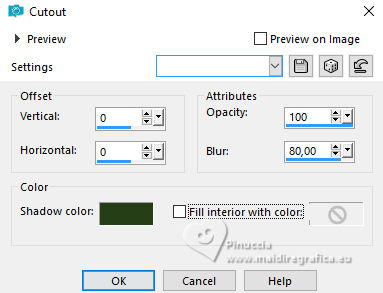
Selections>Modify>Select Selection Borders.

Layers>New Raster Layer.
Set your foreground color to a Foreground/Background Gradient, style Linear.
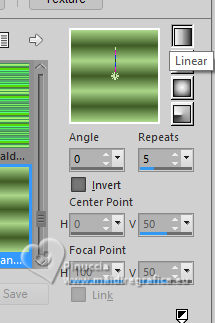
Flood Fill  the layer with your Gradient. the layer with your Gradient.
Effects>3D Effects>Inner Bevel.
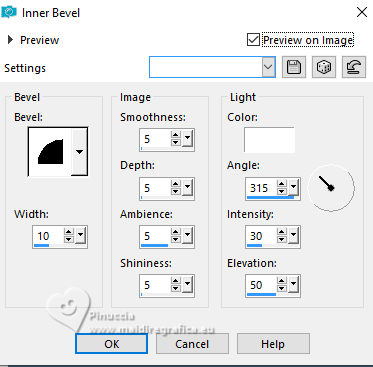
Selections>Select None.
5. Activate your Magic Wand Tool 
and click in the circle to select it.
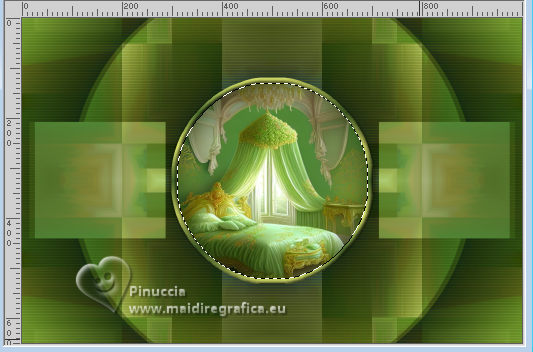
Effects>Plugins>Alien Skin Eye Candy 5 Impact – Glass

Selections>Select None.
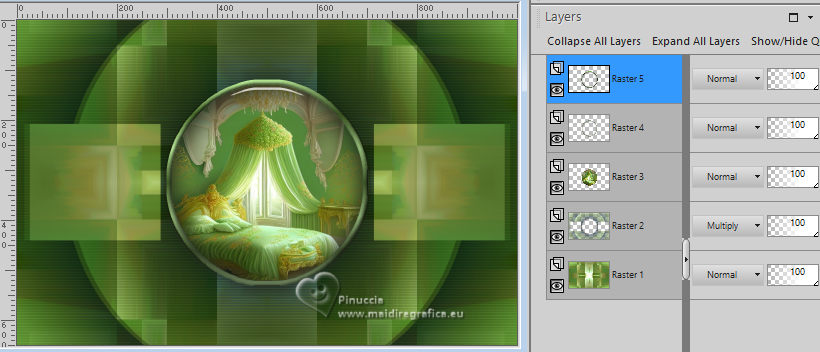
Layers>Merge>Merge Down - 2 times.
Edit>Copy
Edit>Paste as new image, and minimize this image.
6. Go back to your work.
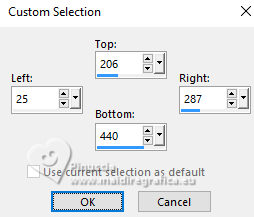
Selection Tool 
(no matter the type of selection, because with the custom selection your always get a rectangle)
clic on the Custom Selection 
and set the following settings.
Layers>New Raster Layer.
Activate again your background image.
Edit>Copy.
Go back to your work and go to Edit>Paste into Selection.
Selections>Modify>Select Selection Borders, same settings.

Layers>New Raster Layer.
Flood Fill  the selection with your Gradient. the selection with your Gradient.
7. Effects>3D Effects>Inner Bevel, same settings.

Selections>Select None.
Activate your Magic Wand Tool 
and click in the frame to select it.
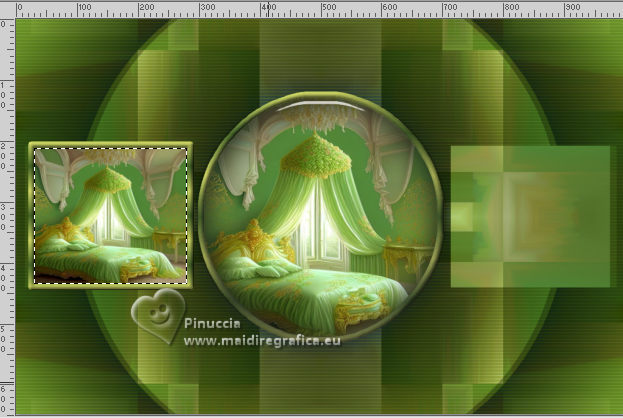
Layers>New Raster Layer.
Effects>3D Effects>Cutout, same settings.
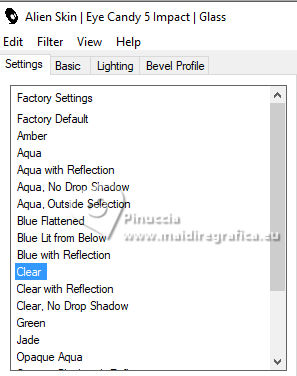
Effects>Plugins>Alien Skin Eye Candy 5 Impact – Glass.
Select the preset Clear and ok.
8. Layers>New Raster Layer.
Activate the image minimized at step 5 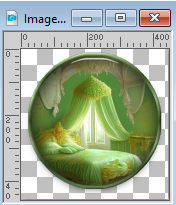 . .
Edit>Copy.
Minimize the image.
Go back to your work and go to Edit>Paste into Selection.
Selections>Select None.
K key to activate your Pick Tool 
and set Position X: 30,00 and Position Y: 220,00.

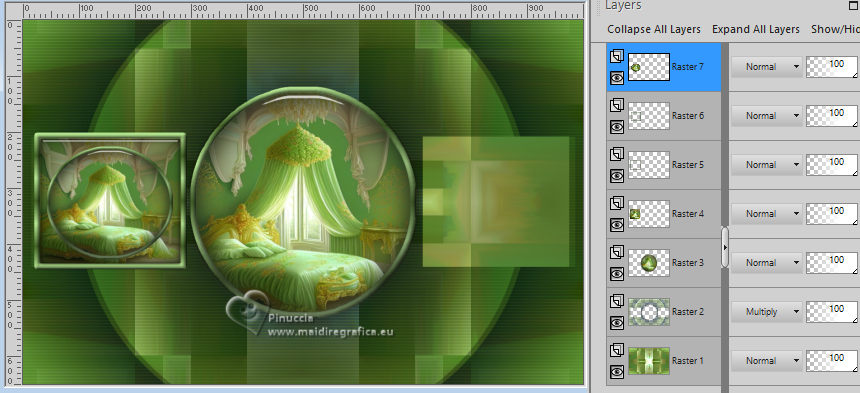
Layers>Merge>Merge Down - 3 times.
Layers>Duplicate.
Image>Mirror.
Layers>Merge>Merge Down.
Effects>3D Effects>Drop Shadow.

Activate the layer of the circle.
Edit>Repeat Drop Shadow.
9. Activate the layer Raster 1.
Layers>New Raster Layer.
Set your foreground color to white.
Flood Fill  the layer with color white. the layer with color white.
Layers>New Mask layer>From image
Open the menu under the source window and you'll see all the files open.
Select the mask Narah_mask_0476

Effects>Edge Effects>Enhance More.
Layers>Merge>Merge Group.
Change the Blend Mode of this layer to Luminance (legacy).
Activate your top layer.
Edit>Copy Special>Copy Merged.
Edit>Paste as new layer.
10. Effects>Plugins>Mura's Meister - Perspective Tiling.
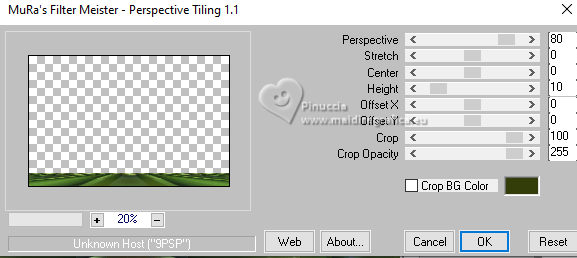
Effects>Reflection Effects>Rotating Mirror, default settings

Effects>3D Effects>Drop Shadow, same settings.
Effects>Reflection Effects>Rotating Mirror.

Layers>Duplicate.
Effects>Geometric Effects>Circle.
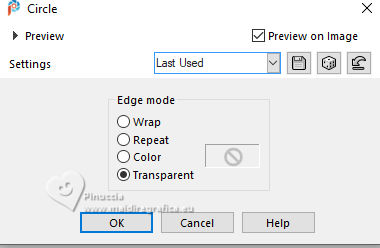
Image>Resize, to 80%, resize all layers not checked.
Layers>Arrange>Move down - 3 times.
Effects>3D Effects>Drop Shadow, same settings.
11. Activate again your top layer.
Open your tube and go to Edit>Copy.
Go back to your work and go to Edit>Paste as new layer.
Image>Resize, is necessary, resize all layers not checked.
Adjust>Sharpness>Sharpen.
Move  the tube to the right side. the tube to the right side.
Effects>3D Effects>Drop Shadow.

Open your deco tube Apple Harvest Element (42) 
Edit>Copy.
Go back to your work and go to Edit>Paste as new layer.
Image>Resize, if necessary, resize all layers not checked.
Adjust>Sharpness>Sharpen.
Move  the tube at the bottom left. the tube at the bottom left.
Effects>3D Effects>Drop Shadow.

12. Image>Add borders, 2 pixels, symmetric, light color.
Selections>Select All.
Image>Add borders, 50 pixels, symmetric, dark color.
Selections>Invert.
Effects>Texture Effects>Texture - select the texture Ligne texture

Selections>Invert.
Effects>3D Effects>Drop Shadow, same settings.
Edit>Repeat Drop Shadow.
13. Selections>Modify>Contract - 2 pixels.
Layers>New Raster Layer.
Effects>3D Effects>Cutout, same settings.

Selections>Select All.
Layers>New Raster Layer.
Effects>3D Effects>Cutout, same settings.
Selections>Select None.
Layers>Merge>Merge Down.
Layers>Duplicate.
Layers>Merge>Merge Down.
13. Open borte©ILR 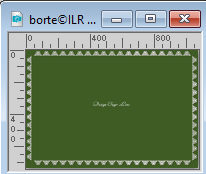
Edit>Copy.
Go back to your work and go to Edit>Paste as new layer.
Activate again the image minimized at step 5 
Edit>Copy.
Go back to your work and go to Edit>Paste as new layer.
Image>Resize, to 15%, resize all layers not checked.
Move  the image to the top left corner. the image to the top left corner.
Effects>Plugins>Simple – Top Left Mirror.
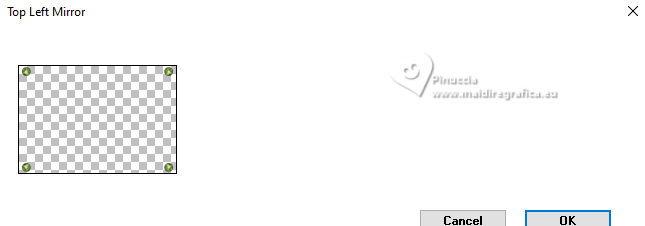
Effects>3D Effects>Drop Shadow.

Image>Add borders, 2 pixels, symmetric, light color.
Image>Resize, 1060 pixels width, resize all layers checked.
Adjust>Sharpness>Sharpen.
Sign your work on a new layer.
Layers>Merge>Merge All and save as jpg.
For the tubes of this version thanks Adrienne
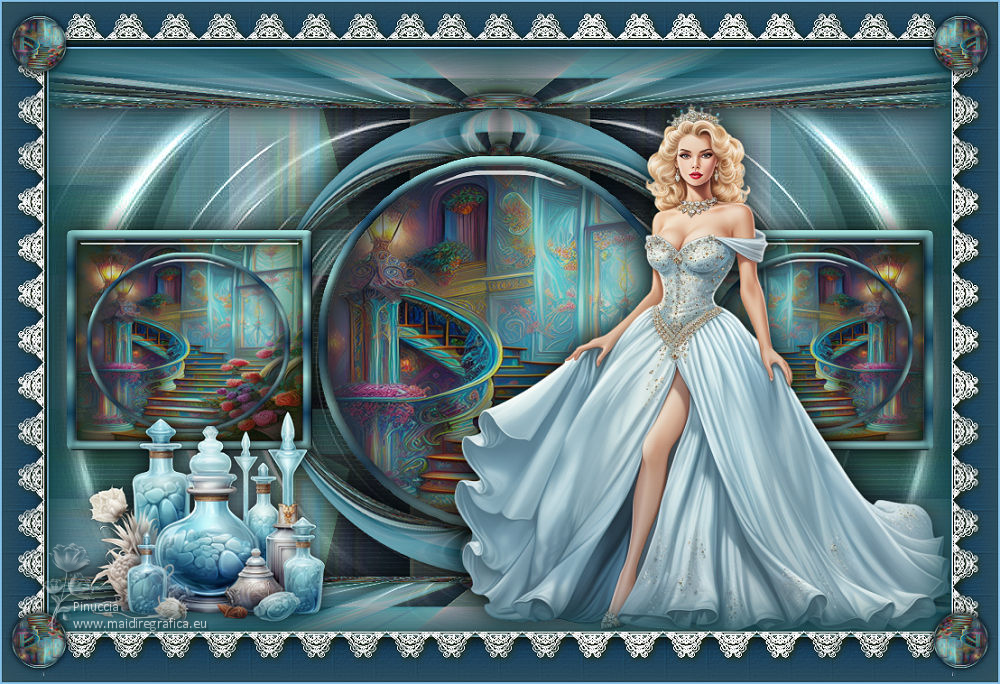

If you have problems or doubts, or you find a not worked link, or only for tell me that you enjoyed this tutorial, write to me.
18 Ottobre 2023

|


