|
BEACH

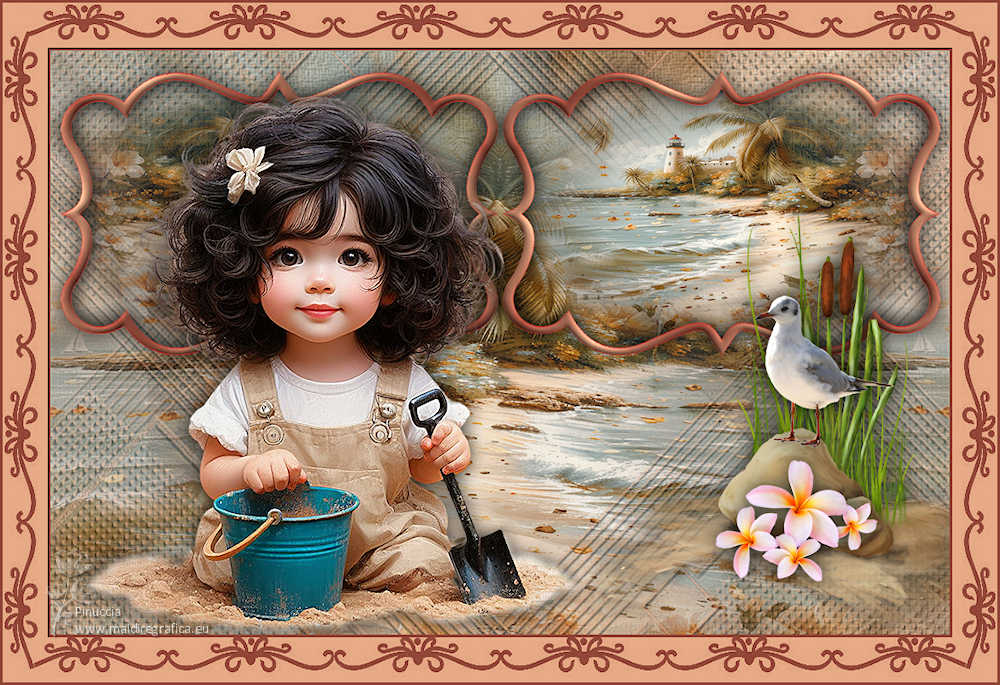
Thanks Inge-Lore for your invitation to translate your tutorials.

This tutorial, created with PSP2019, was translated with PSPX9 and PSP2020, but it can also be made using other versions of PSP.
Since version PSP X4, Image>Mirror was replaced with Image>Flip Horizontal,
and Image>Flip with Image>Flip Vertical, there are some variables.
In versions X5 and X6, the functions have been improved by making available the Objects menu.
In the latest version X7 command Image>Mirror and Image>Flip returned, but with new differences.
See my schedule here
 Italian translation qui Italian translation qui
 French translation here French translation here
 Your versions ici Your versions ici

For this tutorial, you will need:
Tube at your choice (the tube used by Inge-Lore is under licence).
The rest of the Material

For the tube of my version thanks Aprils shareables Scrap
(you find here the links to the material authors' sites)

consult, if necessary, my filter section here
Filters Unlimited 2.0 here
You can change Blend Modes according to your colors.
In the newest versions of PSP, you don't find the foreground/background gradient (Corel_06_029).
You can use the gradients of the older versions.
The Gradient of CorelX here

Open the masks in PSP and minimize them with the rest of the materiale.
1. Choose from your tubes a light and a dark color.
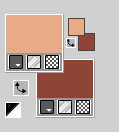
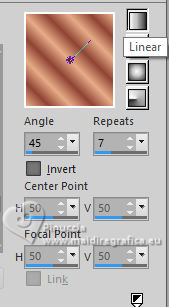
Set your foreground color to a Foreground/Background Gradient, style Linear.
Open a new transparent image 1000 x 650 pixels.
Selections>Select All.
Open your background image Coconut Cocktail Paper(17) 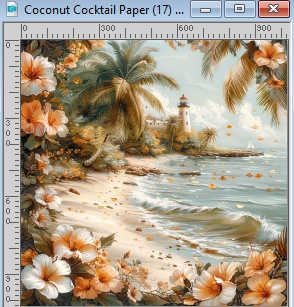
Edit>Copy.
Go back to your work and go to Edit>Paste into Selection.
Selections>Select None.
Effects>Image Effects>Seamless Tiling, default settings.

Adjust>Blur>Radial Blur.

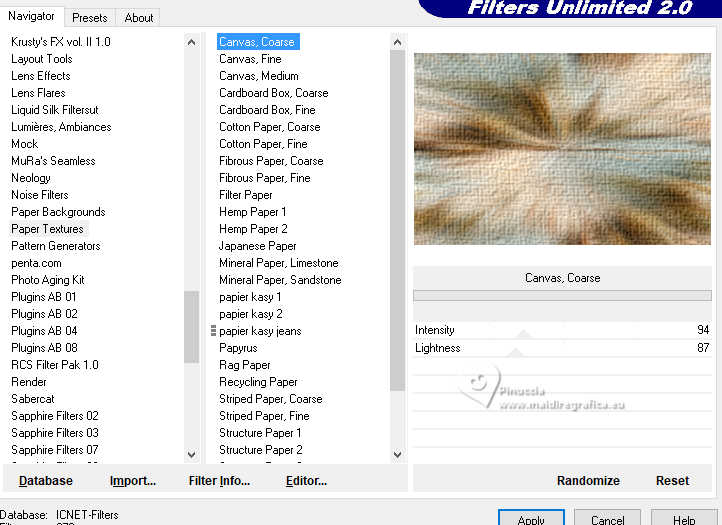
2. Effects>Plugins>Filters Unlimited 2.0 - Paper Textures - Canvas,Coarse, default settings.
Open 8-01 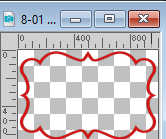
Edit>Copy.
Go back to your work and go to Edit>Paste as new layer.
Activate your Magic Wand Tool 
and click in the frame's border to select it.
Flood Fill  the selection with your Gradient. the selection with your Gradient.
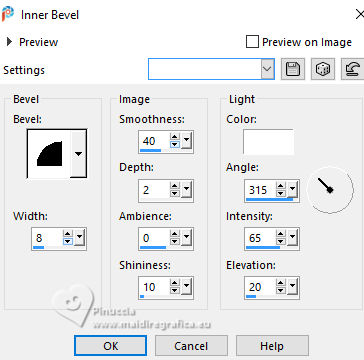
Effects>3D Effects>Inner Bevel.
Selections>Select None.
3. Click in the frame with your Magic Wand Tool 
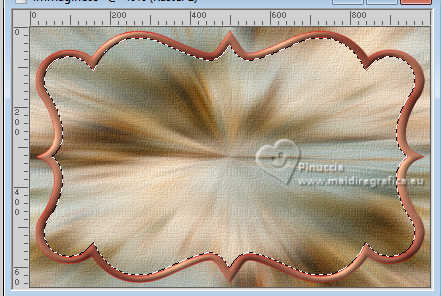
Selections>Modify>Expand - 3 pixels.
Layer>New Raster Layer.
Layers>Arrange>Move Down.
Open your background tube Coconut Cocktail Paper (17) 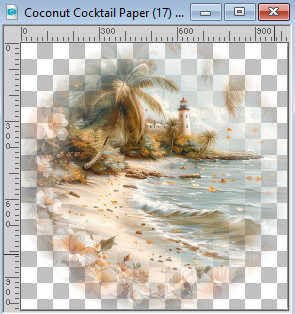
Edit>Copy.
Go back to your work and go to Edit>Paste into Selection.
Adjust>Sharpness>Sharpen.
Layer>New Raster Layer.
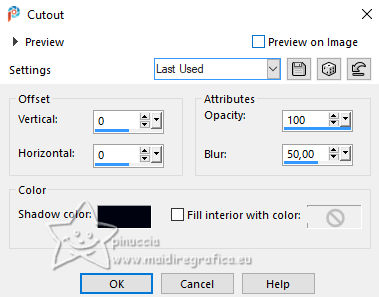
Effects>3D Effects>Cutout.
Selections>Select None.
4. Activate your top layer.
Layers>Merge>Merge Down - 2 times.
Image>Resize, to 50%, resize all layers not checked.
K key to activate your Pick Tool 
Position X: 11,00 - Position Y: 23,00.

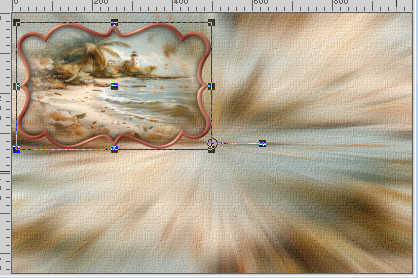
Effects>Reflection Effects>Rotating Mirror.

Effects>3D Effects>Drop Shadow, color black.

Activate the layer Raster 1.
Selections>Select All.
Layer>New Raster Layer.
5. Edit>Paste into Selection - your background tube is still in memory.
Move  the tube down to the right, or to the left, the tube down to the right, or to the left,
according to your tube, as you like better.
Image>Crop to selection.
Layers>Duplicate.
Image>Mirror>Mirror horizontal.
Ev., if necessary, Layers>Arrange>Move Down.
Activate the layer above.
Layers>Merge>Merge Down.
Adjust>Sharpness>Sharpen.
6. Layer>New Raster Layer.
Set your foreground color to Color.
Flood Fill  the layer with your light foreground color. the layer with your light foreground color.
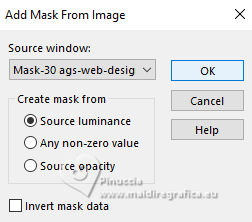
Layers>New Mask layer>From image
Open the menu under the source window and you'll see all the files open.
Select the mask Mask-30 ags-web-designs
Effects>Edge Effects>Enhance More.
Layers>Merge>Merge Group.
Effects>3D Effects>Drop Shadow, color black.

Layers>Duplicate.
Image>Mirror>Mirror horizontal.
Layers>Merge>Merge Down.
Reduce the opacity of this layer about to 50%.
7. Activate your top layer.
Open your main tube and go to Edit>Copy.
Go back to your work and go to Edit>Paste as new layer.
Image>Resize, if necssary, resize all layers not checked.
Adjust>Sharpness>Sharpen.
Effects>3D Effects>Drop Shadow, color black.
Open your deco tube.
Edit>Copy.
Go back to your work and go to Edit>Paste as new layer.
Image>Resize, if necessary, resize all layers not checked.
Adjust>Sharpness>Sharpen.
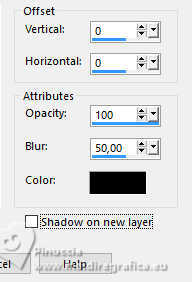
Effects>3D Effects>Drop Shadow, color black.

For the supplied tubes
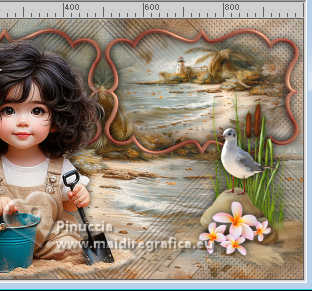
8. Image>Add borders, 3 pixels, symmetric, dark color.
Selections>Select All.
Image>Add borders, 50 pixels, symmetric, dark color.
Selections>Invert.
Layer>New Raster Layer.
Flood Fill  with your light color. with your light color.
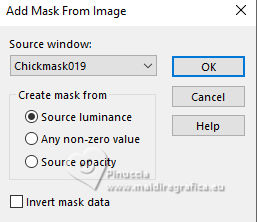
Layers>New Mask layer>From image
Open the menu under the source window
and select the mask Chickmask019
Effects>Edge Effects>Enhance.
Layers>Merge>Merge Group.
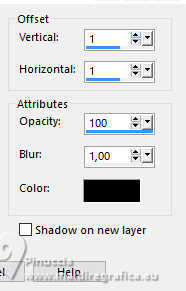
Effects>3D Effects>Drop shadow, color black.
Image>Add borders, 3 pixels, symmetric, dark color.
Image>Resize, 1050 pixels width, resize all layers checked.
Adjust>Sharpness>Sharpen.
Sign your work and save as jpg.
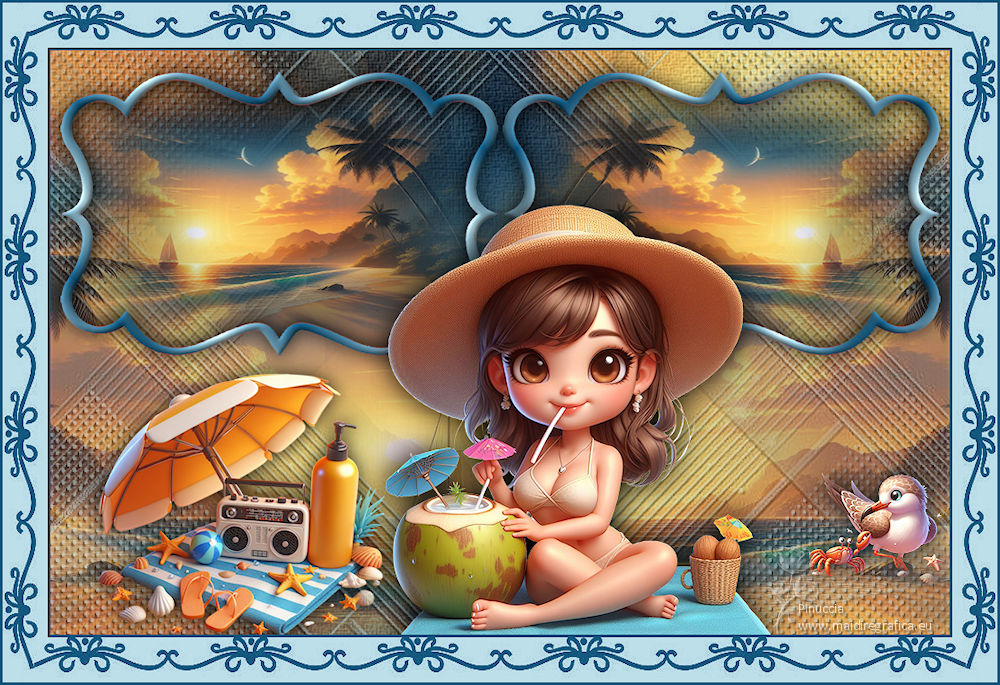
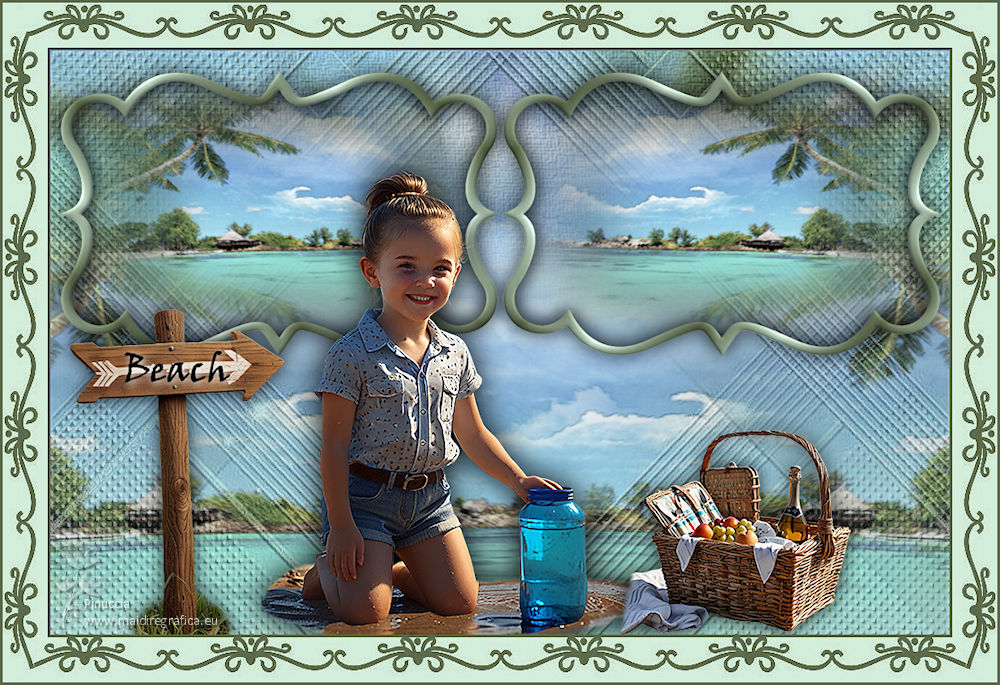

If you have problems or doubts, or you find a not worked link, or only for tell me that you enjoyed this tutorial, write to me.
24 June 2024

|


