|
BIANCA

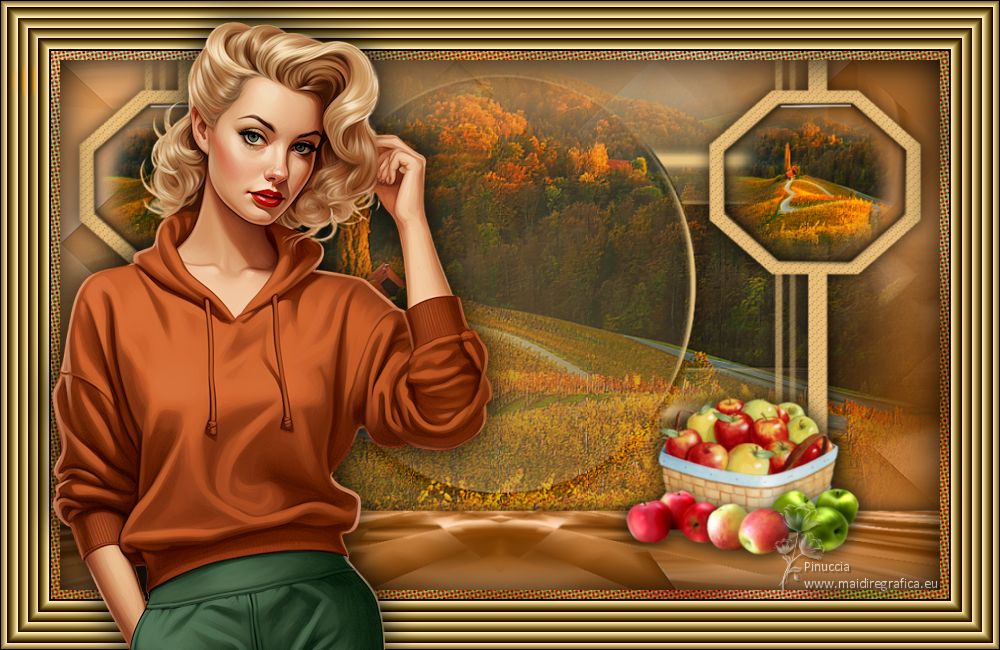
Thanks Inge-lore for your invitation to translate your tutorials.

This tutorial was translated with PSPX, PSPX2, PSPX3, but it can also be made using other versions of PSP.
Since version PSP X4, Image>Mirror was replaced with Image>Flip Horizontal,
and Image>Flip with Image>Flip Vertical, there are some variables.
In versions X5 and X6, the functions have been improved by making available the Objects menu.
In the latest version X7 command Image>Mirror and Image>Flip returned, but with new differences.
See my schedule here
 Italian translation qui Italian translation qui
 French translation here French translation here
 Your versions ici Your versions ici
Material:
Tube at your choice (the tube used by Inge-Lore is under licence)
The rest of the material here
Thanks for the tube Mentali and for the masks Narah.
For the tube of my version thanks Adrienne.
(you find here the links to the material authors' sites)

consult, if necessary, my filter section here
Mehdi - Sorting Tiles here
Mura's Meister - Perspective Tiling here
FM Tile Tools Saturation Emboss here
Alien Skin Eye Candy 5 Impact - Glass here
AAA Frames - Frame Works here

You can change Blend Modes according to your colors.

Copy the Selection in the Selection Folder.
Open the masks in PSP and minimize them with the rest of the material.
1. Choose two colors from your tubes.
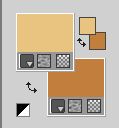
Set your foreground color to the light color; for me #e9c480
and your background color to the dark color; for me #c27e3d.
Open a new transparent image 1000 x 650 pixels.
Flood Fill  the transparent image with one of your colors. the transparent image with one of your colors.
Layers>New Raster Layer.
Open SD-LemonSqueeze-Papers (14) 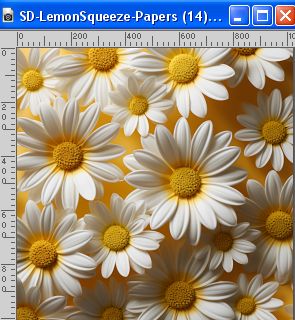
Edit>Copy.
Go back to your work and go to Edit>Paste into Selection.
Selections>Select None.
Change the Blend Mode of this layer to Luminance (legacy).
Layers>Merge>Merge Down.
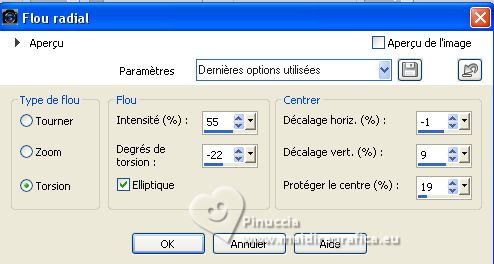
2. Adjust>Blur>Radial Blur.
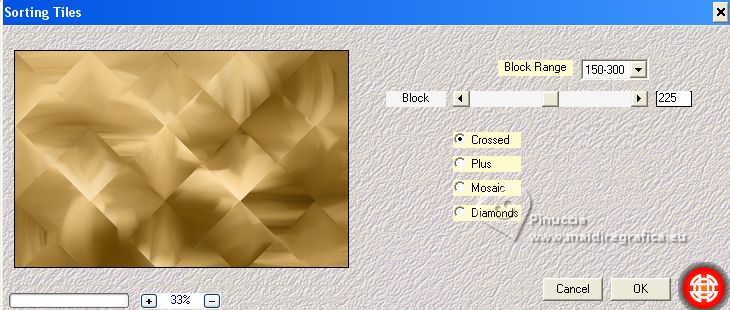
Effects>Plugins>Mehdi - Sorting Tiles.
Effects>Edge Effects>Enhance.
Open your background tube mentali-misted2087 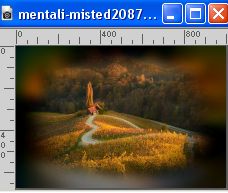
Edit>Copy.
Go back to your work and go to Edit>Paste as new layer.
Image>Resize, if necessary, for me 110%, resize all layers not checked.
Adjust>Sharpness>Sharpen.
Effects>Plugins>FM Tile Tools - Saturation Emboss, default settings.

Layers>New Raster Layer.
Flood Fill  the layer with your light color. the layer with your light color.
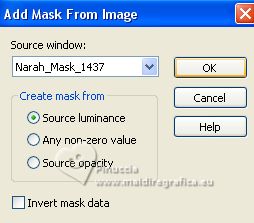
3. Layers>New Mask layer>From image
Open the menu under the source window and you'll see all the files open.
Select the mask Narah_Masks_1437
Effects>Edge Effects>Enhance.
Layers>Merge>Merge Group.
Layers>New Raster Layer.
Flood Fill  the layer with your light color. the layer with your light color.
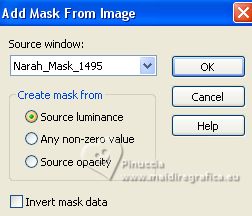
Layers>New Mask layer>From image
Open the menu under the source window
and select the mask Narah_Masks_1495
Effects>Edge Effects>Enhance.
Layers>Merge>Merge Group.
4. K key to activate your Pick Tool 
set Position X: -89,00 and keep Position Y: 0,00.

Activate the layer Raster 1.
Selections>Select All.
Image>Crop to Selection.
Activate your top layer.
Selections>Load/Save Selection>Load Selection from Disk.
Look for and load the selection Bianca
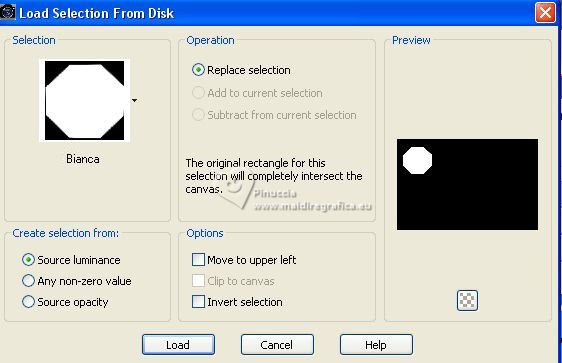
Press CANC on the keyboard 
Layers>New Raster Layer.
Edit>Paste into Selection (the landscape's tube is still in memory).
Adjust>Sharpness>Sharpen.
5. Effects>Plugins>FM Tile Tool – Saturation Emboss, default settings.

Effects>Plugins>Alien Skin Eye Candy 5 Impact – Glass
Select the preset Clear and ok.
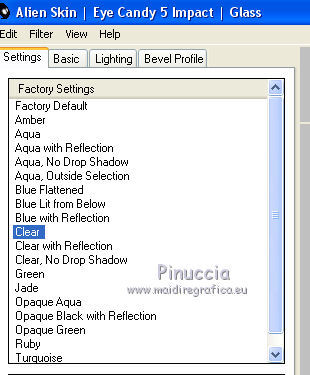
Selections>Select None.
Activate the layer below.
Effects>Texture Effects>Weave
weave color: dark color
gap color: light color.
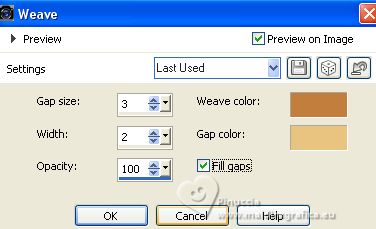
Effects>3D Effects>Drop Shadow.
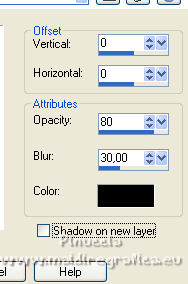
6. Activate your top layer (Raster 3)
Layers>Merge>Merge Down.
Layers>Duplicate.
K key to activate your Pick Tool 
set Position X: 716,00 and keep Position Y: 0,00.

Layers>Merge>Merge Down.
Activate the layer below of the first mask.
Pick Tool 
set Position X: 31,00 and Position Y: -48,00.

7. Optional (depend on the colors, for my second version I didn't it).
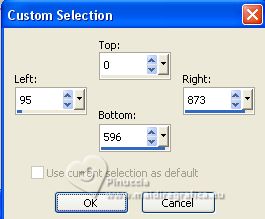
Selection Tool 
(no matter the type of selection, because with the custom selection your always get a rectangle)
clic on the Custom Selection 
and set the following settings.
Selections>Invert.
Press CANC on the keyboard.
Selections>Select None.
Activate the layer Raster 1.
Layers>Duplicate.
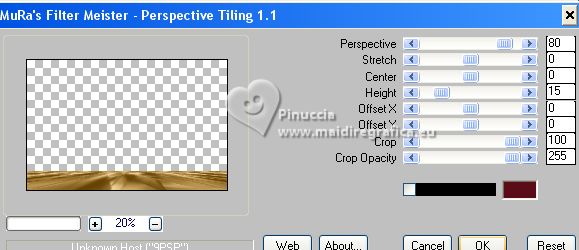
Effects>Plugins>Mura's Meister - Perspective Tiling.
Layers>Arrange>Bring to Top.
Effects>3D Effects>Drop shadow, same settings.
Effects>Reflection Effects>Rotating Mirror, same settings.

8. Open your tube, for me a tube by Adrienne 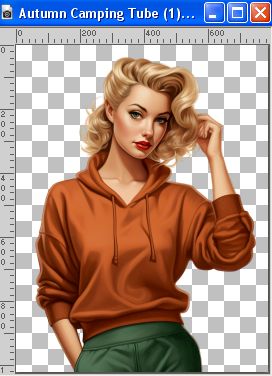
Edit>Copy.
Go back to your work and go to Edit>Paste as new layer.
Image>Resize, if necessary, resize all layers not checked.
Adjust>Sharpness>Sharpen.
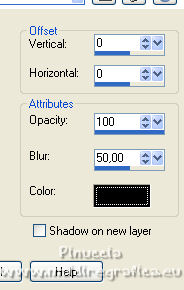
Effects>3D Effects>Drop Shadow.
Open the deco tube, for me 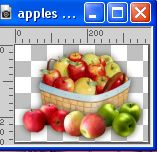
Edit>Copy.
Go back to your work and go to Edit>Paste as new layer.
Image>Resize, if necessary, resize all layers not checked.
Adjust>Sharpness>Sharpen.
Effects>3D Effects>Drop Shadow.

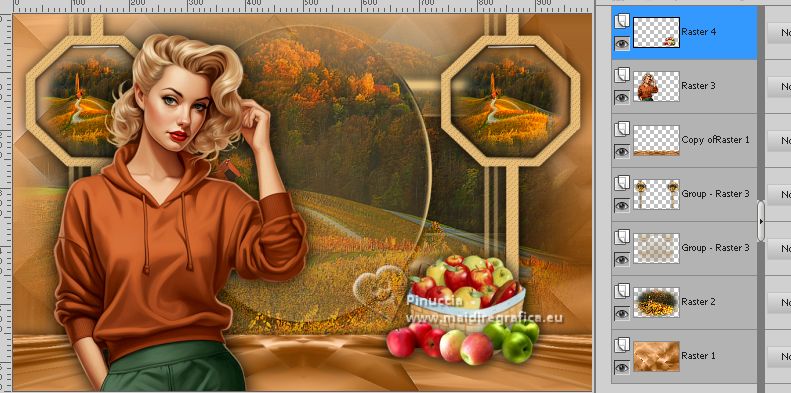
9. Close the layer of the tube.
Activate your bottom layer.
Layers>Merge>Merge visibile, and stay on this layer.
Layers>Duplicate.
Image>Resize, to 90%, resize all layers not checked.
Activate the bottom layer.
Adjust>Blur>Gaussian Blur - radius 20.

Effects>Artistic Effects>Halftone.
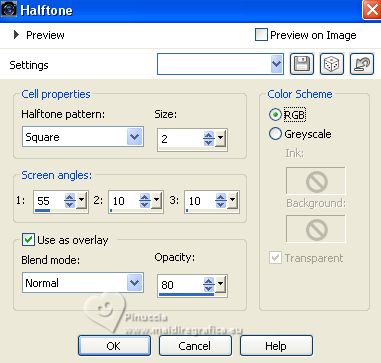
Effects>Plugins>AAA Frames - Frame Works.
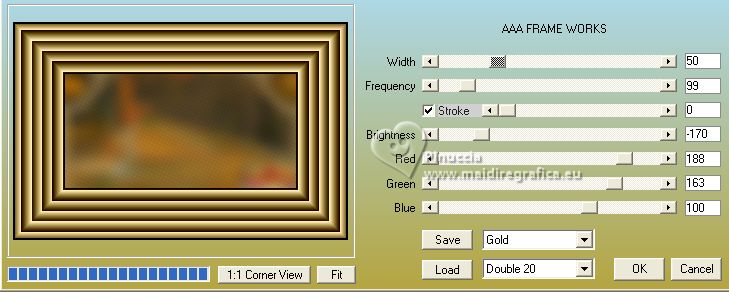
10. Activate the central layer.
Edit>Cut (this command cuts and keep in memory).
Custom Selection 
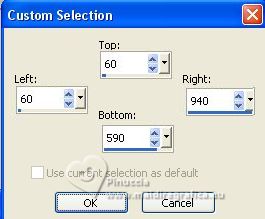
Edit>Paste into Selection.
Adjust>Sharpness>Sharpen.
Layers>New Raster Layer.
Effects>3D Effects>Cutout.
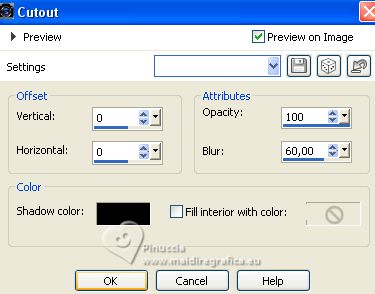
Selections>Select None.
Activate your bottom layer.
Repeat Custom Selection 

11. Selections>Modify>Expand - 10 pixels.
Selections>Invert.
Colorize with your Change to Target Tool 
Selections>Select None.
Open and activate the top layer of the tube.
Sign your work on a new layer.
Layers>Merge>Merge All and save as jpg.
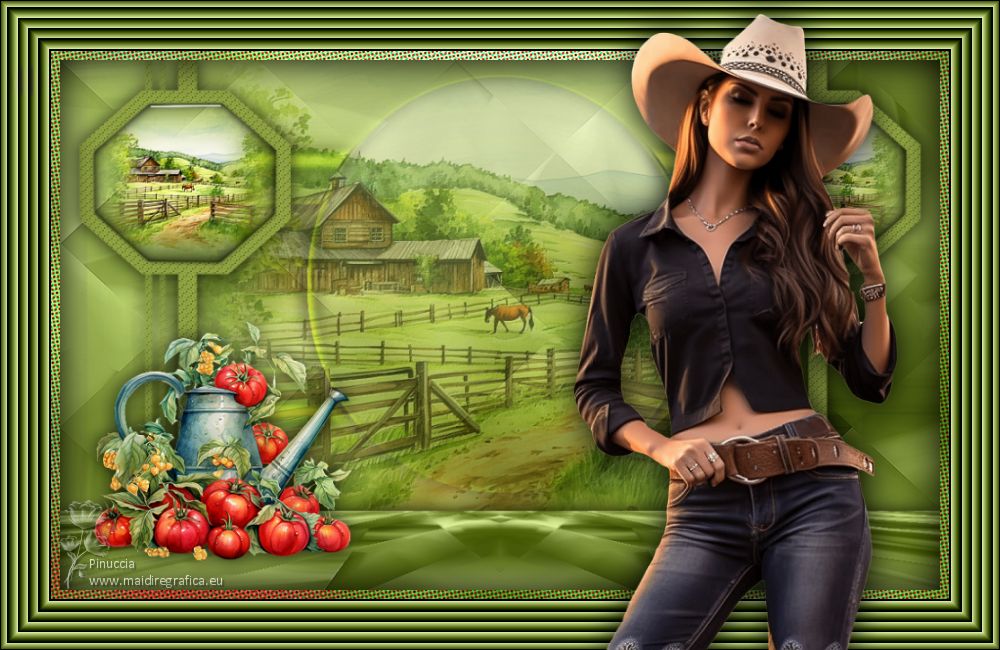
For this version I used elements from a scrap by mytaggingaddiction.blogspot.com

If you have problems or doubts, or you find a not worked link, or only for tell me that you enjoyed this tutorial, write to me.
6 September 2023

|


