|
5-SIM-GEBURTSTAG

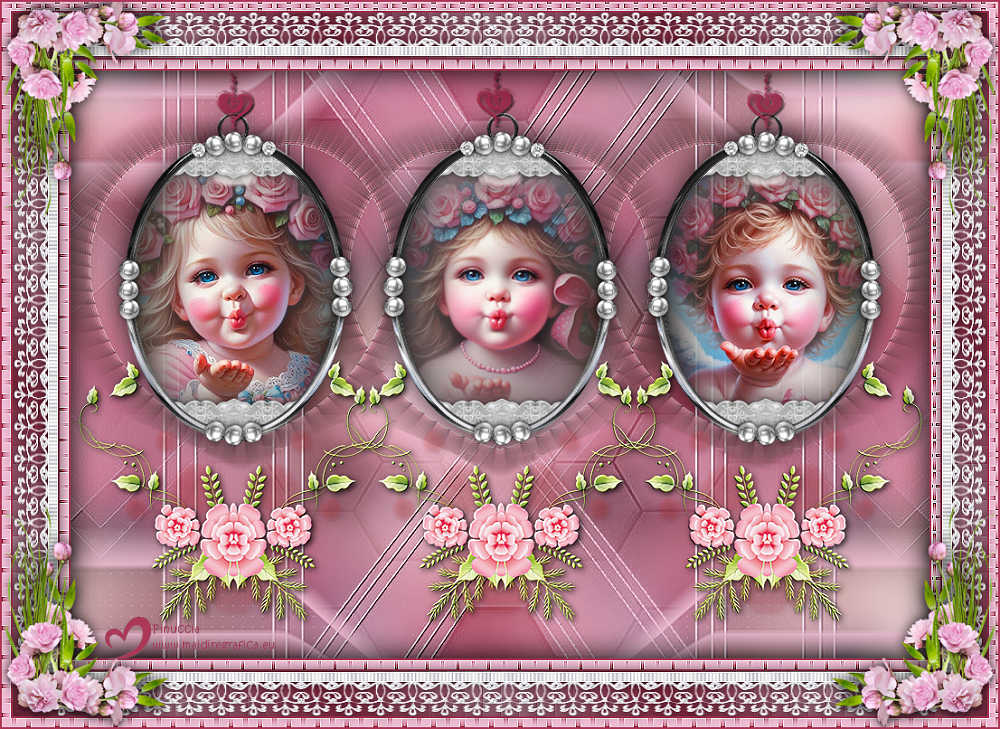
Thanks Inge-Lore for your invitation to translate your tutorials.

This tutorial, created with PSP2019, was translated with PSPX9 and PSP2020, but it can also be made using other versions of PSP.
Since version PSP X4, Image>Mirror was replaced with Image>Flip Horizontal,
and Image>Flip with Image>Flip Vertical, there are some variables.
In versions X5 and X6, the functions have been improved by making available the Objects menu.
In the latest version X7 command Image>Mirror and Image>Flip returned, but with new differences.
See my schedule here
 Italian translation qui Italian translation qui
 French translation here French translation here
 Your versions ici Your versions ici

For this tutorial, you will need:
Tube at your choice (3 persons tube and a deco tube)
The rest of the Material

For the tubes of my versions thanks Gerda.
For a mask thanks Narah.
(you find here the links to the material authors' sites)

consult, if necessary, my filter section here
Filters Unlimited 2.0 here
Mura's Meister - Perspective Tiling here
Mura's Seamless - Emboss at Alpha here
Filters Mura's Seamless can be used alone or imported into Filters Unlimited.
(How do, you see here)
If a plugin supplied appears with this icon  it must necessarily be imported into Unlimited it must necessarily be imported into Unlimited
You can change Blend Modes according to your colors.
In the newest versions of PSP, you don't find the foreground/background gradient (Corel_06_029).
You can use the gradients of the older versions.
The Gradient of CorelX here

Open the masks in PSP and minimize them with the rest of the materiale.
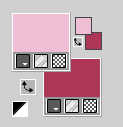
1. Choose from your tubes a light and a dark color.
For me:
Open Alpha-Datei
Window>Duplicate or, on the keyboard, shift+D to make a copy.

Close the original.
The copy, that will be the basis of your work, is not empty,
but contains the selections saved to alpha channel.
Flood Fill  the transparent image with your dark color. the transparent image with your dark color.
Selections>Select All.
Open one of your tubes and go to Edit>Copy.
Go back to your work and go to Edit>Paste into Selection.
Selections>Select None.
2. Effects>Image Effects>Seamless Tiling, default settings.

Adjust>Blur>Gaussian Blur - radius 30

Layers>New Raster Layer.
Flood Fill  the layer with your light color. the layer with your light color.
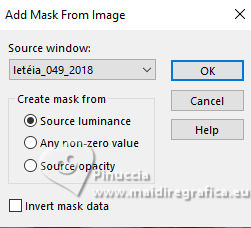
Layers>New Mask layer>From image
Open the menu under the source window and you'll see all the files open.
Select the mask letéia_049_2018
Effects>Edge Effects>Enhance .
Layers>Merge>Merge Group.
3. Open christine blank7 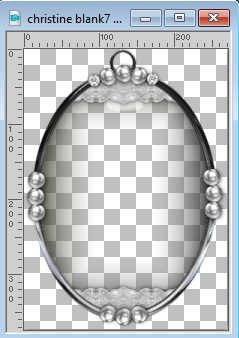
Edit>Copy.
Go back to your work and go to Edit>Paste as new layer.
K key to activate your Pick Tool 
Position X: 48,00 - Position Y: 128,00.

Layers>Duplicate.
Image>Mirror>Mirror horizontal.
Layers>Duplicate.
Position X: 339,00 - Position Y: 128,00.

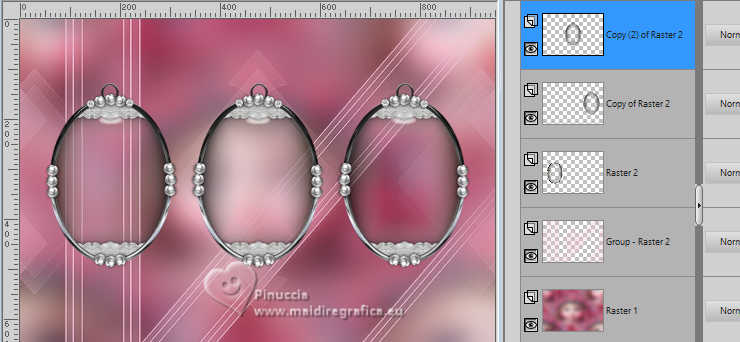
Layers>Merge>Merge Down - 2 times.
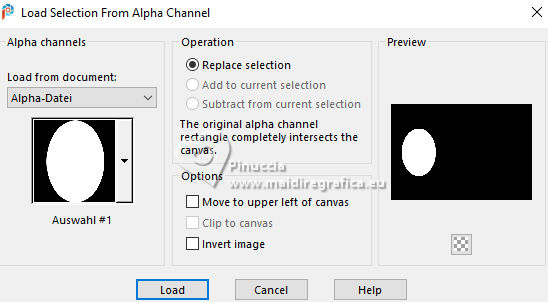
4. Selections>Load/Save Selection>Load Selection from Alpha Channel.
The selection Auswahl #1 is immediately available. You just have to click Load.
Open your first face 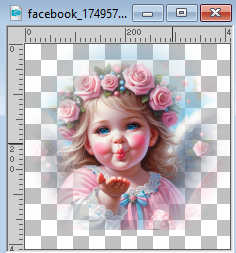
Edit>Copy.
Go back to your work and go to Edit>Paste as new layer.
Image>Resize, if necessary.
Place  the tube on the selection. the tube on the selection.
Adjust>Sharpness>Sharpen.
Selections>Invert.
Press CANC on the keyboard 
Selections>Select None.
Layers>Arrange>Move Down.
5. Selections>Load/Save Selection>Load Selection from Alpha Channel.
Open the selections menu and load the selection Auswahl #2.
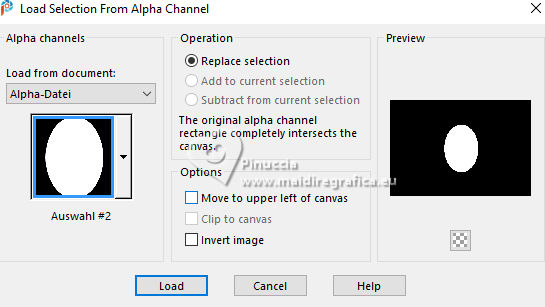
Open your second face 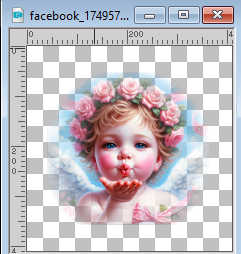
Edit>Copy.
Go back to your work and go to Edit>Paste as new layer.
Image>Resize, if necessary.
Place  the tube on the selection. the tube on the selection.
Adjust>Sharpness>Sharpen.
Selections>Invert.
Press CANC on the keyboard.
Selections>Select None.
Selections>Load/Save Selection>Load Selection from Alpha Channel.
Open the selections menu and load the selection Auswahl #3.
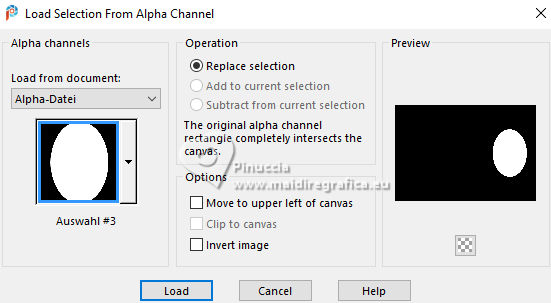
Open your third face 
Edit>Copy.
Go back to your work and go to Edit>Paste as new layer.
Image>Resize, if necessary.
Place  the tube on the selection. the tube on the selection.
Adjust>Sharpness>Sharpen.
Selections>Invert.
Press CANC on the keyboard.
Selections>Select None.
6. Close the two bottom layers.
Layers>Merge>Merge visible.
Stay on the layer Merged.
K key to activate your Pick Tool 
Position X: 48,00 - Position Y: 46,00.

Effects>3D Effects>Drop shadow, color black.

Re-open the closed layers and activate the layer of the mask.
Effects>Reflection Effects>Rotating Mirror.

Image>Mirror>Mirror vertical (Image>Flip).
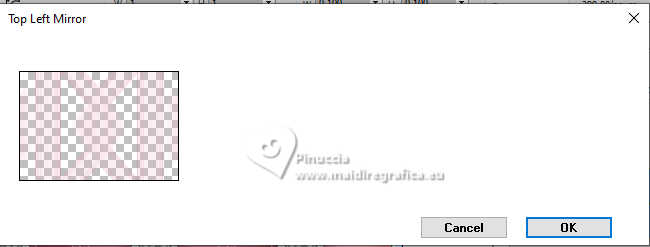
Effetti>Plugins>Simple - Top Left Mirror.
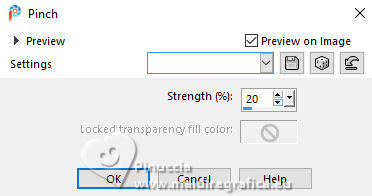
Effects>Distortion Effects>Pinch.
7. Effects>Plugins>Mura's Seamless - Emboss at Alpha, default settings.
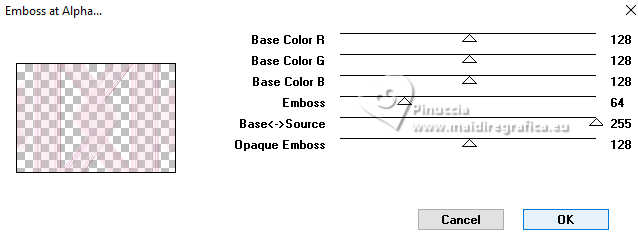
Layers>New Raster Layer.
Flood Fill  the layer with your light color. the layer with your light color.
Layers>New Mask layer>From image
Open the menu under the source window
and select the mask Narah_mask_0892
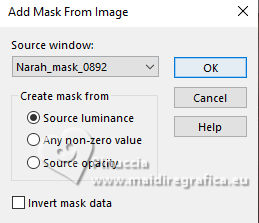
Layers>Merge>Merge Group.
Activate the layer Raster 1.
8. Layers>New Raster Layer.
Flood Fill  the layer with your light color. the layer with your light color.
Layers>New Mask layer>From image
Open the menu under the source window
and select the mask Narah_mask_1587
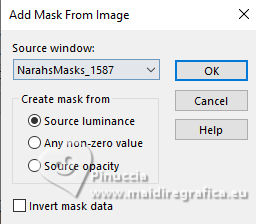
Effects>Edge Effects>Enhance More.
Layers>Merge>Merge Group.
Reduce the opacity of this layer to 50%.
Open Deko-2 
Edit>Copy.
Go back to your work and go to Edit>Paste as new layer.
K key to activate your Pick Tool 
Position X: 160,00 - Position Y: 0,00.

Effects>3D Effects>Drop shadow, color black.
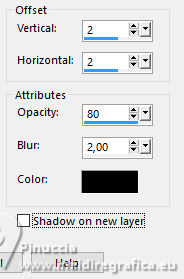
Layers>Arrange>Bring to Top.
9. Open Deko-1 
Edit>Copy.
Go back to your work and go to Edit>Paste as new layer.
K key to activate your Pick Tool 
Position X: 0,00 - Position Y: 320,00.

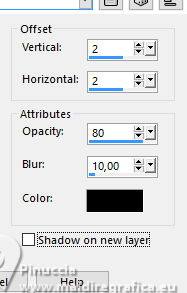
Effects>3D Effects>Drop Shadow
Open Deko-3 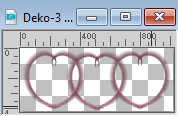
Edit>Copy.
Go back to your work and go to Edit>Paste as new layer.
K key to activate your Pick Tool 
Position X: -28,00 - Position Y: 35,00.

Layers>Arrange>Move Down - 3 times.
Adjust>Sharpness>Sharpen.
Reduce the opacity of this layer to 70%.
Colorize with your Color Changer Tool 
10. Layers>Merge>Merge All.
Selections>Select All.
Image>Add Borders, 2 pixels, symmetric, dark color.
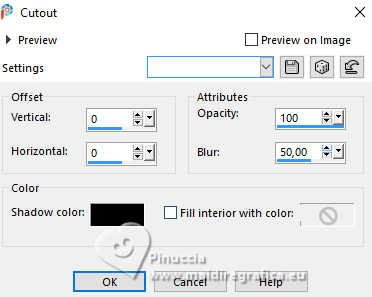
Effects>3D Effects>Cutout.
Selections>Select All.
Image>Add Borders, 10 pixels, symmetric, light color.
Selections>Invert.
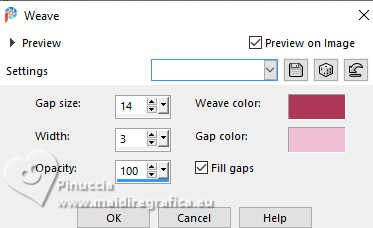
Effects>Texture Effects>Weave
weave color: dark color
gap color: light color
Effects>Edge Effects>Enhance More.
11. Image>Add Borders, 2 pixels, symmetric, dark color.
Selections>Select All.
Image>Add Borders, 50 pixels, symmetric, light color.
Selections>Invert.
Set your foreground color to a Foreground/Background Gradient, style Linear.
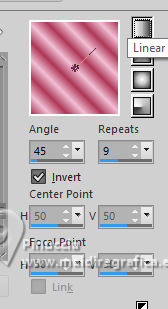
Flood Fill  the selection with your Gradient. the selection with your Gradient.
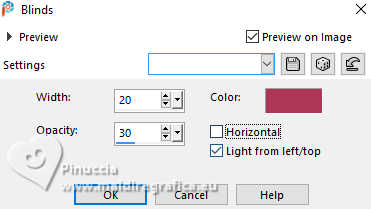
Effects>Texture Effects>Blinds, dark color.
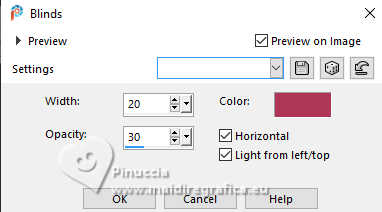
Repeat Blinds Effect, also horizontal checked.
Effects>Edge Effects>Enhance .
Effects>3D Effects>Cutout.
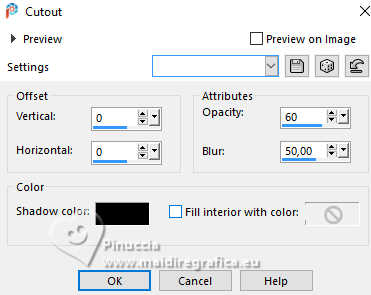
12. Image>Add Borders, 2 pixels, symmetric, dark color.
Selections>Select All.
Image>Add Borders, 10 pixels, symmetric, light color.
Selections>Invert.
Effects>Texture Effects>Weave
weave color: dark color
gap color: light color
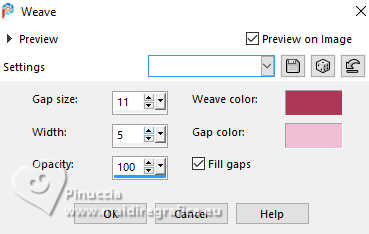
Effects>Edge Effects>Enhance .
Selections>Select None.
13. Open Deko-4 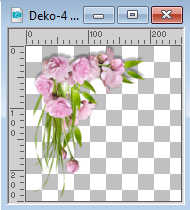
Edit>Copy.
Go back to your work and go to Edit>Paste as new layer.
K key to activate your Pick Tool 
Position X: 0,00 - Position Y: -8,00

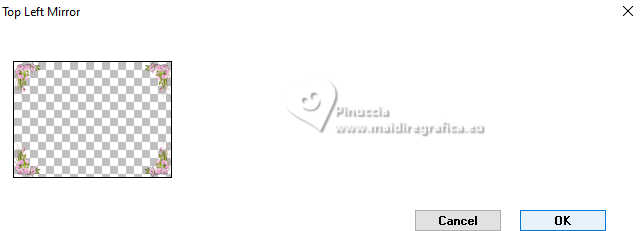
Effects>Plugins>Simple - Top Left Mirror.
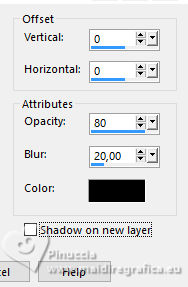
Effects>3D Effects>Drop shadow, color black.
Open Deko-5 
Edit>Copy.
Go back to your work and go to Edit>Paste as new layer.
Layers>Arrange>Move Down.
Effects>3D Effects>Drop shadow, color black.

14. Image>Add Borders, 2 pixels, symmetric, dark color.
Image>Resize, 1000 pixels width, resize all layers checked.
Adjust>Sharpness>Sharpen.
Sign your work and save as jpg.
For the tubes of these versions thanks
Gerda
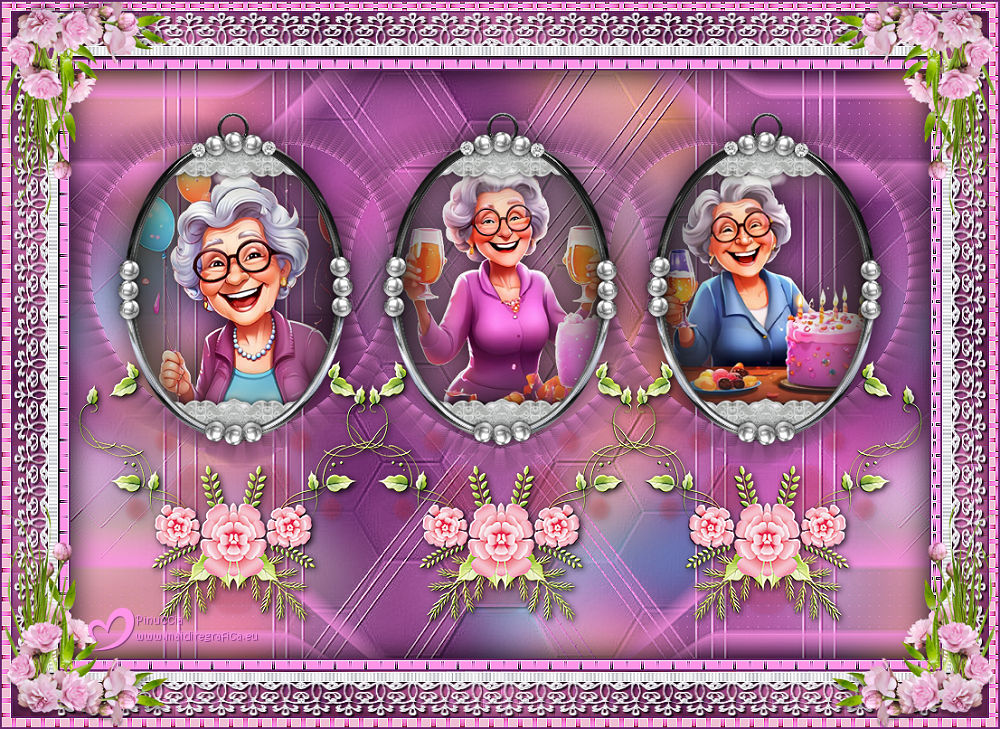
AigenbyCaz
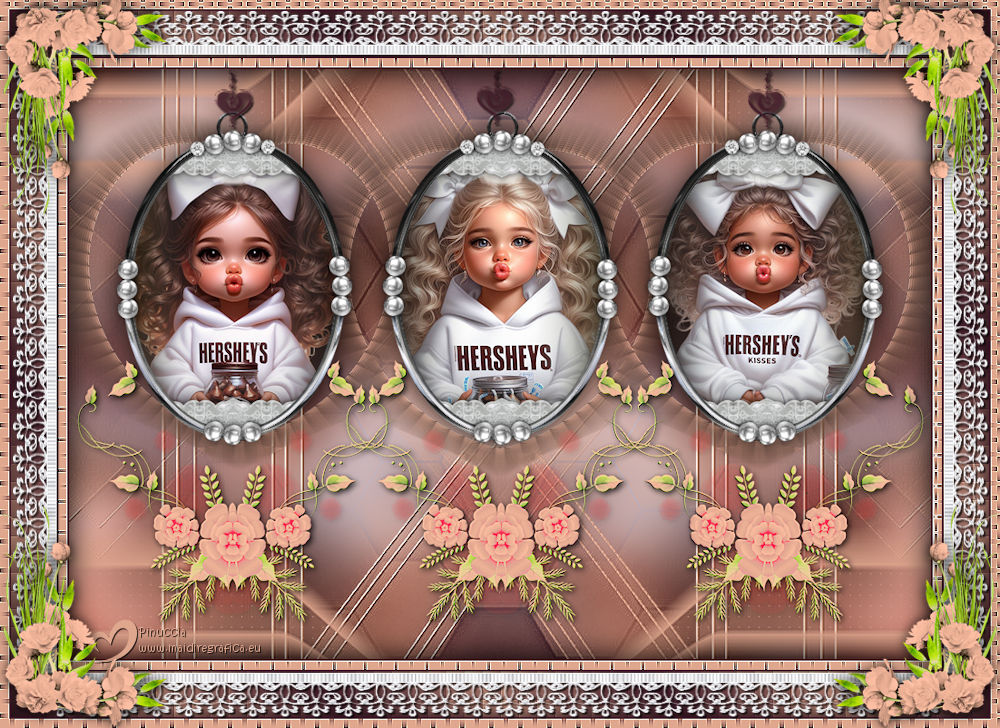

If you have problems or doubts, or you find a not worked link, or only for tell me that you enjoyed this tutorial, write to me.
15 June 2025

|


