|
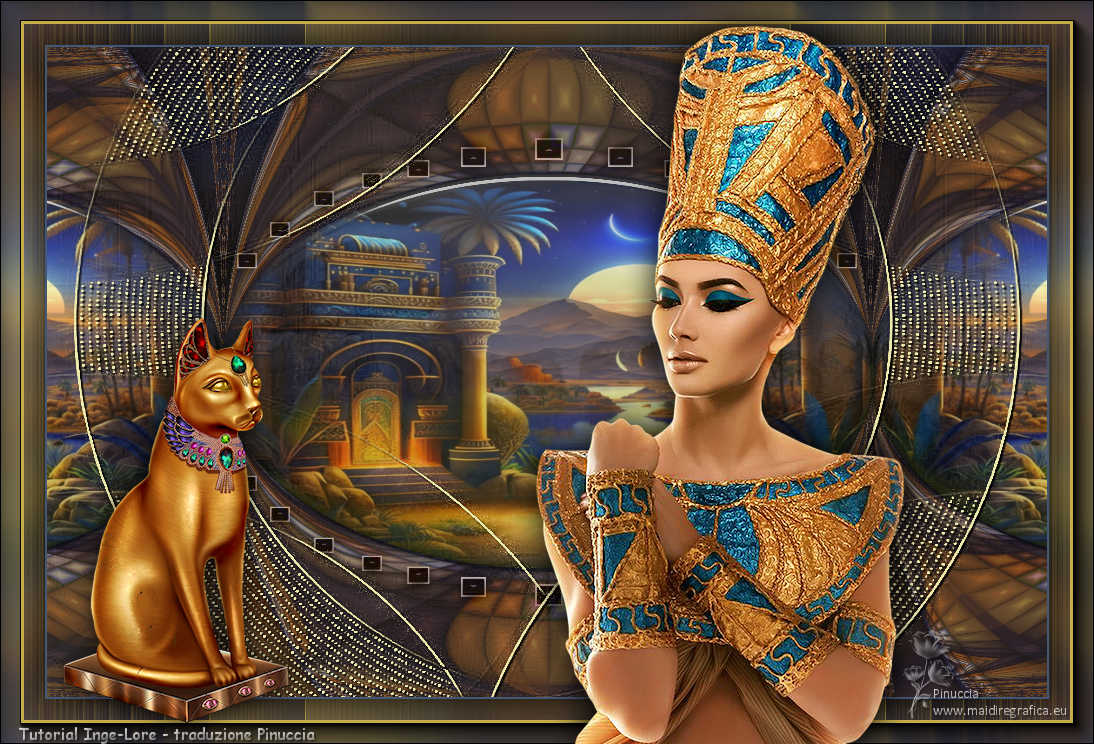
CLEOPATRA

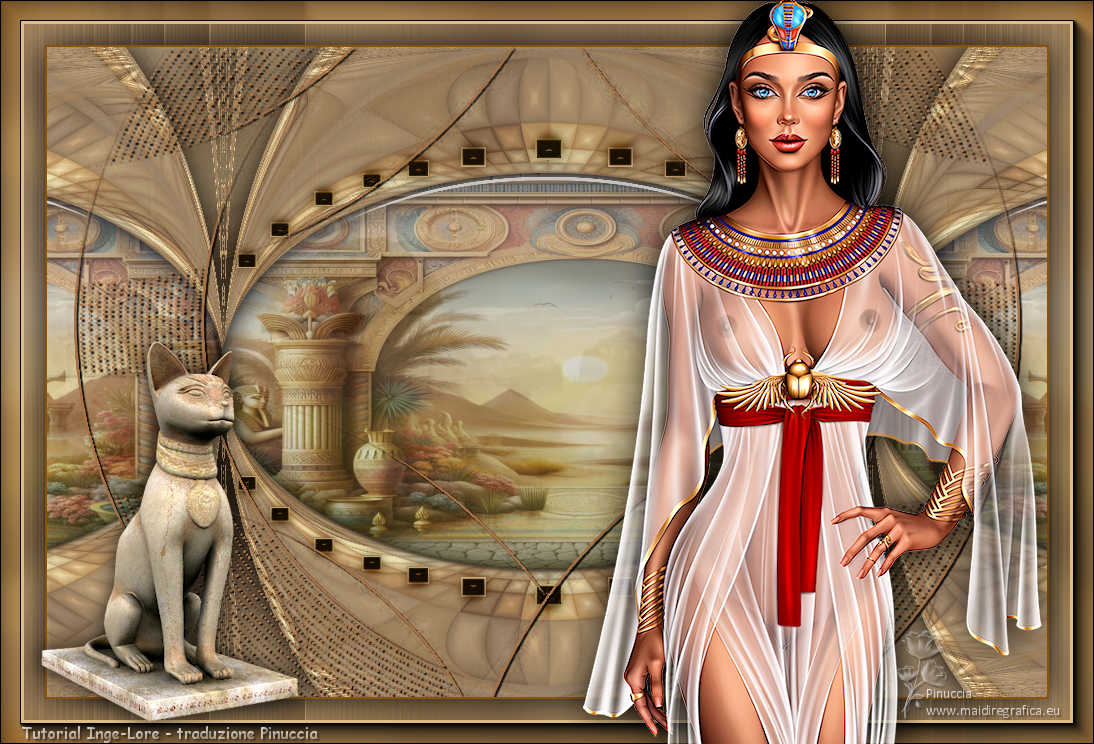
Thanks Inge-Lore for your invitation to translate your tutorials.

This tutorial, created with PSP2019, was translated with PSPX9 and PSP2020, but it can also be made using other versions of PSP.
Since version PSP X4, Image>Mirror was replaced with Image>Flip Horizontal,
and Image>Flip with Image>Flip Vertical, there are some variables.
In versions X5 and X6, the functions have been improved by making available the Objects menu.
In the latest version X7 command Image>Mirror and Image>Flip returned, but with new differences.
See my schedule here
 Italian translation qui Italian translation qui
 French translation here French translation here
 Your versions ici Your versions ici

For this tutorial, you will need:
A tube of yours (the tube used by Inge-Lore is under licence)
The rest of the material

For my version I used a tube by Catty (from the scrap Adventure in Egypt)
(you find here the links to the material authors' sites)

consult, if necessary, my filter section here
Mura's Meister - Perspective Tiling here
Mehdi - Sorting Tiles here
Alien Skin Eye Candy 5 Impact - Glass here
AAA Frames - Foto Frame here
You can change Blend Modes according to your colors.

Copy the Selection in the Selections Folder.
Open the masks in PSP and minimize them with the rest of the material.
1. Choose 3 colors from your tubes.

1. Open a new transparent image 1000 x 650 pixels.
Selections>Select All.
Open your background image 01 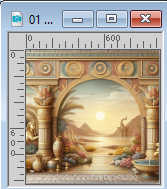
Edit>Copy.
Go back to your work and go to Edit>Paste into Selection.
Selections>Select None.
Adjust>Blur>Radial Blur.
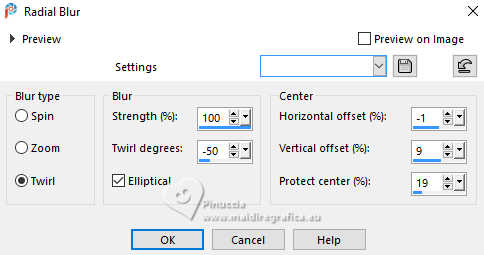
Layers>Duplicate.
2. Effects>Plugins>Mehdi - Sorting Tiles.
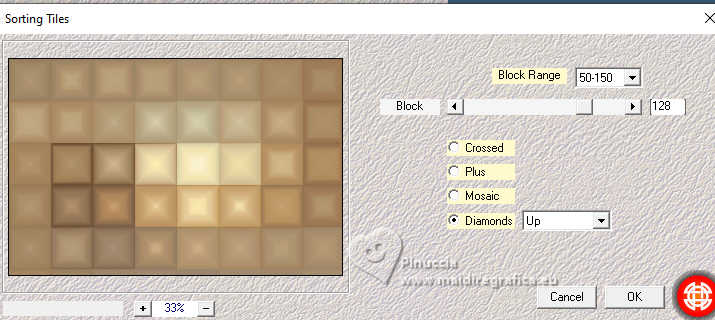
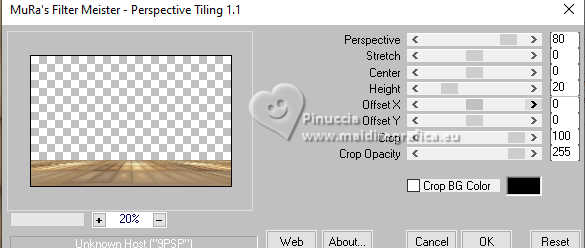
Effects>Plugins>Mura's Meister - Perspective Tiling.
Layers>Duplicate.
Image>Mirror>Mirror vertical (Image>Flip).
Layers>Merge>Merge Down.
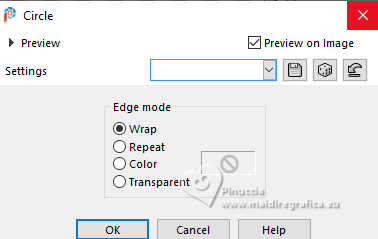
Effects>Geometric Effects>Circle.
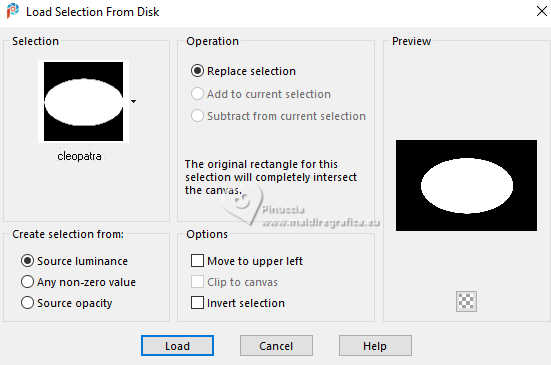
Selections>Load/Save Selection>Load Selection from Disk.
Look for and load the selection cleopatra
3. Layers>New Raster Layer.
Edit>Paste into Selection (your background image is still in memory).
Layers>New Raster Layer.
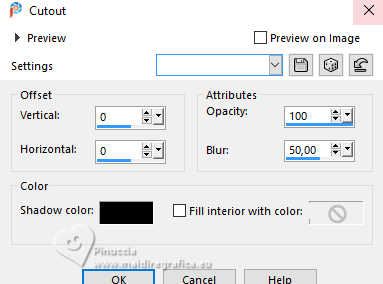
Effects>3D Effects>Cutout.
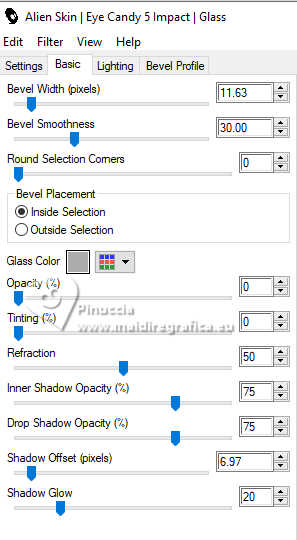
Effects>Plugins>Alien Skin Eye Candy 5 Impact - Glass.
Selections>Select None.
Layers>Merge>Merge down.
4. Layers>Duplicate.
Activate the layer below of the original.
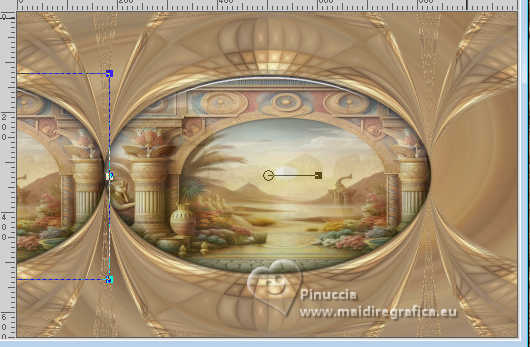
K key to activate your Pick Tool 
and set Position X: -484,00 and Position Y: 122,00.

Layers>Duplicate.
Image>Mirror>Mirror horizontal (Image>Mirror)
Layers>Merge>Merge Down.
Activate the layer below.
Effects>3D Effects>Drop shadow, color black.

Activate again your top layer.
5. Open deco-1 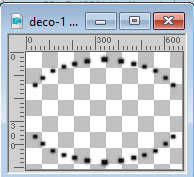
Edit>Copy.
Go back to your work and go to Edit>Paste as new layer.
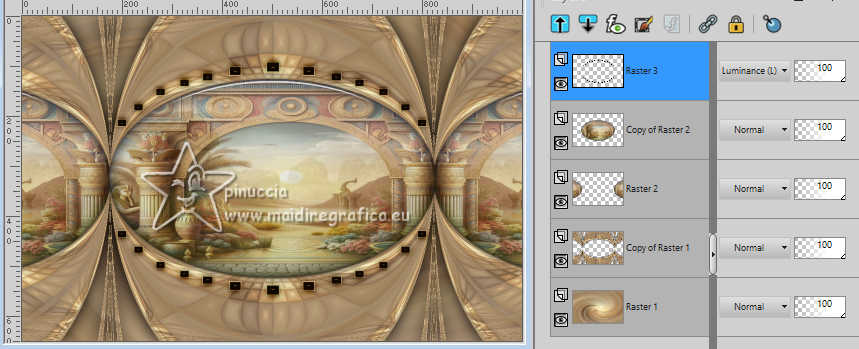
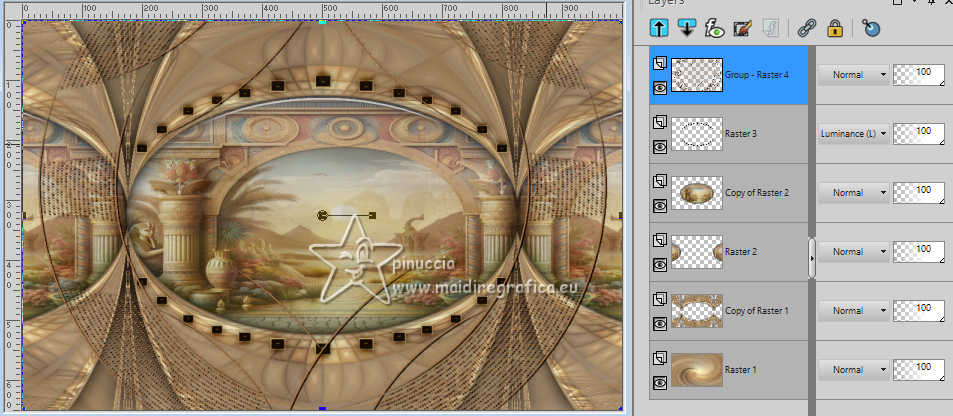
Change the Blend Mode of this layer to Luminance (legacy).
Layers>New Raster Layer.
Set your foreground color to color 3 
Flood Fill  the layer with your foreground color. the layer with your foreground color.
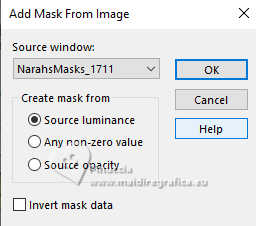
Layers>New Mask layer>From image
Open the menu under the source window and you'll see all the files open.
Select the mask NarahsMasks_1711
Effects>Edge Effects>Enhance More.
Layers>Merge>Merge Group.
Effects>3D Effects>Drop Shadow, color black.

6. For the borders set your foreground color to the light color,
and your background color to the dark color.
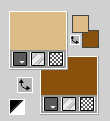
Image>Add borders, 2 pixels, symmetric, dark color.
Selections>Select All.
Edit>Copy
Image>Add borders, 45 pixels, symmetric, light color.
Selections>Invert.
Edit>Paste into Selection
Adjust>Blur>Gaussian Blur - radius 20.

Layers>New Raster Layer.
Flood Fill  the layer with the light color. the layer with the light color.
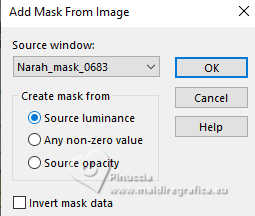
7. Layers>New Mask layer>From image
Open the menu under the source window
and select the mask Narah_Masks_0683
Effects>Edge Effects>Enhance More.
Layers>Merge>Merge Group.
Selections>Invert.
Effects>3D Effects>Drop Shadow, color black.
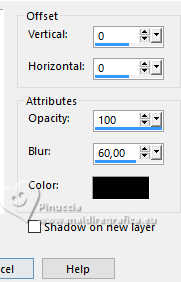
Selections>Select None.
Layers>Merge>Merge Down.
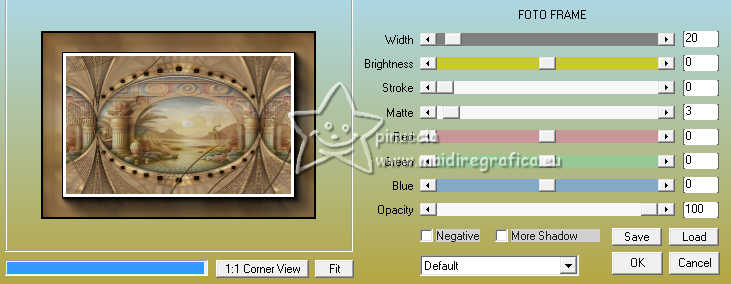
8. Effects>Plugins>AAA Frames - Foto Frame.
Activate your Magic Wand Tool 
and click in the white border to select it.
Don't hesitate to zoom  the image to see better. the image to see better.
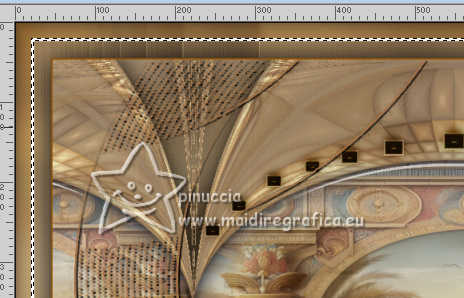
Flood Fill  the selection with your light color. the selection with your light color.
Selections>Select None.
Open your person tube and go to Edit>Copy.
Go back to your work and go to Edit>Paste as new layer.
Image>Resize, according to your tube, resize all layers not checked.
Adjust>Sharpness>Sharpen.
Effects>3D Effects>Drop shadow, color black.

9. Open your deco tube dbs=Egyptian Nights-Element-23 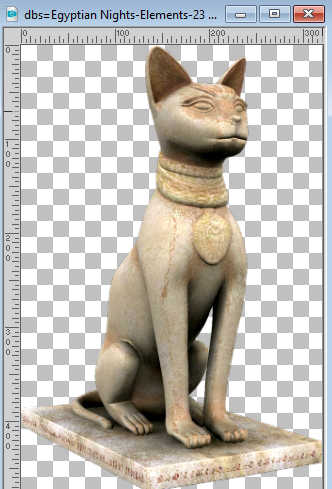
Edit>Copy.
Go back to your work and go to Edit>Paste as new layer.
Image>Resize, to your liking, resize all layers not checked.
Adjust>Sharpness>Sharpen.
Effects>3D Effects>Drop shadow, color black.

Sign your work on a new layer.
Layers>Merge>Merge Down and save as jpg.
For the tube of this version thanks Colybrix.

If you have problems or doubts, or you find a not worked link, or only for tell me that you enjoyed this tutorial, write to me.
12 February 2024

|


