|
ES SCHNEIT

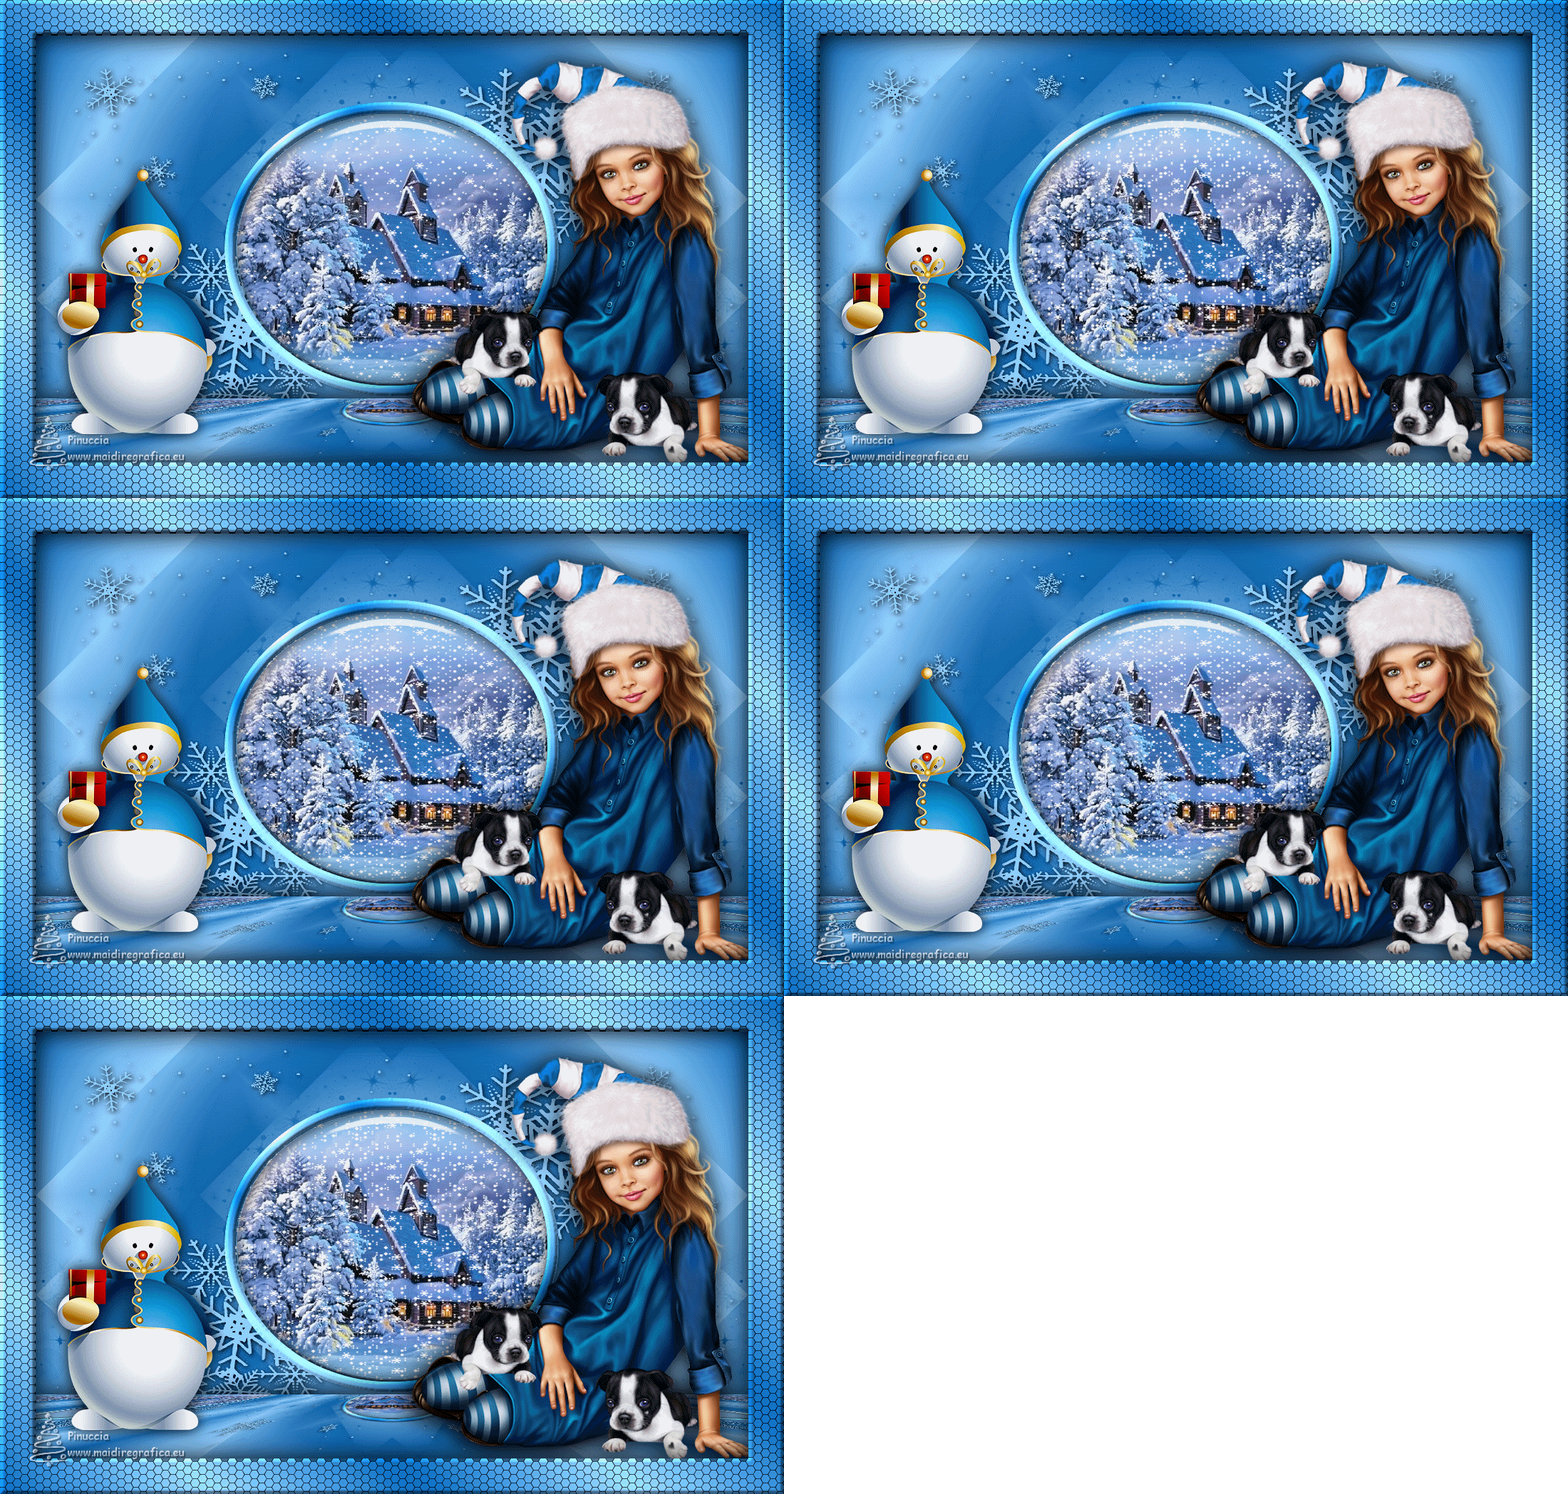
Thanks ingelore for your invitation to translate your tutorials.

This tutorial was translated with PSPX, PSPX2, PSPX3, but it can also be made using other versions of PSP.
Since version PSP X4, Image>Mirror was replaced with Image>Flip Horizontal,
and Image>Flip with Image>Flip Vertical, there are some variables.
In versions X5 and X6, the functions have been improved by making available the Objects menu.
In the latest version X7 command Image>Mirror and Image>Flip returned, but with new differences.
See my schedule here
 Italian translation qui Italian translation qui
 French translation here French translation here
 Your versions ici Your versions ici
For this tutorial, you will need:
Tube at your choice (the tube used in the original tutorial is a licensed tube)

For the tubes and the masks thanks Colybrix, Kamil and Narah.
For the tube used and not supplied thanks Renée.
(you find here the links to the material authors' sites)

consult, if necessary, my filter section here
Filters Unlimited 2.0 here
Mehdi - Sorting Tiles here
Mura's Meister - Perspective Tiling here
Alien Skin Eye Candy 5 Impact - Glass here
Simple - Top Left Mirror here
Filters Simple can be used alone or imported into Filters Unlimited.
(How do, you see here)
If a plugin supplied appears with this icon  it must necessarily be imported into Unlimited it must necessarily be imported into Unlimited

here

You can change Blend Modes according to your colors.
In the newest versions of PSP, you don't find the foreground/background gradient (Corel_06_029).
You can use the gradients of the older versions.
The Gradient of CorelX here

Copy the Selections in the Selections Folder.
Open the masks in PSP and minimize them with the rest of the material,
except the animation you will use in Animation Shop.
1. Choose two colors from your tube.
Set your foreground color to the dark color,
and your background color to the light color.
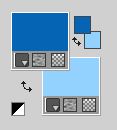
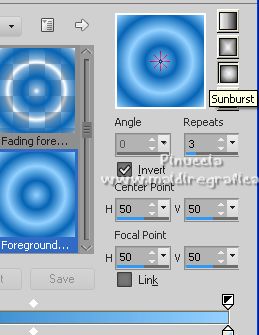
Set your foreground color to a Foreground/Background Gradient, style Sunburst.
2. Open a new transparente image 1000 x 600 pixels.
Flood Fill  the transparent image with your Gradient. the transparent image with your Gradient.
Effects>Plugins>Mehdi - Sorting Tiles.

Effects>Reflection Effects>Rotating Mirror.

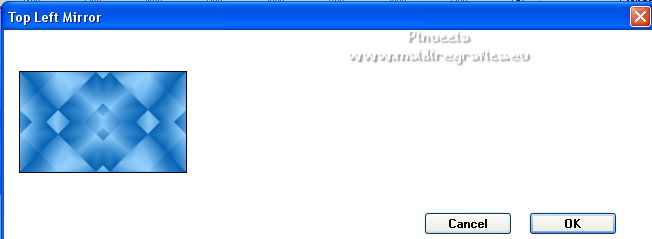
Effects>Plugins>Simple - Top Left Mirror.
2. Layers>New Raster Layer.
Flood Fill  the layer with your light background color. the layer with your light background color.
Layers>New Mask layer>From image
Open the menu under the source window and you'll see all the files open.
Select the mask NarahMasks_1506

Effects>Edge Effects>Enhance.
Layers>Merge>Merge Group.
Layers>Duplicate - 2 times.
Layers>Merge>Merge Down - 2 times.
Effects>3D Effects>Drop Shadow, color black.
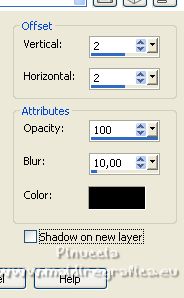
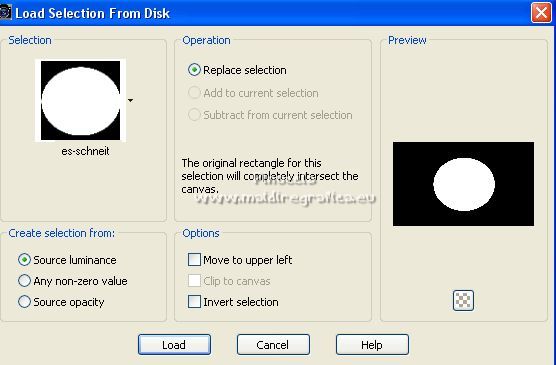
3. Selections>Load/Save Selection>Load Selection from Disk.
Look for and load the selection es-schneit.
Open your landscape Kamil-212 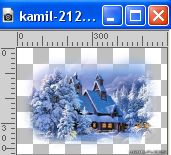
Edit>Copy.
Go back to your work and go to Edit>Paste as new layer.
Resize if necessary or place  on the selection the part of the tube you want to leave visible. on the selection the part of the tube you want to leave visible.
Selections>Invert.
Press CANC on the keyboard 
Selections>Invert.
Layers>New Raster Layer.
4. Effects>Plugins>Alien Skin Eye Candy 5 Impact - Glass.

Selections>Select None.
Selections>Load/Save Selection>Load Selection from Disk.
Look for and load the selection es-schneit_2.
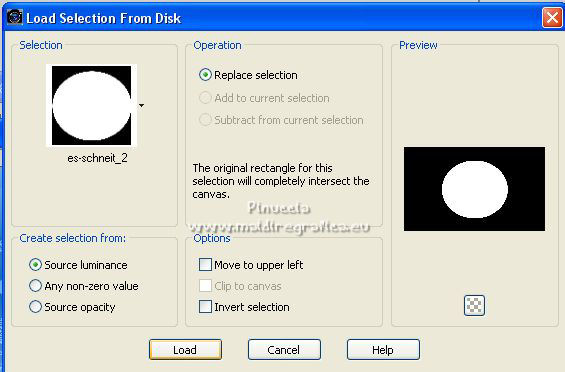
Selections>Modify>Select Selection Borders.
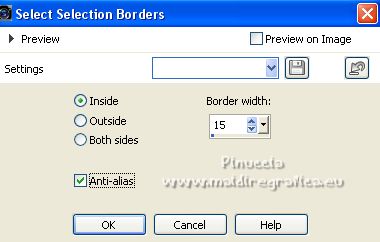
Change the settings of your Gradient.
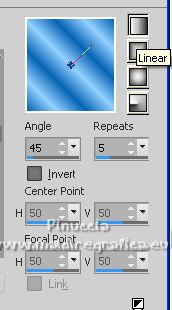
Layers>New Raster Layer.
Flood Fill  the selection with your Gradient. the selection with your Gradient.
Effects>3D Effects>Inner Bevel.
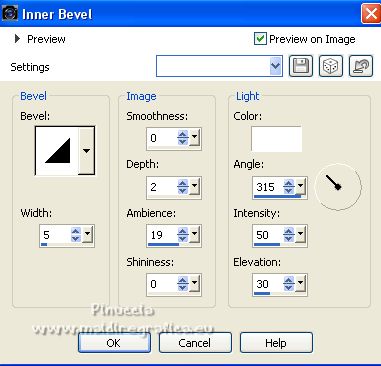
Selections>Select None.
Layers>Merge>Merge Down.
5. Activate the layer Raster 1.
Layers>New Raster Layer.
Set your foreground color to Color.
Flood Fill  the layer with your dark foreground color. the layer with your dark foreground color.
Layers>New Mask layer>From image
Open the menu under the source window
and select the mask NarahsMasks_1507
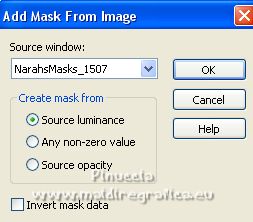
Effects>Edge Effects>Enhance.
Layers>Merge>Merge Group.
Effects>Image Effects>Seamless Tiling, default settings.

Effects>Reflection Effects>Rotating Mirror, same settings.

7. Activate your top layer.
Edit>Copy Special>Copy Merged.
Edit>Paste as new layer.
Effects>Plugins>Mura's Meister - Perspective Tiling.
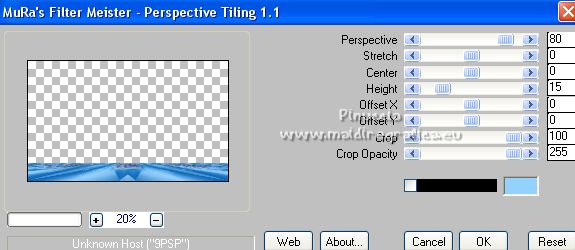
Effects>Reflection Effects>Rotating Mirror, default settings.

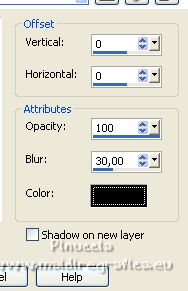
Effects>3D Effects>Drop Shadow, color black.

Open your main tube - for me Renee_TUBES-Fetes-2022 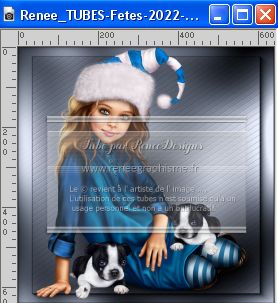
Edit>Copy.
Go back to your work and go to Edit>Paste as new layer.
Image>Resize, if necessary, resize all layers not checked.
Adjust>Sharpness>Sharpen.
Move  the tube to the right side. the tube to the right side.
Effects>3D Effects>Drop Shadow, same settings.
8. Open the deco tube bonhommeneig2-coly 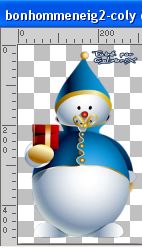
Erase the watermark and go to Edit>Copy.
Go back to your work and go to Edit>Paste as new layer.
Image>Resize, to 80%, resize all layers not checked.
Adjust>Sharpness>Sharpen.
Move  the tube to the left side. the tube to the left side.
Effects>3D Effects>Drop Shadow, color black.
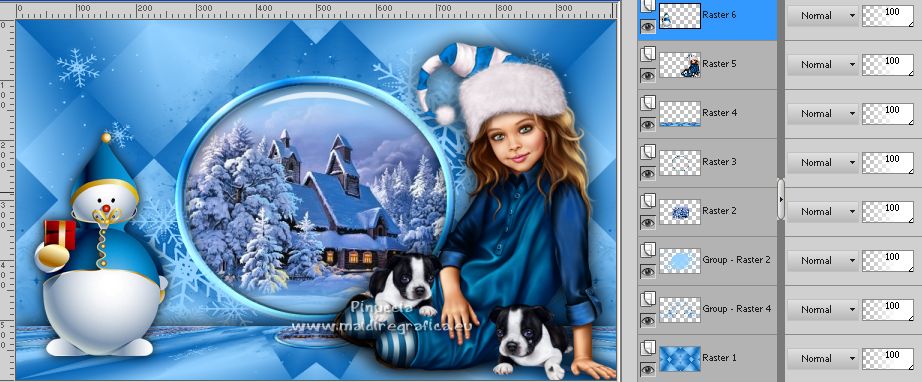
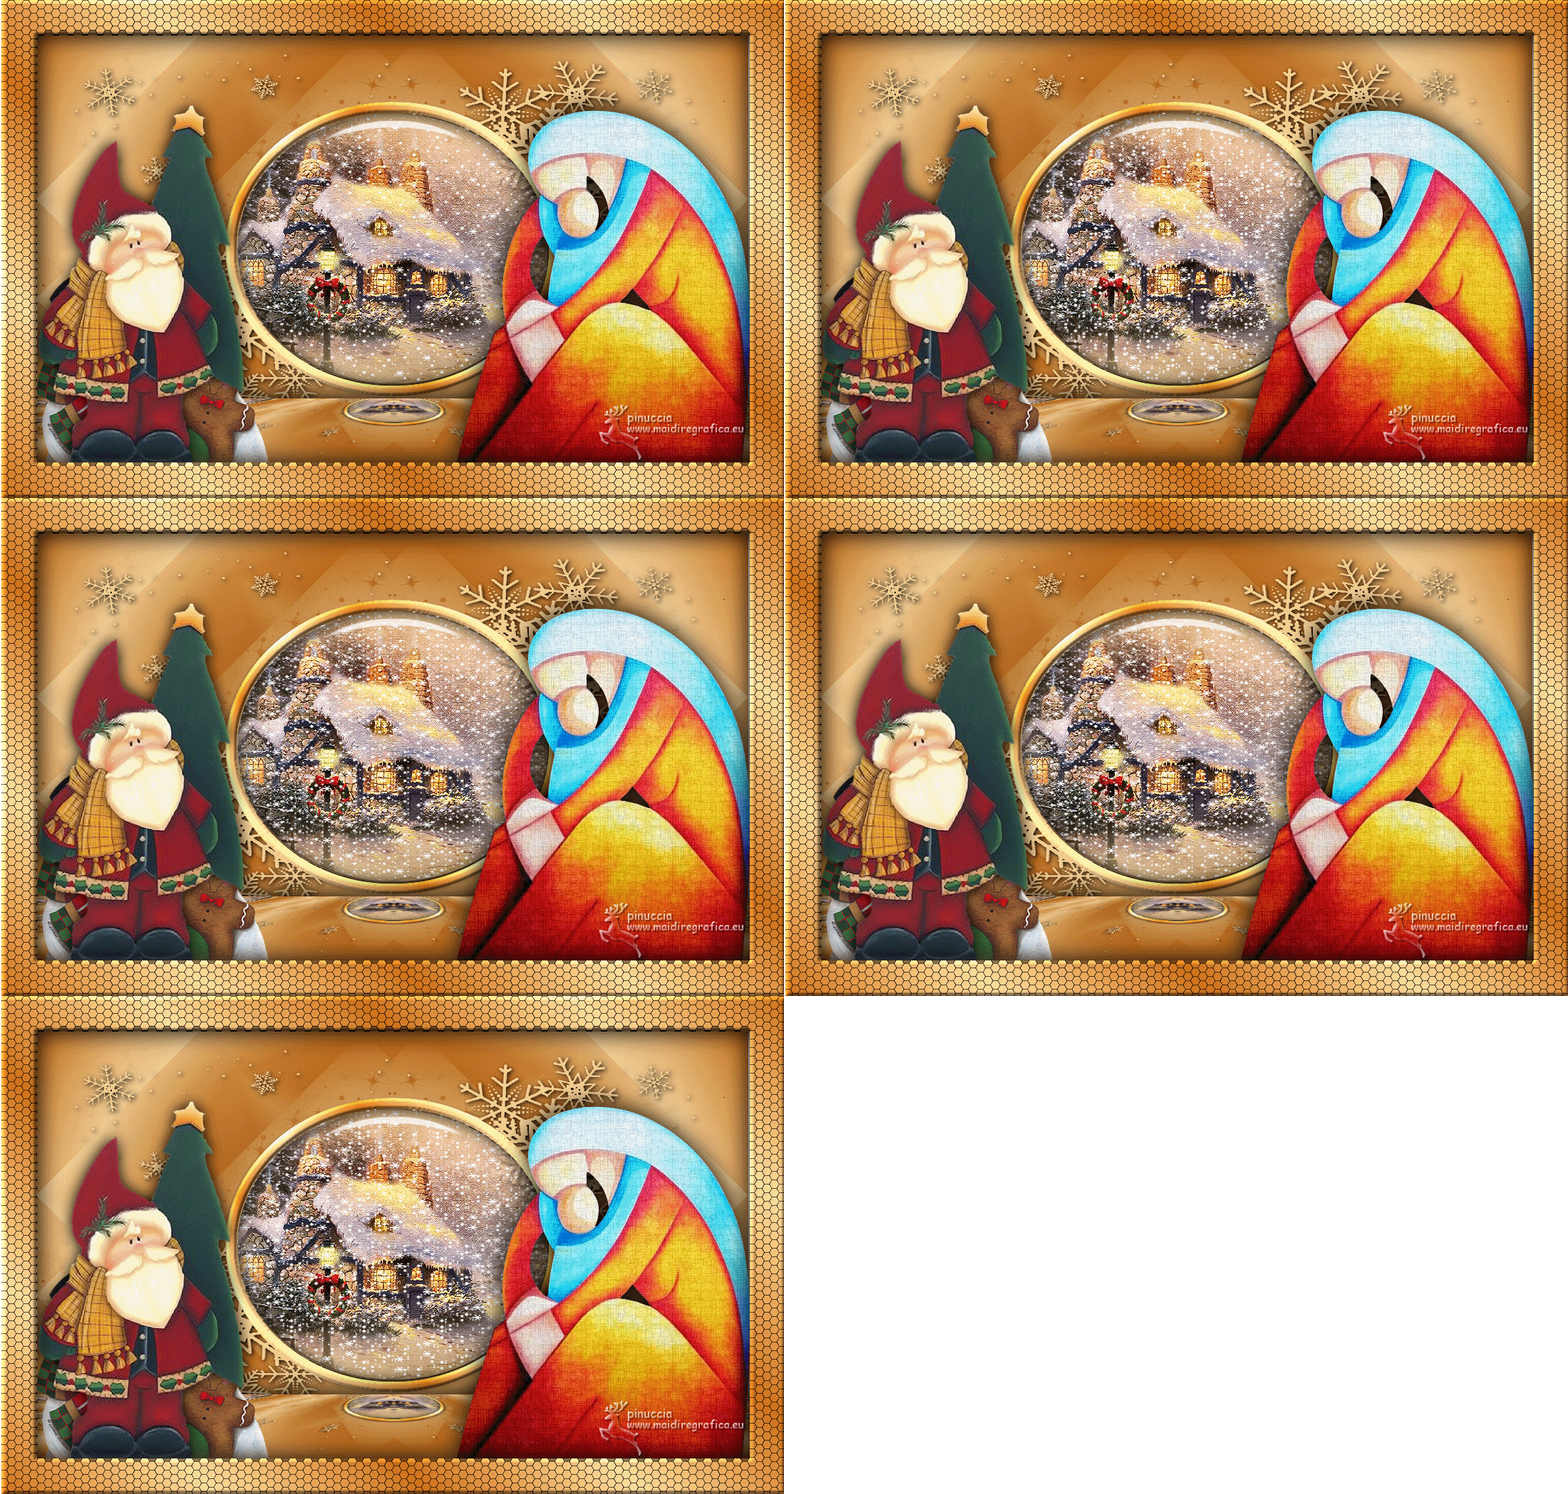
You should have this
Activate your background layer, Raster 1.
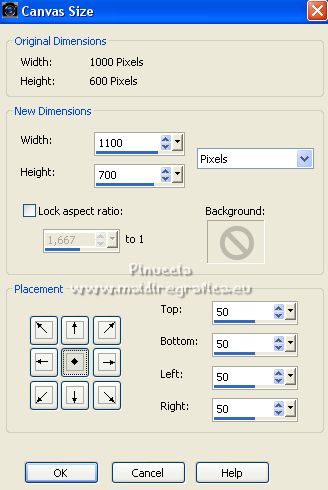
Image>Canvas Size - 1100 x 700
Activate your Magic Wand Tool 
and click in the transparent space to select it.
Layers>New Raster Layer.
Layers>Arrange>Bring to top.
Set again your foreground color to Gradient
Flood Fill  the layer with your Gradient. the layer with your Gradient.
9. Effects>Texture Effects>Tiles.
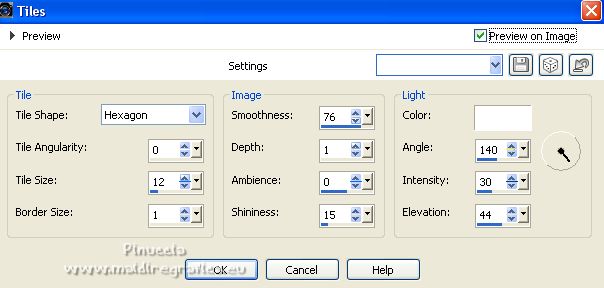
Effects>3D Effects>Inner Bevel, same settings.

Selections>Invert.
Layers>New Raster Layer.
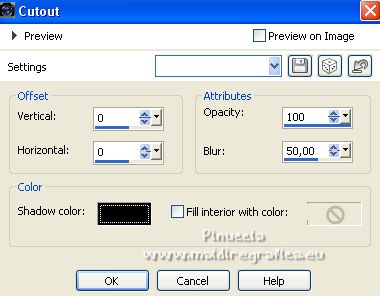
Effects>3D Effects>Cutout.
Selections>Select None.
Sign your work on a new layer.
Layers>Merge>Merge down, until the layer Raster 3.
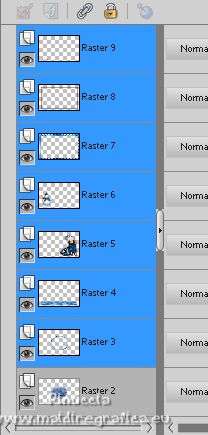
Close this layer and activate the background layer.
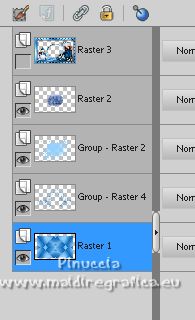
Layers>Merge>Merge Visible.
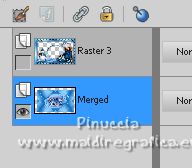
10. Edit>Copy Special>Copy Merged.
This is necessary, even if it's a single layer, to maintain the original dimensions of the work.

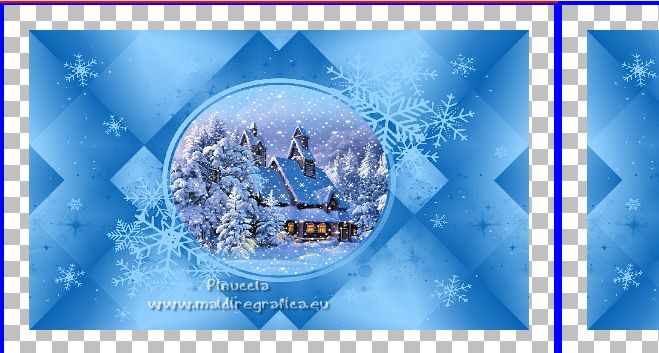
Open Animation Shop and go to Edit>Paste>Paste as new image.
Edit>Duplicate - 3 times and you'll get 5 frames.

Click on the first frame to select it and go to Edit>Select All.
Open the animation Snow, also composed of 5 frames.
Edit>Select All.
Edit>Copy.
Activate your work and go to Edit>Paste>Paste in the selected frame.
Place the image correctly in the center
and when you're sure you've found the correct place, click the left mouse button.
11. Go back to PSP.
Open and activate the top layer.
Edit>Copy.
Go back to Animation Shop and Edit>Paste>Paste as new image.
Edit>Duplicate - 3 times to get 5 frames.

Edit>Select All.
Edit>Copy.
Activate your work and Edit>Paste>Paste in the selected frame.
Attiva il tuo lavoro e vai a Modifica>Incolla>Incolla nel fotogramma selezionato.
Place the image correctly in the center
and when you're sure you've found the correct place, click the left mouse button.
Check your result clicking on View  and save as gif. and save as gif.
For the tubes of this versions thanks Cibi-Bijoux and Luz Cristina
If you have problems or doubts, or you find a not worked link, or only for tell me that you enjoyed this tutorial, write to me.
23 November 2022

|


