|
GIACOMO

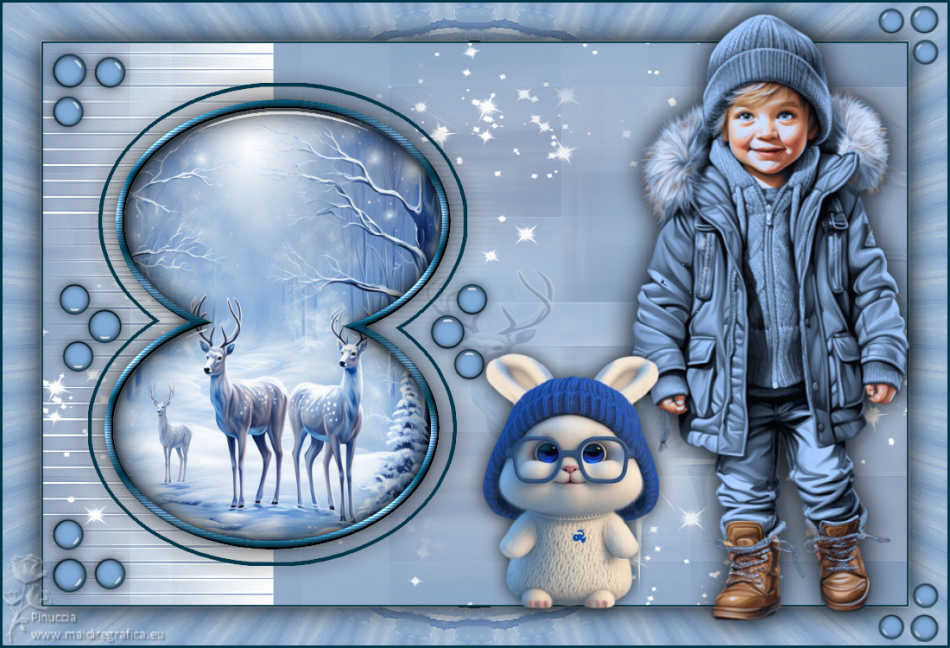
Thanks Inge-Lore for your invitation to translate your tutorials.

This tutorial, created with PSP2019, was translated with PSPX9 and PSP2020, but it can also be made using other versions of PSP.
Since version PSP X4, Image>Mirror was replaced with Image>Flip Horizontal,
and Image>Flip with Image>Flip Vertical, there are some variables.
In versions X5 and X6, the functions have been improved by making available the Objects menu.
In the latest version X7 command Image>Mirror and Image>Flip returned, but with new differences.
See my schedule here
 Italian translation qui Italian translation qui
 French translation here French translation here
 Your versions ici Your versions ici

For this tutorial, you will need:
A tube of yours (the tube used by Inge-Lore is by Adrienne)
The rest of the material

Thanks for the tubes Adrienne and Wieskes, for the masks Narah.
(you find here the links to the material authors' sites)

consult, if necessary, my filter section here
Filters Unlimited 2.0 here
Mehdi - Sorting Tiles here
VM Distortion - Kaleidoscope here
Simple - 4 Way Average here
Alien Skin Eye Candy 5 Impact - Glass here
FM Tile Tools - Saturation Emboss here
Filters VM Distortion and Simple can be used alone or imported into Filters Unlimited.
(How do, you see here)
If a plugin supplied appears with this icon  it must necessarily be imported into Unlimited it must necessarily be imported into Unlimited
You can change Blend Modes according to your colors.
In the newest versions of PSP, you don't find the foreground/background gradient (Corel_06_029).
You can use the gradients of the older versions.
The Gradient of CorelX here

Open the masks in PSP and minimize them with the rest of the material.
1. Choose from your tubes a light and a dark color.
My colors:
light color #82aedb
dark color #00364a
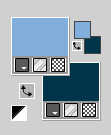
To begin set your foreground color to white.
Open Alpha-Datei Giacomo
Window>Duplicate or, on the keyboard, shift+D to make a copy.

Close the original.
The copy, that will be the basis of your work, is not empty,
but contains a selection saved to alpha channel.
Selections>Select All.
Open the background image MSD-AI-CUPU-CHRISTMASBLISS2-PPS 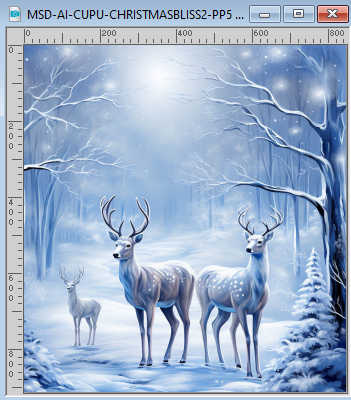
Edit>Copy.
Go back to your work and go to Edit>Paste into Selection.
Selections>Select None.
Effects>Image Effects>Seamless Tiling, default settings.

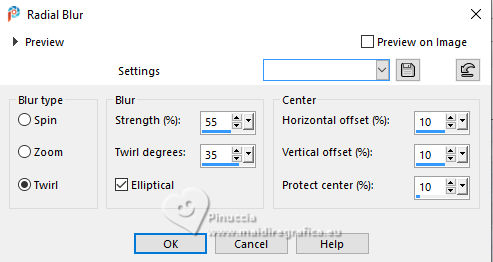
2. Adjust>Blur>Radial Blur.
Effects>Plugins>Mehdi - Sorting Tiles
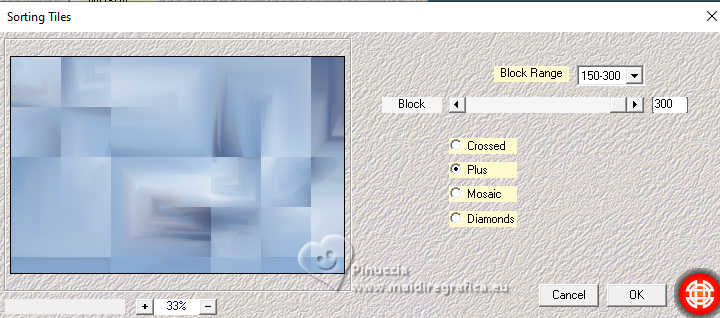
Effects>Plugins>Simple - 4 Way Average
This effect works without window: result
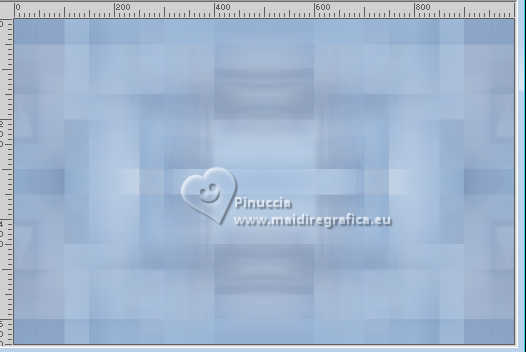
Effects>Plugins>FM Tile Tools - Saturation Emboss, default settings.

Layers>New Raster Layer.
Flood Fill  the layer with color white. the layer with color white.
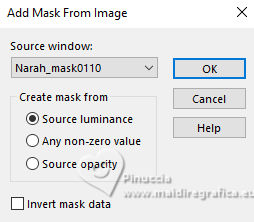
3. Layers>New Mask layer>From image
Open the menu under the source window and you'll see all the files open.
Select the mask Narah_mask0110
Effects>Edge Effects>Enhance More.
Layers>Merge>Merge Group.
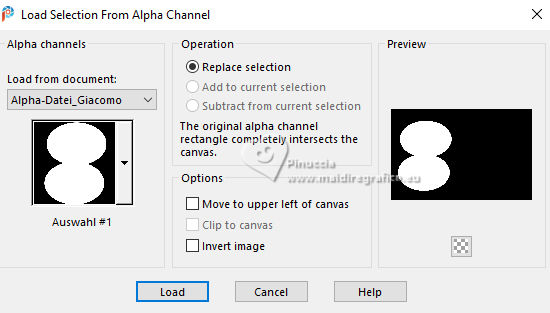
Selections>Load/Save Selection>Load Selection from Alpha Channel.
The selection Auswahl #1 is immediately available.
You just have to click Load.
Layers>New Raster Layer.
Edit>Paste into Selection (your background image is still in memory).
4. Layers>New Raster Layer.
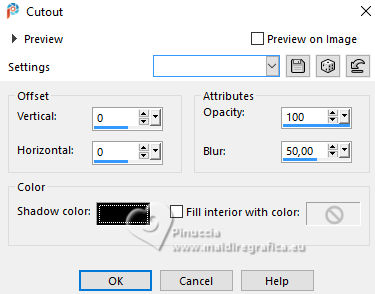
Effects>3D Effects>Cutout.
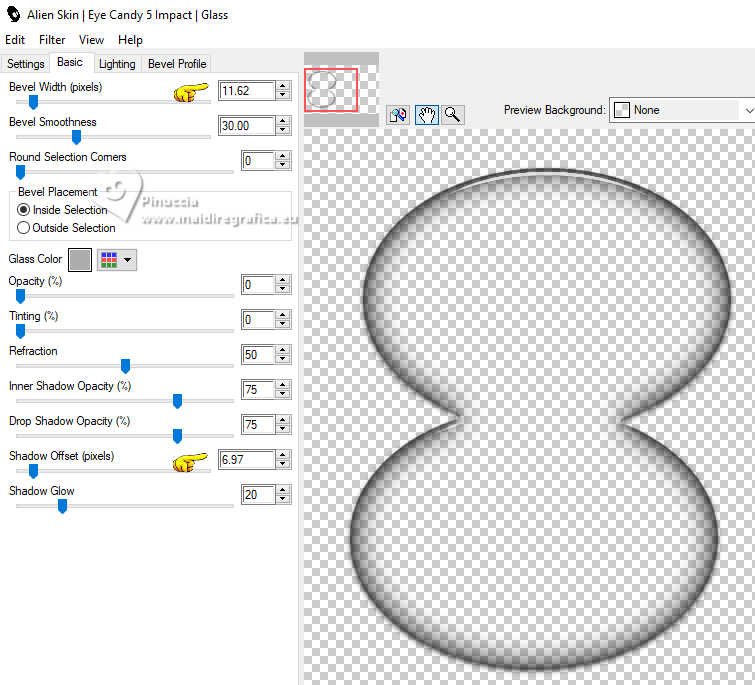
Effects>Plugins>Alien Skin Eye Candy 5 Impact - Glass
Select the preset Clear with these settings.
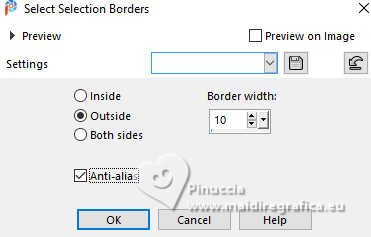
Selections>Modify>Select Selection Borders
Set your foreground color to the light color
and your background color to the dark color.

Set your foreground color to a Foreground/Background Gradient, style Linear.
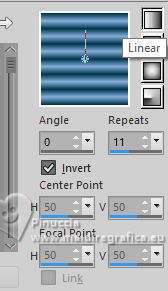
Layers>New Raster Layer.
Flood Fill  the selection with your Gradient. the selection with your Gradient.
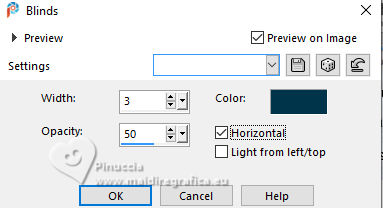
Effects>Texture Effects>Blinds
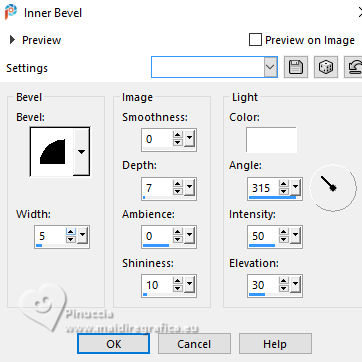
Effects>3D Effects>Inner Bevel.
Selections>Select None.
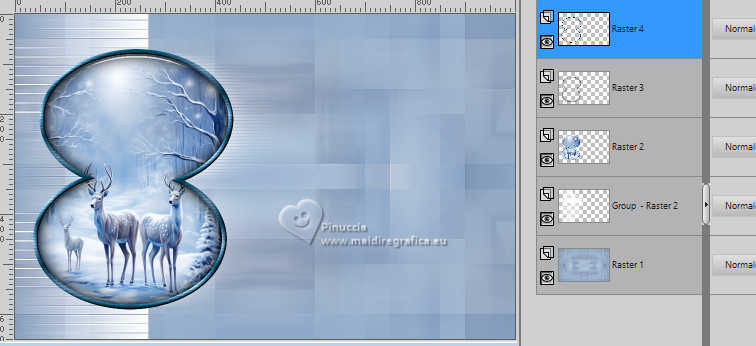
5. Layers>Merge>Merge Down - 2 times.
K key to activate your Pick Tool 
and set Position X: 71,00 and Position Y: 65,00.

Activate your Magic Wand Tool 
and click outside the image to select it
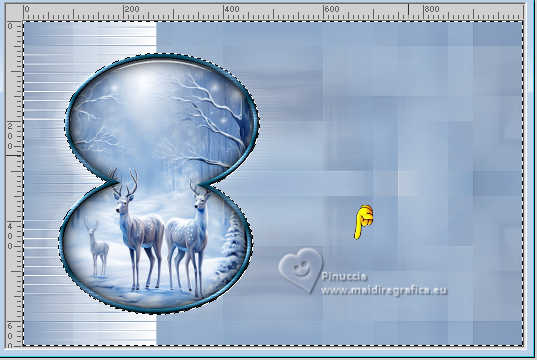
Selections>Invert.
Selections>Modify>Expand - 15 pixels.
Selections>Modify>Select Selection Borders.
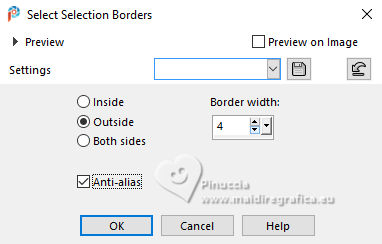
Layers>New Raster Layer.
Flood Fill  the selection with your dark background color. the selection with your dark background color.
Selections>Select None.
Layers>Merge>Merge Down.
Effects>3D Effects>Drop Shadow, color black.

6. Activate the layer Raster 1.
Layers>New Raster Layer.
Selections>Select All.
Open the landscape misted MSD-AI-CUPU-CHRISTMASBLISS2-PPS 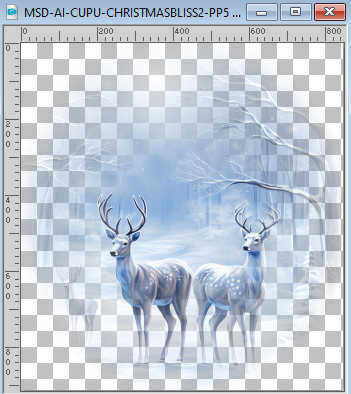
Edit>Copy.
Go back to your work and go to Edit>Paste into Selection.
Selections>Select None.
If necessary, you can move  the tube a little further to the right. the tube a little further to the right.
Reduce the opacity of this layer to 20%, or according to your colors.
if you moved the tube to the right, off the edges: you have to do:
Activate your bottom layer.
Selections>Select All.
Image>Crop to Selection
Activate your top layer.
Open the tube deko-1©ILR 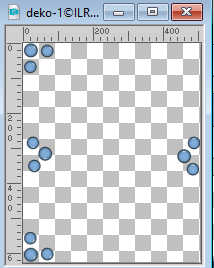
Edit>Copy.
Go back to your work and go to Edit>Paste as new layer.
colorize according to your colors
K key to activate your Pick Tool 
and set Position X: 8,00 and Position Y: 11,00.

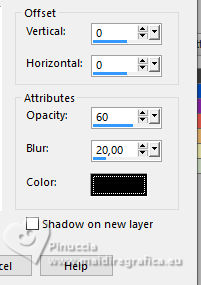
Effects>3D Effects>Drop Shadow, color black.
7. Set again your foreground color to white.
Layers>New Raster Layer.
Riempi  il livello con il colore bianco. il livello con il colore bianco.
Layers>New Mask layer>From image
Open the menu under the source window
and select the mask NarahsMasks_1684
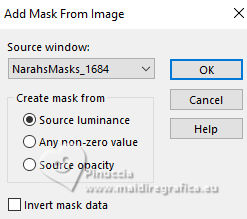
Effects>Edge Effects>Enhance.
Layers>Merge>Merge Group.
Effects>Image Effects>Seamless Tiling, default settings.

Layers>Arrange>Move Down - 2 times.
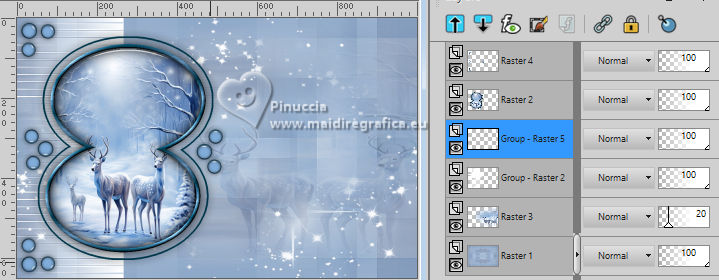
8. Activate your bottom layer.
Note: Check your work:
if you realize that the background color does not match the colors you chose,
you can colorize the layer
Edit>Copy.
Image>Add borders, 2 pixels, symmetric, dark color.
Selections>Select All.
Image>Add borders, 45 pixels, symmetric, light color.
Selections>Invert.
Edit>Paste into Selection
Effects>Plugins>VM Distortion>Kaleidoscope.
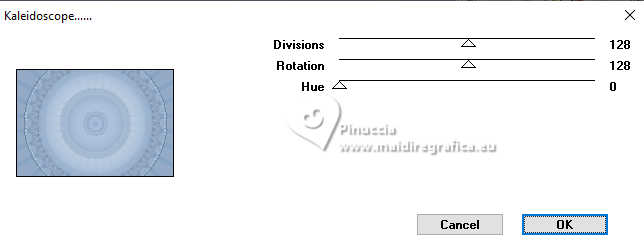
9. Image>Rotate Left.
Effects>Plugins>VM Distortion - Kaleidoscope, same settings.
Image>Rotate Right.
Effects>Edge Effects>Enhance.
Selections>Invert.
Effects>3D Effects>Drop Shadow, color black.

Selections>Select None.
10. Open your tube and go to Edit>Copy.
Go back to your work and go to Edit>Paste as new layer.
Image>Resize, as necessary, resize all layers not checked.
Adjust>Sharpness>Sharpen.
Effects>3D Effects>Drop Shadow, same settings.
Open your deco tube 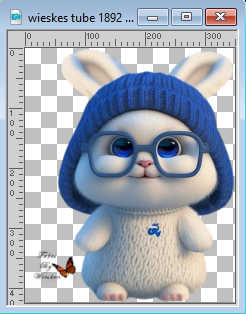
Erase the watermark and go to Edit>Copy.
Go back to your work and go to Edit>Paste as new layer.
Image>Resize, to your liking, resize all layers not checked.
Adjust>Sharpness>Sharpen.
Effects>3D Effects>Drop Shadow, color black.

11. Open deco-2©ILR 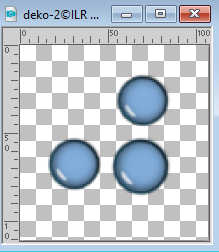
Edit>Copy.
Go back to your work and go to Edit>Paste as new layer.
Move  the tube at the bottom right. the tube at the bottom right.
Effects>3D Effects>Drop Shadow, color black.

Layers>Duplicate.
Image>Mirror>Mirror Vertical (Image>Flip.
Sign your work on a new layer.
Image>Add borders, 3 pixels, symmetric, dark background color.
Save as jpg.
For the tube of this version thanks Adrienne; the misted is mine
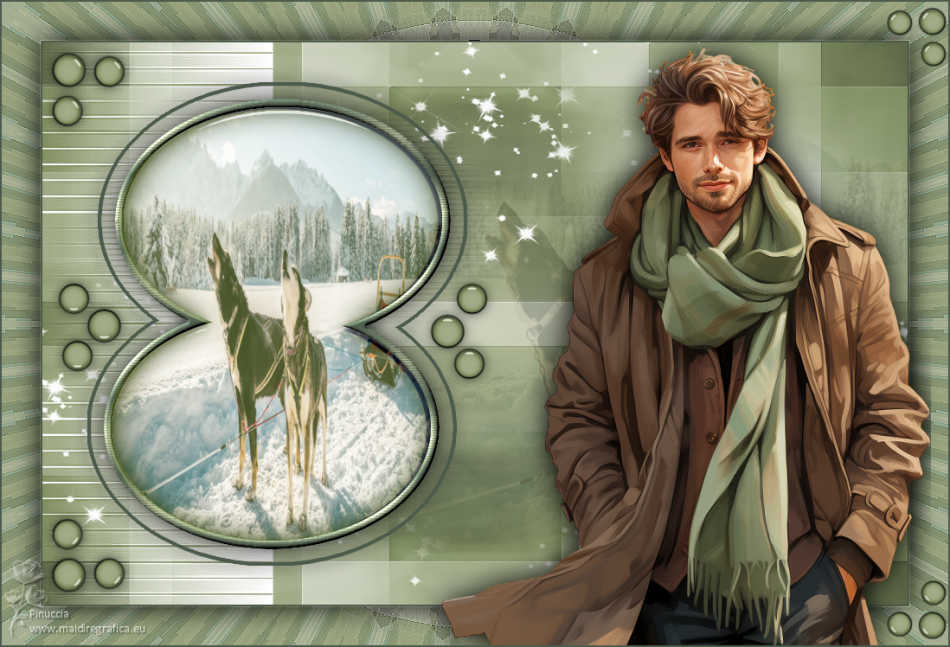

If you have problems or doubts, or you find a not worked link, or only for tell me that you enjoyed this tutorial, write to me.
16 January 2024

|


