|
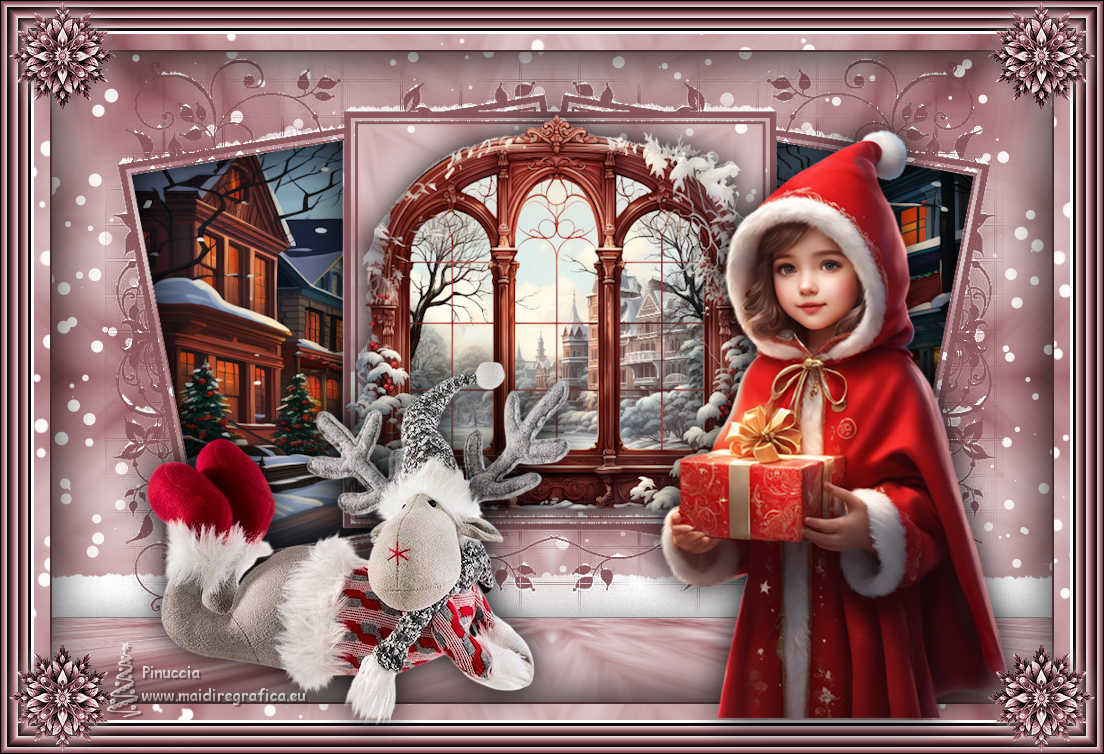
IT'S COLD OUTSIDE

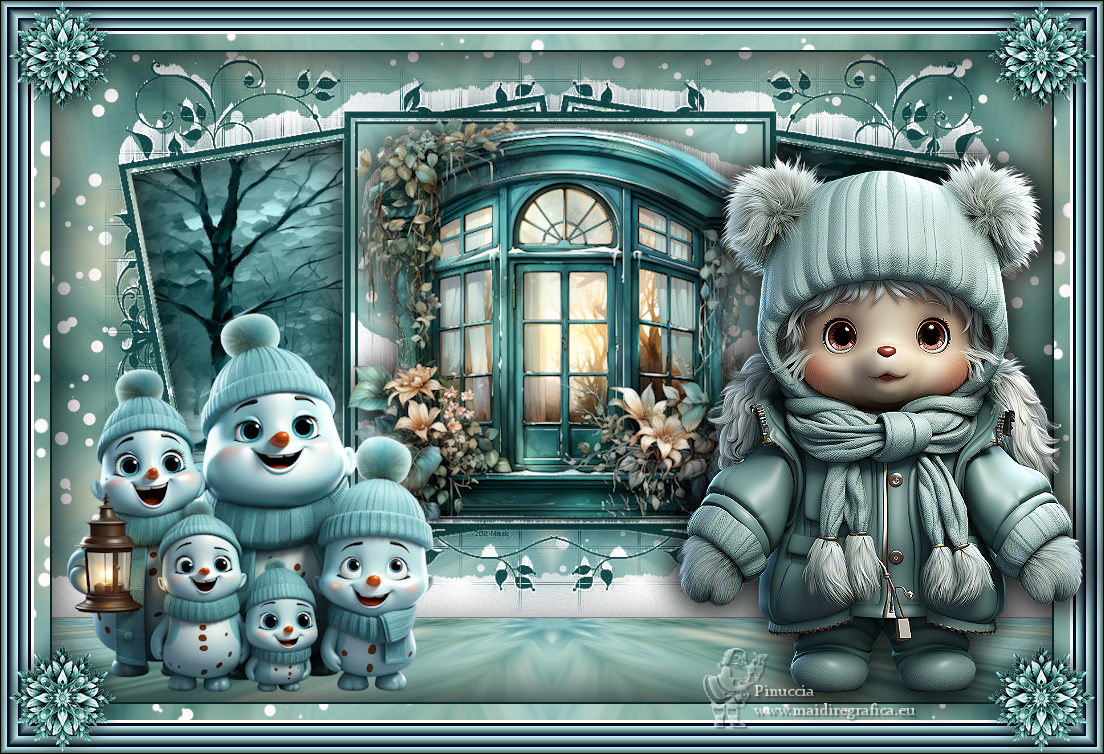
Thanks ingelore for your invitation to translate your tutorials.

This tutorial, created with PSP2019, was translated with PSPX9 and PSP2020, but it can also be made using other versions of PSP.
Since version PSP X4, Image>Mirror was replaced with Image>Flip Horizontal,
and Image>Flip with Image>Flip Vertical, there are some variables.
In versions X5 and X6, the functions have been improved by making available the Objects menu.
In the latest version X7 command Image>Mirror and Image>Flip returned, but with new differences.
See my schedule here
 Italian translation qui Italian translation qui
 French translation here French translation here
 Your versions ici Your versions ici
For this tutorial, you will need:
For the tubes and the materiel of the scrap Welcome Winter thanks Adrienne.
(you find here the links to the material authors' sites)

consult, if necessary, my filter section here
Mehdi - Kaleidoscope 2.1 here
VDL - Snowscape here
VanDerLee - Snowflakes here
Mura's Meister - Perspective Tiling here
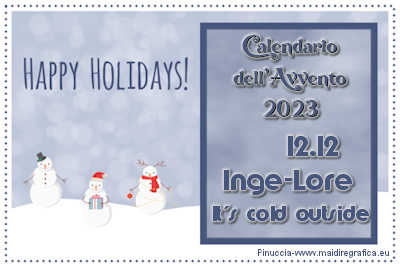
You can change Blend Modes according to your colors.

Copy the selection in the Selections Folder.
Open the mask in PSP and minimize it with the rest of the material.
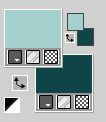
1. Choose from your tubes a light and a dark color.
Open a new transparent image 1000 x 650 pixels.
Selections>Select All.
Open Welcome Winter Paper (11) 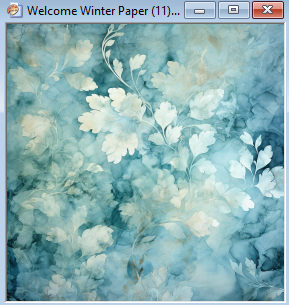
Edit>Copy.
Go back to your work and go to Edit>Paste into Selection.
Selections>Select None.
Adjust>Blur>Motion Blur.
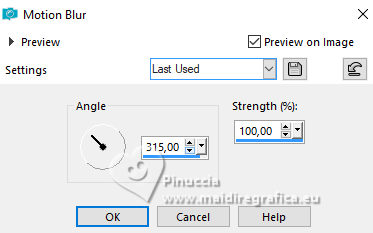
Edit>Repeat Motion Blur.
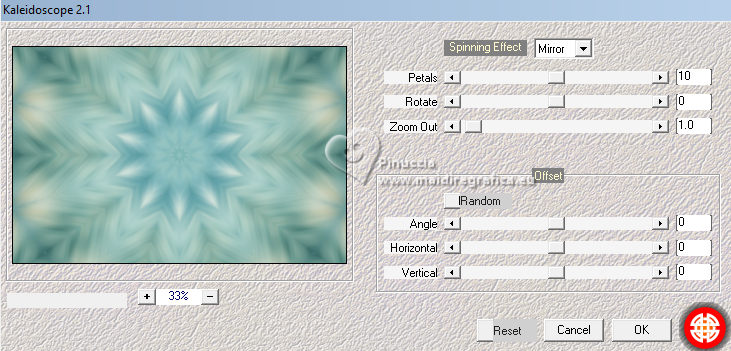
Effects>Plugins>Mehdi - Kaleidoscope 2.1.
2. Layers>New Raster Layer.
Flood Fill  the layer with your dark color. the layer with your dark color.
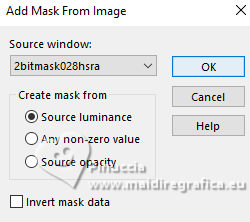
Layers>New Mask layer>From image
Open the menu under the source window and you'll see all the files open.
Select the mask 2bitmask028hsra
Effects>Edge Effects>Enhance More.
Layers>Merge>Merge Group.
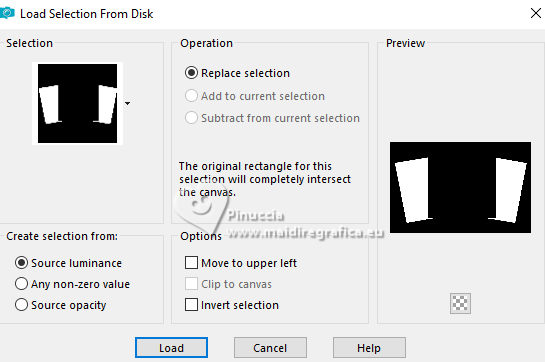
Selections>Load/Save Selection>Load Selection from Disk.
Look for and load the selection It's cold outside©ILR
3. Layers>New Raster Layer.
Layers>Arrange>Move Down.
Open your background image Welcome Winter Paper (2) 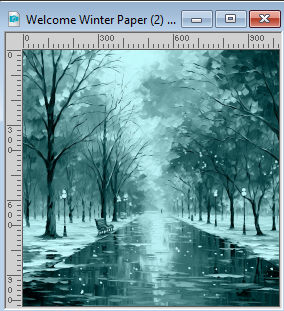
Edit>Copy.
Go back to your work and go to Edit>Paste into Selection.
Activate the layer of the mask.
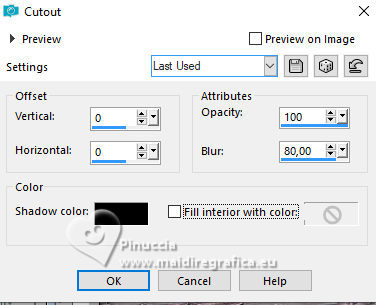
Effects>3D Effects>Cutout.
Selections>Select None.
Layers>Merge>Merge Down.
Open Welcome Winter Element (40) 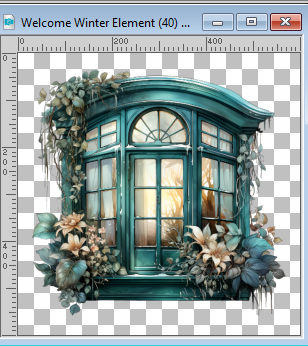
Edit>Copy.
Go back to your work and go to Edit>Paste as new layer.
Image>Resize, to 90%, resize all layers not checked.
Place  the tube in the center. the tube in the center.
Effects>3D Effects>Drop shadow.

Layers>Merge>Merge Down.
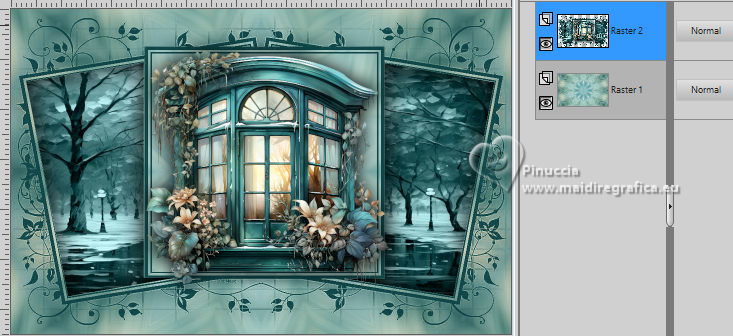
5. Image>Resize, to 90%, resize all layers not checked.
K key to activate your Pick Tool  and set Position X: 52,00 and Position Y: -8,00.

Activate your bottom layer.
Layers>Duplicate.
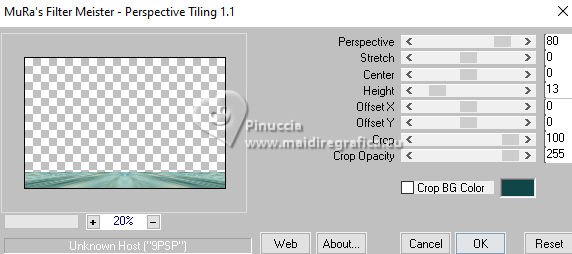
Effects>Plugins>Mura's Meister - Perspective Tiling
Effects>3D Effects>Drop shadow, same settings.
Effects>Plugins>VanDerLee - Snowscape.
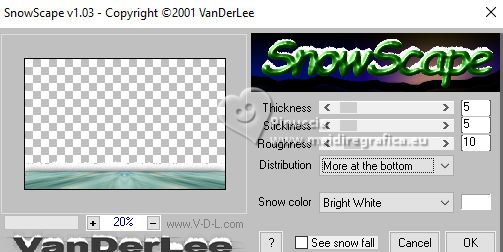
attention, the filter may block your PSP; save your work before applying it.
Newer versions of PSP require you to use the patched version of the filter.
(the links to the filters before the tutorial).
5. Activate the top layer of the mask.
Repeat Effects>Plugins>VanDerLee - Snowscape.
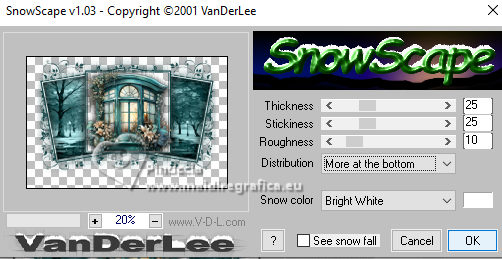
Activate again your bottom layer.
Effects>Plugins>VDL Adrenaline - Snowflakes
(Attention: be careful also with this filter)
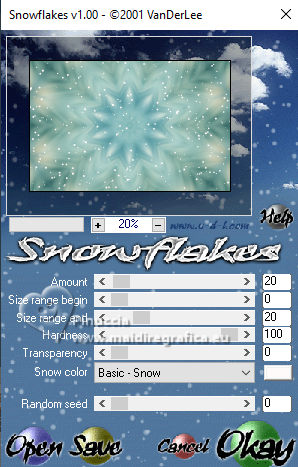
Edit>Copy.
Image>Add borders, 2 pixels, symmetric, dark color.
6. Selections>Select All.
Image>Add borders, 50 pixels, symmetric, light color.
Selections>Invert.
Edit>Paste into Selection
Effects>Plugins>AAA Frames - Foto Frame.
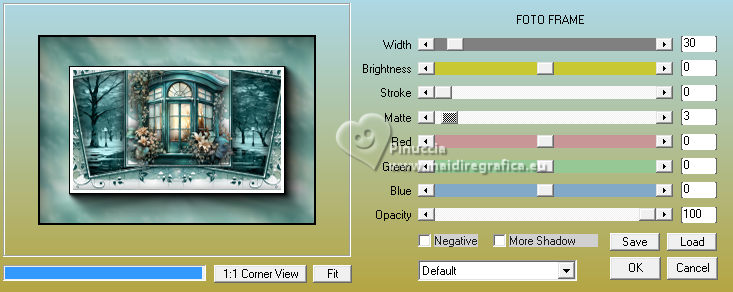
Effects>Plugins>AAA Frames - Frame Works.
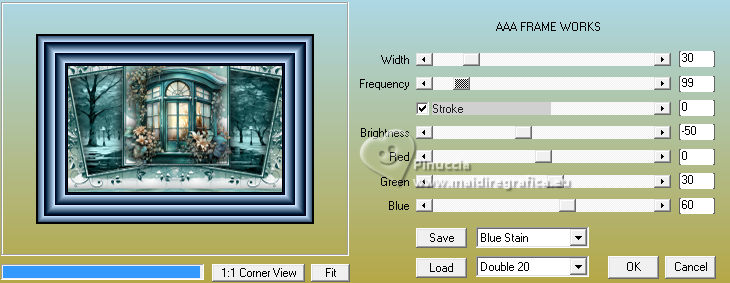
Selections>Invert.
7. Effects>3D Effects>Cutout, same settings.
Selections>Select All.
Selections>Modify>Contract - 30 pixels.
Selections>Invert.
Colorize the border with your Change to Target Tool 
or with your Color Changer Tool  . .
Selections>Select None.
Open your main tube Welcome Winter Element (78) 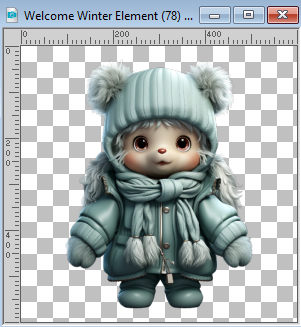
Edit>Copy.
Go back to your work and go to Edit>Paste as new layer.
Image>Resize, if necessary (for the supplied tube I didn't do it).
Adjust>Sharpness>Sharpen.
Move  the tube to the right. the tube to the right.
Effects>3D Effects>Drop shadow, same settings.
8. Open your second tube Welcome Winter Element (72) 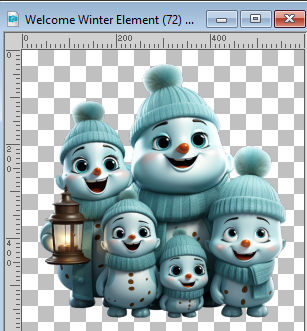
Edit>Copy.
Go back to your work and go to Edit>Paste as new layer.
Image>Resize, if necessary, for the supplied tube I resized to 70%, resize all layers not checked.
Adjust>Sharpness>Sharpen.
Move  the tube to the left. the tube to the left.
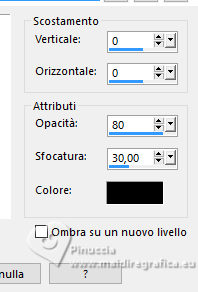
Effects>3D Effects>Drop shadow.
Open cadre 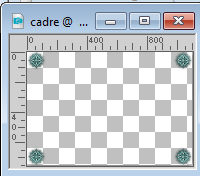
Edit>Copy.
Go back to your work and go to Edit>Paste as new layer.
Sign your work on a new layer.
Layers>Merge>Merge All and save as jpg.
For the tubes of this version thanks Coly e Wieskes

If you have problems or doubts, or you find a not worked link, or only for tell me that you enjoyed this tutorial, write to me.
3 November 2023

|


