|
JUST MARRIED


Thanks Inge-Lore for your invitation to translate your tutorials.

This tutorial, created with PSP2019, was translated with PSPX9 and PSP2020, but it can also be made using other versions of PSP.
Since version PSP X4, Image>Mirror was replaced with Image>Flip Horizontal,
and Image>Flip with Image>Flip Vertical, there are some variables.
In versions X5 and X6, the functions have been improved by making available the Objects menu.
In the latest version X7 command Image>Mirror and Image>Flip returned, but with new differences.
See my schedule here
 Italian translation qui Italian translation qui
 French translation here French translation here
 Your versions ici Your versions ici

Material

For the tube thanks Kamil.
(you find here the links to the material authors' sites)


Aucun
You can change Blend Modes according to your colors.
In the newest versions of PSP, you don't find the foreground/background gradient (Corel_06_029).
You can use the gradients of the older versions.
The Gradient of CorelX here

Copy the selection in the Selections Folder.
Open the masks in PSP and minimize them with the rest of the materiale.
1. Choose from your tube a light and a dark color.
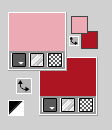
Open a new transparent image 1000 x 700 pixels.
Flood Fill  the transparent image with your dark color. the transparent image with your dark color.
Layers>New Raster Layer.
Flood Fill  the layer with your light color. the layer with your light color.
Layers>New Mask layer>From image
Open the menu under the source window and you'll see all the files open.
Select the mask 0_7c4d8_4_XL3
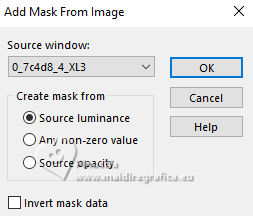
Effects>Edge Effects>Enhance.
Layers>Merge>Merge Group.
Layers>New Raster Layer.
Flood Fill  again with your light color. again with your light color.
2. Layers>New Mask layer>From image
Open the menu under the source window and you'll see all the files open.
Select the mask 00MASK_BG3522
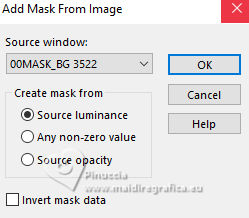
Effects>Edge Effects>Enhance.
Layers>Merge>Merge Group.
Open Dekot-1 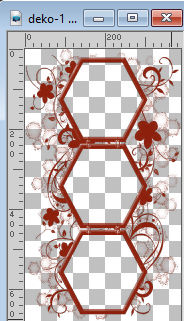
Edit>Copy.
Go back to your work and go to Edit>Paste as new layer.
K key to activate your Pick Tool 
Position X: 21,00 - Position Y: 12,00.

Effects>3D Effects>Drop Shadow, color black.
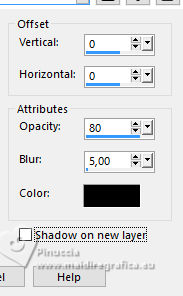
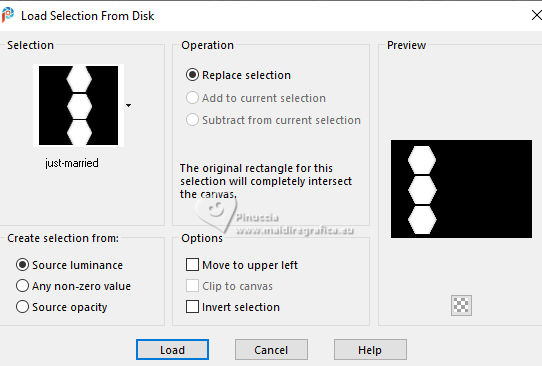
3. Selections>Load/Save Selection>Load Selection from Disk.
Look for and load the selection just-married
Layers>New Raster Layer.
Layers>Arrange>Move Down.
Set your foreground color to a Foreground/Background Gradient, style Linear.
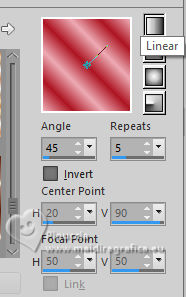
Flood Fill  the layer with your Gradient. the layer with your Gradient.
Adjust>Blur>Gaussian Blur - radius 15.

Selections>Select None.
Activate your top layer.
Open Dekot-2 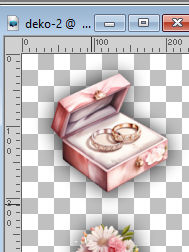
Edit>Copy.
Go back to your work and go to Edit>Paste as new layer.
4. K key to activate your Pick Tool 
Position X: 94,00 - Position Y: 26,00.

Effects>3D Effects>Drop Shadow, same settings.

Open your main tube KamilTube-5040 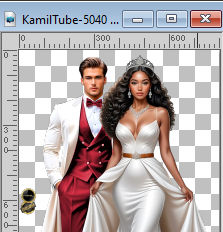
Erase the watermark and go to Edit>Copy.
Go back to your work and go to Edit>Paste as new layer.
Image>Resize, to 90%, resize all layers not checked.
Adjust>Sharpness>Sharpen.
Move  the tube to the right. the tube to the right.
Effects>3D Effects>Drop Shadow, color black.

Layers>Duplicate.
Layers>Arrange>Move Down.
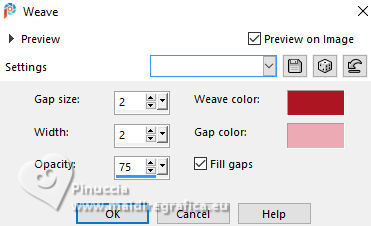
Effects>Texture Effects>Weave
weave color: dark color
gap color: light color
Layers>Duplicate.
Image>Mirror>Mirror horizontal.
Image>Mirror>Mirror vertical.
Change the Blend Mode of this layer to Soft Light.
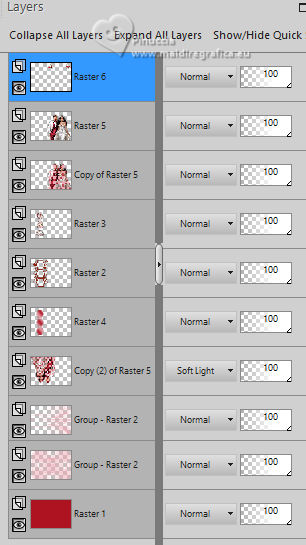
Move this layer at the 4th from the bottom - see the screen at step 6.
Activate again your top layer.
6. Open Dekot-3 
Edit>Copy.
Go back to your work and go to Edit>Paste as new layer.
K key to activate your Pick Tool 
Position X: 399,00 - Position Y: 10,00.

Effects>3D Effects>Drop Shadow, same settings.

7. Image>Add Borders, 2 pixels, symmetric, dark color.
Image>Add Borders, 5 pixels, symmetric, light color.
Image>Add Borders, 2 pixels, symmetric, dark color.
Selections>Select All.
Image>Add Borders, 60 pixels, symmetric, light color.
Selections>Invert.
Flood Fill  the selection with your Gradient. the selection with your Gradient.
8. Effects>Texture Effects>Weave, same settings.

Selections>Invert.
Effects>3D Effects>Drop Shadow, color black.

Selections>Select None.
Open Dekot-4 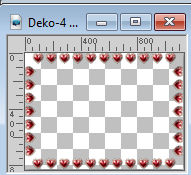
Edit>Copy.
Go back to your work and go to Edit>Paste as new layer.
Effects>3D Effects>Drop Shadow, color black.

9. Image>Add Borders, 3 pixels, symmetric, light color.
Image>Add Borders, 5 pixels, symmetric, dark color.
Image>Add Borders, 3 pixels, symmetric, light color.
Image>Add Borders, 5 pixels, symmetric, dark color.
Image>Add Borders, 3 pixels, symmetric, light color.
Image>Resize, 1000 pixels width, resize all layers checked.
Sign your work and save as jpg.
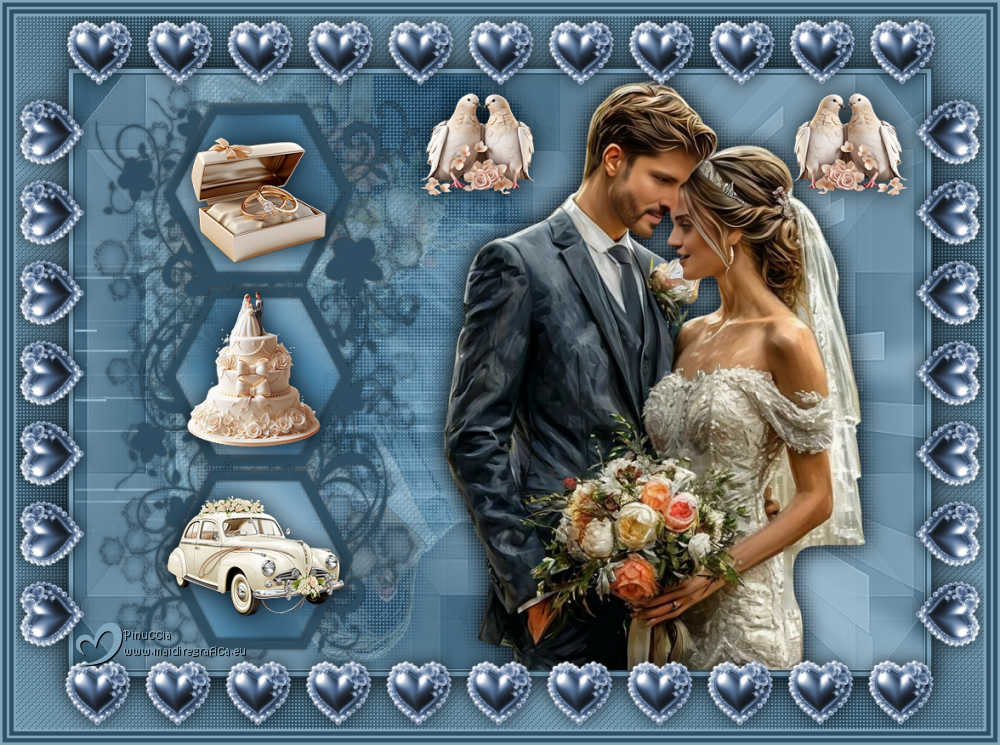
Version with my tube from a Pinterest image

If you have problems or doubts, or you find a not worked link, or only for tell me that you enjoyed this tutorial, write to me.
12 November 2025

|


